1、初始化目录
geray@LAPTOP-F930LL42 MINGW64 /d/笔记/Docker$ git init # 初始化目录Initialized empty Git repository in D:/笔记/Docker/.git/geray@LAPTOP-F930LL42 MINGW64 /d/笔记/Docker (master)
2、添加远程仓库
git remote add [shortname] [url]# 查看仓库git remote -vgit remote add geray https://gist.github.com/Only303
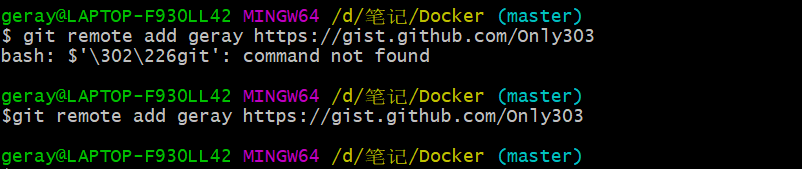
bash: $’\302\226git’: command not found
git命令前面有空格导致
创建秘钥
ssh-keygen -t rsa -C "youremail@example.com"ssh-keygen -t rsa -C "1690014753@qq.com"cat ~/.ssh/id_rsa.pub
后面的 your_email@youremail.com 改为你在 Github 上注册的邮箱,之后会要求确认路径和输入密码,我们这使用默认的一路回车就行。
成功的话会相关文件~/.ssh/id_rsa.pub,复制里面的 key。
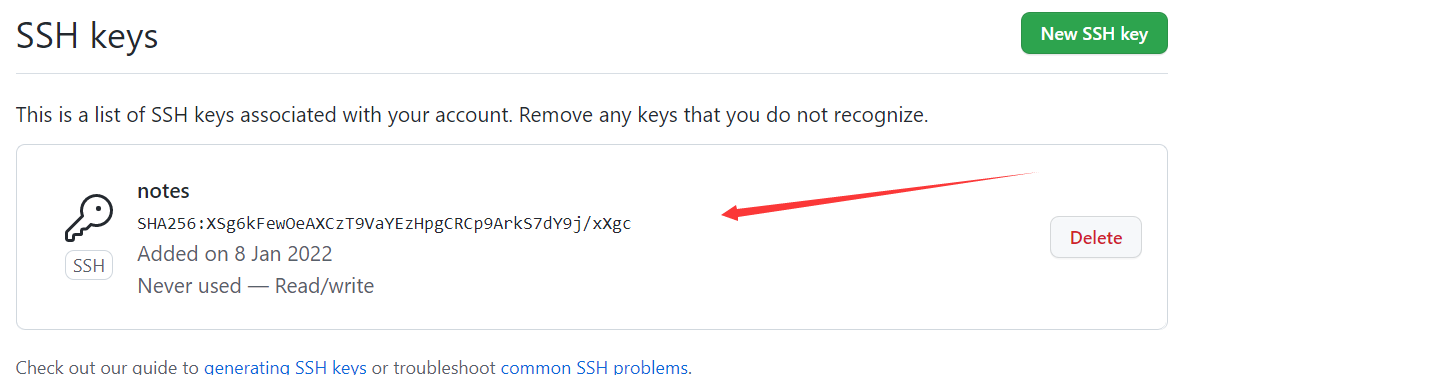
3、配置Github
回到 github 上,进入 Account => Settings(账户配置)。


添加成功后
4、验证
ssh -T git@github.comThe authenticity of host 'github.com (140.82.114.3)' can't be established.ED25519 key fingerprint is SHA256:+DiY3wvvV6TuJJhbpZisF/zLDA0zPMSvHdkr4UvCOqU.This key is not known by any other namesAre you sure you want to continue connecting (yes/no/[fingerprint])? yesWarning: Permanently added 'github.com' (ED25519) to the list of known hosts.Hi Only303! You've successfully authenticated, but GitHub does not provide shell access.
最后一行表示配置成功了
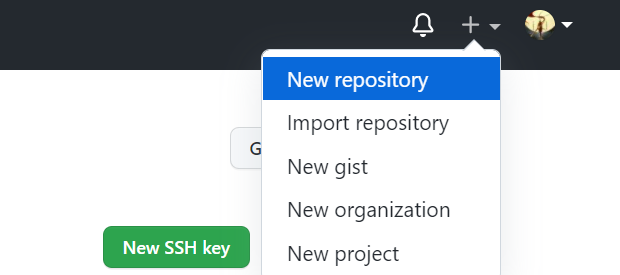
5、创建仓库
新建仓库
创建
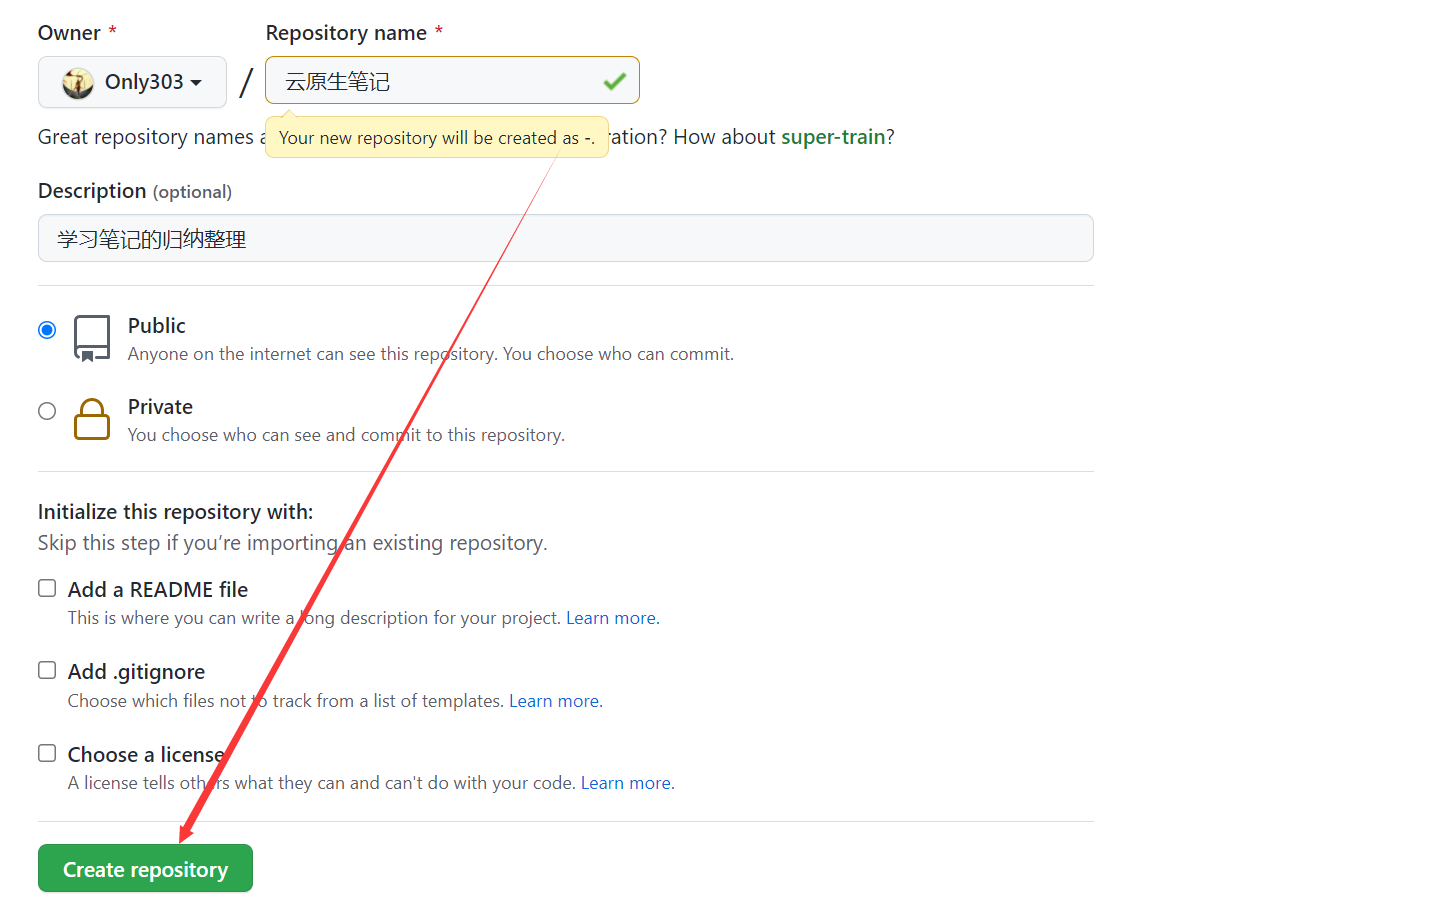
创建成功
6、初始化本地目录(标题1)
$ git init # 初始化目录echo "# 菜鸟教程 Git 测试" >> README.md # 创建 README.md 文件并写入内容git add README.md # 添加文件git commit -m "添加 README.md 文件" # 提交并备注信息# 提交到 Github$ git remote add origin https://github.com/Only303/-.git # origin仓库别名$ git push -u origin master
- https://github.com/Only303/-.git 需要更具自己实际仓库地址修改
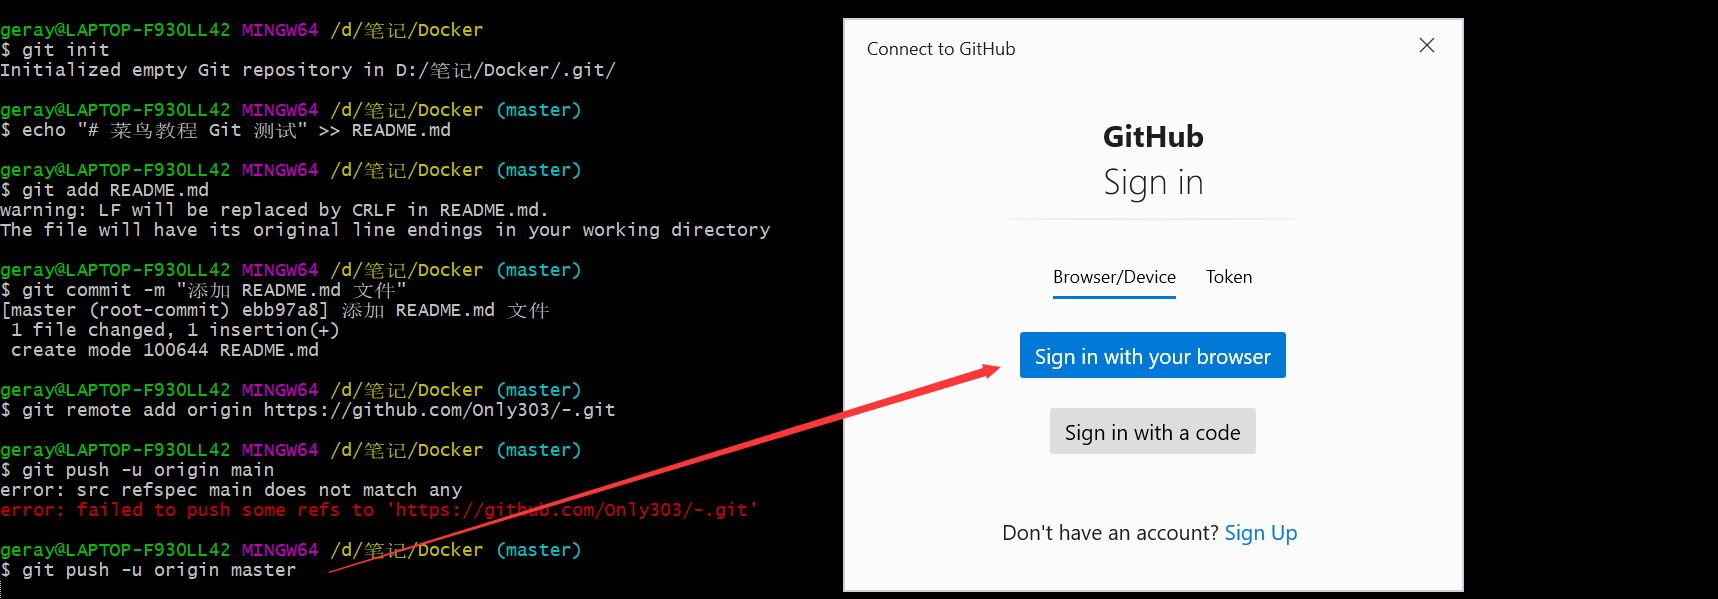
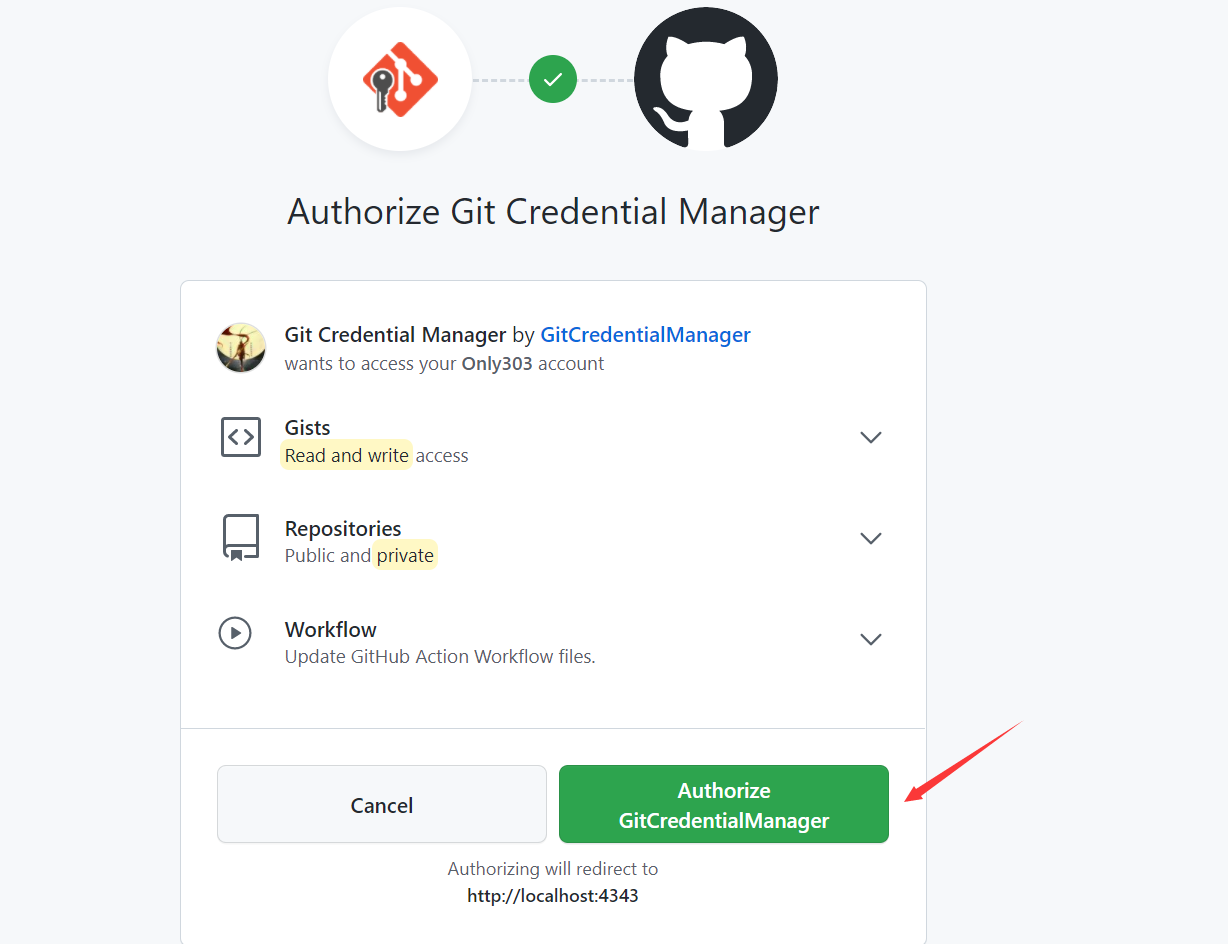
登陆github,完成授权
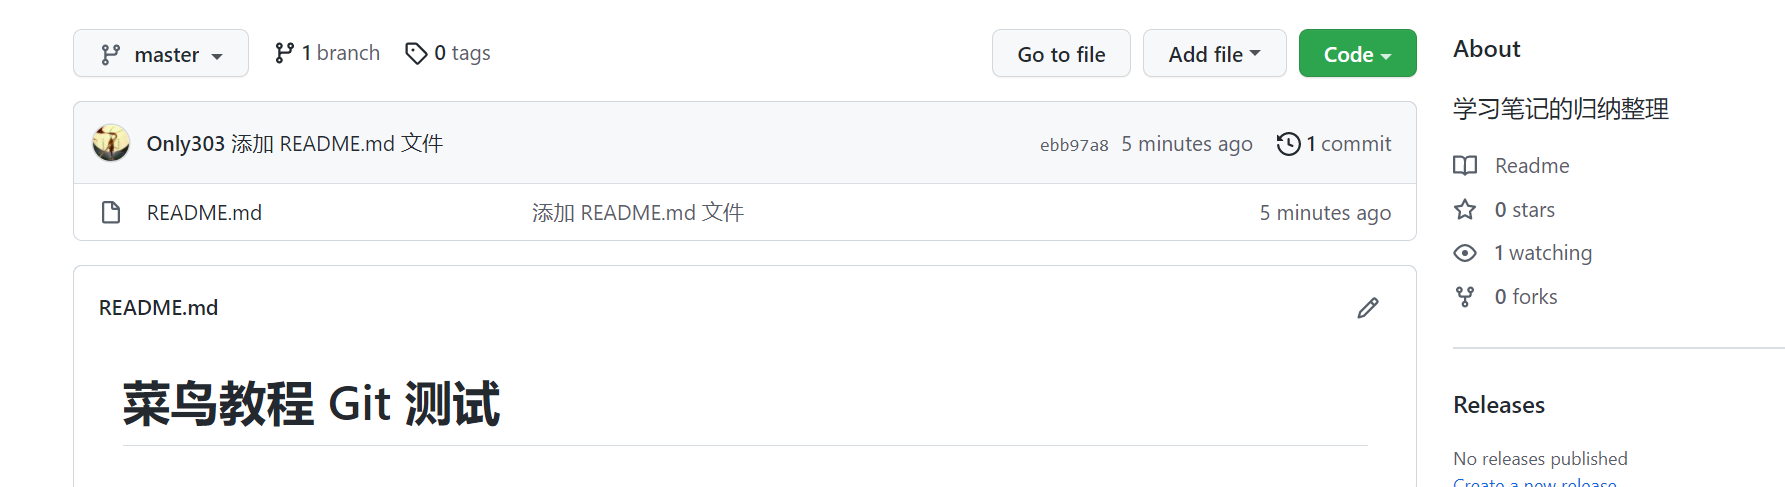
git push -u origin masterEnumerating objects: 3, done.Counting objects: 100% (3/3), done.Writing objects: 100% (3/3), 259 bytes | 259.00 KiB/s, done.Total 3 (delta 0), reused 0 (delta 0), pack-reused 0To https://github.com/Only303/-.git* [new branch] master -> masterBranch 'master' set up to track remote branch 'master' from 'origin'.

浏览器查看仓库
7、添加当前目录所有文件到仓库
git add *git commit -m "2022年1月8日,第一次测试提交"git push origin master # 推送到 Github

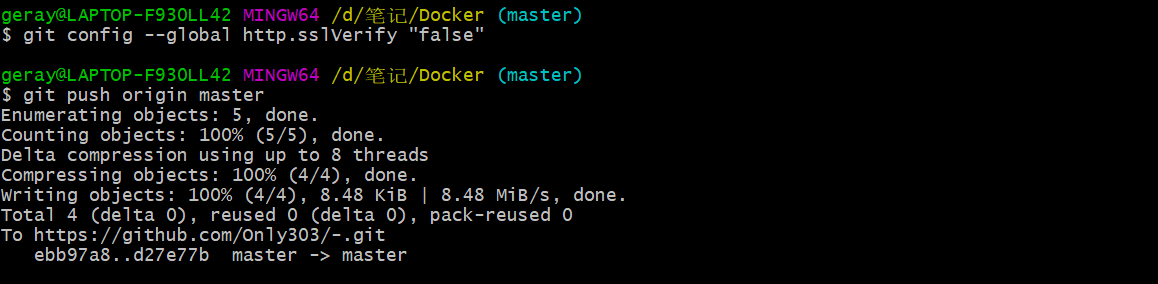
fatal: unable to access ‘https://github.com/…….’: OpenSSL SSL_read: Connection was reset, errno 10054 产生原因:一般是这是因为服务器的SSL证书没有经过第三方机构的签署,所以才报错 参考网上解决办法:解除ssl验证后,再次git即可
git config --global http.sslVerify "false"git push origin master
8、删除远程仓库
git remote -v # 查看远程仓库别名git remote rm [别名]# 例如删除origingit remote rm origin
9、删除远程仓库的文件(重新创建)
git pull origin master # 将远程仓库里面的项目拉下来dir # 查看有哪些文件夹# 查看暂存区内容git ls-files# 删除git rm -rf *# 删除你要删除的文件名称,这里是删除target文件夹(cached不会把本地的flashview文件夹删除)git rm -r --cached targetgit commit -m '删除了target' # 提交,添加操作说明#重新提交(若需要对其他分支进行操作,则把master换为对应分支,如:git push -u origin dev)git push -u origin master
10、创建分支
# 1. 克隆git clone url# 2. 查看当前连接情况git remote -v# 3. 建立连接git remote add <短名称> <url># 4. 创建分支git checkout -b pr-branch # 创建pr-branch分支并切换到新分支# 或者git checkout -b work master(其中work为你新建的特性分支,master为你当前坐在的分支)创建新的特性分支并自动切换# 5. 查看当前分支git branch# 6. 新建、修改文件# 7. 提交到暂存区git add <文件># 8. 提交到本地库git commint -m "添加/修改了xxx文件"# 9. 提交到远程仓库( master 换成你想要推送的任何分支)git push origin master# 10. 若还没有克隆现有仓库,并欲将你的仓库连接到某个远程服务器git remote add origin <server>

若有收获,就点个赞吧
0 人点赞
