2.1 Spring Session简介
Spring Session 是Spring家族中的一个子项目,它提供一组API和实现,用于管理用户的session信息
它把servlet容器实现的httpSession替换为spring-session,专注于解决 session管理问题,Session信息存储在Redis中,可简单快速且无缝的集成到我们的应用中;
官网:https://spring.io/ 
Spring Session的特性
- 提供用户session管理的API和实现
- 提供HttpSession,以中立的方式取代web容器的session,比如tomcat中的session
- 支持集群的session处理,不必绑定到具体的web容器去解决集群下的session共享问题
2.2 入门案例
2.2.1 环境配置
1)创建一个空的Maven project,名字及路径根据自己的情况定。
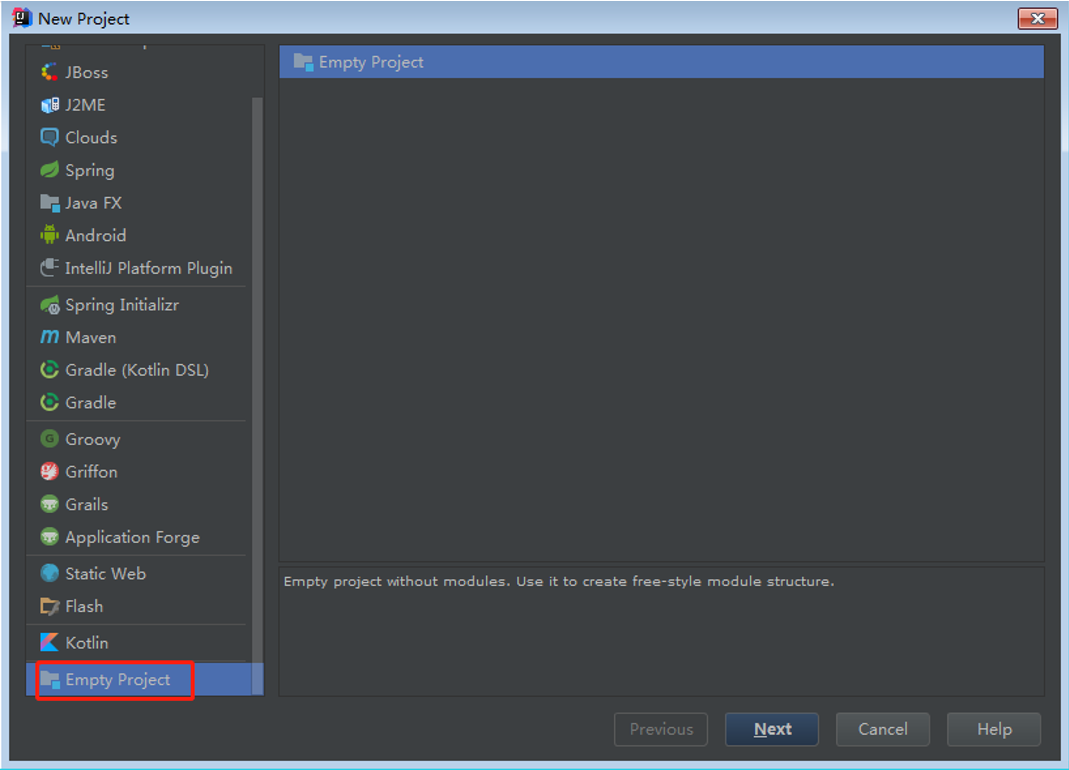
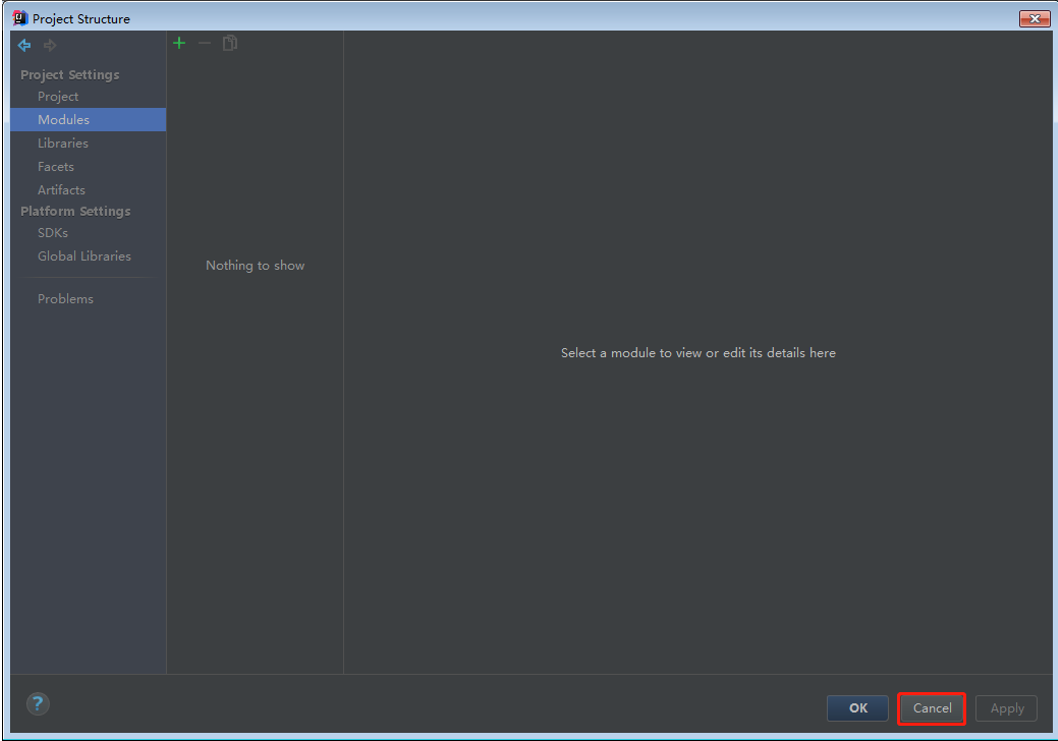
2)空project创建好后,会提示创建模块,我们暂时先取消
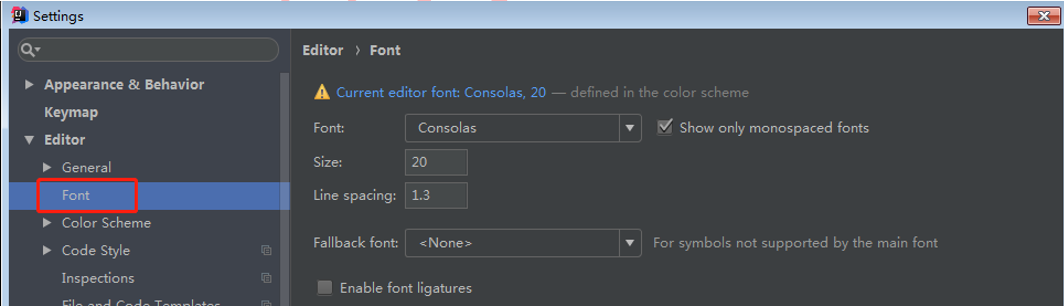
3)设置字体
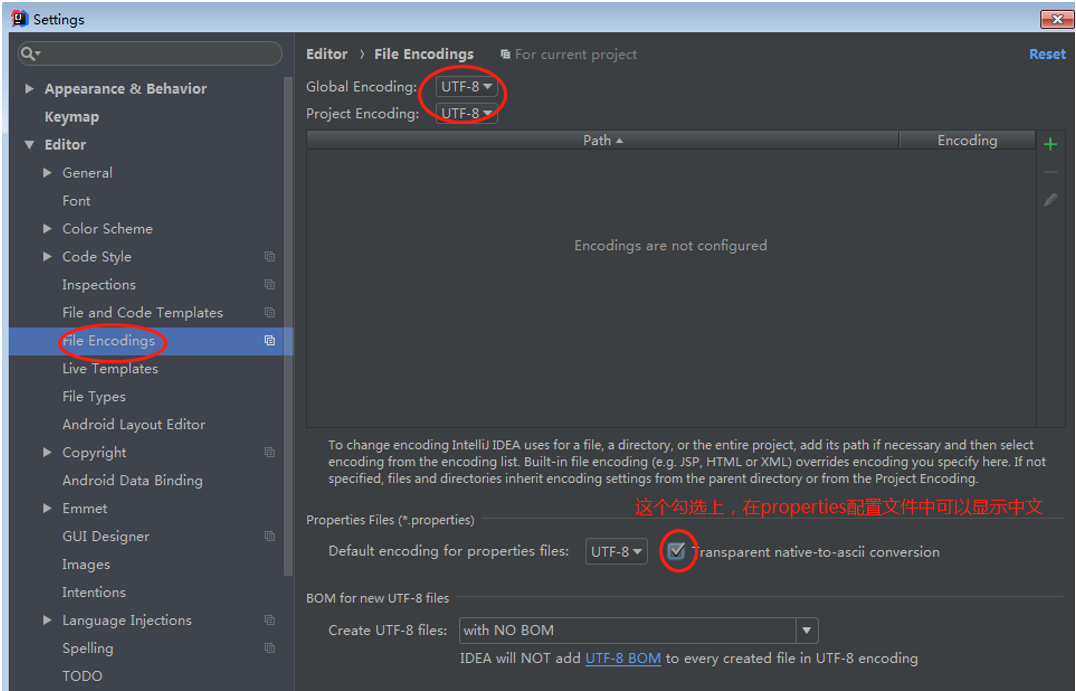
4)设置编码方式
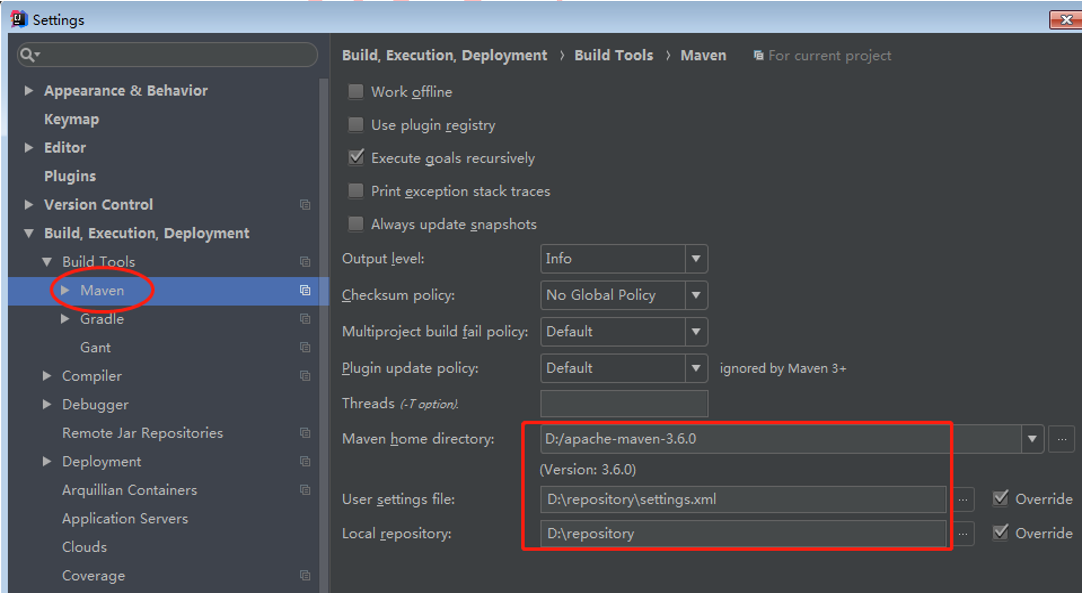
5)设置maven信息
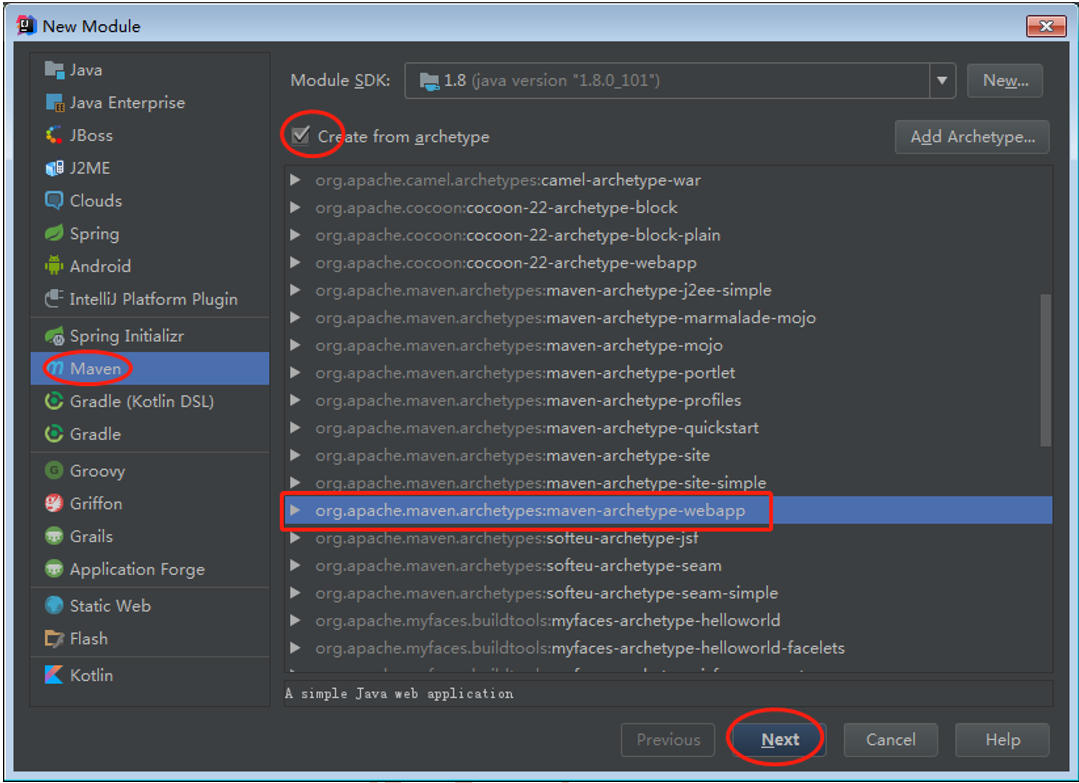
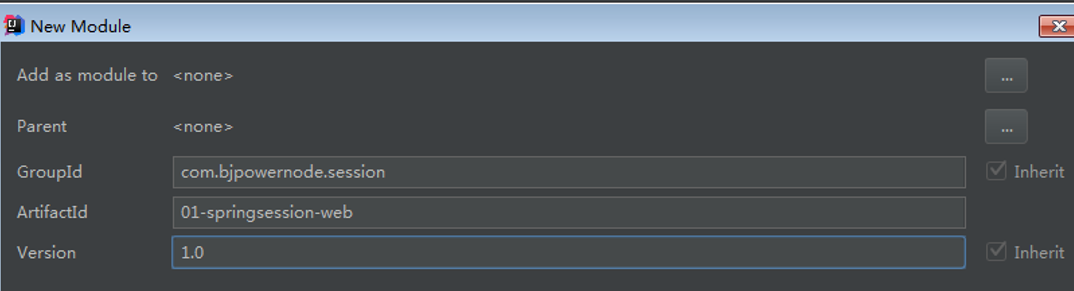
6)创建一个Maven的web module,名字为01-springsession-web
7)完善Maven项目的结构
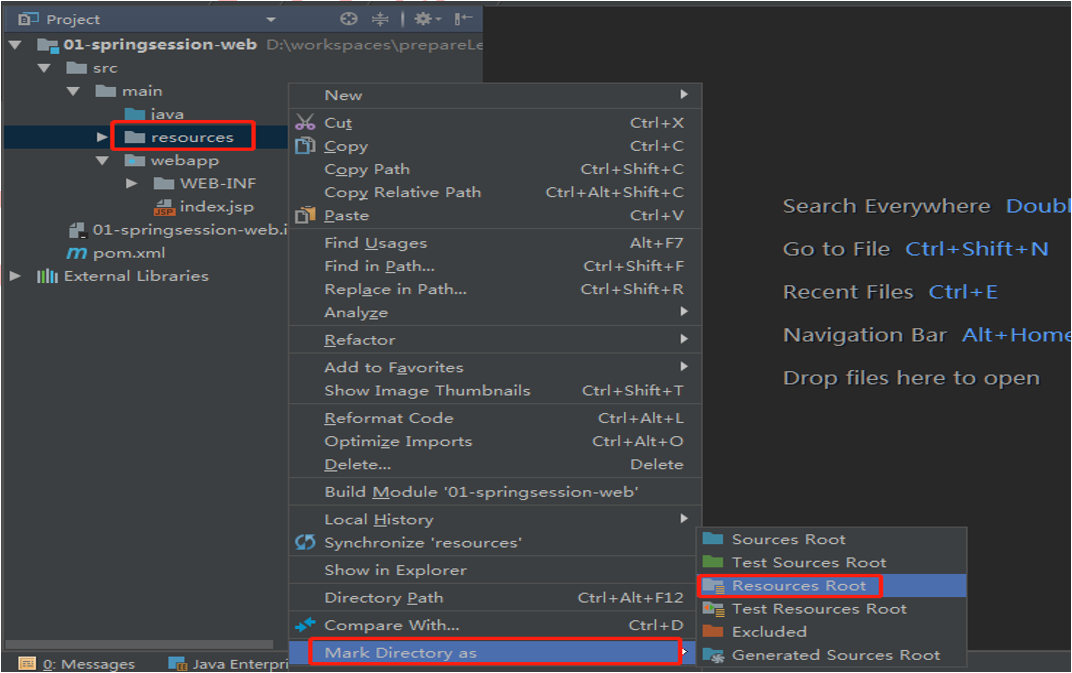
A、在main目录下,创建java目录,并标记为Sources Root

B、在main目录下,创建resources目录,并标记为Resources Root
2.2.2 代码开发
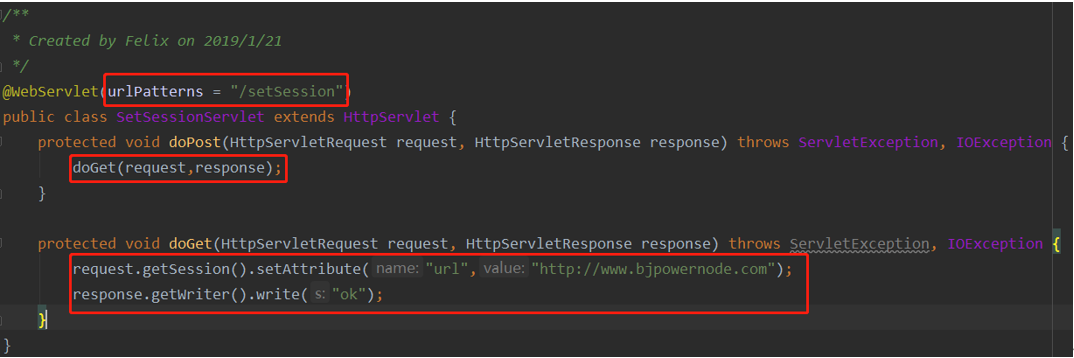
1)创建向session放数据的servlet
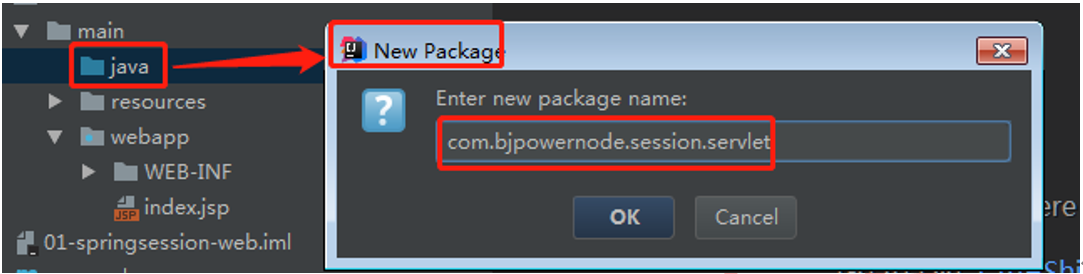
- 在java目录下创建包com.bjpowernode.session.servlet包
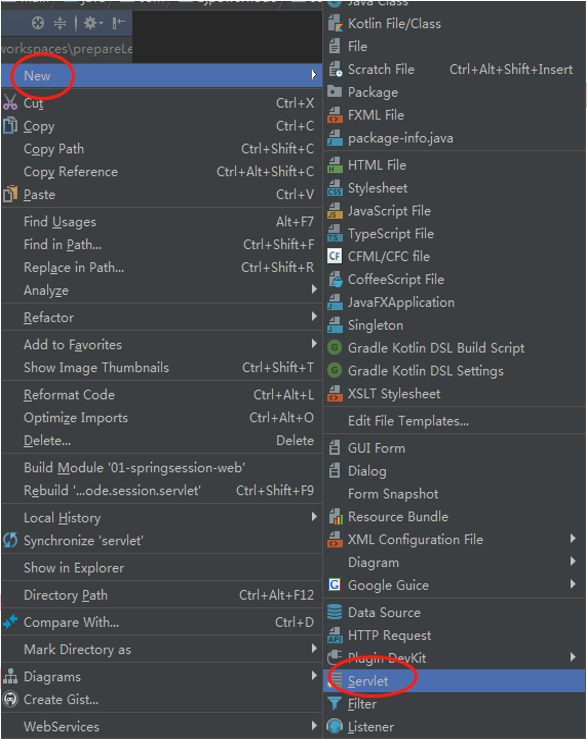
- 在servlet包下创建SetSessionServlet
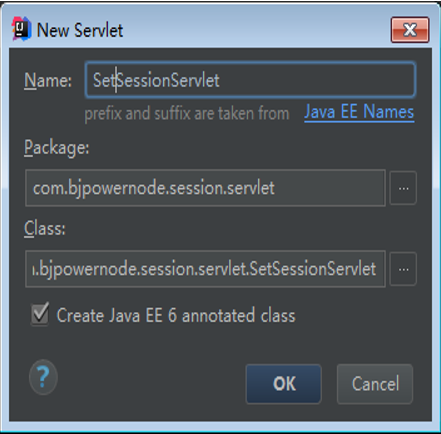
- 在Servlet中通过注解指定urlPatterns,并编写代码
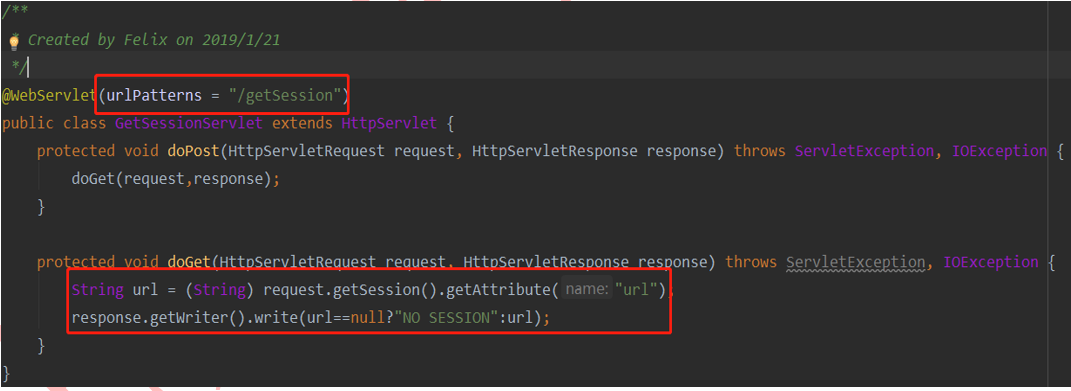
2)创建从session拿数据的servlet
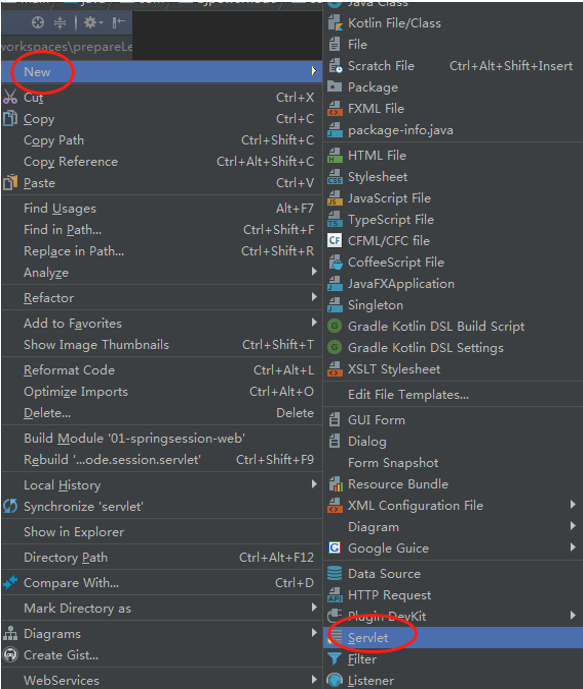
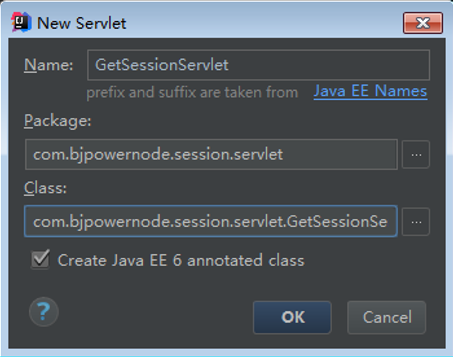
- 在servlet包下创建GetSessionServlet
- 在Servlet中通过注解指定urlPatterns,并编写代码
3)向pom.xml文件中添加servlet及jsp的配置
<dependencies><!-- servlet依赖的jar包start --><dependency><groupId>javax.servlet</groupId><artifactId>javax.servlet-api</artifactId><version>3.1.0</version></dependency><!-- servlet依赖的jar包start --><!-- jsp依赖jar包start --><dependency><groupId>javax.servlet.jsp</groupId><artifactId>javax.servlet.jsp-api</artifactId><version>2.3.1</version></dependency><!-- jsp依赖jar包end --><!--jstl标签依赖的jar包start --><dependency><groupId>javax.servlet</groupId><artifactId>jstl</artifactId><version>1.2</version></dependency><!--jstl标签依赖的jar包end --></dependencies>
5)部署访问测试(目前无法实现session共享)
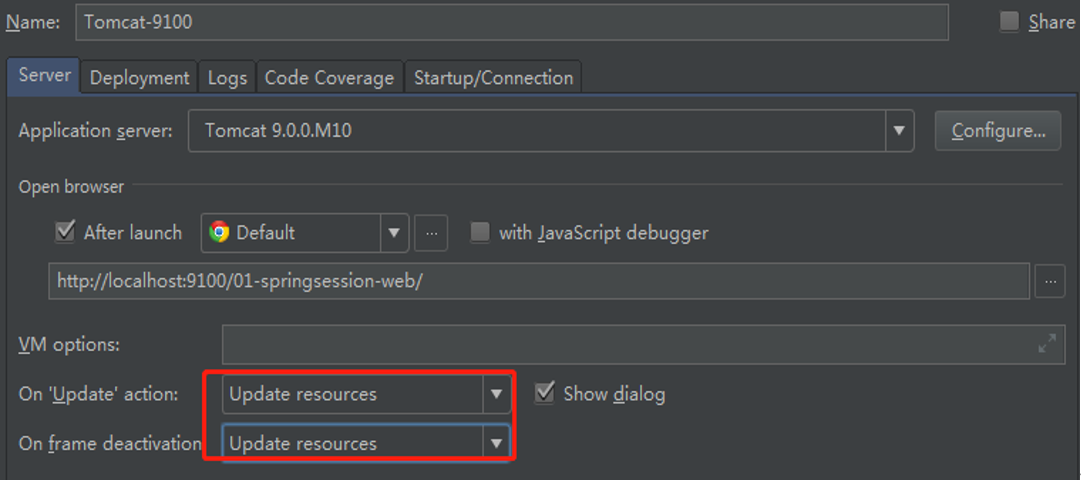
A、配置tomcat9100服务器
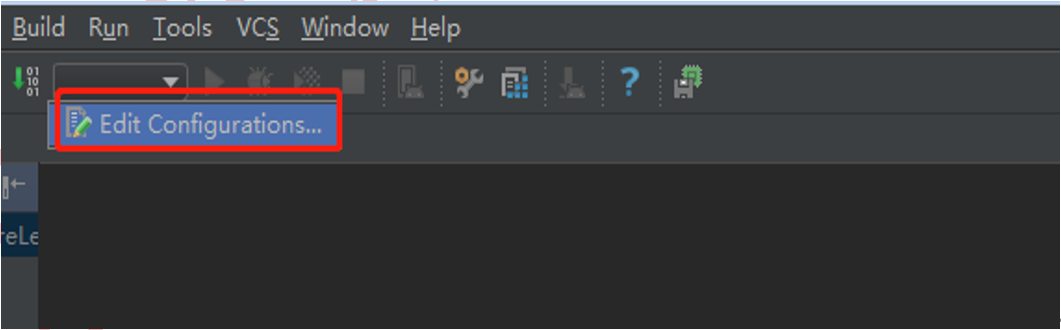
- 打开Edit Configurations选项
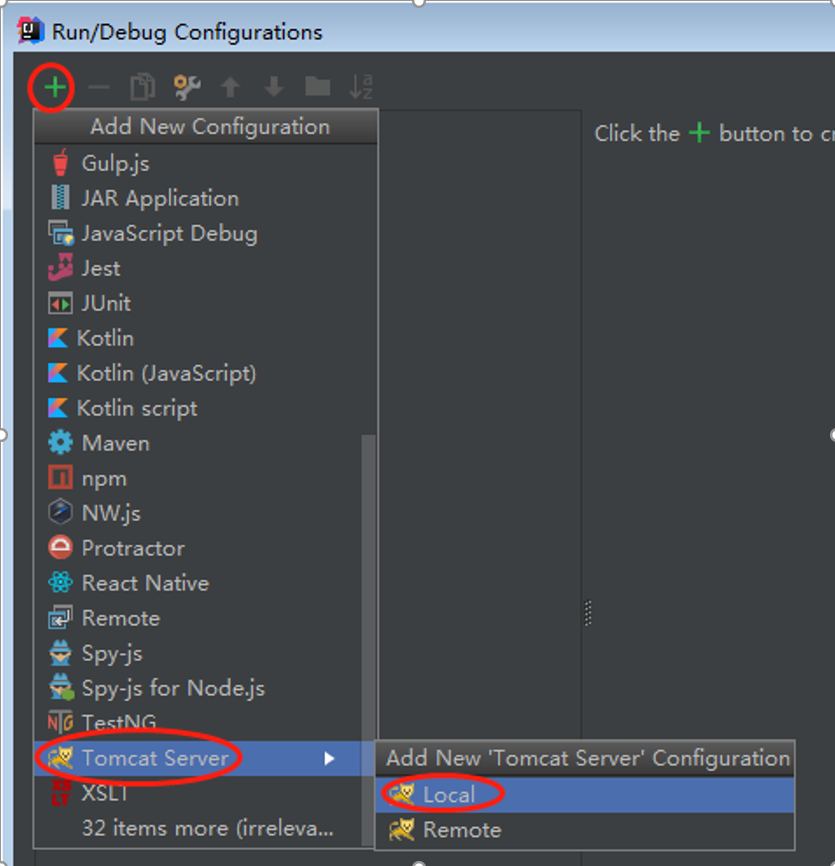
- 添加tomcat配置
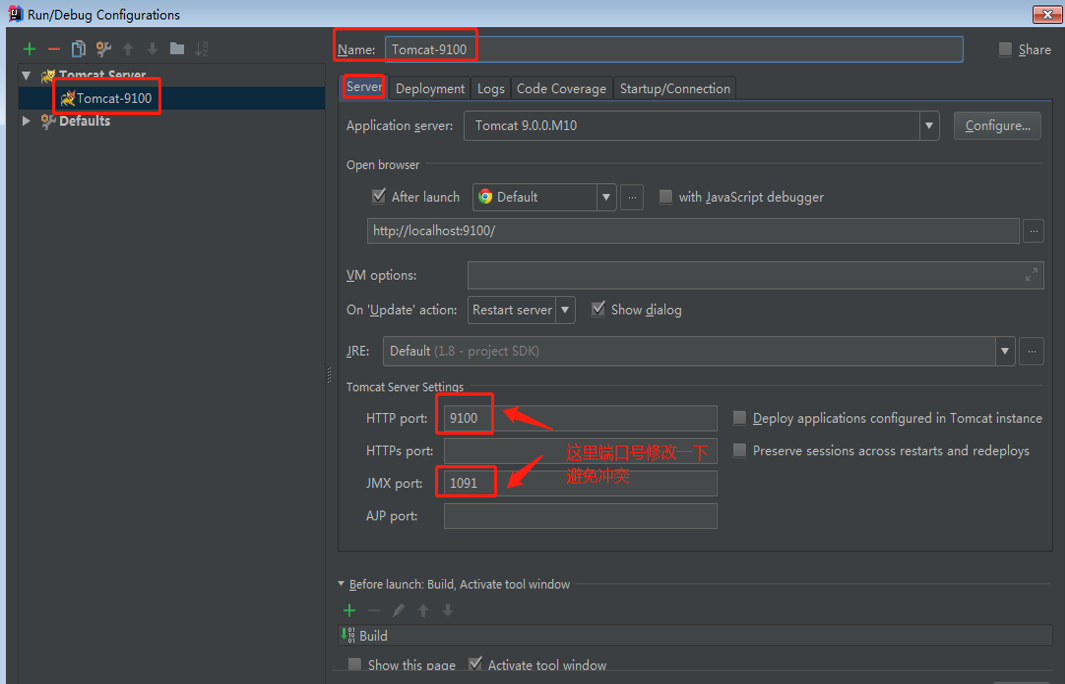
- 给tomcat服务器取名,并修改端口号
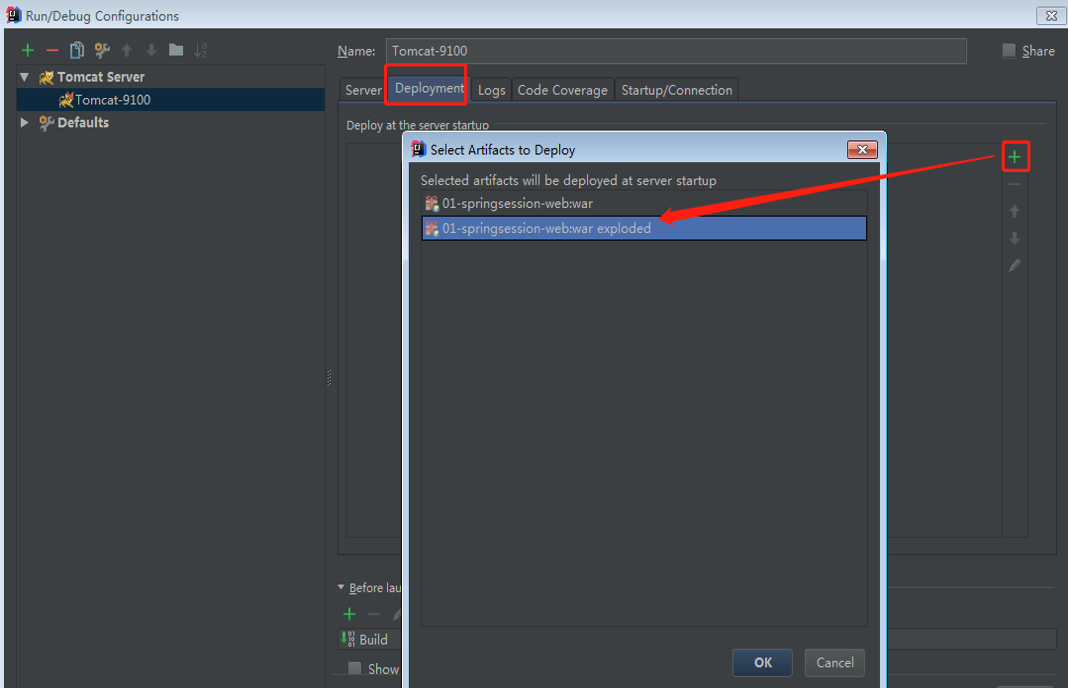
- 将项目部署到tomcat9100上
- 指定项目的上下文根为/01-springsession-web

- 为了实现热部署,在Server选项卡中,配置以下两个选项
B、配置tomcat9200服务器
操作步骤同配置tomcat9100,配完之后在Application Servers窗口中如下
2.2.3 SpringSession集成配置
1)在pom.xml文件中,添加Spring Session相关的依赖
<!-- Spring session redis 依赖start -->
<dependency>
  <groupId>org.springframework.session</groupId>
  <artifactId>spring-session-data-redis</artifactId>
  <version>1.3.1.RELEASE</version>
</dependency>
<!-- Spring session redis 依赖end -->
<!-- spring web模块依赖 start -->
<dependency>
  <groupId>org.springframework</groupId>
  <artifactId>spring-web</artifactId>
  <version>4.3.16.RELEASE</version>
</dependency>
<!-- spring web模块依赖end -->
2)在web.xml文件中配置springSessionRepositoryFilter过滤器
<filter>
    <filter-name>springSessionRepositoryFilter</filter-name>
<filter-class>org.springframework.web.filter.DelegatingFilterProxy</filter-class>
</filter>
<filter-mapping>
    <filter-name>springSessionRepositoryFilter</filter-name>
    <url-pattern>/*</url-pattern>
</filter-mapping>
3)在web.xml文件中加载Spring配置文件
<context-param>
    <param-name>contextConfigLocation</param-name>
    <param-value>classpath:applicationContext.xml</param-value>
</context-param>
<listener>
  <listener-class>org.springframework.web.context.ContextLoaderListener</listener-class>
</listener>
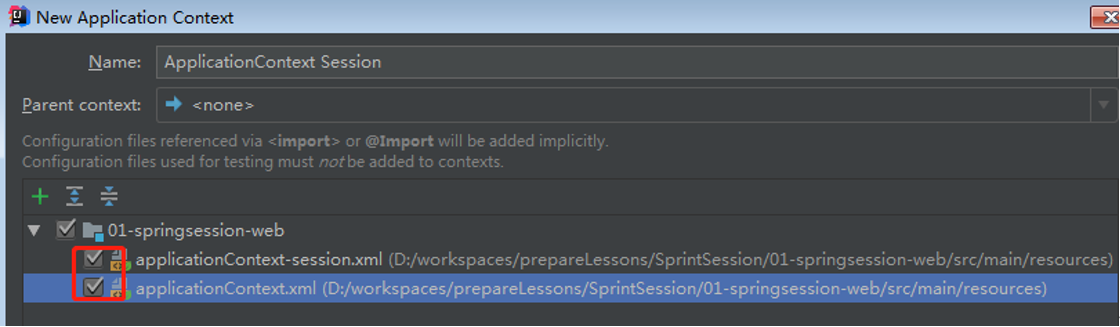
4)创建applicationContext-session.xml
A、配置一个RedisHttpSessionConfiguration类
<!-- spring注解、bean的处理器 -->
<context:annotation-config/>

<!-- Spring session 的配置类 -->
<bean class="org.springframework.session.data.redis.config.annotation.web.http.RedisHttpSessionConfiguration"/>
B、配置Spring-data-redis
<!-- 配置jedis连接工厂,用于连接redis -->
<bean id="jedisConnectionFactory" class="org.springframework.data.redis.connection.jedis.JedisConnectionFactory">
    <property name="hostName" value="${redis.hostName}"/>
    <property name="port" value="${redis.port}"/>
    <property name="password" value="${redis.password}"/>
    <property name="usePool" value="${redis.usePool}"/>
    <property name="timeout" value="${redis.timeout}"/>
</bean>

<!--读取redis.properties属性配置文件-->
<context:property-placeholder location="classpath:redis.properties"/>
5)配置redis.properties文件
redis.hostName=192.168.235.128
redis.port=6379
redis.password=123456
redis.usePool=true
redis.timeout=15000
6)在applicationContext.xml中导入applicationContext-session.xml


2.2.4 部署测试
1)思路
为了演示session的共享,我们这里配置两个tomcat服务器,端口号分别为9100和9200,将我们上面创建好的项目分别部署到这两台服务器上。一台服务器执行放session,另一台服务器执行取session的操作
2)启动Linux上的redis服务器
3)启动两台tomcat服务器
- 在浏览器中访问tomcat9100服务器的setSession

- 在浏览器中访问tomcat9200服务器的getSession

4)分析
tomcat9200服务器上的项目可以访问tomcat9100上的session,说明session共享成功
5)进一步验证
打开Resis客户端工具(RedisDesktopManager),查看Redis里面的session数据
其实标准的redis的key格式就是用冒号分割,客户端工具会以目录的形式展示

若有收获,就点个赞吧
0 人点赞
