准备工作
查看
rpm -qa | grep -i mysql
卸载
rpm -ev 文件名
卸载
yum -y remove MySQL-*
查看残余文件夹
find / -name mysql
卸载
rm -rf 路径
删除配置文件和密码文件
rm -rf /etc/my.cnf
rm -rf /root/.mysql_sercret
安装
配置安装源
rpm -Uvh https://dev.mysql.com/get/mysql80-community-release-el7-3.noarch.rpm
安装
sudo yum —enablerepo=mysql80-community install mysql-community-server
命令
关闭
systemctl stop mysqld
开启
systemctl start mysqld
查看状态
systemctl status mysqld
重启
systemctl restart mysqld
配置
查看临时密码
grep “A temporary password” /var/log/mysqld.log
登陆
修改密码
usemysql
select user,host from user;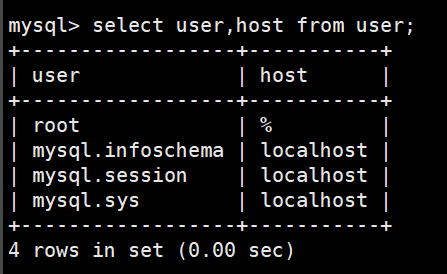
根据root那个的host来输入
- ALTER USER ‘root’@’localhost’ IDENTIFIED BY ‘Pwd’;
- ALTER USER ‘root’@’%’ IDENTIFIED BY ‘Pwd’;
允许远程访问
update user set host=’%’ where user=’root’
grant all privileges on . to ‘root’@’%’ ;
flush privileges;查看编码字符集
show variables like ‘%char%’;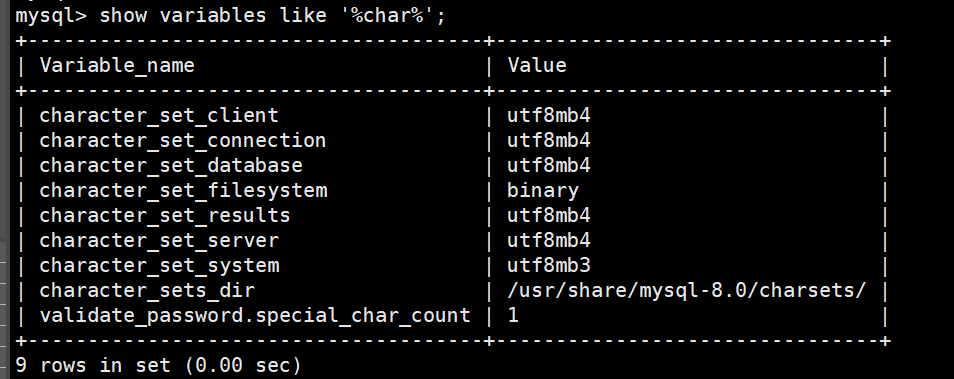
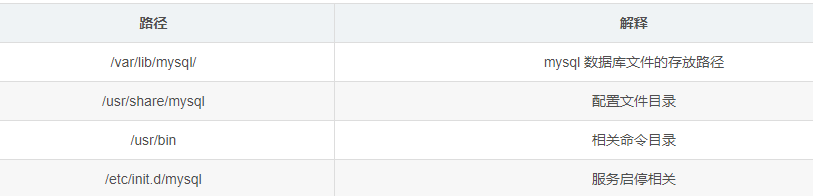
目录含义
查看引擎
show engines;
show variables like ‘%storage_engine%’;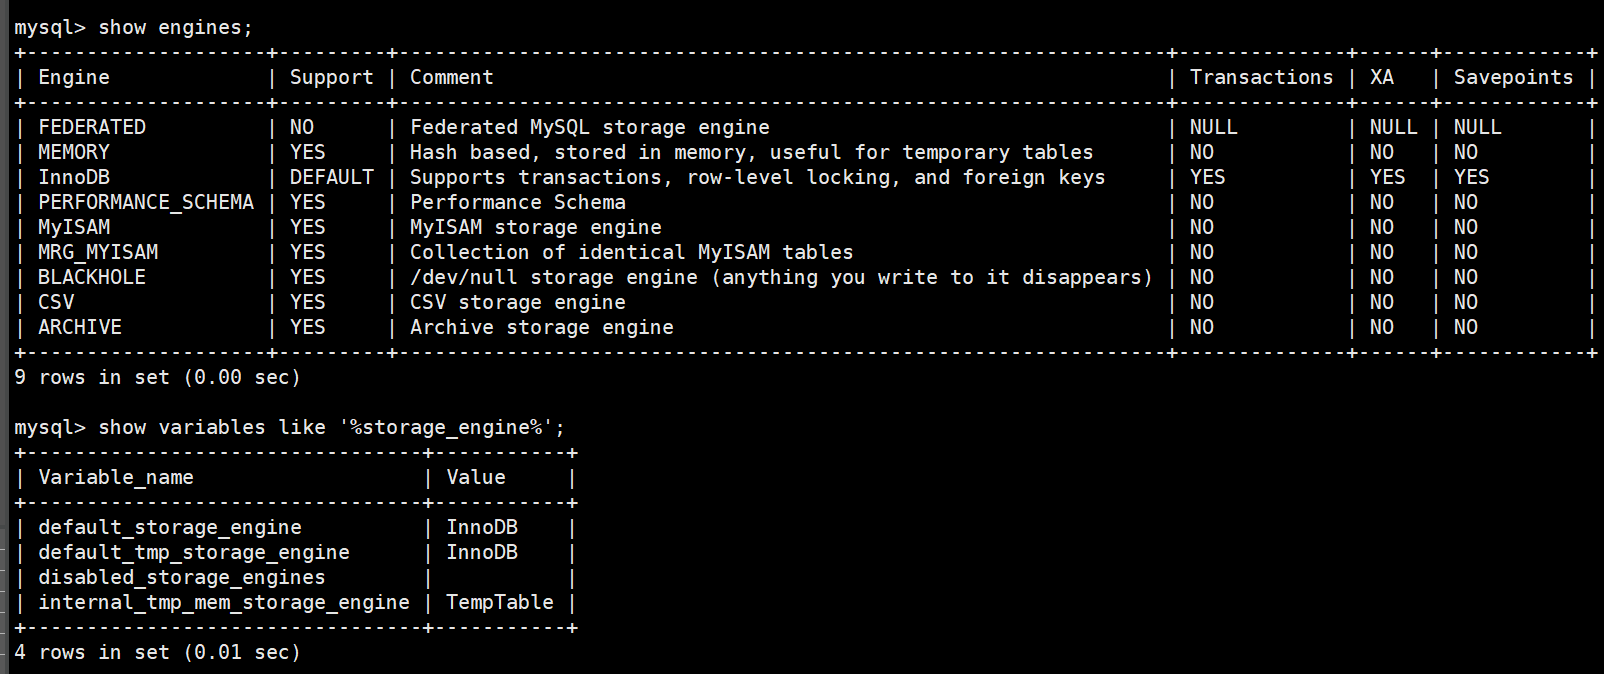
防火墙
关闭firewalld
systemctl stop firewalld.service;
systemctl disable firewalld.service;
systemctl mask firewalld.service;
开启iptables
yum -y install iptables-services
systemctl enable iptables;
systemctl start iptables;
vim /etc/sysconfig/iptables 命令编辑防火墙,添加端口
systemctl restart iptables.service 命令重启防火墙使配置生效-A INPUT -m state --state NEW -m tcp -p tcp --dport 80 -j ACCEPT-A INPUT -m state --state NEW -m tcp -p tcp --dport 3306 -j ACCEPT-A INPUT -m state --state NEW -m tcp -p tcp --dport 443 -j ACCEPT-A INPUT -m state --state NEW -m tcp -p tcp --dport 8080 -j ACCEPT-A INPUT -m state --state NEW -m tcp -p tcp --dport 8090 -j ACCEPT
systemctl enable iptables.service 命令设置防火墙开机启动开启启动mysql
systemctl enable mysqld;

若有收获,就点个赞吧
0 人点赞
