使用配置中心原因
单体应用,配置写在配置文件中,没有什么大问题。如果要切换环境 可以切换不同的profile(2种方式),但在微服务中:
- 微服务比较多。成百上千,配置很多,需要集中管理。
- 管理不同环境的配置。
-
配置中心介绍
分布式配置中心包括3个部分:
1. 存放配置的地方:git ,本地文件 等。
2. config server。从 1 读取配置。
3. config client。是 config server 的客户端 消费配置。Spring cloud Admin Server
<dependencies><dependency><groupId>org.springframework.cloud</groupId><artifactId>spring-cloud-config-server</artifactId><version>${spring-cloud.version}</version></dependency><dependency><groupId>org.springframework.cloud</groupId><artifactId>spring-cloud-starter-netflix-eureka-client</artifactId><version>${spring-cloud.version}</version><exclusions><exclusion><groupId>com.google.code.gson</groupId><artifactId>gson</artifactId></exclusion></exclusions></dependency><dependency><groupId>com.google.code.gson</groupId><artifactId>gson</artifactId><version>2.8.6</version></dependency></dependencies>
注意:版本问题,报The following method did not exist:com.google.gson.GsonBuilder.setLenient()。json依赖太低,重新导入高版本的依赖即可。 ```yaml spring: cloud: config: server:
git:
  uri: https://github.com/KuroTL/configs-center.git # git 仓库
label: main # 注意,新版git主分支是main application: name: config-center eureka: client: service-url: defaultZone: http://ixiaoyu:ixiaoyu2@127.0.0.1:7000/eureka server: port: 70 logging: level: org.springframework.cloud: DEBUG # debug 日志级别
```java
@SpringBootApplication
@EnableConfigServer
public class ConfigCenterApplication {
    public static void main(String[] args) {
        SpringApplication.run(ConfigCenterApplication.class, args);
    }
}
通过http请求配置中心:http://localhost:70/main/consumer.yml,可获取到配置文件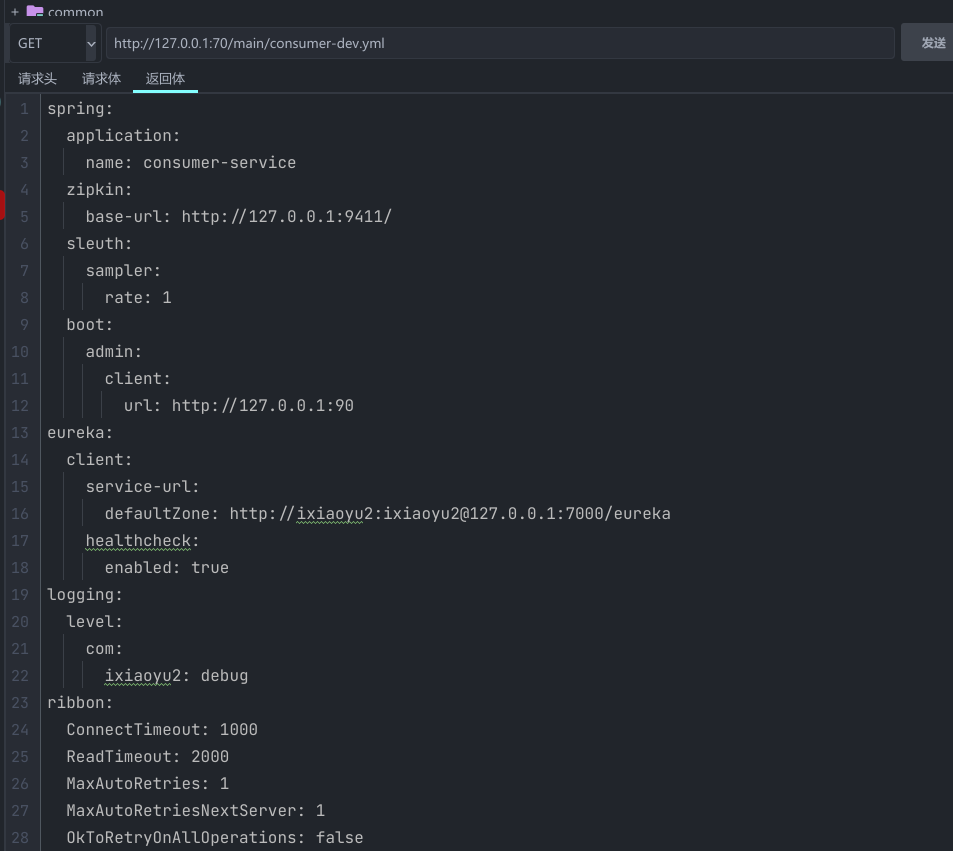
配置文件匹配规则
获取配置规则:根据前缀匹配
/{name}-{profiles}.properties
/{name}-{profiles}.yml
/{name}-{profiles}.json
/{label}/{name}-{profiles}.yml

name 服务名称
profile 环境名称,开发、测试、生产:dev qa prd
lable 仓库分支、默认master分支

匹配原则:从前缀开始。
客户端获取配置中心配置
本地配置改为bootstrap配置文件,统一的配置信息部署到配置中心
<dependency>
  <groupId>org.springframework.cloud</groupId>
  <artifactId>spring-cloud-config-client</artifactId>
</dependency>
修改配置文件为bootstrap文件
server:
  port: 8081
spring:
  cloud:
    config:
      uri: http://127.0.0.1:70/  # 通过URL查找配置中心
      discovery:
        enabled: true
        service-id: config-center  # 通过eureka注册中心查找
      profile: dev  # 对应 环境
      label: main # 对应github 分支
      name: consumer  # 对应配置文件的名称

spring:
  application:
    name: consumer-service
  zipkin:
    base-url: http://127.0.0.1:9411/
  sleuth:
    sampler:
      rate: 1
  boot:
    admin:
      client:
        url: http://127.0.0.1:90

eureka:
  client:
    service-url:
      defaultZone: http://ixiaoyu2:ixiaoyu2@127.0.0.1:7000/eureka
    healthcheck:
      enabled: true


logging:
  level:
    com.ixiaoyu2: debug

ribbon:
  # 连接超时时间(ms)
  ConnectTimeout: 1000
  # 业务逻辑超时时间(ms)
  ReadTimeout: 2000
  # 同一台实例最大重试次数,不包括首次调用
  MaxAutoRetries: 1
  # 重试负载均衡其他的实例最大重试次数,不包括首次调用
  MaxAutoRetriesNextServer: 1
  # 是否所有操作都重试
  OkToRetryOnAllOperations: false

feign:
  hystrix:
    enabled: true


management:
  endpoints:
    web:
      exposure:
        include: '*'
  endpoint:
    health:
      show-details: always
hystrix:
  dashboard:
    proxy-stream-allow-list: localhost
  command:
    default:
      execution:
        isolution:
          # 隔离策略,默认是Thread, 可选Thread|Semaphore
          # thread 通过线程数量来限制并发请求数,可以提供额外的保护,但有一定的延迟。一般用于网络调用
          # semaphore 通过semaphore count来限制并发请求数,适用于无网络的高并发请求
          strategy: SEMAPHORE
刷新配置
手动刷新配置
- 开启actuator中的refresh端点
- Controller中添加@RefreshScope注解
- 向客户端 url:http://localhost:8081/actuator/refresh发送Post请求
自动刷新
使用消息队列(消息队列需要符合AMQP协议(RabbitMQ,Kafka)。要进入消息总线的服务添加以下依赖和配置。
```yaml<dependency> <groupId>org.springframework.cloud</groupId> <artifactId>spring-cloud-starter-bus-amqp</artifactId> <version>3.0.0</version> </dependency>
spring: rabbitmq: host: localhost port: 5672 username: guest password: guest management: endpoints: web: exposure: include: ‘*’
```
使用:http://127.0.0.1:70/actuator/busrefresh 向刷新配置,所有添加在消息总线的服务都会进行配置刷新。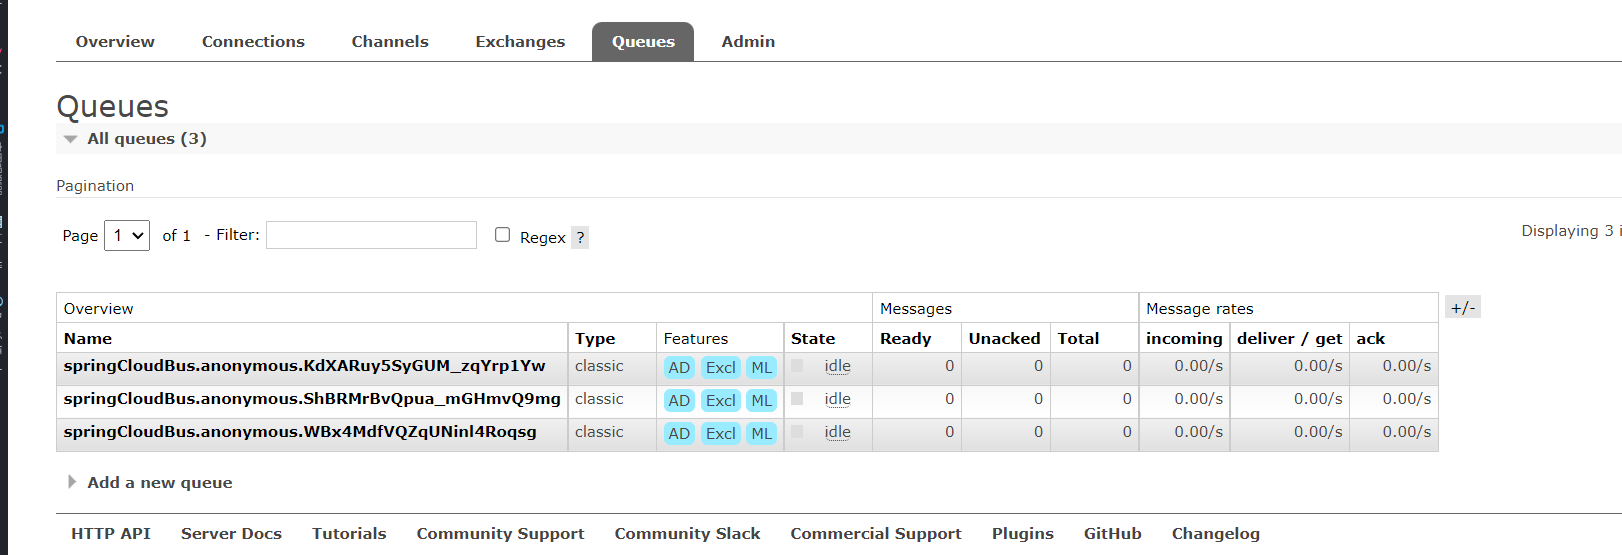
使用

若有收获,就点个赞吧
0 人点赞
