背景
业务开发都使用Tomcat作为web容器。但是对Tomcat的研究却比较少。
获取源代码
获取源代码的方式有两种
- 官网下载
- Github 获取
我更推荐Github,从官网一次只能下载其中某一个版本,而Git可以非常方便的切换
Git地址
git@github.com:apache/tomcat.git
官网下载
https://tomcat.apache.org/download-80.cgi
配置
由于Tomcat是采取ant进行build的,这个方式在我们这里是不可行的. 经过网上抄袭,可以采取pom.xml的maven配置的方式来进行管理.
<?xml version="1.0" encoding="UTF-8"?><project xmlns="http://maven.apache.org/POM/4.0.0" xmlns:xsi="http://www.w3.org/2001/XMLSchema-instance"xsi:schemaLocation="http://maven.apache.org/POM/4.0.0 http://maven.apache.org/xsd/maven-4.0.0.xsd"><modelVersion>4.0.0</modelVersion><groupId>org.apache</groupId><artifactId>tomcat</artifactId><name>apache-tomcat-8.5.57</name><version>8.5.57</version><build><finalName>Tomcat-8.5.57</finalName><sourceDirectory>java</sourceDirectory><testSourceDirectory>test</testSourceDirectory><resources><resource><directory>java</directory></resource></resources><testResources><testResource><directory>test</directory></testResource></testResources><plugins><plugin><groupId>org.apache.maven.plugins</groupId><artifactId>maven-compiler-plugin</artifactId><version>3.5.1</version><configuration><encoding>UTF-8</encoding><source>1.8</source><target>1.8</target></configuration></plugin></plugins></build><dependencies><dependency><groupId>junit</groupId><artifactId>junit</artifactId><version>4.12</version><scope>test</scope></dependency><dependency><groupId>org.easymock</groupId><artifactId>easymock</artifactId><version>3.4</version><scope>test</scope></dependency><dependency><groupId>org.apache.ant</groupId><artifactId>ant</artifactId><version>1.10.0</version></dependency><dependency><groupId>wsdl4j</groupId><artifactId>wsdl4j</artifactId><version>1.6.2</version></dependency><dependency><groupId>javax.xml</groupId><artifactId>jaxrpc</artifactId><version>1.1</version></dependency><dependency><groupId>org.eclipse.jdt.core.compiler</groupId><artifactId>ecj</artifactId><version>4.6.1</version></dependency><!-- https://mvnrepository.com/artifact/org.glassfish/javax.xml.rpc --><dependency><groupId>org.glassfish</groupId><artifactId>javax.xml.rpc</artifactId><version>3.0.1-b03</version></dependency></dependencies></project>
获取到代码以后,可以 git checkout 8.5.57 这个版本。
启动Tomcat
由于我本地默认使用的JDK 11, 这里我中途切换成了JDK8
根据启动报错删除 TestCookieFilter.java
根据JSP报错配置如下代码 1209行
context.addServletContainerInitializer(new JasperInitializer(), null);
8080端口是日常被占用端口,再额外配置Tomcat启动端口 conf/server.xml 8080 端口变更为 8082
配置变量
- catalina.home
- catalina.base
/Users/chenshun/open/tomcat Git clone下来的代码地址
-Dcatalina.home=/Users/chenshun/open/tomcat-Dcatalina.base=/Users/chenshun/open/tomcat-Djava.endorsed.dirs=/Users/chenshun/open/tomcat/endorsed-Djava.io.tmpdir=/Users/chenshun/open/tomcat/temp-Djava.util.logging.manager=org.apache.juli.ClassLoaderLogManager-Djava.util.logging.config.file=/Users/chenshun/open/tomcat/conf/logging.properties-Duser.language=en-Duser.region=US

回想
回想大二开始捣鼓Tomcat的时候,用了几天的时间都没有搞清楚那些配置,各种端口被占用导致启动不起来,各种改配置,导致Tomcat魔改的乱七八糟的,那个时候的Eclipse也是没有Tomcat插件的,不知道有没有,反正不知道。
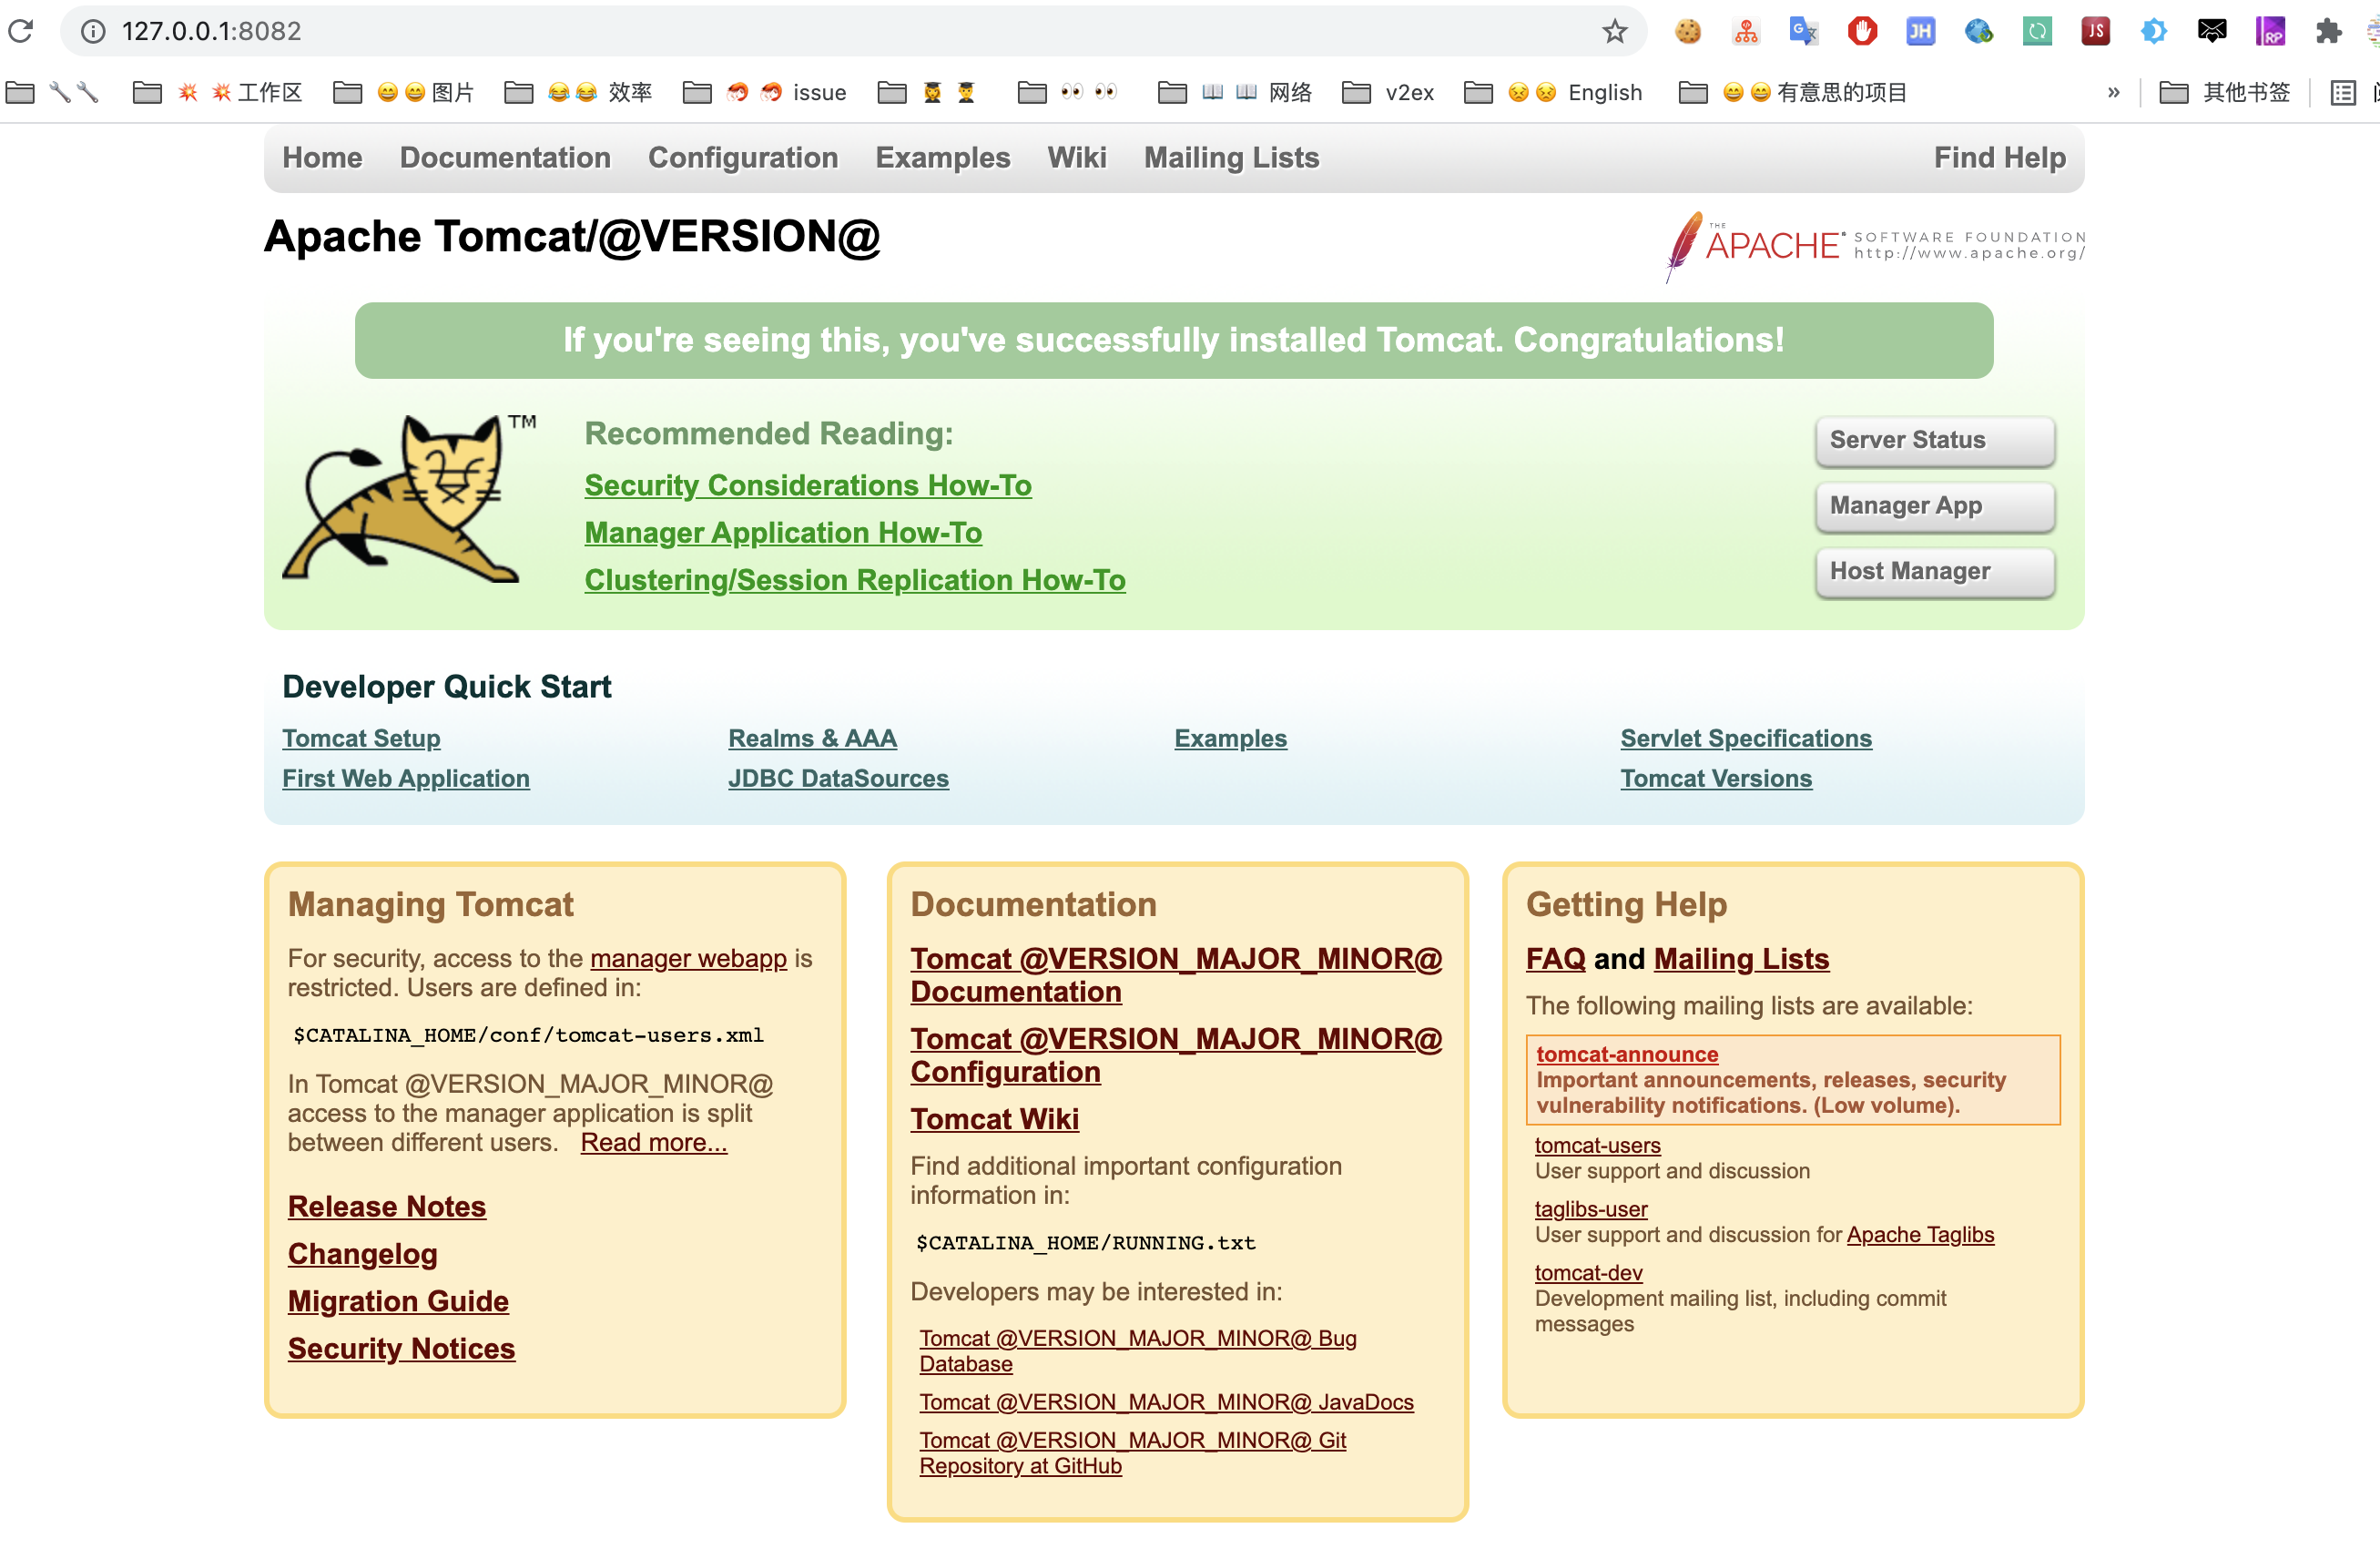
如今只有了20多分钟就把Tomcat从源代码跑起来了,回顾真的挺有意思的。
不过也有一个可惜的点,那个时候没有一个好的文档来记录博客,一些有意思的经历从此丢失了,就算记得也只是一些支离破碎的部分。不过把现在的经历作为流水记录也是有意思的一个东西。 :)

