背景
Tomcat下使用JSP作为监控手段可以非常简单的处理. 而在SpringBoot下支持的不是蛮好了,也是需要我们手动进行支持,还是使用JSP去监控SpringBoot的运行.
目标
写一个兼容SpringBoot可以访问JSP的starter. 这些JSP是作为监控手段使用,基本上不会再发生变化,非常稳定. 而SpringBoot 1.x 和 SpringBoot 2.x 的版本变化很大,最为明显的就是SpringBoot 1.x中的一些类在SpringBoot 2.x中已经变更类package. 为了减少频繁变更jar包,一个兼容 SpringBoot1和SpringBoot2的jar包还挺好的。
行动
工欲善其事,必先利其器,
Q: 我们要做什么
A: SpringBoot支持访问JSP,且对业务方无感觉
Q: Tomcat是如何找到JSP的,如何处理JSP的
A: 不知道如何找到的,将jsp编译成class文件,使用jspClassloader单独加载使用. 处理jsp部分交给tomcat的DefaultServlet进行处理
Tomcat是怎么找到JSP的
已经知道了JSP是被DefaultServlet处理的
 综上所述聚焦于WebResourceRoot是如何查找到JSP文件的。沿着这里继续深入可以看到如下结果,过程不再赘述(不同的Tomcat版本可能会有小小的改变)
 查找源代码如下
 getResourceInternal()
private final List<List<WebResourceSet>> allResources = new ArrayList<>();protected final WebResource getResourceInternal(String path,boolean useClassLoaderResources) {WebResource result = null;WebResource virtual = null;WebResource mainEmpty = null;//遍历for (List<WebResourceSet> list : allResources) {for (WebResourceSet webResourceSet : list) {if (!useClassLoaderResources && !webResourceSet.getClassLoaderOnly() ||useClassLoaderResources && !webResourceSet.getStaticOnly()) {result = webResourceSet.getResource(path);if (result.exists()) {return result;}if (virtual == null) {if (result.isVirtual()) {virtual = result;} else if (main.equals(webResourceSet)) {mainEmpty = result;}}}}}// Use the first virtual result if no real result was foundif (virtual != null) {return virtual;}// Default is empty resource in main resourcesreturn mainEmpty;}
如此看来,只要将JSP写入到allResources中去即可. 
如何注入JSP到指定地点
经过多方打探,终于找到地址,原来是 StandardRoot#createWebResourceSet 中有一个资源插入的过程.
@Overridepublic void createWebResourceSet(ResourceSetType type, String webAppMount,URL url, String internalPath) {BaseLocation baseLocation = new BaseLocation(url);//引用的这里createWebResourceSet(type, webAppMount, baseLocation.getBasePath(),baseLocation.getArchivePath(), internalPath);}//实际执行@Overridepublic void createWebResourceSet(ResourceSetType type, String webAppMount,String base, String archivePath, String internalPath) {List<WebResourceSet> resourceList;WebResourceSet resourceSet;switch (type) {case PRE:resourceList = preResources;break;case CLASSES_JAR:resourceList = classResources;break;case RESOURCE_JAR:resourceList = jarResources;break;case POST:resourceList = postResources;break;default:throw new IllegalArgumentException(sm.getString("standardRoot.createUnknownType", type));}// This implementation assumes that the base for all resources will be a// file.File file = new File(base);if (file.isFile()) {if (archivePath != null) {// Must be a JAR nested inside a WAR if archivePath is non-nullresourceSet = new JarWarResourceSet(this, webAppMount, base,archivePath, internalPath);} else if (file.getName().toLowerCase(Locale.ENGLISH).endsWith(".jar")) {resourceSet = new JarResourceSet(this, webAppMount, base,internalPath);} else {resourceSet = new FileResourceSet(this, webAppMount, base,internalPath);}} else if (file.isDirectory()) {resourceSet =new DirResourceSet(this, webAppMount, base, internalPath);} else {throw new IllegalArgumentException(sm.getString("standardRoot.createInvalidFile", file));}if (type.equals(ResourceSetType.CLASSES_JAR)) {resourceSet.setClassLoaderOnly(true);} else if (type.equals(ResourceSetType.RESOURCE_JAR)) {resourceSet.setStaticOnly(true);}resourceList.add(resourceSet);}

这样依赖,我只要持有一个 WebResourceRoot 的引用即可实现找到JSP的这个过程了。 而这个引用在Tomcat中是线程的。可以用过Context可以获取到这个依赖.
兼容SpringBoot1和SpringBoot2的Tomcat
SpringBoot1 和 SpringBoot2到package换了,具体是Boot1是
- org.springframework.boot.context.embedded.EmbeddedServletContainerCustomizer
这段代码写在 module1 下
/*** @author chenshun00@gmail.com* @since 2018/12/27*/public abstract class Boot1 {public final static Object object;static {object = new EmbeddedServletContainerCustomizer() {@Overridepublic void customize(ConfigurableEmbeddedServletContainer container) {if (container instanceof TomcatEmbeddedServletContainerFactory) {((TomcatEmbeddedServletContainerFactory) container).addContextCustomizers(new TomcatContextCustomizer() {@Overridepublic void customize(Context context) {//没错 ResourceConfigurer是我加的context.addLifecycleListener(new ResourceConfigurer(context));}});}}};}}
Boot2是
- org.springframework.boot.web.server.WebServerFactoryCustomizer
这段写在module2下
public abstract class AgentObject {public static Object object;static {//没错 ResourceConfigurer是我加的object = new WebServerFactoryCustomizer<WebServerFactory>() {@Overridepublic void customize(WebServerFactory factory) {if (factory instanceof TomcatServletWebServerFactory) {TomcatServletWebServerFactory tomcatServletWebServerFactory = (TomcatServletWebServerFactory) factory;tomcatServletWebServerFactory.addContextCustomizers(new TomcatContextCustomizer() {@Overridepublic void customize(Context context) {context.addLifecycleListener(new ResourceConfigurer(context));}});} else {if (factory instanceof TomcatReactiveWebServerFactory) {TomcatReactiveWebServerFactory tomcatServletWebServerFactory = (TomcatReactiveWebServerFactory) factory;tomcatServletWebServerFactory.addContextCustomizers(new TomcatContextCustomizer() {@Overridepublic void customize(Context context) {context.addLifecycleListener(new ResourceConfigurer(context));}});} else {throw new RuntimeException("未知容器,请和xxx联系修改starter实现");}}}};}}
为啥子要分开2个呢,因为他们分别依赖段是SpringBoot 1.5.15.Release 和 SpringBoot 2.0.3.Release , 如果不区分是过不了编译滴.
ResourceConfigurer 的作用就是用来传递Context ,然后将JSP代码所在目录传递进去.
public class ResourceConfigurer implements LifecycleListener {private final Context context;private volatile boolean init = false;public ResourceConfigurer(Context context) {this.context = context;}@Overridepublic void lifecycleEvent(LifecycleEvent event) {//支持 META-INF/resources 下的jsp 需要拿到主目录的那个jar包application(event);starter(event);}private void starter(LifecycleEvent event) {if (event.getType().equals(Lifecycle.CONFIGURE_START_EVENT)) {if (!init) {init = true;try {String property = System.getProperty("springboot.home", System.getProperty("user.home"));System.out.println("property ===>" + property);property = property.endsWith("/") ? property : property + "/";property = property + "code";check(property);URL url = ResourceUtils.getURL(property);context.getResources().createWebResourceSet(WebResourceRoot.ResourceSetType.RESOURCE_JAR, "/", url, "/");} catch (FileNotFoundException e) {e.printStackTrace();}}}}private void application(LifecycleEvent event) {try {if (event.getType().equals(Lifecycle.CONFIGURE_START_EVENT)) {URL location = ClassUtils.getDefaultClassLoader().getResource("");if (location != null) {if (ResourceUtils.isFileURL(location)) {// when run as exploded directoryString rootFile = location.getFile();if (rootFile.endsWith("/BOOT-INF/classes/")) {rootFile = rootFile.substring(0, rootFile.length() - "/BOOT-INF/classes/".length() + 1);}if (!new File(rootFile, "META-INF" + File.separator + "resources").isDirectory()) {return;}try {location = new File(rootFile).toURI().toURL();} catch (MalformedURLException e) {throw new IllegalStateException("Can not add tomcat resources", e);}}String locationStr = location.toString();if (locationStr.endsWith("/BOOT-INF/classes!/")) {// when run as fat jarlocationStr = locationStr.substring(0, locationStr.length() - "/BOOT-INF/classes!/".length() + 1);try {location = new URL(locationStr);} catch (MalformedURLException e) {throw new IllegalStateException("Can not add tomcat resources", e);}}this.context.getResources().createWebResourceSet(WebResourceRoot.ResourceSetType.RESOURCE_JAR, "/", location, "/META-INF/resources");}}} catch (Throwable ex) {System.out.println("访问不了也没关系:" + ex.getMessage());}}private void check(String property) {File file = new File(property);if (!file.exists()) {System.err.println("错误:请检查[" + property + "]目录存不存在");System.exit(1);}}}
到这里兼容2个Tomcat是搞定了 
但是我们希望要是只要一个jar包就好了,而且这个jar包是通过SpringBoot到 loader.path 进行处理的,业务无感知,当然这个无法阻挡我们,将这些jar包打在一起不就可以了吗
<plugin><artifactId>maven-assembly-plugin</artifactId><configuration><appendAssemblyId>false</appendAssemblyId><descriptorRefs><descriptorRef>jar-with-dependencies</descriptorRef></descriptorRefs></configuration><executions><execution><id>make-assembly</id><phase>package</phase><goals><goal>assembly</goal></goals></execution></executions></plugin>
经历到了这里,还差最后一步,如何将Tomcat到配置叫给SpringBoot进行管理呢,如果不能进行管理上边做的事跟没做一样的.
一开始想到到是直接用@Bean进行注入,但是并没有用 因为等到你注入这个的时候,Tomcat流程都跑完了,黄花菜都凉了.
@Beanpublic Object tomcatContext(){if (boot1){return Boot1.object;} else {return AgentObject.object;}}
不断的Google发现只能在BeanFactoryPostProcessor中进行注入了,最终实现如下
public class MyBeanFactoryPostProcessor implements BeanFactoryPostProcessor {private volatile boolean tomcat;public MyBeanFactoryPostProcessor(boolean tomcat) {this.tomcat = tomcat;}@Overridepublic void postProcessBeanFactory(ConfigurableListableBeanFactory configurableListableBeanFactory) throws BeansException {if (tomcat) {System.out.println("tomcat+SpringBoot项目不初始化");return;}if (!init) {init = true;System.out.println("==========init MyBeanFactoryPostProcessor=========");DefaultListableBeanFactory re = (DefaultListableBeanFactory) configurableListableBeanFactory;try {re.registerSingleton("ffEmbeddedServletContainerCustomizer", ff);} catch (Exception e) {e.printStackTrace();}}}private volatile boolean init = false;private static Object ff;static {try {if (Constant.springBoot1_5) {ff = Boot1.object;}} catch (Throwable ignored) {}try {if (Constant.springBoot2_0) {ff = AgentObject.object;}} catch (Throwable ignored) {}}}
各个module如下图
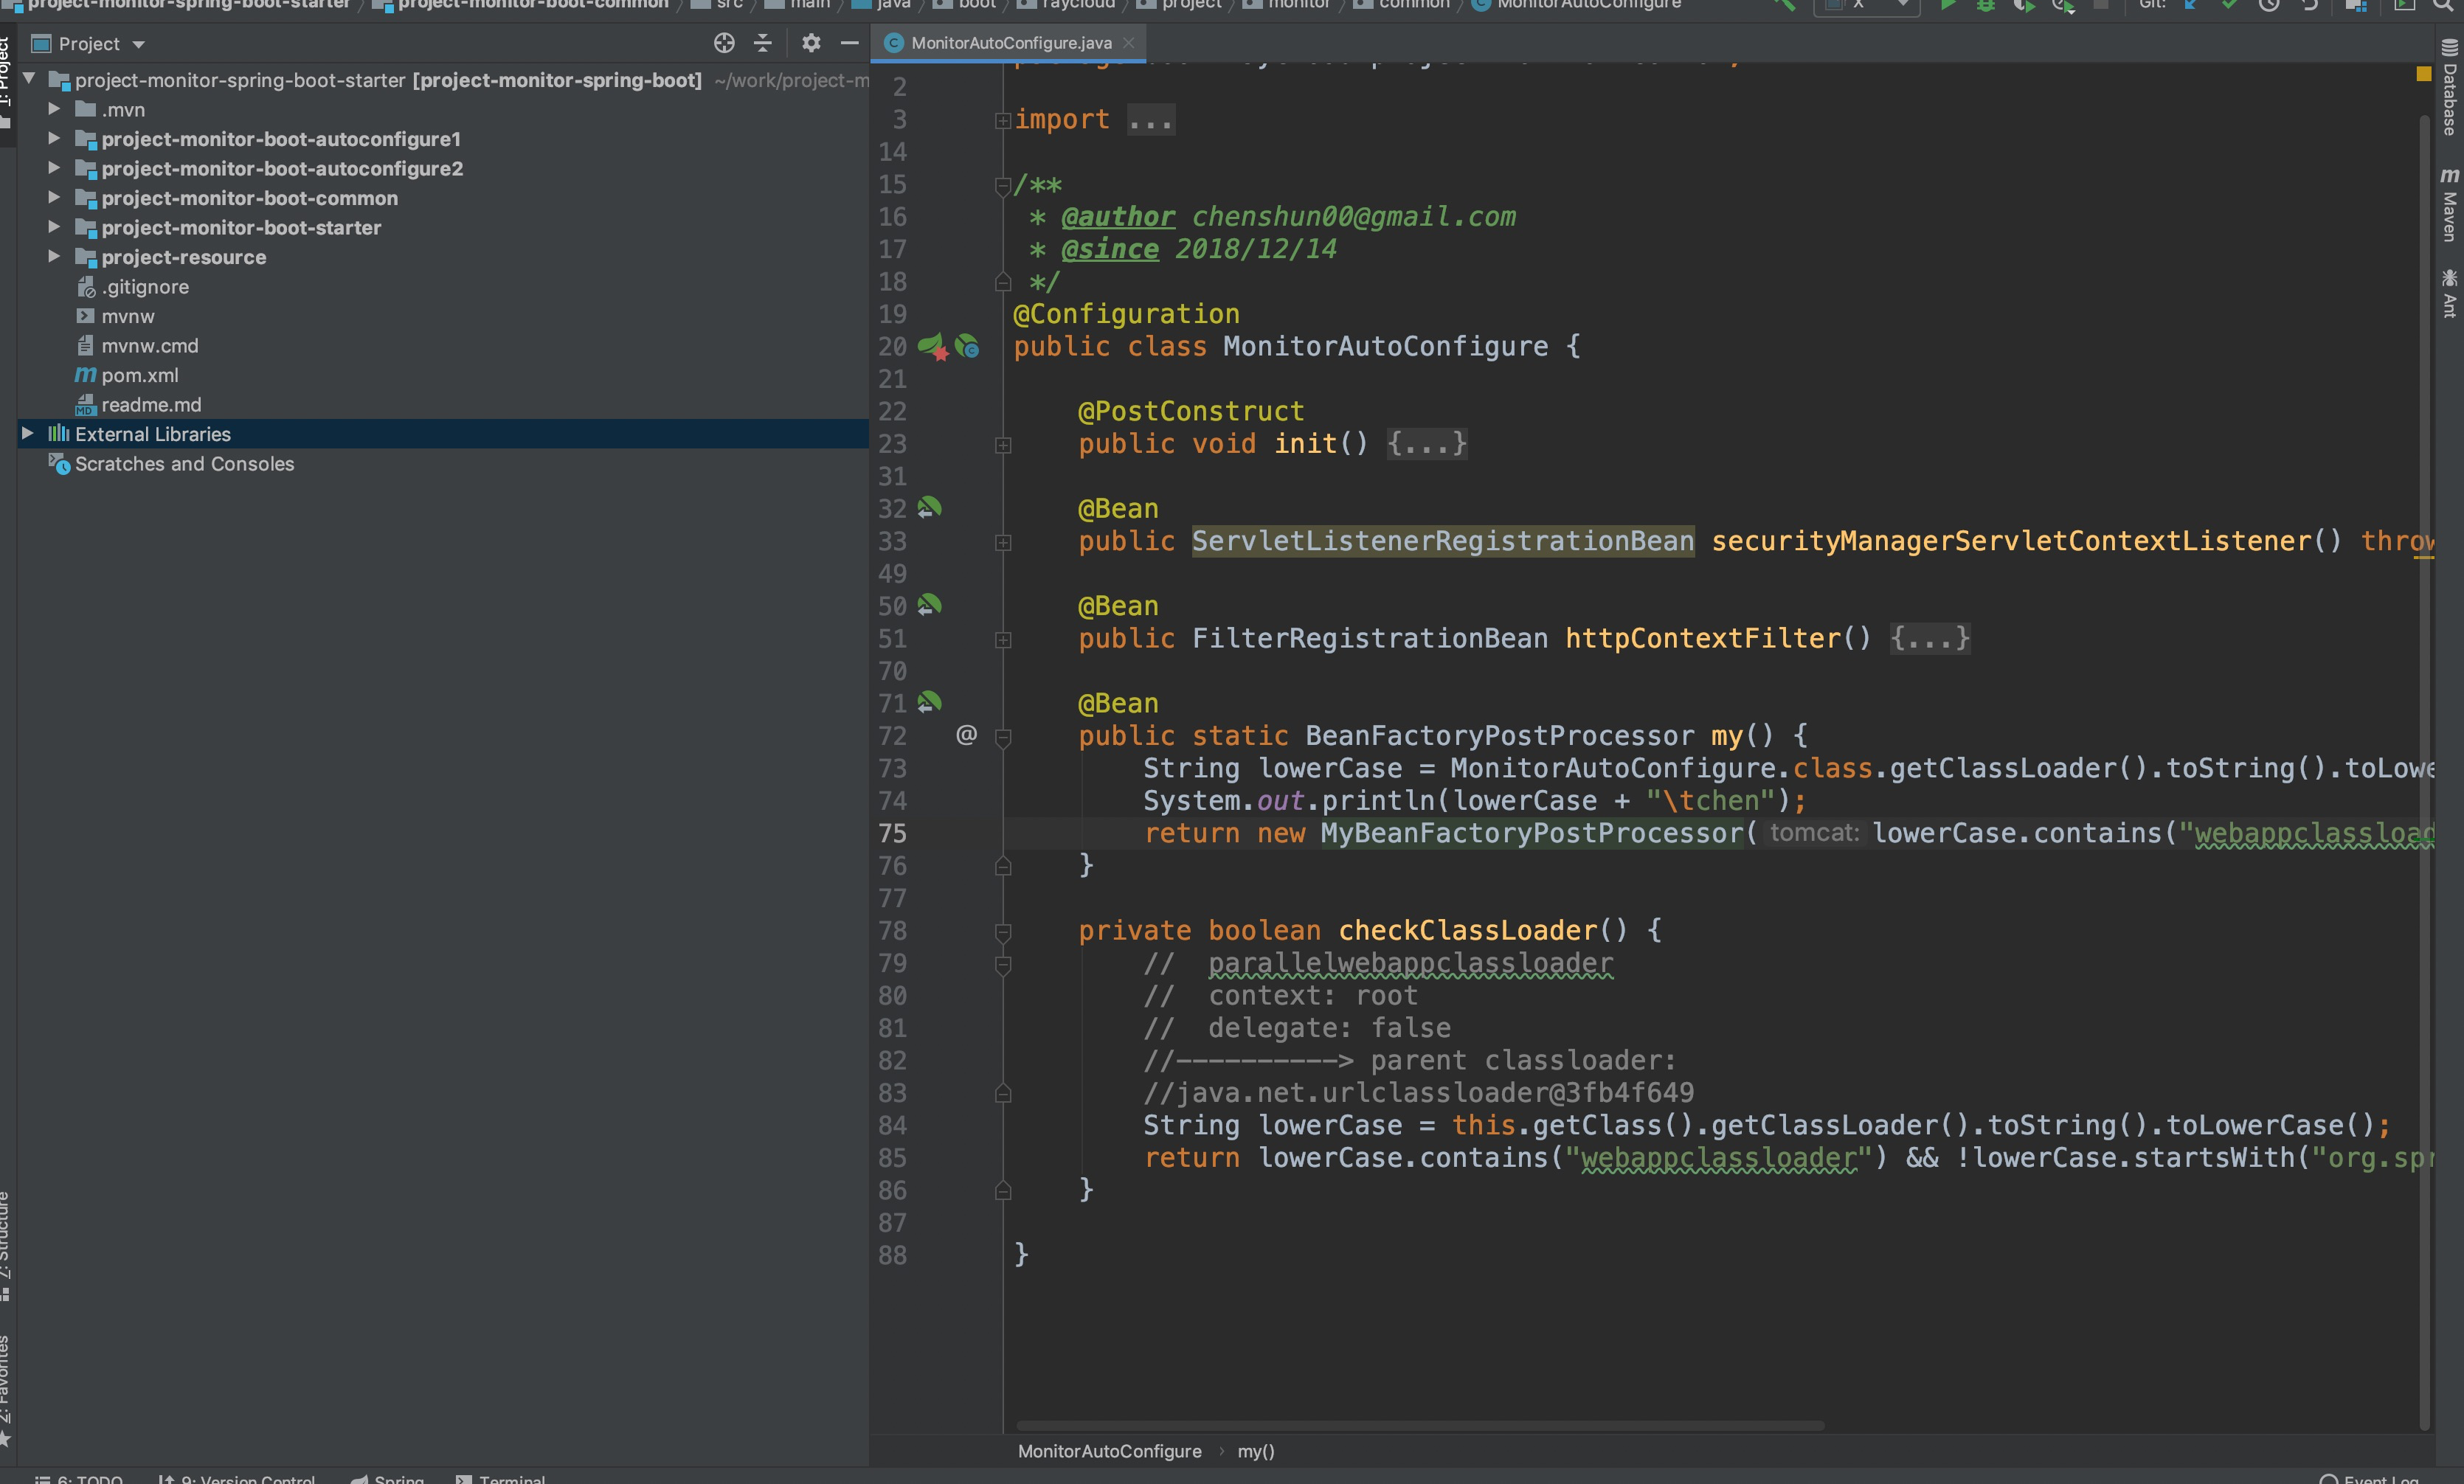
分这么多主要是解决1.x 和 2.x 不兼容的问题,最后打包通过 maven-assembly-plugin 插件打包到一次就可以了
总结
世界是科学的

若有收获,就点个赞吧
0 人点赞
