方法有2:
- 使用源代码CMake编译
- 使用低版本opencv模块
本文主要记录方法2。
3.4.2.16是最后一个支持nonfree模块的opencv库
卸载旧版本opencv
pip uninstall opencv-pythonpip uninstall opencv-contrib-python
opencv 3.4.2.16版本最多支持到python 3.6版本,需要创建虚拟环境
conda install nb_condaconda create -n opencvnonfree python=3.6conda activate opencvnonfree
安装所需的库 ```powershell pip install numpy pip install pandas pip install setuptools pip install —ignore-installed six pip install python-dateutil pip install jupyter
conda install imutils conda install scikit-image conda install —upgrade jupyterthemes
ref: https://blog.csdn.net/qq_26870933/article/details/88211711 https://blog.csdn.net/qq_30565883/article/details/79444750 https://www.zhihu.com/question/40012144
4. 安装opencv库```powershellpip install opencv-python==3.4.2.16pip install opencv-contrib-python==3.4.2.16ref:https://blog.csdn.net/cliukai/article/details/102525486
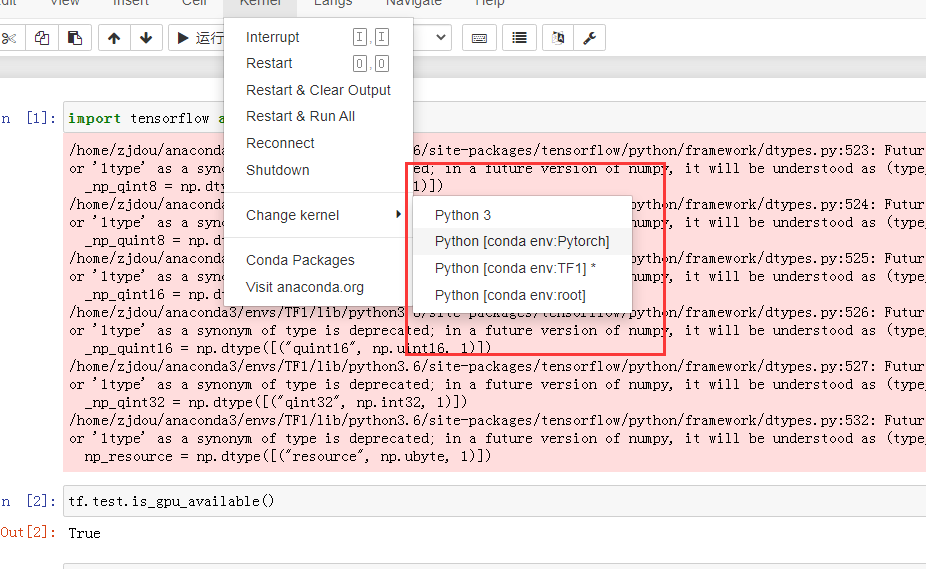
- 打开jupyter notebook

附上方法1的链接:
https://opencv.org/releases/#
https://sourceforge.net/projects/opencvlibrary/
https://pypi.org/project/opencv-contrib-python/#files
https://xugaoxiang.com/2019/12/18/windows-10-cuda-cudnn/

