概述
尽管Flutter的初衷是用Flutter构建一个完整的APP而不是简单的页面,但在实际开发中不可避免得需要与原生代码进行通讯混编,而混编的两种方案,即Flutter混合原生和原生混合Flutter,也是实际开发中需要作出抉择的,本文也会做一定的探讨。
由于个人的技术局限性,我只对iOS部分做研究。
Flutter与原生交互的通道—Channel
Channel是Flutter与原生交互的一个重要对象,Flutter(或原生)可以创建创建一个指定名字的Channel对象,利用channel对象发送消息,而另一段即原生(或Flutter)也可以拿到同样名字的Channel对象,监听channel对象的回调方法,这样就可以实现远程flutter与原生的互调了。
Flutter中初始化MethodChannel:
//初始化MethodChannel _methodChannel = MethodChannel('mine_page/method');File _avataFile;@overridevoid initState() {super.initState();//监听MethodChannel的返回_methodChannel.setMethodCallHandler((call){if(call.method == "imagePath"){String imagePath = call.arguments.toString().substring(7);//去除路径中的前缀 file://setState(() {_avataFile = File(imagePath);});}});}
Flutter中给原生iOS发消息:
_methodChannel.invokeMethod("picture");
OC中,用Xcode打开ios工程
AppDelegate.h实现协议UINavigationControllerDelegate,UIImagePickerControllerDelegate
@interface AppDelegate : FlutterAppDelegate<UINavigationControllerDelegate,UIImagePickerControllerDelegate>@end
AppDelegate.m
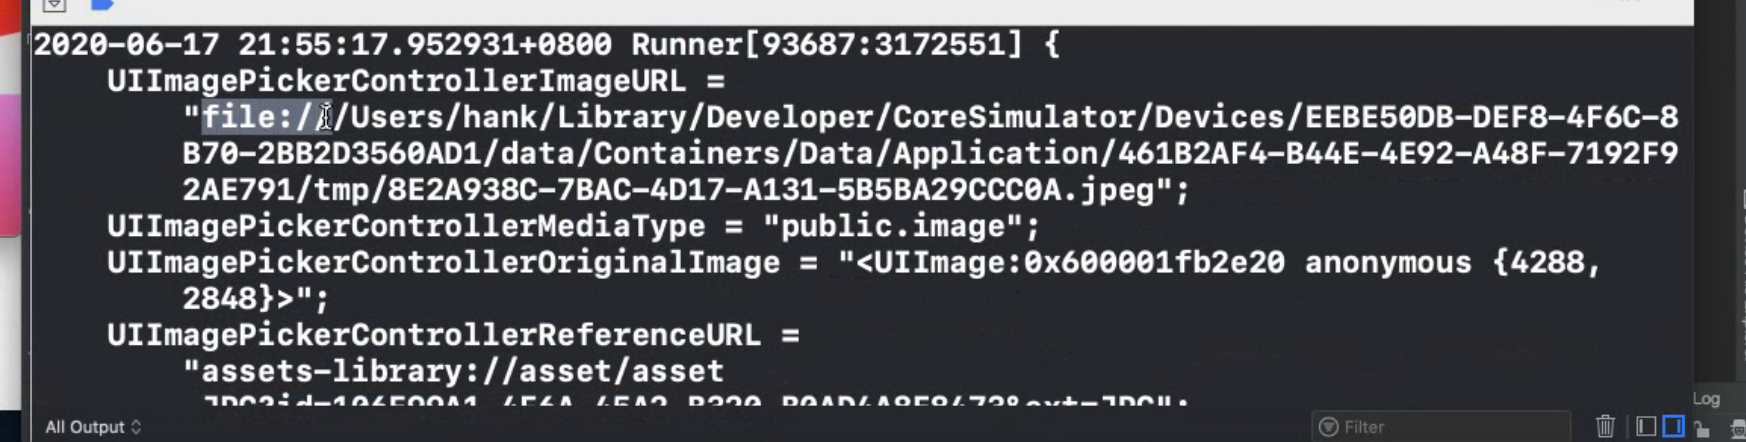
#import "AppDelegate.h"#import "GeneratedPluginRegistrant.h"@interface AppDelegate()@property(nonatomic,strong)FlutterMethodChannel *methodChannel;@end@implementation AppDelegate- (BOOL)application:(UIApplication *)applicationdidFinishLaunchingWithOptions:(NSDictionary *)launchOptions {[GeneratedPluginRegistrant registerWithRegistry:self];// 创建FlutterViewControllerFlutterViewController *vc = [[FlutterViewController alloc] init];// 创建channel,name与Flutter中的Channel的name保持一致self.methodChannel = [FlutterMethodChannel methodChannelWithName:@"mine_page/method" binaryMessenger:vc];// 设置channel的回调[self.methodChannel setMethodCallHandler:^(FlutterMethodCall * _Nonnull call, FlutterResult _Nonnull result) {if ([call.method isEqualToString:@"picture"]) {UIImagePickerController *imageVc = [[UIImagePickerController alloc] init];[vc presentViewController:imageVc animated:YES completion:nil];}}];return [super application:application didFinishLaunchingWithOptions:launchOptions];}-(void)imagePickerController:(UIImagePickerController *)picker didFinishPickingMediaWithInfo:(NSDictionary<UIImagePickerControllerInfoKey,id> *)info{[picker dismissViewControllerAnimated:YES completion:^{NSString *imagePath = [NSString stringWithFormat:@"%@",info[@"UIImagePickerControllerImageURL"]];[self.methodChannel invokeMethod:@"imagePath" arguments:imagePath];}];}@end
Channel的分类
除了MethodChannel,还有BasicMessageChannel和EventChannel两种
- MethodChannel:用于传递方法调用。
- BasicMessageChannel:用于传递字符串和半结构化的信息。
- EventChannel: 用于数据流的通信。
而BasicMessageChannel和EventChannel可以进行连续通讯,而MethodChannel是一次消息通讯。
Flutter混原生
谷歌是推荐开发使用这种模式进行混编,而调用原生页面可以使用channel,就可以调起原生页面。
在Flutter项目的目录中找到ios文件夹,这一部分便是Flutter项目的iOS部分。
在Appdelegate.m中
- (BOOL)application:(UIApplication *)applicationdidFinishLaunchingWithOptions:(NSDictionary *)launchOptions {[GeneratedPluginRegistrant registerWithRegistry:self];FlutterViewController * vc = (FlutterViewController *)self.window.rootViewController;FlutterMethodChannel *methodChannel = [FlutterMethodChannel methodChannelWithName:@"method" binaryMessenger:vc];UIViewController * nativeVC = [[UIViewController alloc] init];[methodChannel setMethodCallHandler:^(FlutterMethodCall * _Nonnull call, FlutterResult _Nonnull result) {if ([call.method isEqualToString:@"show"]) {[vc presentViewController:nativeVC animated:YES completion:nil];}}];return [super application:application didFinishLaunchingWithOptions:launchOptions];}
持有channel对象,同样通过channel给flutter发送消息,把iOS执行的结果返回给Flutter。
原生混Flutter
在一个原有的原生项目中嵌入Flutter页面,而Flutter也提供了相应的支持。
创建module
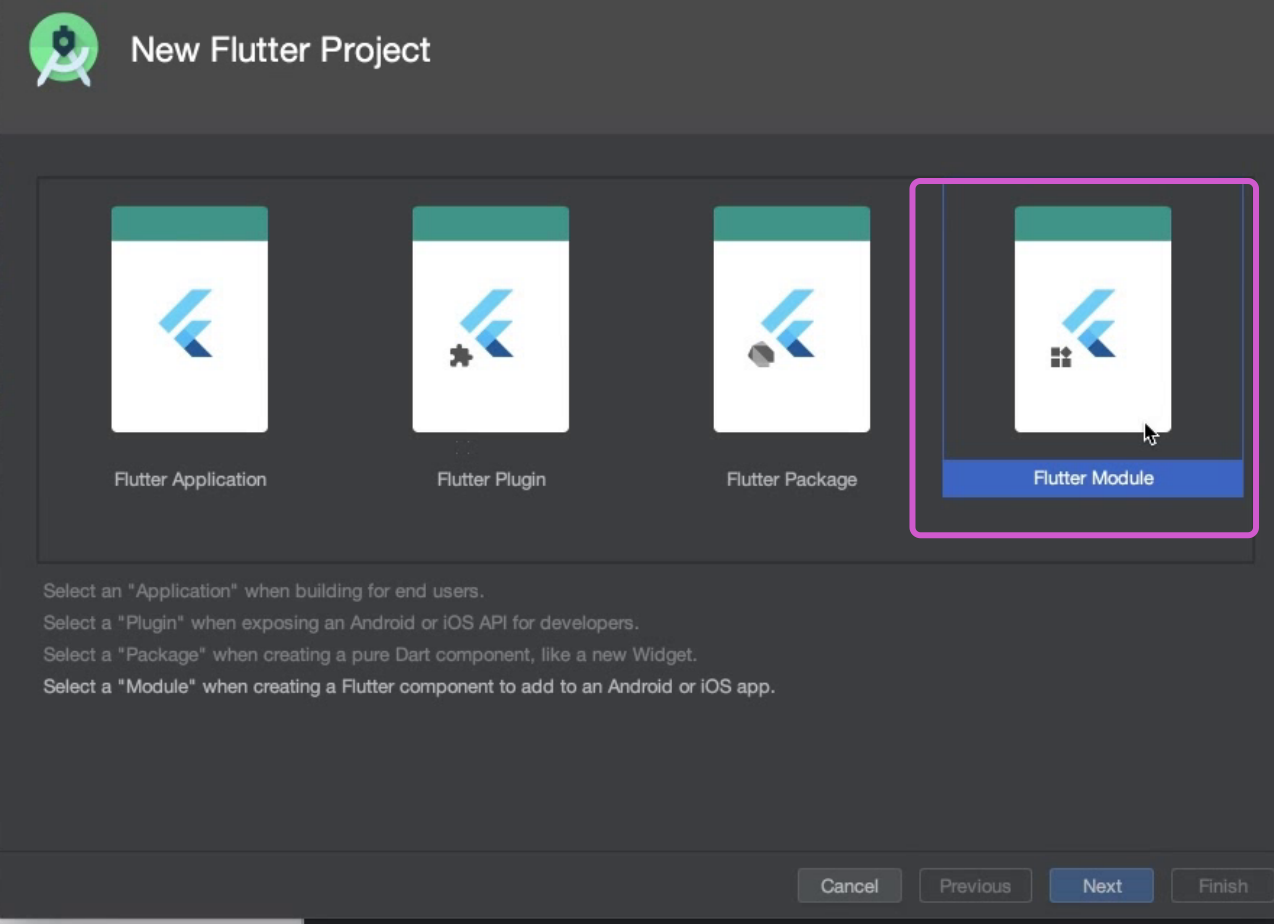
也可以使用命令行 flutter create -t module flutter_module
FLutter项目嵌入
首先创建Flutter Module,命名为flutter_module,将module项目和原生项目放到同级目录,然后在Podfile文件中:
# Uncomment the next line to define a global platform for your project# platform :ios, '9.0'flutter_application_path = '../flutter_module'load File.join(flutter_application_path, '.ios', 'Flutter', 'podhelper.rb')target 'NativeDemo' doinstall_all_flutter_pods(flutter_application_path)use_frameworks!# Pods for NativeDemoend
执行pod install命令
通过cocoapods,Flutter 模块就嵌入原生项目工程了。
Flutter页面调用
通过导入
#import <Flutter/Flutter.h>FlutterViewController *vc = [[FlutterViewController alloc] init];vc.modalPresentationStyle = UIModalPresentationFullScreen;//全屏[self presentViewController:vc animated:YES completion:nil];
可以看到调起的页面是main.dart中的页面,如果要调起指定的flutter页面,可以通过
FlutterViewController *vc = [[FlutterViewController alloc] init];vc.modalPresentationStyle = UIModalPresentationFullScreen;//全屏[vc setInitialRoute:@"one"];[self presentViewController:vc animated:YES completion:nil];
传递指定标示路由,然后在main.dart中通过window.defaultRouteName拿到InitialRoute现实对应的Flutter页面(通过StatefulWidget变化页面)
import 'dart:ui';void main() => runApp(MyApp(pageIndex: window.defaultRouteName,));class MyApp extends StatelessWidget {final String pageIndex;const MyApp({Key key, this.pageIndex}) : super(key: key);// This widget is the root of your application.@overrideWidget build(BuildContext context) {return MaterialApp(title: 'Flutter Demo',theme: ThemeData(highlightColor: Color.fromRGBO(1, 0, 0, 0.0), //点击高亮设置为透明splashColor: Color.fromRGBO(1, 0, 0, 0.0), //水波纹色设置为透明primarySwatch: Colors.blue,),home: _rootPage(pageIndex),);}_rootPage(String pageIndex) {switch (pageIndex) {case 'one':return Scaffold(appBar: AppBar(title: Text(pageIndex),),body: Center(child: Text(pageIndex),),);case 'two':return Scaffold(appBar: AppBar(title: Text(pageIndex),),body: Center(child: Text(pageIndex),),);}}}
原生调Flutter性能优化
尽管上述代码已经实现了原生调起Flutter页面,当仍然存在以下问题:
- 卡顿问题
- 内存泄露问题
- 状态保持问题
原生拉起Flutter页面的时候会发现明显的卡顿,这是因为创建一个大内存占用的FlutterViewController是很消耗性能,所以我们可以考虑缓存的策略,用空间换时间的方法,解决卡顿的问题 —- 懒加载FlutterEngine。
ios原生端:
#import "ViewController.h"#import <Flutter/Flutter.h>@interface ViewController ()@property(nonatomic, strong) FlutterEngine* flutterEngine;@property(nonatomic, strong) FlutterViewController* flutterVc;@property(nonatomic, strong) FlutterBasicMessageChannel * msgChannel;@end@implementation ViewController- (FlutterEngine *)flutterEngine{if (!_flutterEngine) {FlutterEngine* flutterEngine = [[FlutterEngine alloc] initWithName:@"engin"];if (flutterEngine.run) {_flutterEngine = flutterEngine;}}return _flutterEngine;}- (void)viewDidLoad {[super viewDidLoad];self.flutterVc = [[FlutterViewController alloc] initWithEngine:self.flutterEngine nibName:nil bundle:nil];self.msgChannel = [FlutterBasicMessageChannel messageChannelWithName:@"messageChannel" binaryMessenger:self.flutterVc];[self.msgChannel setMessageHandler:^(id _Nullable message, FlutterReply _Nonnull callback) {NSLog(@"收到Flutter的%@",message);}];}-(void)touchesBegan:(NSSet<UITouch *> *)touches withEvent:(UIEvent *)event{static int a = 0;[self.msgChannel sendMessage:[NSString stringWithFormat:@"%d",a++]];}- (IBAction)pushFlutter:(id)sender {//告诉Flutter显示one_pageFlutterMethodChannel * methodChannel = [FlutterMethodChannel methodChannelWithName:@"one_page" binaryMessenger:self.flutterVc];[methodChannel invokeMethod:@"one" arguments:nil];self.flutterVc.modalPresentationStyle = UIModalPresentationFullScreen;//弹出Flutter页面![self presentViewController:self.flutterVc animated:YES completion:nil];//监听Flutter页面的回调__weak typeof(self) weakSelf = self;[methodChannel setMethodCallHandler:^(FlutterMethodCall * _Nonnull call, FlutterResult _Nonnull result) {//如果是要我退出if ([call.method isEqualToString:@"exit"]) {[weakSelf.flutterVc dismissViewControllerAnimated:YES completion:nil];}}];}- (IBAction)pushFlutterTow:(id)sender {//告诉Flutter显示one_pageFlutterMethodChannel * methodChannel = [FlutterMethodChannel methodChannelWithName:@"tow_page" binaryMessenger:self.flutterVc];[methodChannel invokeMethod:@"tow" arguments:nil];self.flutterVc.modalPresentationStyle = UIModalPresentationFullScreen;//弹出Flutter页面![self presentViewController:self.flutterVc animated:YES completion:nil];//监听Flutter页面的回调__weak typeof(self) weakSelf = self;[methodChannel setMethodCallHandler:^(FlutterMethodCall * _Nonnull call, FlutterResult _Nonnull result) {//如果是要我退出if ([call.method isEqualToString:@"exit"]) {[weakSelf.flutterVc dismissViewControllerAnimated:YES completion:nil];}}];}@end
我们可以通过一个单例持有Engine,通过Engine创建FlutterViewController,避免每次创建时消耗的大量性能,而持有Engine,也能保持Flutter模块状态,不需要保存到原生项目中,解决了状态保持的问题
另外FlutterViewController也存在着内存泄露(Flutter Bug,暂时无法解决),一个FlutterViewController从页面上消失后仍然会有2MB的内存泄露,虽然暂时无法解决,我们可以用一个单例持有一个FlutterViewController,通过channel来决定显示那个页面,避免每次创建一个新的FlutterViewController造成性的内存泄露。
原生混Flutter性能明显不如Flutter混原生,所以谷歌并不推荐这种方式。
Flutter端:
import 'package:flutter/material.dart';import 'package:flutter/services.dart';void main() => runApp(MyApp());class MyApp extends StatefulWidget {@override_MyAppState createState() => _MyAppState();}class _MyAppState extends State<MyApp> {final MethodChannel _oneChannel = MethodChannel('one_page');final MethodChannel _towChannel = MethodChannel('tow_page');final BasicMessageChannel _messageChannel =BasicMessageChannel('messageChannel', StandardMessageCodec());String _pageIndex;@overridevoid initState() {super.initState();_messageChannel.setMessageHandler((message) {print('收到来自iOS的:$message');return null;});_oneChannel.setMethodCallHandler((call) {setState(() {_pageIndex = call.method;});return null;});_towChannel.setMethodCallHandler((call) {setState(() {_pageIndex = call.method;});return null;});}@overrideWidget build(BuildContext context) {return MaterialApp(title: 'Flutter Demo',theme: ThemeData(primarySwatch: Colors.blue,),home: _rootPage(_pageIndex),);}Widget _rootPage(String pageIndex) {switch (pageIndex) {case 'one':return Scaffold(appBar: AppBar(title: Text(pageIndex),),body: Column(mainAxisAlignment: MainAxisAlignment.center,children: <Widget>[RaisedButton(onPressed: () {_oneChannel.invokeMapMethod('exit');},child: Text(pageIndex),),TextField(onChanged: (String str) {_messageChannel.send(str);},)],),);case 'tow':return Scaffold(appBar: AppBar(title: Text(pageIndex),),body: Center(child: RaisedButton(onPressed: () {_towChannel.invokeMapMethod('exit');},child: Text(pageIndex),)),);default:return Scaffold(appBar: AppBar(title: Text("default"),),body: Center(child: RaisedButton(onPressed: () {MethodChannel('default_page').invokeMapMethod('exit');},child: Text(pageIndex),)),);}}}

若有收获,就点个赞吧
0 人点赞
