原生嵌入Flutter-Flutter module
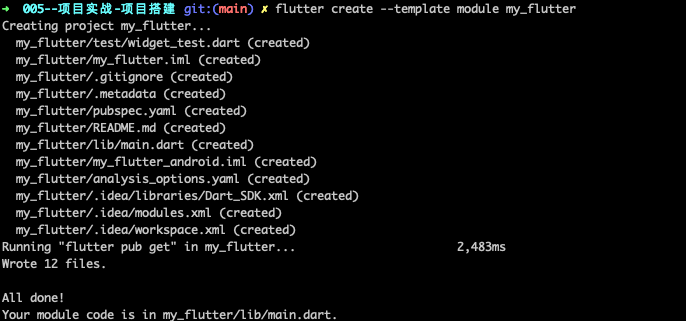
如果你希望Flutter代码能够被原生所嵌入,那么此时应该这么创建官方教程一个Flutter module
cd some/path/flutter create --template module my_flutter
此时看下当前的目录结构command+ shift+.显示隐藏文件,可以看到这里面也有.android文件和.ios文件,这里主要是为了做调试用的,不建议在这两个文件中添加任何的代码。因为这里是要嵌入到原生中,所以在.android文件和.ios文件中的任何修改都不会被打包到原生的项目中去的。
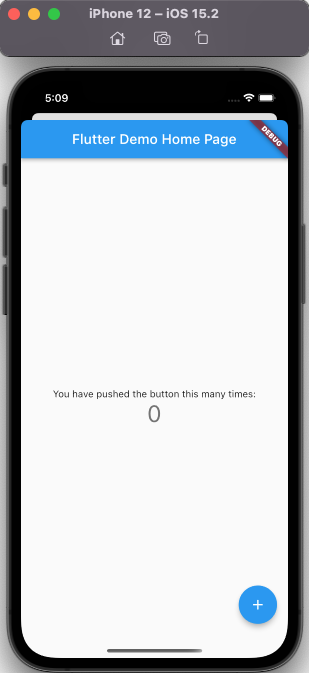
主要的代码还是写在main.dart中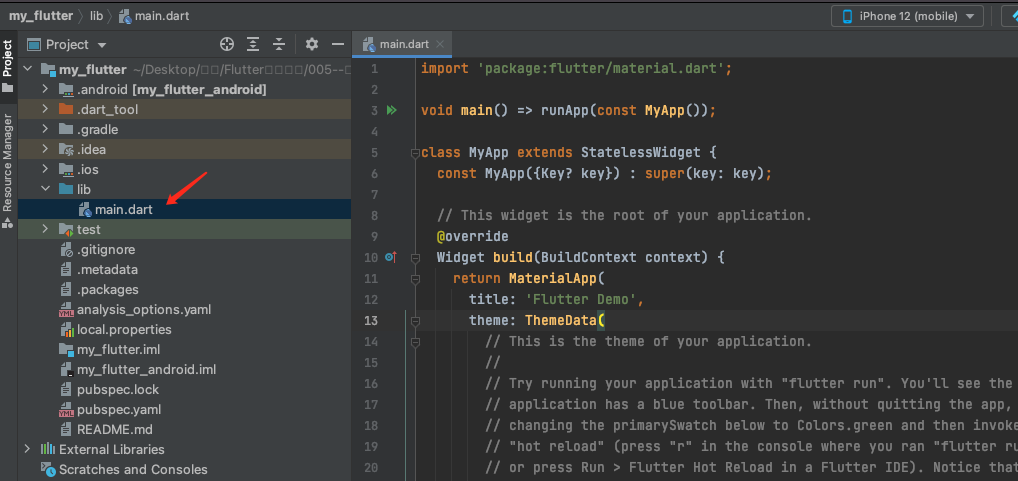
在iOS中集成Flutter module
接着我们创建一个空的iOS工程,示例是跟当前的my_flutter放在同一目录下,如下图所示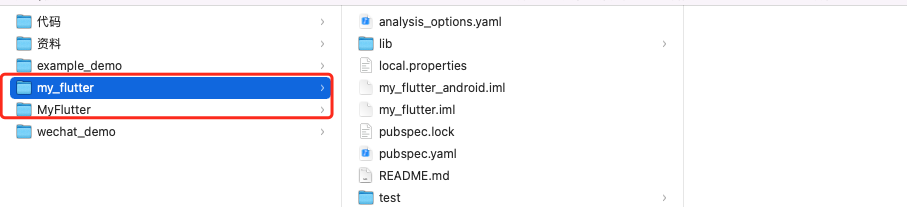
我使用的CocoaPods来集成,在iOS工程MyFlutter中pod init,打开该Podfile文件,在Podfile中添加下面的代码
flutter_application_path = '../my_flutter'load File.join(flutter_application_path, '.ios', 'Flutter', 'podhelper.rb')target 'MyApp' doinstall_all_flutter_pods(flutter_application_path)end
然后运行pod install,打开iOS的工程试下**import Flutter**如果能成功,就表明已经在原生的工程中加上了Flutter的代码。
private let flutterVc = FlutterViewController()@objcprivate func tap1() {self.present(flutterVc, animated: true, completion: nil)}
注意:此时我们观察一下内存,可以看到当调用起Flutter相关代码的时候,内存的情况:从30MB直奔100+MB,并且我dissmiss掉当前的FlutterVC时,这个内存并没有减少,加载了就会一直在内存中了。
Products-> MyFlutter->Show in Finder-> 显示包内容->Frameworks
可以看到多的其实就是这些内容:Flutter渲染引擎和一些资源内容。
setRoute路由
通过路由来区分跳转页面,目前已经废弃了,但是我们还是可以实验一下:
- (void)setInitialRoute:(NSString*)routeFLUTTER_DEPRECATED("Use FlutterViewController initializer to specify initial route");
在iOS原生项目中,再创建一个按钮,点击不同的按钮跳转不同的Flutter页面
@objcprivate func tap1() {let flutterVc = FlutterViewController()flutterVc.setInitialRoute("one")self.present(flutterVc, animated: true, completion: nil)}@objcprivate func tap2() {let flutterVc = FlutterViewController()flutterVc.setInitialRoute("two")self.present(flutterVc, animated: true, completion: nil)}
在Flutter中怎么实现呢?window.defaultRouteName这个就是从原生传递过来的值
import 'dart:ui';import 'package:flutter/material.dart';void main() => runApp(MyApp(pageIndex: window.defaultRouteName,));class MyApp extends StatelessWidget {final String pageIndex;const MyApp({Key? key, required this.pageIndex}) : super(key: key);// This widget is the root of your application.@overrideWidget build(BuildContext context) {return MaterialApp(title: 'Demo',home: Scaffold(appBar: AppBar(title: Text(pageIndex)),body: Center(child: Text(pageIndex)),),);}}
command + shift + k清除iOS的缓存重新运行试下。ok了~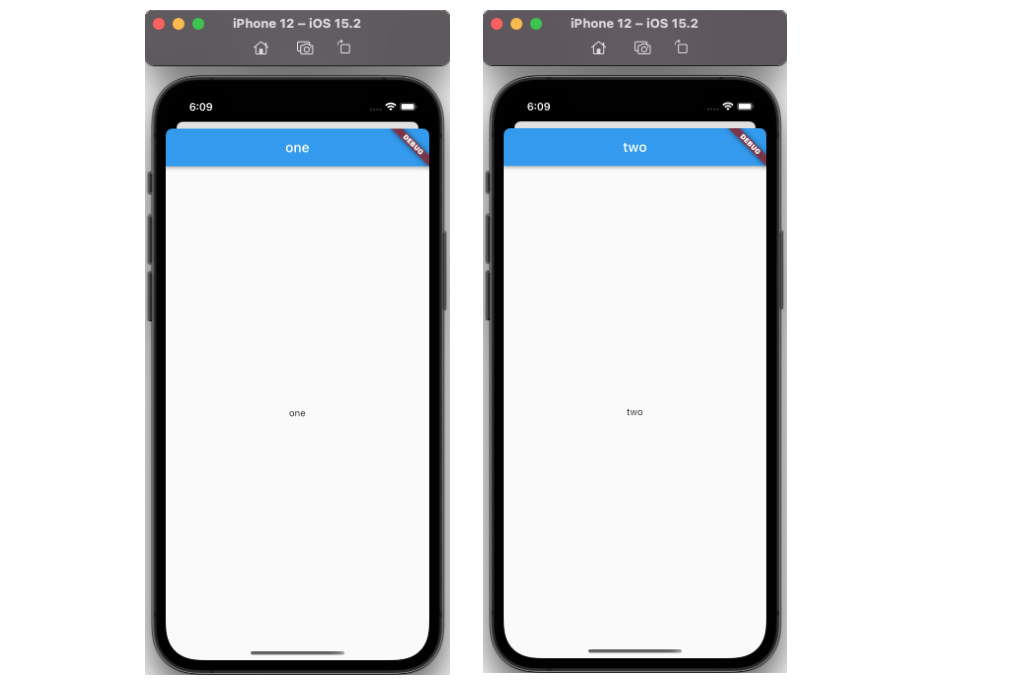
Channel定义的三种方式
Flutter定义了三种不同的Channel
MethodChannel:传递方法调用,一次通讯BasicMessageChannel:持续通讯,收到消息之后还可以回复消息EventChannel:数据流,持续通讯
MethodChannel
我们也可以使用MethodChannel来通讯invokeMapMethod <==> setMethodCallHandler
在flutter中代码如下:
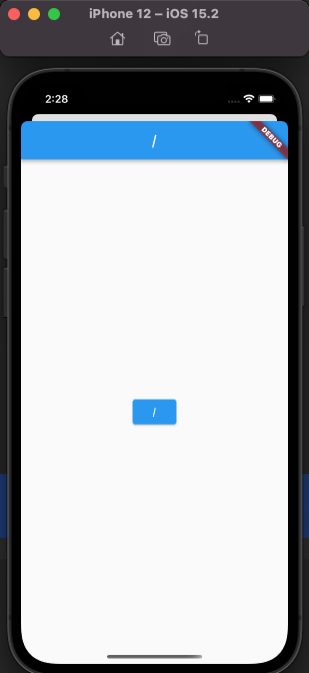
onPressed: () {// 通讯const MethodChannel('one').invokeMapMethod('exit');},
在swift中对应的回调,这样点击中间的按钮就能dismiss掉。
@objcprivate func tap1() {let methodChannel = FlutterMethodChannel(name: "one", binaryMessenger: self.flutterVc as! FlutterBinaryMessenger)methodChannel.setMethodCallHandler { call, result inif call.method == "exit"{self.dismiss(animated: true, completion: nil)}}self.present(flutterVc, animated: true, completion: nil)}
BasicMessageChannel
使用BasicMessageChannel的方式和上面的基本差不多,但是既然说了是持续通讯,那么使用TextField来验证下: send <==> setMethodCallHandler
BasicMessageChannel _channel =const BasicMessageChannel('messageChannel', StandardMessageCodec());// ...TextField(onChanged: (String str) {_channel.send(str);},@overridevoid initState() {// TODO: implement initStatesuper.initState();_channel.setMessageHandler((message) {print('收到来自iOS的$message');return Future(() {});});}
override func viewDidLoad() {super.viewDidLoad()messageChannel = FlutterBasicMessageChannel(name: "messageChannel", binaryMessenger: self.flutterVc.binaryMessenger)messageChannel.setMessageHandler { data, reply inprint("收到了Flutter的数据\(String(describing: data))")}}override func touchesBegan(_ touches: Set<UITouch>, with event: UIEvent?) {a += 1;self.messageChannel.sendMessage("\(a)")}


若有收获,就点个赞吧
0 人点赞
