混合开发的方式
说到混合开发,我们知道无非是两种:
- Flutter调用原生的功能,比如调用相册呀之类的
- 原生项目的某一些功能或者页面使用Flutter(不太建议),不建议的原因是它不像Web页面可以轻量级的嵌入,Flutter会比较重,因为它的独立渲染引擎。
Flutter调用原生
我们用之前的微信Demo来做示例点击头像的时候,唤醒原生的相册。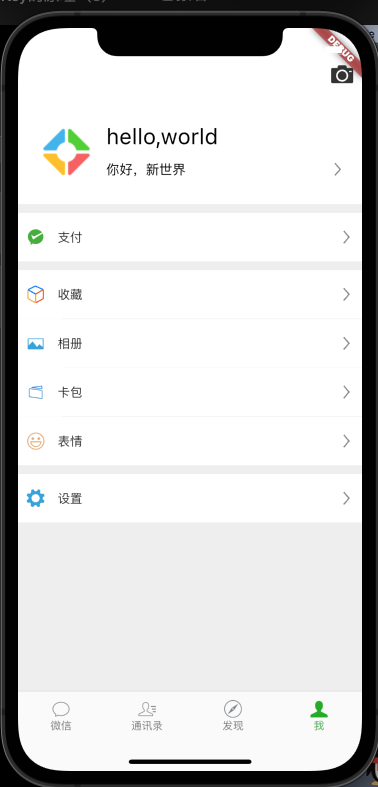
之前的样式大概长这样,在点击的时候唤起原生相机
GestureDetector(onTap: () {print('需要唤起原生的相机');_methodChannel.invokeMapMethod('takePhotos');},child: Container(width: 70,height: 70,decoration: BoxDecoration(image:DecorationImage(image: AssetImage('images/游戏2.png')),borderRadius: BorderRadius.circular(10)),),),
在Flutter和iOS中通讯提供了一个专门的类MethodChannel用来通信
MethodChannel _methodChannel = MethodChannel('mine/method');
在onTap的时候调用_methodChannel.invokeMapMethod('takePhotos');告诉iOS原生我向你发起了一个takePhotos的方法,iOS你在接收到这个标识的时候要给我调起你自己的相机哦~
此时我们来到iOS的项目中:
- 首先示例化
FlutterMethodChannel这个类,该类的第一个参数是指明哪个路径下的方法 - 调用
setMethodCallHandler来响应Flutter发出来的讯息 - 识别当前的方法针对处理 ```swift import UIKit import Flutter
@UIApplicationMain @objc class AppDelegate: FlutterAppDelegate {
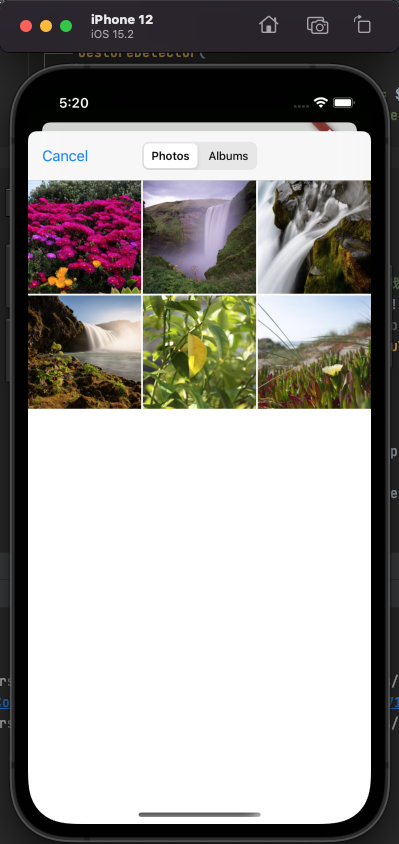
var pickVc = UIImagePickerController()var flutterChannel: FlutterMethodChannel!override func application(_ application: UIApplication,didFinishLaunchingWithOptions launchOptions: [UIApplication.LaunchOptionsKey: Any]?) -> Bool {GeneratedPluginRegistrant.register(with: self)let vc = self.window.rootViewController as? FlutterViewControllerpickVc.delegate = self// 在iOS端也初始话这个通讯的类flutterChannel = FlutterMethodChannel.init(name: "mine/method", binaryMessenger: vc as! FlutterBinaryMessenger)// 对Flutter端发过来的通讯处理flutterChannel.setMethodCallHandler { call, result in// 如果我识别了这个方法是`takePhotos` 我就唤起原生相机if call.method.isEqual("takePhotos"){print("方法来了");self.pickVc.delegate = selfvc?.present(self.pickVc, animated: true, completion: nil)}}return super.application(application, didFinishLaunchingWithOptions: launchOptions)}
}
4. 当然啦,在iOS中选中了照片,把照片中的信息再回传给Flutter中,调用`invokeMethod`回传```swiftextension AppDelegate: UIImagePickerControllerDelegate, UINavigationControllerDelegate {func imagePickerController(_ picker: UIImagePickerController, didFinishPickingMediaWithInfo info: [UIImagePickerController.InfoKey : Any]) {if let imagePathURL = info[UIImagePickerController.InfoKey.imageURL] as? NSURL,let imagePath = imagePathURL.absoluteString {self.flutterChannel.invokeMethod("editedImage", arguments: imagePath)}picker.dismiss(animated: true, completion: nil)}func imagePickerControllerDidCancel(_ picker: UIImagePickerController) {picker.dismiss(animated: true, completion: nil)}}
5.Flutter中收到iOS原生端选择的图片之后,也响应setMethodCallHandler
@overridevoid initState() {// TODO: implement initStatesuper.initState();_methodChannel.setMethodCallHandler((call) {if (call.method == 'editedImage') {print(call.arguments);}return call.arguments;});}

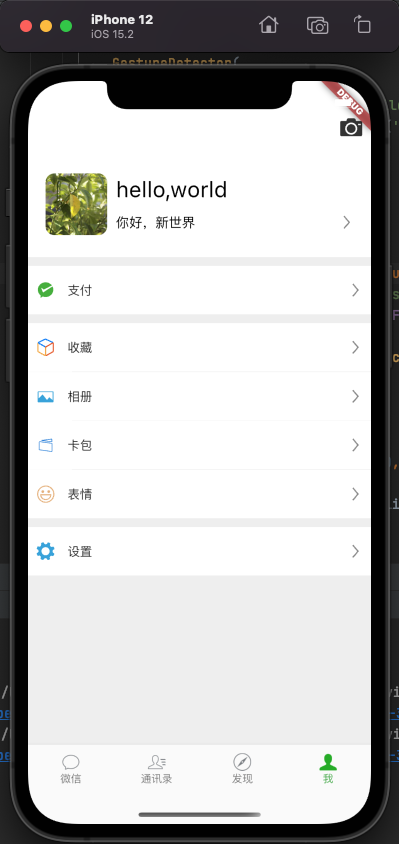
至此,两端的通讯已经完成了,我们可以使用拿到的照片路径替换当前的图片了。
@overridevoid initState() {// TODO: implement initStatesuper.initState();_methodChannel.setMethodCallHandler((call) {if (call.method == 'editedImage') {print(call.arguments);setState(() {String subString = call.arguments.toString().substring(7);_avatarFile = File(subString);});}return call.arguments;});}BoxDecoration(image: DecorationImage(image: _avatarFile == null? AssetImage('images/游戏2.png') as ImageProvider: FileImage(_avatarFile!),fit: BoxFit.cover),borderRadius: BorderRadius.circular(10))
image_picker
还有一种方式唤醒相机,这里使用到了Flutter官方出品的一个库image_picker
我们安装之后可以参考一下用法,本文的使用还是比较简单的
void _pickerImage() async {try {XFile? file = await _picker.pickImage(source: ImageSource.gallery);if (file != null && mounted) {setState(() {_avatarFile = File(file.path);});}} catch (e) {print(e.toString());setState(() {_avatarFile = null;});}}
其中这里有一个小bug,当我们选择模拟器中的第一个相片的时候;会报错,所以在此时加了异常处理
温馨提示:记得要在iOS的info.plist文件中配置相册的权限!

若有收获,就点个赞吧
0 人点赞
