- 在
<font style="color:#000000;">.gitconfig</font>文件进行别名配置">在<font style="color:#000000;">.gitconfig</font>文件进行别名配置 - 通过git命令行命令进行别名配置">通过git命令行命令进行别名配置
- 在 ~/.bashrc 或 ~/.zshrc 中添加命令别名
- 常用的别名命令配置
<font style="color:#000000;">git recommit</font><font style="color:#000000;">git commend</font><font style="color:#000000;">git search</font><font style="color:#000000;">git here</font><font style="color:#000000;">git who</font><font style="color:#000000;">git zip</font><font style="color:#000000;">git newbie</font><font style="color:#000000;">git clonely</font><font style="color:#000000;">git plg</font><font style="color:#000000;">git fresh</font>
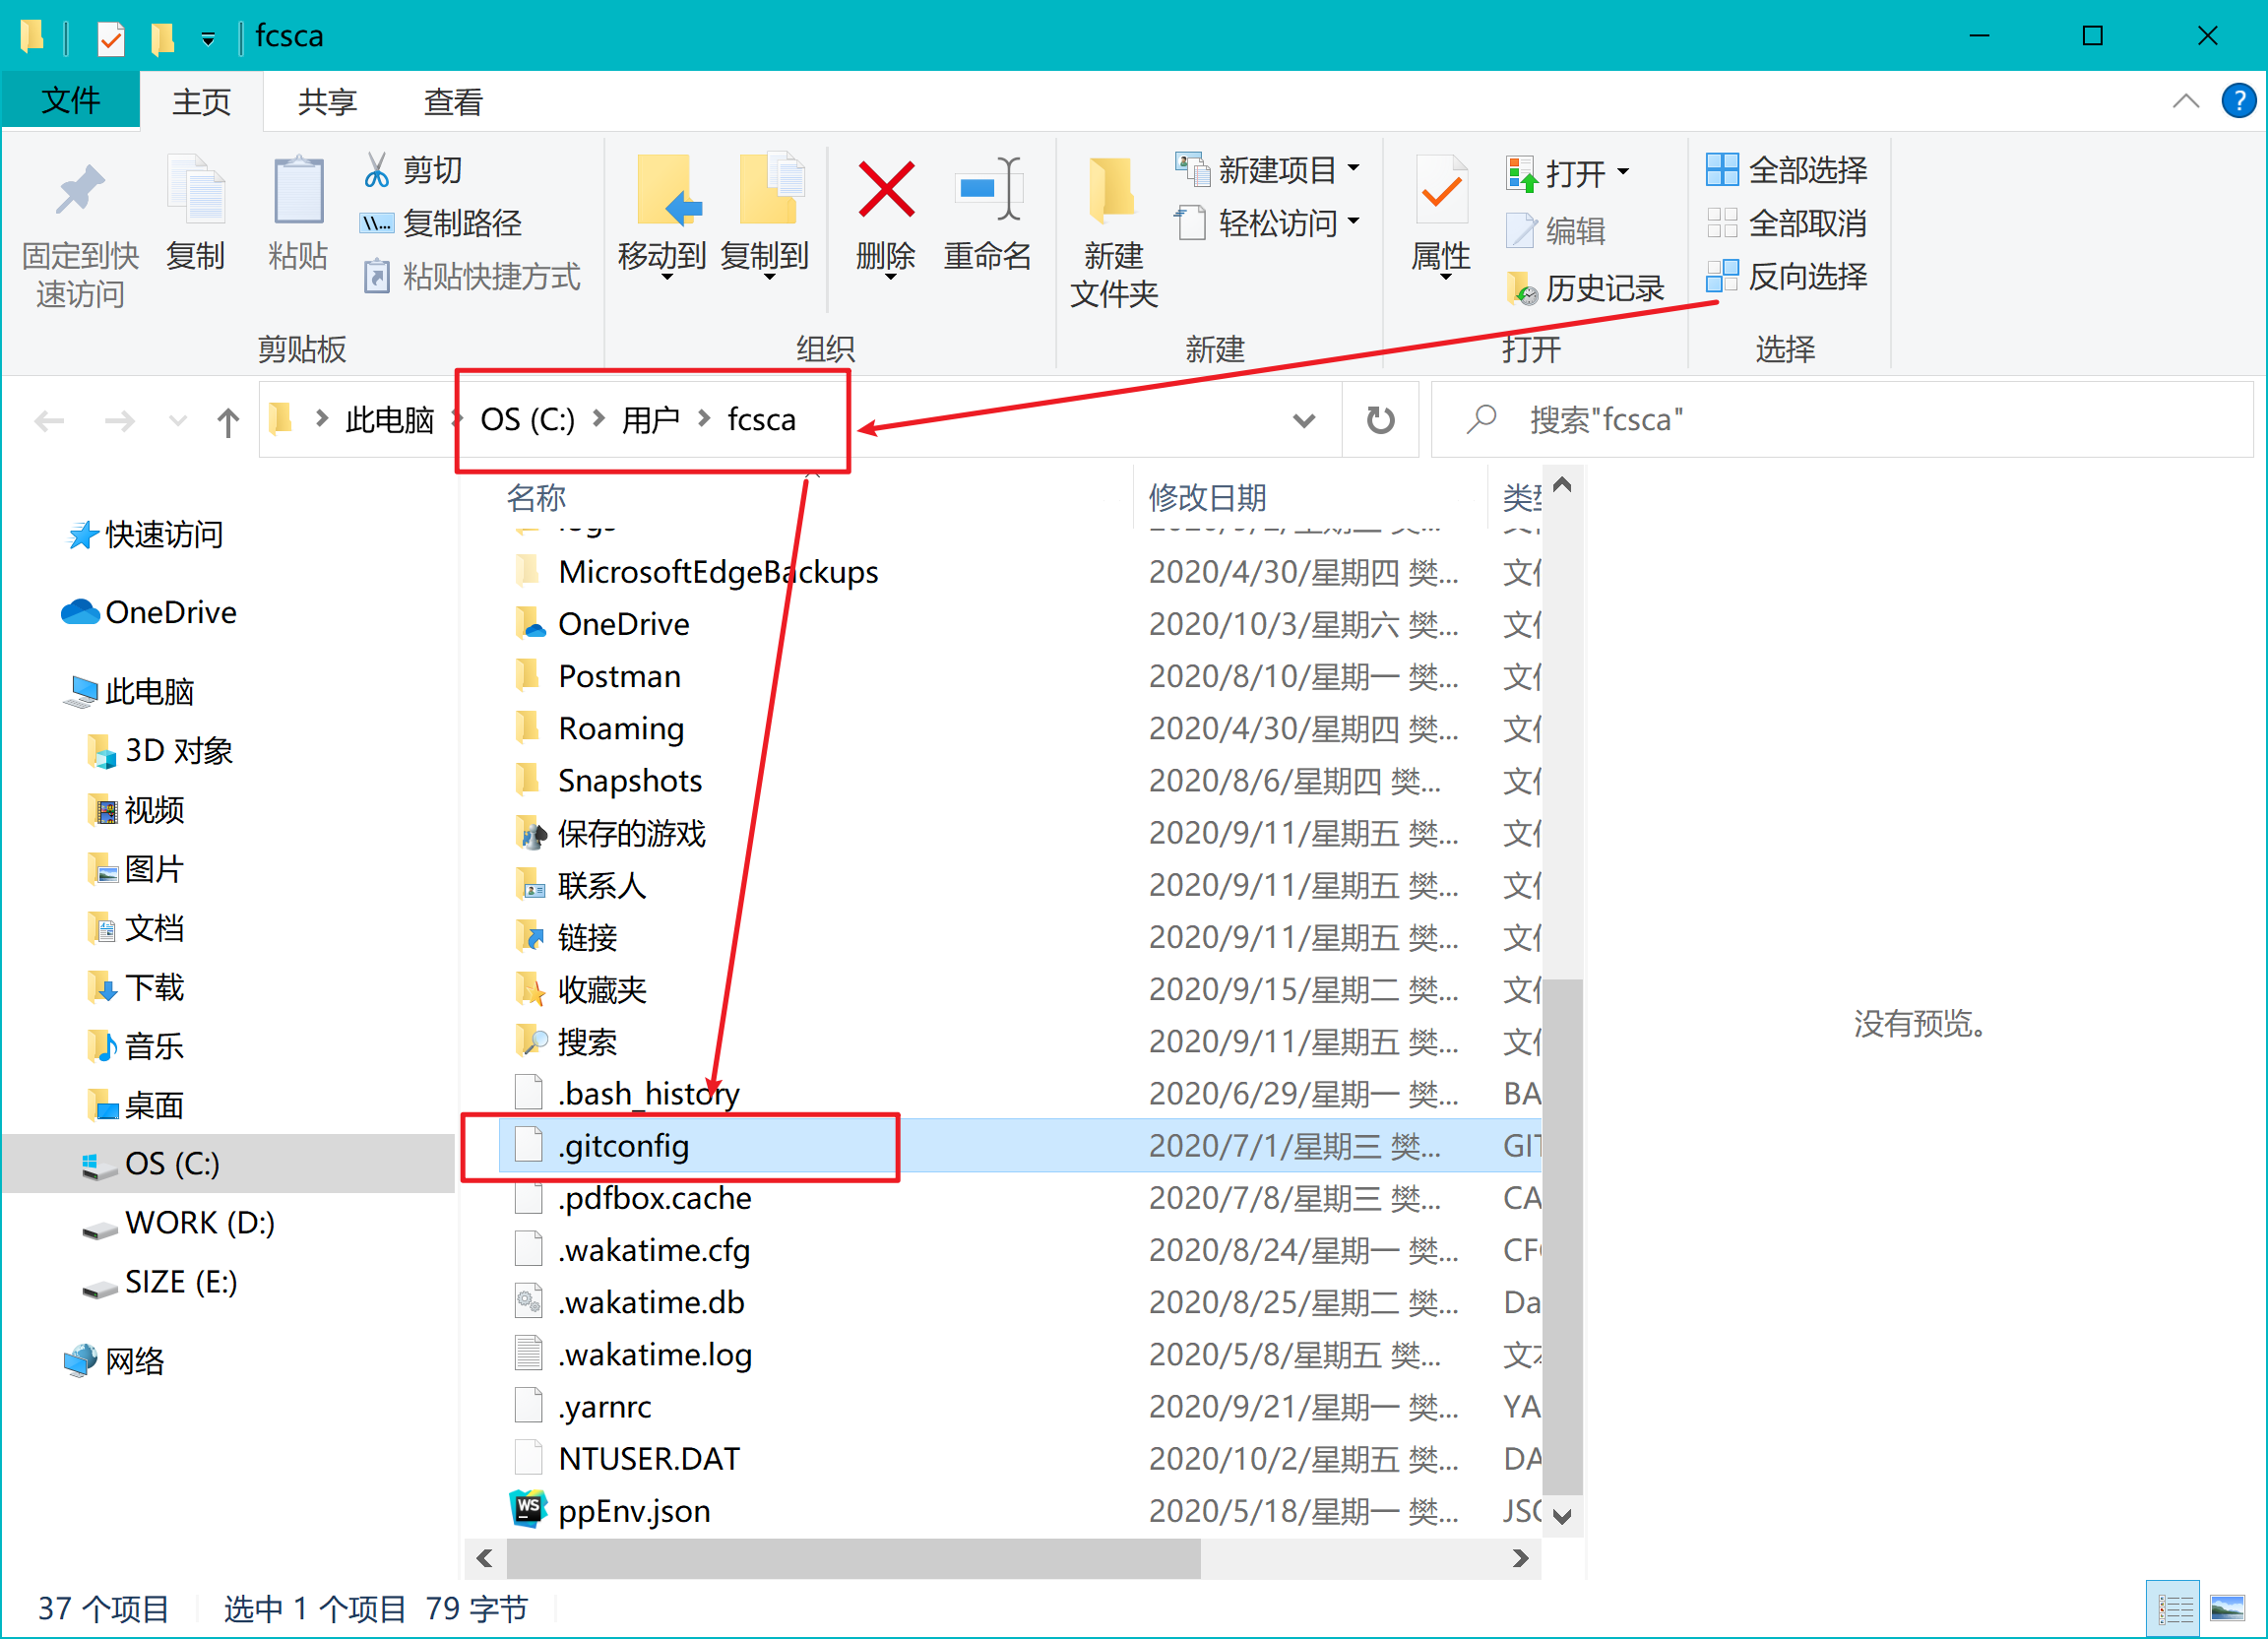
在 <font style="color:#000000;">.gitconfig</font> 文件进行别名配置
在用户目录下,有一个 <font style="color:#000000;">.gitconfig</font> 文件,通过配置 <font style="color:#000000;">[alias]</font> 组来配置命令的别名
[alias]rhm = reset --hard origin/masterst = statusbr = branch
通过git命令行命令进行别名配置
Git中的别名(alias)配置规则是这样的。
git config --global alias.[new_alias] "[previous_git_command]"# Examplegit config --global alias.save commit


在 ~/.bashrc 或 ~/.zshrc 中添加命令别名
alias gst='git status'alias gaa='git add .'alias gcm='git commit -m'alias gco='git checkout'alias gpl='git pull'alias gps='git push'
常用的别名命令配置
[alias]recommit = commit --amend -mcommend = commit --amend --no-edithere = !git init && git add . && git commit -m \"Initialized a new repository\"search = grepwho = blamezip = archive --format=tar.gz -o ../repo.tar.gzclonely = clone --single-branch --branchplg = log --graph --pretty=format:'%C(yellow)%h%Creset -%Cred%d%Creset %s %Cgreen| %cr %C(bold blue)| %an%Creset' --abbrev-commit --date=relativefresh = filter-branch --prune-empty --subdirectory-filter
<font style="color:#000000;">git recommit</font>
git config --global alias.recommit 'commit --amend -m'
<font style="color:#000000;">git commit --amend</font> 允许更改最后的提交信息(<font style="color:#000000;">message</font>)。<font style="color:#000000;">recommit</font>命令让提交变得更简单,更容易记住。
# Change the last commit message with recommitgit recommit "New commit message"# [master 64175390] New commit message# Date: Tue Sep 22 15:09:11 2020 +0000# 1 file changed, 2 insertions(+)# create mode 100644 vue.js
<font style="color:#000000;">git commend</font>
使用
git config --global alias.commend 'commit --amend --no-edit'
<font style="color:#000000;">--no-edit</font>标志进行修改,可以在最近一次提交时在仓库中提交新的更改,不需要再次重复提交消息。
解释一下这个命令,是否有这种经历,写完代码了 <font style="color:#000000;">git add .</font> 、 <font style="color:#000000;">git commit xxx</font> ,一顿操作,刚想<font style="color:#000000;">push</font> 的时候发现 有个文件漏改了,又是 <font style="color:#000000;">git add .</font> 、 <font style="color:#000000;">git commit xxx</font> 一顿操作,此时 <font style="color:#000000;">commit</font> 就会有两次记录,这对于项目来说是非常不好的,一次 <font style="color:#000000;">commit</font> 被分成了两次,如果遇到需要<font style="color:#000000;">revert</font> 就傻眼了。这个时候就可以用这个命令轻松解决。
代码演示
echo 'Hello world' > README.mdgit add .git commit -m "Hello Word"git log --oneline4b39c8a (HEAD -> master) Add README.md
此时
echo 'Hello Fcant' >> README.mdgit commendgit log --oneline60c5190 (HEAD -> master) Add README.md
<font style="color:#000000;">git log</font>依然只有一次记录。
<font style="color:#000000;">git search</font>
git config --global alias.search 'grep'# Examplegit search [search_term]
<font style="color:#000000;">git grep</font>允许在存储库中搜索关键字(且支持正则),并返回各种匹配项。但是 <font style="color:#000000;">grep</font> 一般在使用Linux的匹配搜索比较常见,中文环境下使用 <font style="color:#000000;">search</font>易于记住并且易于使用。
git search createHotContext
<font style="color:#000000;">git here</font>
通常初始化一个新的仓库时,将暂存所有文件,并使用初始提交消息进行提交。使用
git config --global alias.here '!git init && git add . && git commit -m "init Pro"'
<font style="color:#000000;">git here</font>一步就完成了(这对于开源工具重度爱好者,真的是福星)。只需在要创建新仓库的文件夹中运行它,就可以了。
小技巧: 在公司开发代码需要提交到公司的私有仓库,因此全局配置了公司的 username 和 email,当切换到开源项目的时候,是会忘记修改回来,因此会创建一个
<font style="color:#000000;">git config user.name xxx \n git config user.email xxx@xx.com</font>的一个 sh文件。因此初始化的时候可以这样 。
这样子,既可以提交到私有仓库,创建开源项目的时候又不耽误。
git config --global alias.here '!git init && sh ~/my/git.sh && git add . && git commit -m "init Pro"'
<font style="color:#000000;">git who</font>
git config --global alias.who 'blame'# Examplegit who index.ts# 641753902 (Ephraim Atta-Duncan 2020-09-22 15:09:11 +0000 1)# 641753902 (Ephraim Atta-Duncan 2020-09-22 15:09:11 +0000 2) console.log("who?")
<font style="color:#000000;">git blame</font> 用于逐行检查文件的内容,并查看每行的最后修改时间以及修改的作者。如果有错误,可以追溯到某一行的改动是谁修改的。vscode 插件 <font style="color:#000000;">GitLens</font>也是基于此原理。
总结: 追踪 bug 小能手,以后谁写出bug,轻松定位某一行是谁写的。
<font style="color:#000000;">git zip</font>
使用
git config --global alias.zip 'archive --format=tar.gz -o repo.tar.gz'# Examplegit zip [branch_name]
<font style="color:#000000;">archive</font>命令可以创建整个或部分仓库的 <font style="color:#000000;">tarball</font> 和<font style="color:#000000;">zip</font>。<font style="color:#000000;">git zip</font> 更容易记住。只需添加分支名称。
➜ git-fcant git:(master) lsREADME.md➜ git-fcant git:(master) git zip master➜ git-fcant git:(master) ✗ lsREADME.md repo.tar.gz
<font style="color:#000000;">git newbie</font>
带有
git config --global alias.newbie 'checkout --orphan'# Examplegit newbie [new_branch_name]
<font style="color:#000000;">--orphan</font> 标志的<font style="color:#000000;">git checkout</font>允许创建一个分支,而没有来自父分支的任何历史记录。
➜ git-fcant git:(master) git newbie pagesSwitched to a new branch 'pages'➜ git-fcant git:(pages) ✗ lsREADME.md➜ git-fcant git:(pages) ✗ git logfatal: your current branch 'pages' does not have any commits yet➜ git-fcant git:(pages) ✗
实践
它的应用场景 还记得<font style="color:#000000;">github pages</font> 吗,利用他能快速创建站点,可以用某个分支来当做站点展示,但是如果把源码和打包后的文件都放在一个分支,就会显得累赘与混乱,这个时候就可以利用这个特性来创建一个全新无 <font style="color:#000000;">commit</font> 的分支。两个工程(一个源文件工程,一个打包后的工程)放到同一个仓库(repo)中。
代码演示
➜ git-fcant git:(master) git newbie pagesSwitched to a new branch 'pages'➜ git-fcant git:(pages) ✗ lsREADME.md➜ git-fcant git:(pages) ✗ git logfatal: your current branch 'pages' does not have any commits yet➜ git-fcant git:(pages) ✗ git stOn branch pagesNo commits yetChanges to be committed:(use "git rm --cached <file>..." to unstage)new file: README.md➜ git-fcant git:(pages) ✗
<font style="color:#000000;">git clonely</font>
带有
git config --global alias.clonely 'clone --single-branch --branch'# Examplegit clonely [branch_name] [remote_url]git clonely v3 https://github.com/vuejs/vue-apollo# Cloning into 'vue-apollo'...# remote: Enumerating objects: 2841, done.# remote: Total 2841 (delta 0), reused 0 (delta 0), pack-reused 2841# Receiving objects: 100% (2841/2841), 1.92 MiB | 330.00 KiB/s, done.# Resolving deltas: 100% (1743/1743), done.
<font style="color:#000000;">--single-branch --branch</font>标志的<font style="color:#000000;">git clone</font>允许从存储库中<font style="color:#000000;">clone</font>特定分支。
作用
当然是减少<font style="color:#000000;">clone</font>时间,这对大仓库而言简直是福星。
<font style="color:#000000;">git plg</font>
git config --global alias.plg "log --graph --pretty=format:'%C(yellow)%h%Creset -%Cred%d%Creset %s %Cgreen| %cr %C(bold blue)| %an%Creset' --abbrev-commit --date=relative"# Examplegit plg # plg - Pretty Log
<font style="color:#000000;">git log</font>没什么问题,除了它有点丑陋,没有颜色差异,如果要自定义它,需要在 google 上查询相关的命令。幸运的是有别名(alias)。使用该命令的别名,将获得非常漂亮的日志。
<font style="color:#000000;">git fresh</font>
通过一系列参数,使用
git config --global alias.fresh "filter-branch --prune-empty --subdirectory-filter"# Examplegit fresh [subfolder] [branch_name]git fresh src main # Don't do this unless you know what you are doing
<font style="color:#000000;">fresh</font>命令用于从子文件夹中创建新的存储库。带有多个参数的 <font style="color:#000000;">filter-branch</font>获取指定子文件夹的内容,并将其中的内容替换为该子文件夹的内容。
实践
假设有这样一个项目,目录结构如下如果需要改造项目,将
.├── script│ └── index.js├── README.md
<font style="color:#000000;">script</font> 作为单独的项目, 这个时候需要将 <font style="color:#000000;">script</font> 拆出来,一般会通过拷贝来解决,这样做没有什么问题,但是将丢失<font style="color:#000000;">script</font>目录以及子文件所有历史修改记录。
现在成功将 <font style="color:#000000;">script</font> 目录拆成了单独的项目。
再来看
git fresh script master
<font style="color:#000000;">commit</font> 记录,依旧保留了<font style="color:#000000;">script</font> 的相关<font style="color:#000000;">commit</font>记录,对于管理项目来说非常有帮助。
如果不小心拆分错了,还可以进行还原。
commit 8b311558195684d6420baedce74e0f9951208038 (HEAD -> master)Author: qiufeng <qiufeng@163.com>Date: Thu Oct 1 22:37:21 2020 +0800feat: script(END)
还可以继续拆分,这个时候拆分需要先清除一下备份
git reset --hard refs/original/refs/heads/{branch_name}
git update-ref -d refs/original/refs/heads/master

若有收获,就点个赞吧
0 人点赞
