搭建项目
vue --version// @vue/cli 4.5.6vue create ux-ui// 选择vue2 eslintcd ux-uiyarn
参考element, package存放组件, examples存放示例。
- 原本的src更改为examples, ⚠️需要更改项目的入口
根目录添加vue.config.js
const path = require('path');module.exports = {// 更新npm run dev的入口文件pages: {index: {entry: 'examples/main.js',template: 'public/index.html',filename: 'index.html'}},chainWebpack: config => {// 配置别名config.resolve.alias.set('@', path.resolve('examples')).set('~', path.resolve('packages'))// 编译额外的文件config.module.rule('js').include.add(/packages/).end().include.add(/examples/).end().use('babel').loader('babel-loader').tap(options => {return options})}}
添加并暴露组件
package/index.js
// 暴露组件import Hello from './hello'const components = [Hello]const install = Vue => {components.map(component => Vue.use(component))}if (typeof window !== 'undefined' && window.Vue) {install(window.Vue)}export default {install,Hello}
以hello组件为例
- 创建hello文件
hello/src/main.vue
<template><p>hello ux-charts</p></template><script>export default {name: 'Hello'}</script><style scoped>p{font-size:24px;color: red;}</style>
hello/index.js
import Hello from './src/main'Hello.install = Vue => {Vue.component(Hello.name, Hello)}export default Hello
发布npm库
添加命令
// --target app | lib | wc | wc-async (默认值:app)// --name 库或 Web Components 模式下的名字 (默认值:package.json 中的 "name" 字段或入口文件名)// --dest 指定输出目录 (默认值:dist)"lib": "vue-cli-service build --target lib --name ux-ui --dest lib packages/index.js"
执行 npm run lib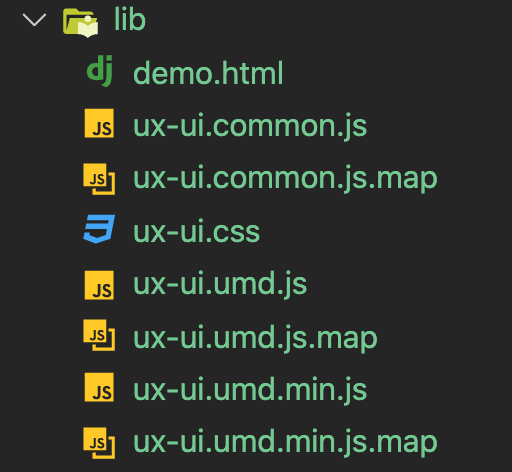
修改入口文件, 登录npm账号后, 发布即可 npm publish。⚠️发布前先清理镜像。
"main": "lib/xr-ui.umd.min.js"
扩展
示例文件…
代码:
https://gitee.com/daaasheng/use/tree/master/ux-ui
参考:
https://juejin.im/post/6844903808787546125
https://zhuanlan.zhihu.com/p/29855253
https://www.bilibili.com/video/BV1nJ411V75n?p=26

若有收获,就点个赞吧
0 人点赞
