一、Swagger简介
Swagger是什么
Swagger官网
关于swagger是什么的问题,swagger的首页说的再清楚不过:
Swagger is the world’s largest framework of API developer tools for the OpenAPI Specification(OAS), enabling development across the entire API lifecycle, from design and documentation, to test and deployment.
因为swagger庞大的生态系统,我们在api的整个生命周期中都能从中受益: from design and documentation, to test and deployment
前头我的easy-mock属于test部分,同时它也有效地帮助前后端分离
如果你想对Swagger有更深的了解,可以看下对Tony Tam的这段采访(Tony Tam影响了Swagger的诞生):通过Swagger进行API设计,与Tony Tam的一次对话
为何需要用它
如果你在为一个系统设计API,你希望更好的管理你的API,你希望有一个工具能一站式地解决API相关的所有事情,从设计到文档再到mock,甚至能直接从设计文档中生成代码(声明式编程),这确实是可能的,如果你的描述信息是完备的,自动化生成mock接口,同时也可生成各种语言与api交互的SDK
这些便是你选择Swagger的理由
特点
- 号称世界上最流行的API框架
- RestFul API文档在线自动生成工具 —> API文档与API定义同步更新
- 直接运行,可以在线测试API接口
- 支持多种语言(java、php)
二、快速入门—使用SpringBoot集成Swagger
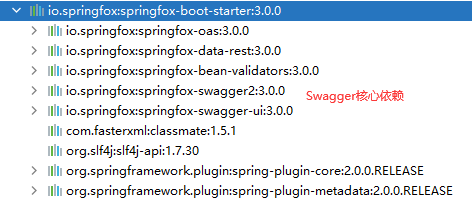
1. 导入依赖
<!--Swagger相关依赖--><dependency><groupId>io.springfox</groupId><artifactId>springfox-boot-starter</artifactId><version>3.0.0</version></dependency>
2. 主启动类添加 @EnableOpenApi 注解开启Swagger2功能
@SpringBootApplication
@EnableOpenApi  //开启Swagger功能
public class SwaggerApplication {

    public static void main(String[] args) {
        SpringApplication.run(SwaggerApplication.class, args);
    }

}
3. 启动测试
页面访问:http://localhost:8080/swagger-ui/index.html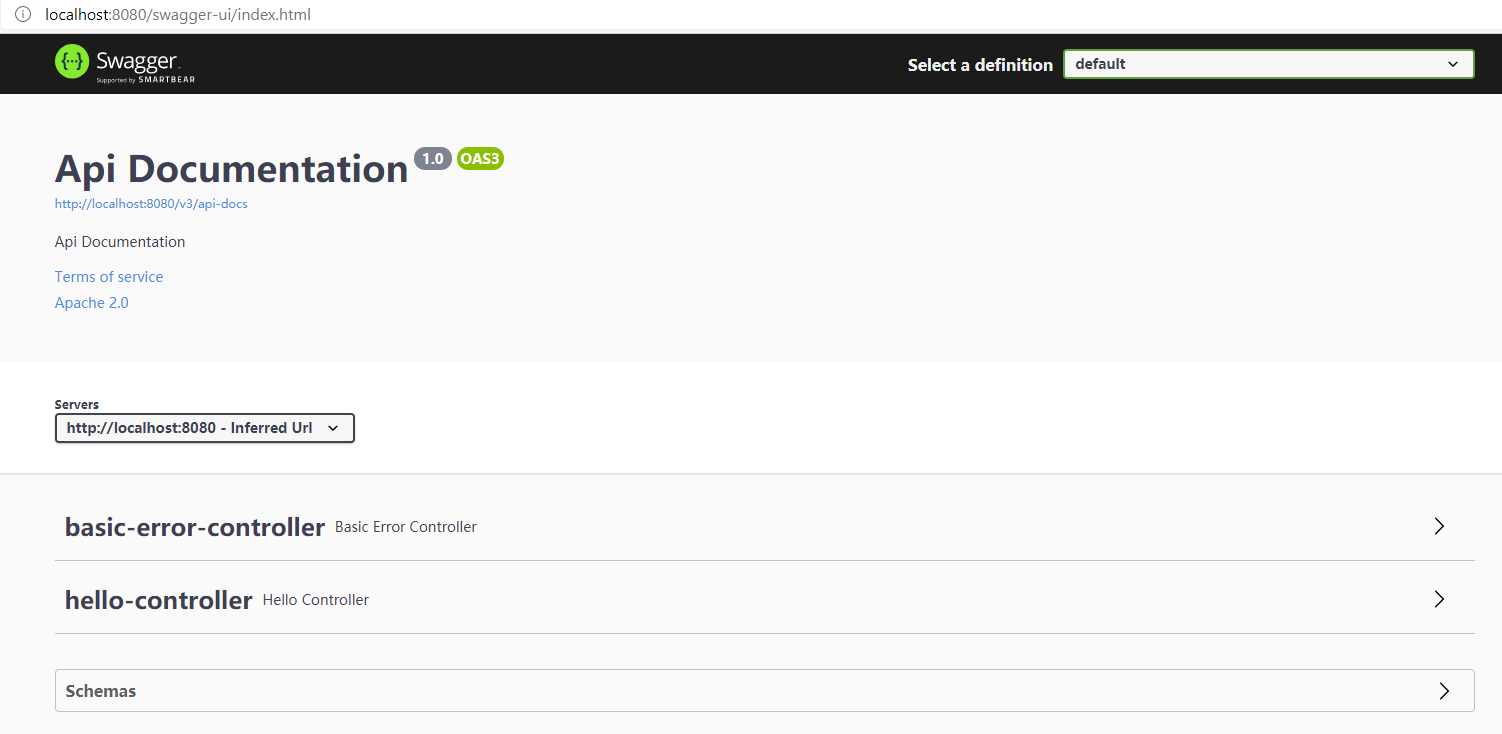
三、Swagger相关配置
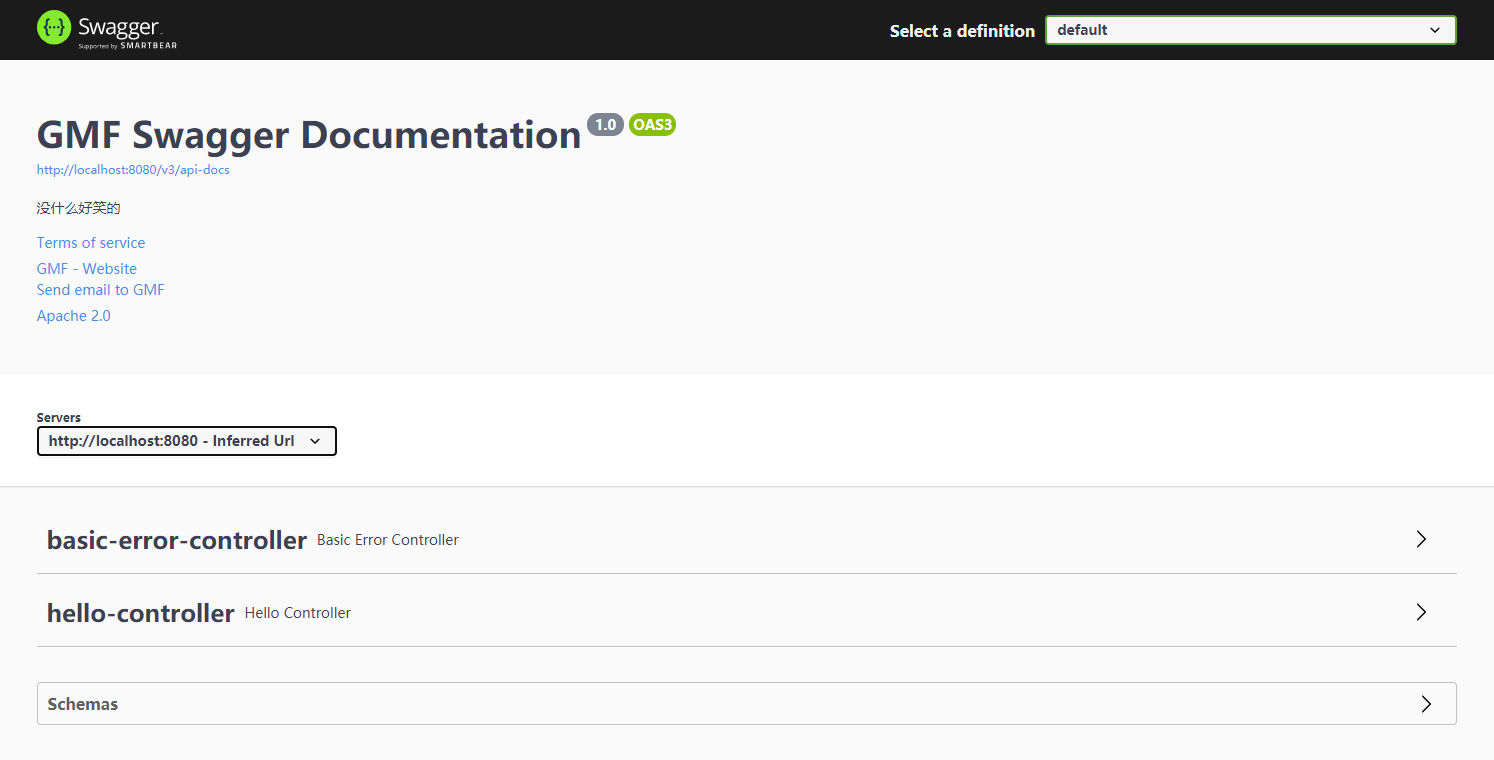
1. 可以通过配置定制化Swagger首页
/**
 * @className: SwaggerConfig
 * @description 定制化Swagger
 * @author GMF
 * @date 2021/3/4
 * @time 11:07
*/
@Configuration
public class SwaggerConfig {
    //配置了Swagger的Docket Bean实例
    @Bean
    public Docket docket() {
        return new Docket(DocumentationType.OAS_30).apiInfo(apiInfo());
    }

    //配置Swagger需要一个ApiInfo
    @Bean
    public ApiInfo apiInfo() {
        //作者信息
        Contact contact = new Contact("GMF","http://localhost:8080","2373271519@qq.com");

        ApiInfo apiInfo = new ApiInfo("GMF Swagger Documentation", "没什么好笑的", "1.0", "urn:tos"
                , contact, "Apache 2.0", "http://www.apache.org/licenses/LICENSE-2.0", new ArrayList());
        return apiInfo;
    }
}
Swagger相关配置源码Docket
public class Docket implements DocumentationPlugin {
    public Docket(DocumentationType documentationType) {
        //需要一个DocumentationType类型的参数
        this.documentationType = documentationType;
      }
}
Documentation
//Docket需要的参数类型
public class DocumentationType extends SimplePluginMetadata {
    //其中已经内置了三个对象,直接使用即可
    public static final DocumentationType SWAGGER_12 = new DocumentationType("swagger", "1.2");
    public static final DocumentationType SWAGGER_2 = new DocumentationType("swagger", "2.0");
    public static final DocumentationType OAS_30 = new DocumentationType("openApi", "3.0");
    /** @deprecated */
    @Deprecated
    public static final DocumentationType SPRING_WEB = new DocumentationType("spring-web", "5.2");
    private final MediaType mediaType;

    public DocumentationType(String name, String version, MediaType mediaType) {
        super(name, version);
        this.mediaType = mediaType;
    }

    public DocumentationType(String name, String version) {
        this(name, version, MediaType.APPLICATION_JSON);
    }

    public MediaType getMediaType() {
        return this.mediaType;
    }

    public boolean equals(Object o) {
        if (this == o) {
            return true;
        } else if (!(o instanceof DocumentationType)) {
            return false;
        } else if (!super.equals(o)) {
            return false;
        } else {
            DocumentationType that = (DocumentationType)o;
            return super.equals(that) && this.mediaType.equals(that.mediaType);
        }
    }

    public int hashCode() {
        int result = super.hashCode();
        result = 31 * result + this.mediaType.hashCode();
        return result;
    }
}
ApiInfo
public class ApiInfo {
    public static final Contact DEFAULT_CONTACT = new Contact("", "", "");
    public static final ApiInfo DEFAULT;
    private final String version;
    private final String title;
    private final String description;
    private final String termsOfServiceUrl;
    private final String license;
    private final String licenseUrl;
    private final Contact contact;
    private final List<VendorExtension> vendorExtensions;

    public ApiInfo(String title, String description, String version, String termsOfServiceUrl, Contact contact, String license, String licenseUrl, Collection<VendorExtension> vendorExtensions) {
        this.title = title;
        this.description = description;
        this.version = version;
        this.termsOfServiceUrl = termsOfServiceUrl;
        this.contact = contact;
        this.license = license;
        this.licenseUrl = licenseUrl;
        this.vendorExtensions = new ArrayList(vendorExtensions);
    }

    static {
        DEFAULT = new ApiInfo("Api Documentation", "Api Documentation", "1.0", "urn:tos", DEFAULT_CONTACT, "Apache 2.0", "http://www.apache.org/licenses/LICENSE-2.0", new ArrayList());
    }

    ...
}
2. Swagger配置扫描接口
/**
 * @className: SwaggerConfig
 * @description 定制化Swagger
 * @author GMF
 * @date 2021/3/4
 * @time 11:07
*/
@Configuration
@Slf4j
public class SwaggerConfig {

    //查看当前Profile环境
    @Value("${spring.profiles.active}")
    private String profile;

    //配置了Swagger的Docket Bean实例
    @Bean
    public Docket docket(Environment environment) {
        log.info("当前的profile环境为{}",profile);
        return new Docket(DocumentationType.OAS_30)
                .apiInfo(apiInfo())
                //获取API选择构建器,再次调用build方法返回构建文档
                .select()
                //RequestHandlerSelectors:配置要扫描接口的方式
                //basePackage():指定要扫描的包
                .apis(RequestHandlerSelectors.basePackage("com.gmf.controller"))
                //指定要过滤的路径
                //.paths(PathSelectors.ant("/gmf/**"))
                .build();  //建造者模式
    }
}
ApiSelectorBuilder
public class ApiSelectorBuilder {
    //制定扫描接口的规则,使用时调用RequestHandlerSelectors类中的方法获取需要的参数
    public ApiSelectorBuilder apis(Predicate<RequestHandler> selector) {
        requestHandlerSelector = requestHandlerSelector.and(selector);
        return this;
      }

    //指定要过滤的路径,调用时使用PathSelectors类中的方法获取需要的参数
      public ApiSelectorBuilder paths(Predicate<String> selector) {
        pathSelector = pathSelector.and(selector);
        return this;
      }

    //返回一个构建文件Docket对象
    public Docket build() {
        return parent.selector(new ApiSelector(combine(requestHandlerSelector, pathSelector), pathSelector));
      }

    ...
}
RequestHandlerSelectors
//制定扫描接口的规则
public class RequestHandlerSelectors {
    private RequestHandlerSelectors() {
        throw new UnsupportedOperationException();
    }

    //扫描所有接口
    public static Predicate<RequestHandler> any() {
        return (each) -> {
            return true;
        };
    }

    //不再扫描任何接口
    public static Predicate<RequestHandler> none() {
        return (each) -> {
            return false;
        };
    }

    //扫描方法上使用指定注解的接口
    public static Predicate<RequestHandler> withMethodAnnotation(final Class<? extends Annotation> annotation) {
        return (input) -> {
            return input.isAnnotatedWith(annotation);
        };
    }

    //扫描类上使用指定注解的接口
    public static Predicate<RequestHandler> withClassAnnotation(final Class<? extends Annotation> annotation) {
        return (input) -> {
            return (Boolean)declaringClass(input).map(annotationPresent(annotation)).orElse(false);
        };
    }

    private static Function<Class<?>, Boolean> annotationPresent(final Class<? extends Annotation> annotation) {
        return (input) -> {
            return input.isAnnotationPresent(annotation);
        };
    }

    private static Function<Class<?>, Boolean> handlerPackage(final String basePackage) {
        return (input) -> {
            return ClassUtils.getPackageName(input).startsWith(basePackage);
        };
    }

    //扫描指定包路径下的接口
    public static Predicate<RequestHandler> basePackage(String basePackage) {
        return (input) -> {
            return (Boolean)declaringClass(input).map(handlerPackage(basePackage)).orElse(true);
        };
    }

    private static Optional<Class<?>> declaringClass(RequestHandler input) {
        return Optional.ofNullable(input.declaringClass());
    }
}
PathSelectors
public class PathSelectors {
    private PathSelectors() {
        throw new UnsupportedOperationException();
    }

    //过滤全部
    public static Predicate<String> any() {
        return (each) -> {
            return true;
        };
    }

    //不再过滤
    public static Predicate<String> none() {
        return (each) -> {
            return false;
        };
    }

    //使用正则表达式过滤指定接口
    public static Predicate<String> regex(final String pathRegex) {
        return new Predicate<String>() {
            public boolean test(String input) {
                return input.matches(pathRegex);
            }
        };
    }

    //过滤指定路径过滤指定接口
    public static Predicate<String> ant(final String antPattern) {
        return new Predicate<String>() {
            public boolean test(String input) {
                AntPathMatcher matcher = new AntPathMatcher();
                return matcher.match(antPattern, input);
            }
        };
    }
}
3. Profile环境切换开启关闭Swagger
在Swagger默认配置类中,引入了SpringfoxConfigurationProperties类的配置
@Configuration
@EnableConfigurationProperties({SpringfoxConfigurationProperties.class})
@ConditionalOnProperty(
    value = {"springfox.documentation.enabled"},
    havingValue = "true",
    matchIfMissing = true
)
@Import({OpenApiDocumentationConfiguration.class, SpringDataRestConfiguration.class, BeanValidatorPluginsConfiguration.class, Swagger2DocumentationConfiguration.class, SwaggerUiWebFluxConfiguration.class, SwaggerUiWebMvcConfiguration.class})
@AutoConfigureAfter({WebMvcAutoConfiguration.class, JacksonAutoConfiguration.class, HttpMessageConvertersAutoConfiguration.class, RepositoryRestMvcAutoConfiguration.class})
public class OpenApiAutoConfiguration {
    public OpenApiAutoConfiguration() {
    }
}
SpringfoxConfigurationProperties:Swagger相关配置
@ConfigurationProperties("springfox.documentation")
public class SpringfoxConfigurationProperties {
    //开启Swagger功能
    private boolean enabled = true;

    ...
}
建立不同环境下的配置文件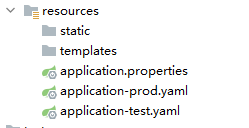
application-prod.yaml
#线上环境关闭Swagger
springfox:
  documentation:
    enabled: false
application-test.yaml
#开发环境开启Swagger功能
springfox:
  documentation:
    enabled: true
application.properties
#指定profile环境
spring.profiles.active=prod
测试线上环境Swagger运行情况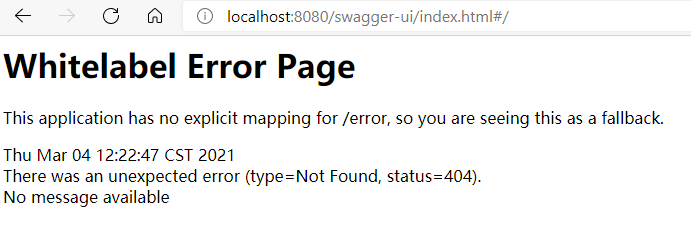
测试开发环境Swagger运行情况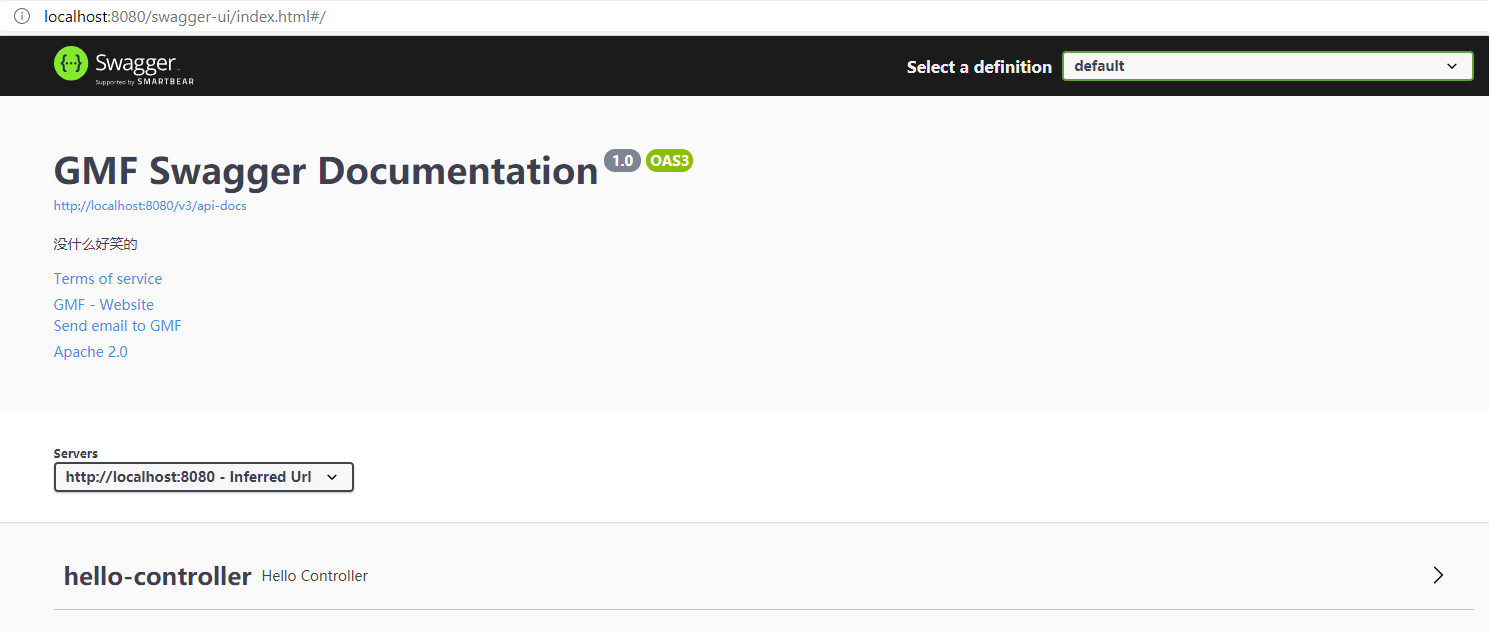
4. Swagger分组
在容器中添加多个Docket Bean
@Bean
public Docket docket1(){
    return new Docket(DocumentationType.OAS_30).groupName("A");
}

@Bean
public Docket docket2(){
    return new Docket(DocumentationType.OAS_30).groupName("B");
}

@Bean
public Docket docket3(){
    return new Docket(DocumentationType.OAS_30).groupName("C");
}
出现了多个分组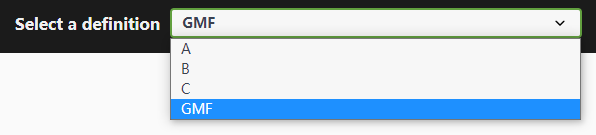
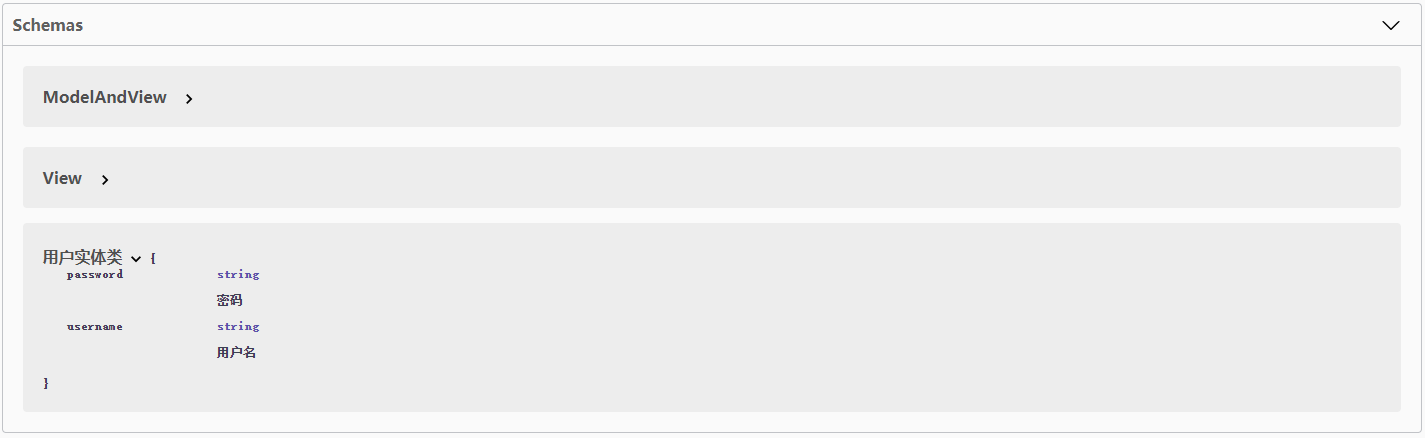
5. Swagger对接口(Controlelr)的注释
如果需要在Swagger中显示Model实体,则需要将其添加到扫描的指定包下的Controller返回值中
Controller
@RestController
public class HelloController {
    /**
     * @param
     * @return com.gmf.pojo.User
     * @description 创建的实体只要在Controller中有返回,则会添加到Swagger的Model中
     */
    @PostMapping("/user")
    public User user(){
        return new User();
    }
}
pojo
import io.swagger.annotations.ApiModel;
import lombok.Data;

//标注实体在Swagger Model中的显示名称
@ApiModel("用户实体类")
@Data
public class User {
    //标注实体属性在Swagger中显示的名称
    @ApiModelProperty("用户名")
    private String username;
    @ApiModelProperty("密码")
    private String password;
}
如果需要为接口(Controller)添加注释,在Swagger页面显示详细信息,则需要添加@ApiXxx注解
@RestController
@Api(tags = "Swagger接口测试")  //标注Controller名称
public class HelloController {
    @GetMapping("/hello")
    public String hello(){
        return "Hello";
    }

    /**
     * @param
     * @return com.gmf.pojo.User
     * @description 创建的实体只要在Controller中有返回,则会添加到Swagger的Model中
     */
    @PostMapping("/user")
    public User user(){
        return new User();
    }

    //标注每一个接口的名称
    @ApiOperation("测试传递User参数的controller接口")
    @PostMapping
    //标注所需参数的名称
    public User user(@ApiParam("参数传递的User实体") User user){
        return user;
    }
}
在Swagger页面显示了扫描包下的所有接口,并附带有注解的详细信息
更厉害之处在于,前端人员能直接进行接口测试,**极大的方便了前端与后端之间的沟通**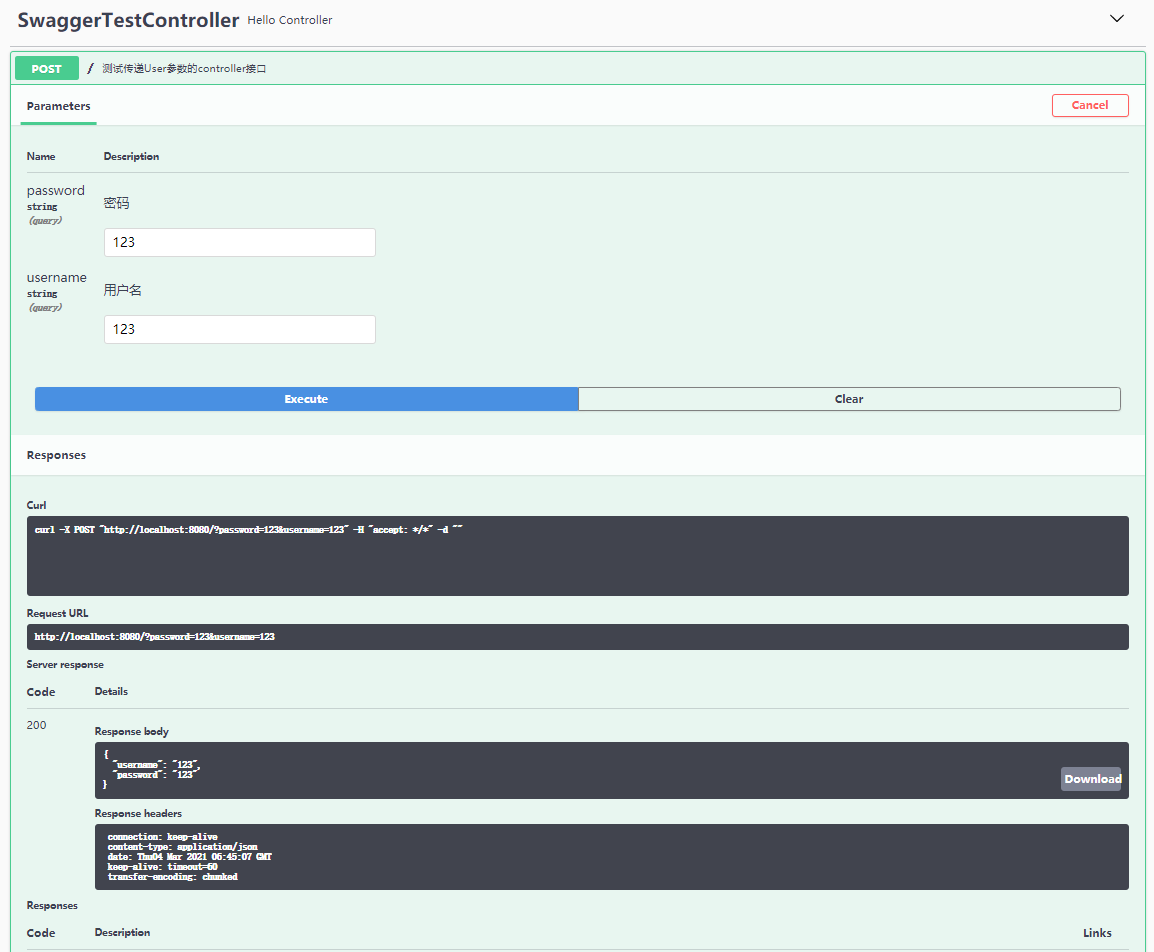
注意:在项目正式发布之前,关闭Swagger,出于安全考虑,并且减少内存占用

若有收获,就点个赞吧
0 人点赞
