- EpicApp()
- ConnectPage
- InfoPage
- We are going to use screen manager, so we can add multiple screens
- and switch between them
- Initial, connection screen (we use passed in name to activate screen)
- First create a page, then a new screen, add page to screen and screen to screen manager
- Info page
- Info page was below
- runs on initialization
- Our Main Screen
- Simple information/error page
 |
|---|
| © Karobben |
由於語法渲染問題而影響閱讀體驗, 請移步博客閱讀~
本文GitPage地址
Introduction of kivy:
Youtube Vedio
Text Tutorial
As you can see, I skipped lesson 2 which is introducing how to add and join a button.
Besides, he showed us how to get the input texts from the TextInput
In this video, Sant introduced the module of screenmanager from kivy.uix.
Main skeleton of the codes:
import kivyfrom kivy.app import Appfrom kivy.uix.label import Labelfrom kivy.uix.gridlayout import GridLayout## to use buttons:from kivy.uix.button import Button## to screenfrom kivy.uix.screenmanager import ScreenManager, Screenkivy.require("1.10.1")class EpicApp(App):class ConnectPage(GridLayout):class InfoPage(GridLayout):if __name__ == "__main__":chat_app = EpicApp()chat_app.run()
EpicApp()
As you can see, there are three classes. In the first class, EpicApp, is the class which manager different screens.
class EpicApp(App):def build(self):# We are going to use screen manager, so we can add multiple screens# and switch between themself.screen_manager = ScreenManager()# Initial, connection screen (we use passed in name to activate screen)# First create a page, then a new screen, add page to screen and screen to screen managerself.connect_page = ConnectPage()screen = Screen(name='Connect')screen.add_widget(self.connect_page)self.screen_manager.add_widget(screen)# Info page# Info page was belowself.info_page = InfoPage()screen = Screen(name='Info')screen.add_widget(self.info_page)self.screen_manager.add_widget(screen)return self.screen_manager
After assigned the screen_manger, we need to assign the “name” and “widget” on each screen; and then, add them into screen_manager
As we can see, it loaded the ConnectPage first, and named it as ‘Connect’ which was used to switch the screen later.
Who loaded first would be the Home Page.
ConnectPage
class ConnectPage(GridLayout):# runs on initialization# Our Main Screendef __init__(self, **kwargs):super().__init__(**kwargs)self.cols = 1 # used for our gridself.add_widget(Label(text='Hello World')) # widget #1, top left#self.add_widget(self.ip) # widget #2, top right# add our button.self.join = Button(text="Try me")self.join.bind(on_press=self.join_button)self.add_widget(Label()) # just take up the spot.self.add_widget(self.join)def join_button(self, instance):#print(f"Joining {ip}:{port} as {username}")# Create info string, update InfoPage with a message and show itinfo = f"You found me"chat_app.info_page.update_info(info)chat_app.screen_manager.current = 'Info'
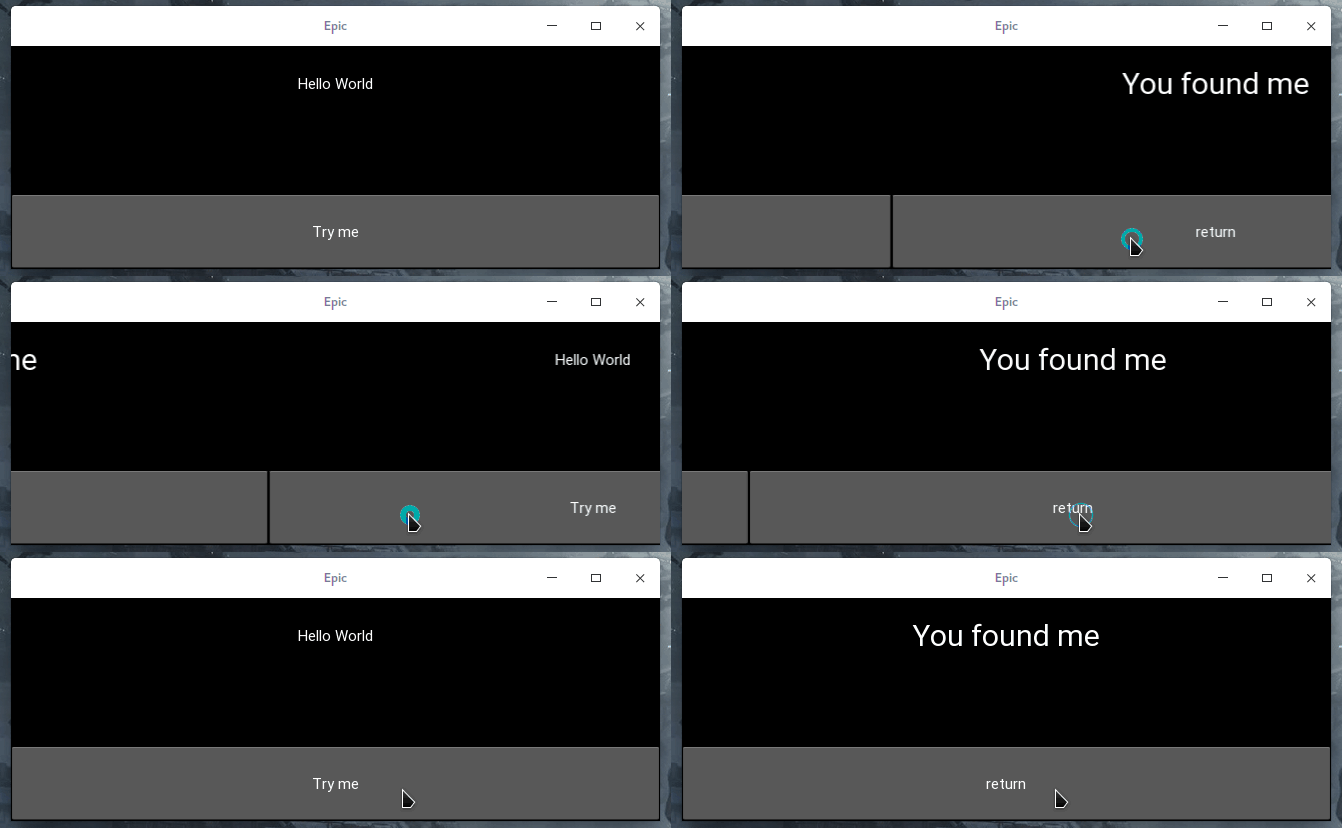
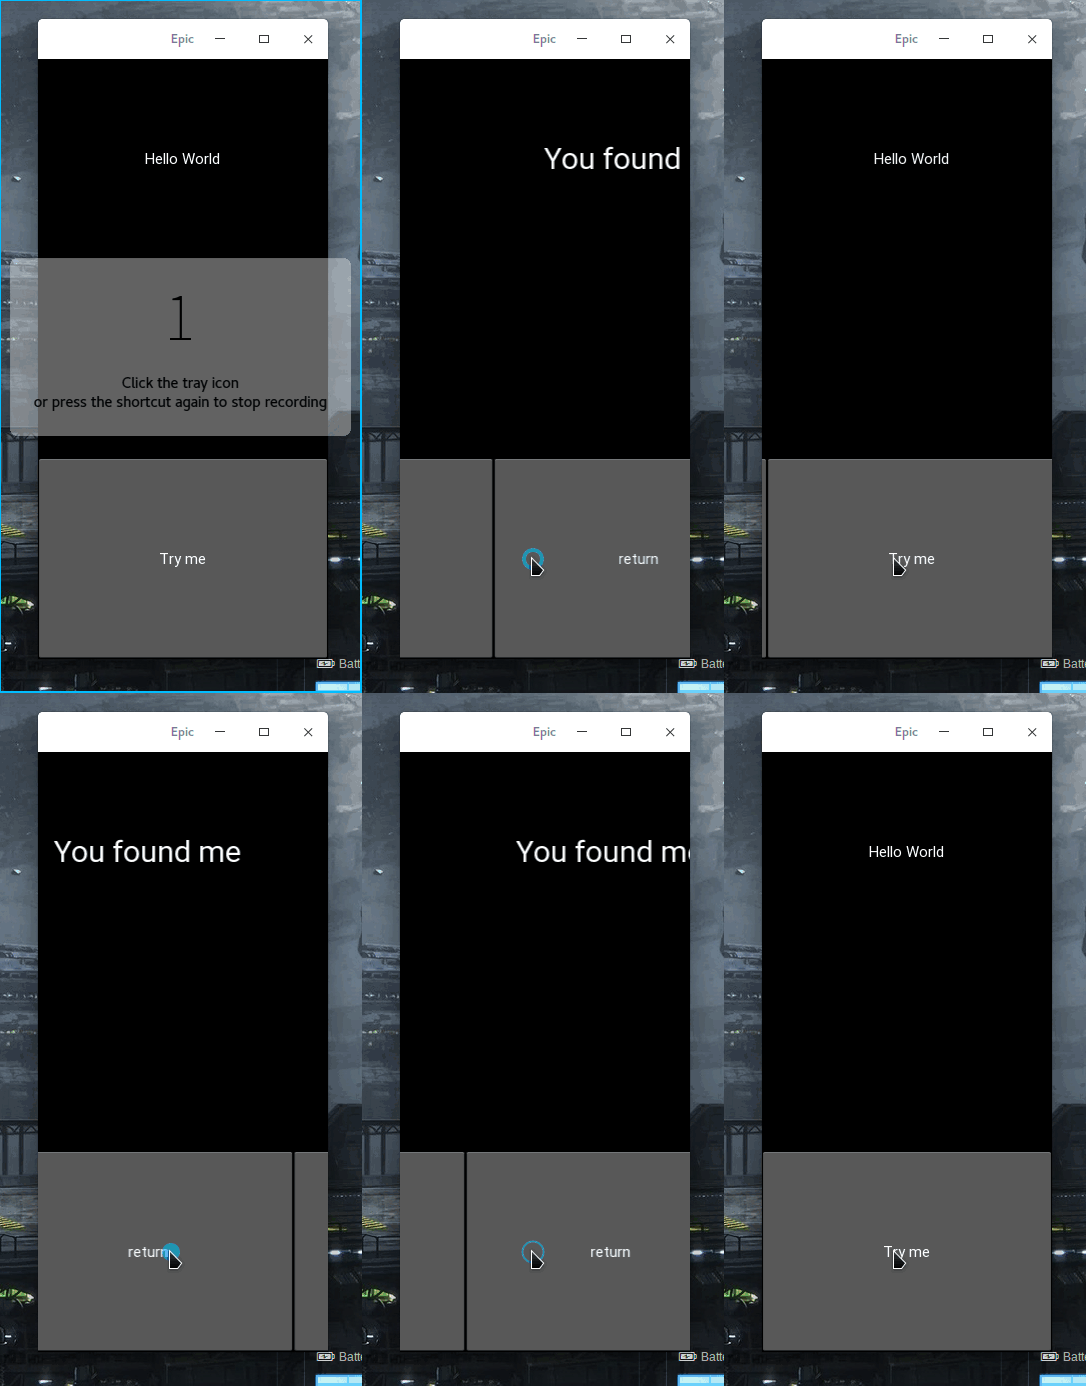
The layout of this page was clearly explained by Sant. And for practicing, I simplified it and remained a line of text and button only. The button is the key to join another screen. The trick of it is create a brand new screen.
InfoPage
class InfoPage(GridLayout):def __init__(self, **kwargs):super().__init__(**kwargs)# Just one columnself.cols = 1# And one label with bigger font and centered textself.message = Label(halign="center", valign="middle", font_size=30)# By default every widget returns it's side as [100, 100], it gets finally resized,# but we have to listen for size change to get a new one# more: https://github.com/kivy/kivy/issues/1044self.message.bind(width=self.update_text_width)# Add text widget to the layoutself.add_widget(self.message)# add our button.# Add an return buttonself.join = Button(text="return")self.join.bind(on_press=self.join_button)self.add_widget(Label()) # just take up the spot.self.add_widget(self.join)def join_button(self, instance):#print(f"Joining {ip}:{port} as {username}")chat_app.screen_manager.current = 'Connect'# Called with a message, to update message text in widgetdef update_info(self, message):self.message.text = message# Called on label width update, so we can set text width properly - to 90% of label widthdef update_text_width(self, *_):self.message.text_size = (self.message.width * 0.9, None)
In this page, Sant add a function which could update the texts in the screen. So we can print the texts by running chat_app.info_page.update_info(info) before switch to the screen ‘Info’
And personally, I add a return button to back to the home page.

Click to see the full version of the codekivy.require(“1.10.1”)
class EpicApp(App):
def build(self):
We are going to use screen manager, so we can add multiple screens
and switch between them
self.screen_manager = ScreenManager()
Initial, connection screen (we use passed in name to activate screen)
First create a page, then a new screen, add page to screen and screen to screen manager
self.connect_page = ConnectPage()
screen = Screen(name=’Connect’)
screen.add_widget(self.connect_page)
self.screen_manager.add_widget(screen)
Info page
Info page was below
self.info_page = InfoPage()
screen = Screen(name=’Info’)
screen.add_widget(self.info_page)
self.screen_manager.add_widget(screen)
return self.screen_manager
class ConnectPage(GridLayout):
runs on initialization
Our Main Screen
def init(self, kwargs):
super().init(kwargs)
self.cols = 1 # used for our gridself.add_widget(Label(text='Hello World')) # widget #1, top left#self.add_widget(self.ip) # widget #2, top right# add our button.self.join = Button(text="Try me")self.join.bind(on_press=self.join_button)self.add_widget(Label()) # just take up the spot.self.add_widget(self.join)def join_button(self, instance):#print(f"Joining {ip}:{port} as {username}")# Create info string, update InfoPage with a message and show itinfo = f"You found me"chat_app.info_page.update_info(info)chat_app.screen_manager.current = 'Info'
Simple information/error page
class InfoPage(GridLayout):
def init(self, kwargs):
super().init(kwargs)
# Just one columnself.cols = 1# And one label with bigger font and centered textself.message = Label(halign="center", valign="middle", font_size=30)# By default every widget returns it's side as [100, 100], it gets finally resized,# but we have to listen for size change to get a new one# more: https://github.com/kivy/kivy/issues/1044self.message.bind(width=self.update_text_width)# Add text widget to the layoutself.add_widget(self.message)# add our button.# Add an return buttonself.join = Button(text="return")self.join.bind(on_press=self.join_button)self.add_widget(Label()) # just take up the spot.self.add_widget(self.join)def join_button(self, instance):#print(f"Joining {ip}:{port} as {username}")chat_app.screen_manager.current = 'Connect'# Called with a message, to update message text in widgetdef update_info(self, message):self.message.text = message# Called on label width update, so we can set text width properly - to 90% of label widthdef update_text_width(self, *_):self.message.text_size = (self.message.width * 0.9, None)
if name == “main“:
chat_app = EpicApp()
chat_app.run()
<details>---**Enjoy~**本文由<span style='color:salmon'>Python腳本</span>[GitHub](https://karobben.github.io/2021/03/02/Python/yuqueAPI)/[語雀](https://www.yuque.com/liuwenkan/python/yuque_api)自動更新<span style='color:salmon'>由於語法渲染問題而影響閱讀體驗, 請移步博客閱讀~</span>[本文GitPage地址](https://karobben.github.io/2020/11/12/Python/Kivy_sent3)GitHub: [Karobben](https://github.com/Karobben)Blog:[Karobben](https://karobben.github.io/)BiliBili:[史上最不正經的生物狗](https://space.bilibili.com/393056819)

