首先介绍Android项目目录及文件作用
res/layout/main.xmlApp主窗体布局文件,你的应用长什么样都在这边定义,有Design和Text两种模式res/values/strings.xml可以理解为i18n文件,这个文件用来存放程序调用的各种字符串src/com/example/helloandroid/MyActivity.java这个就是我们的主程序类,等下要实现的功能都在这个文件里添加为应用添加一个
id为hellotextView的textview和一个id为hellobutton的button,main.xml代码如下:<?xml version="1.0" encoding="utf-8"?><LinearLayout xmlns:android="http://schemas.android.com/apk/res/android"android:orientation="vertical"android:layout_width="fill_parent"android:layout_height="fill_parent"><TextViewandroid:layout_width="fill_parent"android:layout_height="180dp"android:text="@string/default_message"android:id="@+id/hellotextView" android:textColor="#00ff00" android:gravity="center"/><Buttonandroid:layout_width="wrap_content"android:layout_height="wrap_content"android:text="@string/button_send"android:id="@+id/hellobutton" android:layout_gravity="center"/></LinearLayout>
strings.xml代码和控件用到的字符串定义如下:<?xml version="1.0" encoding="utf-8"?><resources><string name="app_name">helloandroid by hiwanz</string><string name="button_send">Say something</string><string name="default_message">Click button below!</string><string name="interact_message">You just clicked on the Button!</string></resources>
MyActivity.java主程序中定义button点击后改变textview显示的文本,并且弹出Toast提示信息,代码如下: ```java package com.example.helloandroid;
import android.app.Activity; import android.os.Bundle; import android.view.View; import android.widget.Button; import android.widget.TextView; import android.widget.Toast;
public class MyActivity extends Activity { /**
* Called when the activity is first created.*/@Overridepublic void onCreate(Bundle savedInstanceState) {super.onCreate(savedInstanceState);setContentView(R.layout.main);//得到按钮实例Button hellobtn = (Button)findViewById(R.id.hellobutton);//设置监听按钮点击事件hellobtn.setOnClickListener(new View.OnClickListener() {@Overridepublic void onClick(View v) {//得到textview实例TextView hellotv = (TextView)findViewById(R.id.hellotextView);//弹出Toast提示按钮被点击了Toast.makeText(MyActivity.this,"Clicked",Toast.LENGTH_SHORT).show();//读取strings.xml定义的interact_message信息并写到textview上hellotv.setText(R.string.interact_message);}});}
}
有了以上的一些基本知识,来看混合开发目录结构就更清晰了。<a name="bJ5nz"></a>### 混合开发Demo地址[https://github.com/liulinboyi/HybridAppDemo](https://github.com/liulinboyi/HybridAppDemo)使用`Android Studio`打开,里面用到了`gradle`需要使用国内镜像或者自行解决网络问题。只要看这两个文件:<a name="PlMJ8"></a>#### MyJaveScriptInterface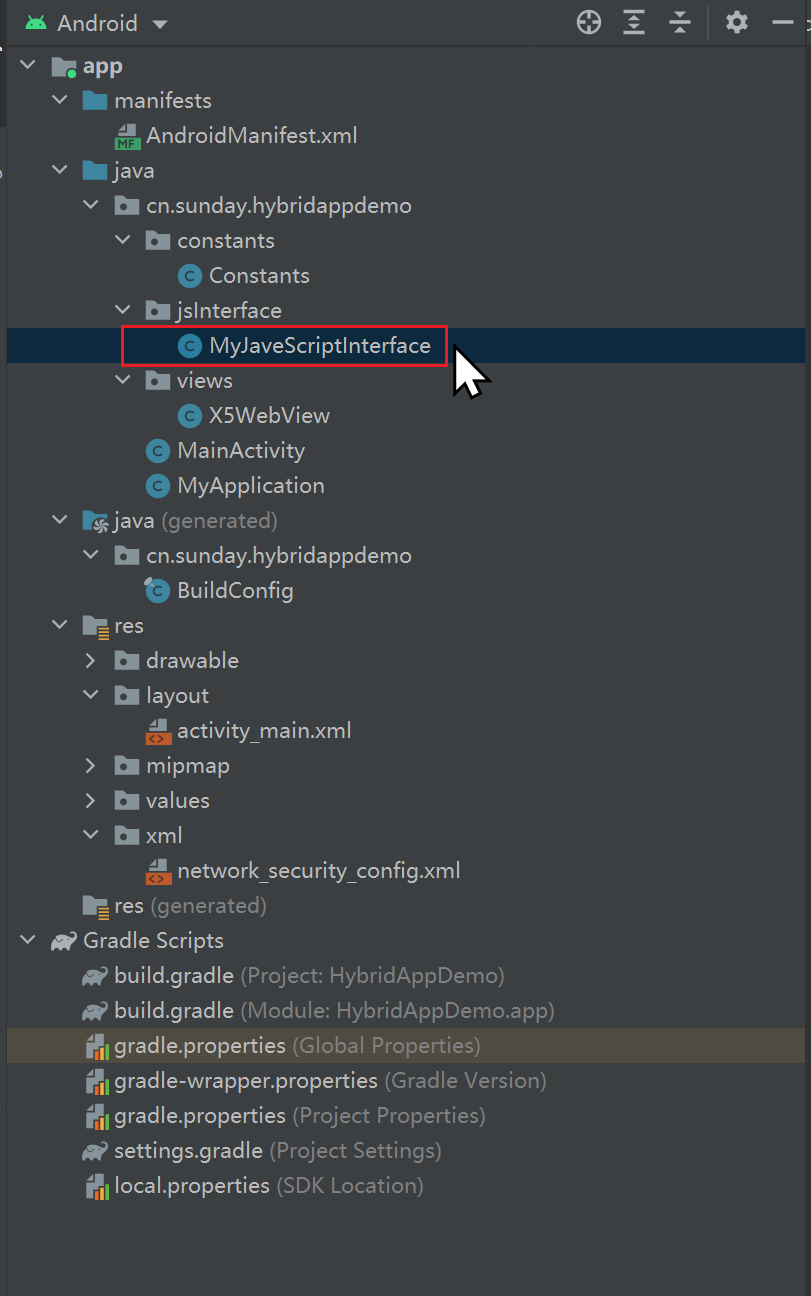```javapackage cn.sunday.hybridappdemo.jsInterface;import android.app.AlertDialog;import android.content.Context;import android.webkit.JavascriptInterface;import com.tencent.smtt.sdk.ValueCallback;import java.util.Timer;import java.util.TimerTask;import cn.sunday.hybridappdemo.views.X5WebView;//可以被Webview调用的安卓原生方法public class MyJaveScriptInterface {private Context mContext;private X5WebView mWebView;public MyJaveScriptInterface(Context context, X5WebView x5WebView) {this.mContext = context;this.mWebView = x5WebView;}/*** window.AndroidJSBridge.androidTestFunction1('xxxx')* 调用该方法,APP 会弹出一个 Alert 对话框,* 对话框中的内容为 JavaScript 传入的字符串** @param str android 只能接收基本数据类型参数* ,不能接收引用类型的数据(Object、Array)。* JSON.stringify(Object) -> String* *重要**/@JavascriptInterfacepublic void androidTestFunction1(String str/*安卓接收的参数只能是基本数据类型*/) {AlertDialog.Builder builder = new AlertDialog.Builder(mContext);builder.setMessage(str);builder.setNegativeButton("确定", null);builder.create().show();}/*** 调用该方法,方法会返回一个返回值给 javaScript 端** @return 返回值的内容为:"androidTestFunction2方法的返回值"*/@JavascriptInterfacepublic String androidTestFunction2() {return "androidTestFunction2方法的返回值";}}
MainActivity
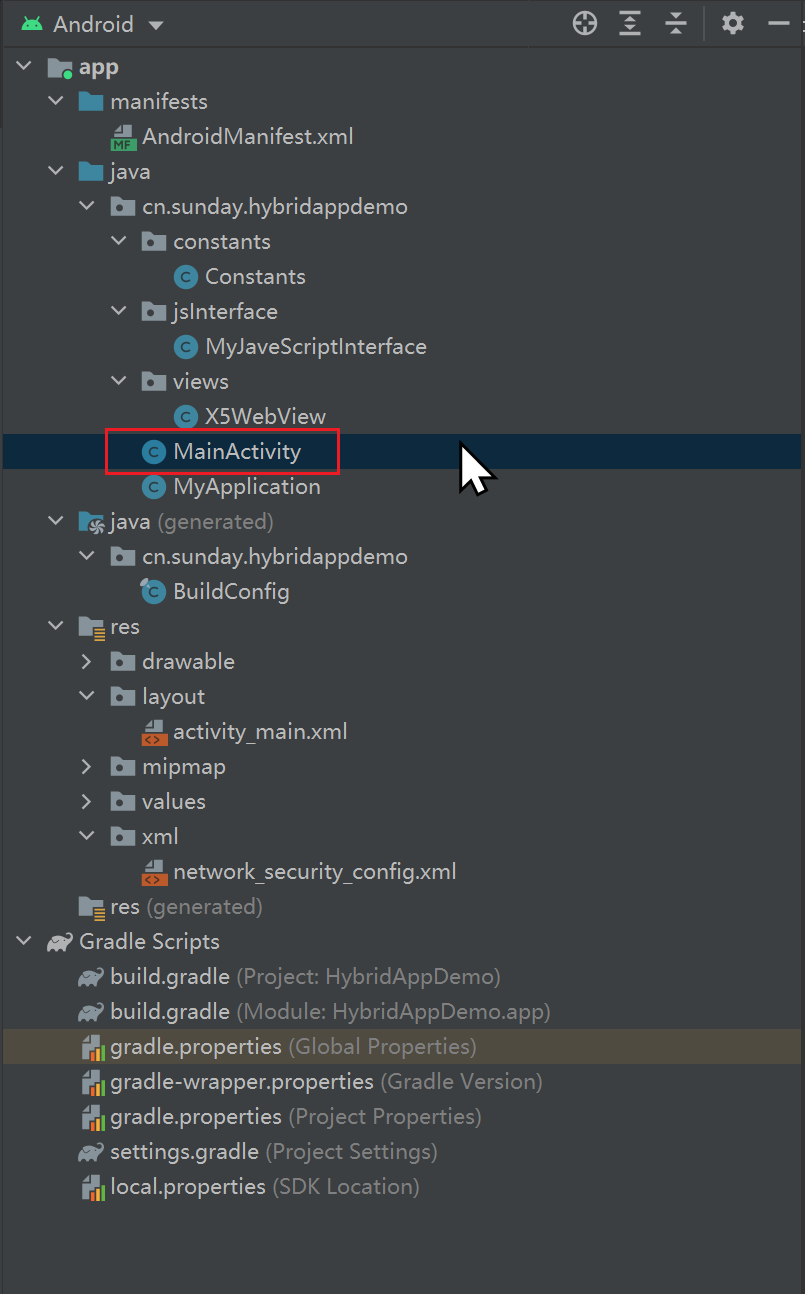
package cn.sunday.hybridappdemo;import android.app.AlertDialog;import android.os.Handler;import android.support.v7.app.AppCompatActivity;import android.os.Bundle;import android.util.JsonReader;import android.util.Log;import android.view.View;import com.tencent.smtt.export.external.interfaces.JsResult;import com.tencent.smtt.sdk.ValueCallback;import org.json.JSONException;import org.json.JSONObject;import cn.sunday.hybridappdemo.constants.Constants;import cn.sunday.hybridappdemo.views.X5WebView;public class MainActivity extends AppCompatActivity {private X5WebView mWebView;@Overrideprotected void onCreate(Bundle savedInstanceState) {super.onCreate(savedInstanceState);setContentView(R.layout.activity_main);init();}/*** 初始化 webview*/private void init() {mWebView = findViewById(R.id.web_view);mWebView.loadUrl(Constants.WEB_URL);}/*** 原生端调用 web 方法,方法必须是挂载到 web 端 window 对象下面的方法。* 调用 JS 中的方法:onFunction1*/public void onJSFunction1(View v) {mWebView.evaluateJavascript("javascript:onFunction('android调用JS方法')", new ValueCallback<String>() {@Overridepublic void onReceiveValue(String s) {final AlertDialog.Builder builder = new AlertDialog.Builder(MainActivity.this);Log.d("onJSFunction1", s);//Debug 调试// https://stackoverflow.com/questions/10267910/jsonexception-value-of-type-java-lang-string-cannot-be-converted-to-jsonobjectString json = s.substring(s.indexOf("{"), s.lastIndexOf("}") + 1).replace("\\\"", "\"");Log.d("处理之后", json);//Debug 调试JSONObject res = null;try {res = new JSONObject(json);boolean flag = res.optBoolean("status");String msg = res.optString("msg");if (flag) {builder.setMessage(msg);builder.setNegativeButton("确定", null);builder.create().show();}} catch (JSONException e) {e.printStackTrace();}// 定时// Handler handler = new Handler();// handler.postDelayed(new Runnable() {// @Override// public void run() {// builder.create().show();// }// }, 1000);}});}}
index.html
<!DOCTYPE html><html lang="en"><head><meta charset="UTF-8"><meta name="viewport" content="width=device-width, initial-scale=1.0"><meta http-equiv="X-UA-Compatible" content="ie=edge"><title>Document</title></head><body><input type="button" value="js调用android方法1" onclick="onAndroidFunction1('js调用android方法1')"><input type="button" value="js调用android方法2" onclick="onAndroidFunction2()"><br><input type="button" value="js调用IOS方法1" onclick="onIOSFunction1('js调用ios方法1')"><input type="button" value="js调用IOS方法2" onclick="onIOSFunction2()"><script>// 调用 Android 方法1function onAndroidFunction1(str) {window.AndroidJSBridge.androidTestFunction1(str);}// 调用 Android 方法2function onAndroidFunction2() {var result = window.AndroidJSBridge.androidTestFunction2();alert(result);}// Android 调用 onFunction 方法window.onFunction = function (str) {// alert(str);result = window.confirm("hello");let res = JSON.stringify({status: result,msg: 'onFunction 方法已经调用完成 此消息来自Webview\n'});console.log(res)return res;}// ----------------------// 调用 IOS 方法1function onIOSFunction1(str) {window.webkit.messageHandlers.IOSTestFunction1.postMessage({msg: str});}// 调用 IOS 方法2function onIOSFunction2() {window.webkit.messageHandlers.IOSTestFunction2.postMessage({});}// IOS 回调 onFunctionIOS 方法window.onFunctionIOS = function (str) {alert(str);return 'onFunctionIOS 方法已经调用完成';}</script></body></html>

若有收获,就点个赞吧
0 人点赞
