准备工作
linux:CentOS 7
GitLab 社区版:gitlab-ce-12.8.7-ce.0.el6.x86_64.rpm
清华大学开源软件镜像站下载 https://mirrors.tuna.tsinghua.edu.cn/gitlab-ce/yum/el6/
服务器环境
如果服务器配置不够,会出现很多问题
https://docs.gitlab.com/ee/install/requirements.html#cpu
- 4核 4GB内存支持500个用户
- 8核 8GB内存 支持1000个用户
gitlab常用命令
启动:gitlab-ctl start查看状态:gitlab-ctl status重启:gitlab-ctl restart重新配置:gitlab-ctl reconfigure # 一般是修改配置后用查看实时日志:gitlab-ctl tail
搭建
配置依赖项
1、安装依赖项
[root@localhost opt]# yum install -y curl policycoreutils-python openssh-server
2、启用 sshd
[root@localhost opt]# systemctl enable sshd[root@localhost opt]# systemctl start sshd
3、防火墙放行 http 和 https
[root@localhost opt]# firewall-cmd --permanent --add-service=http[root@localhost opt]# firewall-cmd --permanent --add-service=https[root@localhost opt]# systemctl reload firewalld
关闭防火墙(上面方法可行)
[root@localhost opt]# firewall-cmd --state[root@localhost opt]# systemctl stop firewalld.service[root@localhost opt]# systemctl disable firewalld.service
4、安装 Postfix
postfix 可用于发电子邮件,是可选依赖
如果用 SMTP 方式来发送,则不需要安装 postfix
[root@localhost opt]# yum install postfix[root@localhost opt]# systemctl enable postfix[root@localhost opt]# systemctl start postfix
安装
将已经下载的镜像上传到服务器上
[root@localhost opt]# rpm -ivh gitlab-ce-12.8.7-ce.0.el6.x86_64.rpm --force
上传文件需要安装
yum install lrzsz
配置站点及邮箱
GitLab 的配置文件路径: /etc/gitlab/gitlab.rb,为了简单起见,我们只配置 external_url 和 smtp 相关配置;因为 postfix 发送的邮件会被 QQ 邮件服务器 、新浪邮件服务器等当成垃圾邮件而拒绝接收,所以我们需要开启 smtp,示例中配置的是 QQ 邮箱服务器,其他的邮件服务器配置可查看:smtp-settings
编辑 gitlab.rb:
vi /etc/gitlab/gitlab.rb//注:进入编辑器后按“i”键进入编辑状态,ESC键退出编辑状态,退出并保存,命令输入“:wq”
此时我们只修改如下配置项(配置项不是全部挨在一起)
external_url 'http://192.168.0.115' //当前服务器ip,见附件1//邮箱配置gitlab_rails['gitlab_email_from'] = 'xxx@qq.com'gitlab_rails['smtp_enable'] = truegitlab_rails['smtp_address'] = "smtp.qq.com"gitlab_rails['smtp_port'] = 465gitlab_rails['smtp_user_name'] = "xxx@qq.com"gitlab_rails['smtp_password'] = "授权码"gitlab_rails['smtp_domain'] = "smtp.qq.com"gitlab_rails['smtp_authentication'] = "login"gitlab_rails['smtp_enable_starttls_auto'] = truegitlab_rails['smtp_tls'] = trueuser['git_user_email'] = "xxx@qq.com"
如果8080端口被别的服务占用可以改成8081 8082等,如果开启额防火墙,需要把相应的端口放开:
例如:firewall-cmd --zone=public --add-port=8080/tcp --permanent
修改完并配置
(注:首次配置比较慢,因为需要配置、初始化各个组件;当出现下图内容时,表示配置完成)
# gitlab-ctl reconfigure //重新配置并启动# gitlab-ctl restart //启动
配置完成后会生成各个组件的配置文件和日志文件
配置文件路径: /opt/gitlab/etc/
日志文件路径: /var/log/gitlab/
(预计 5-6 分钟,需要耐心等待)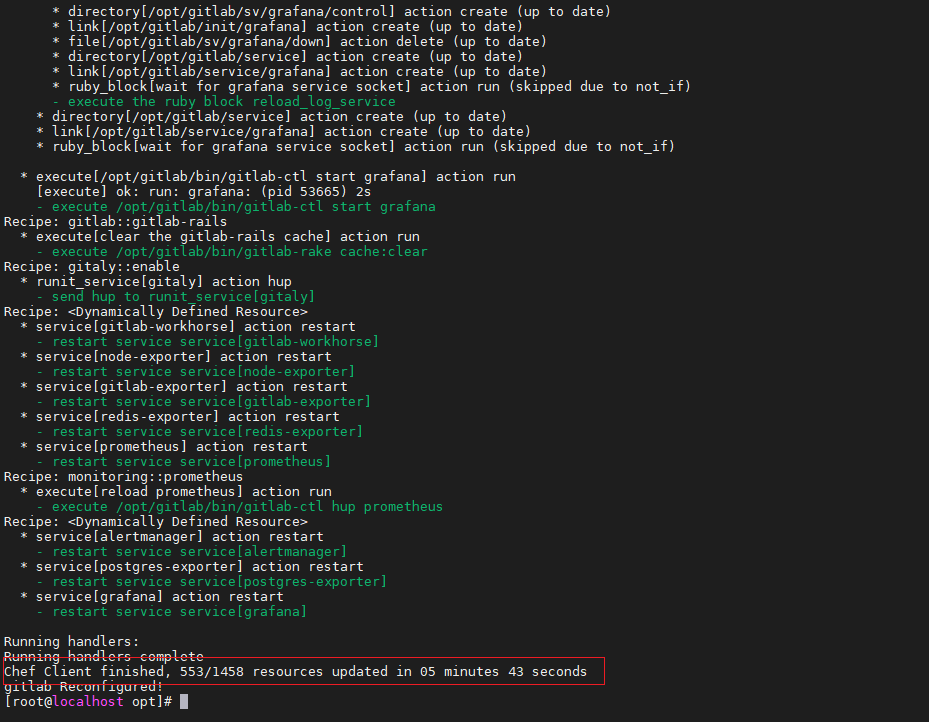
访问
输入刚才设置的服务器地址账号名 root
Gitlab如果是编译安装的默认管理员账号密码是:admin@``local``.host|5iveL!fe,如果是 rpm包安装则管理员账号密码是root|5iveL!fe
附件1:服务器ip配置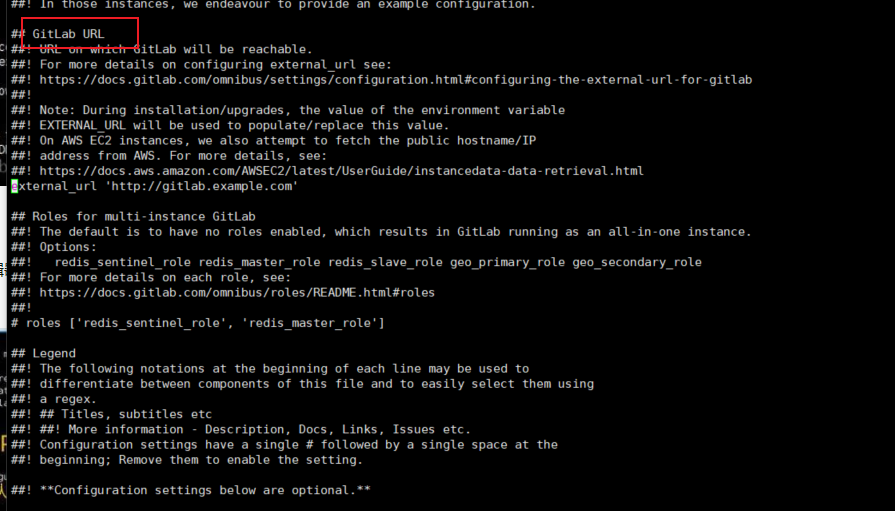
其他问题
服务器重启了 项目还在继续运行吗
文章
https://www.cnblogs.com/youzhibing/p/12487043.html
https://www.cnblogs.com/kevingrace/p/5985918.html


若有收获,就点个赞吧
0 人点赞
