DINEOF
好多人在遥感数据重构中会用到DINEOF方法,但是很多人不会用,这里记录笔记和教程。
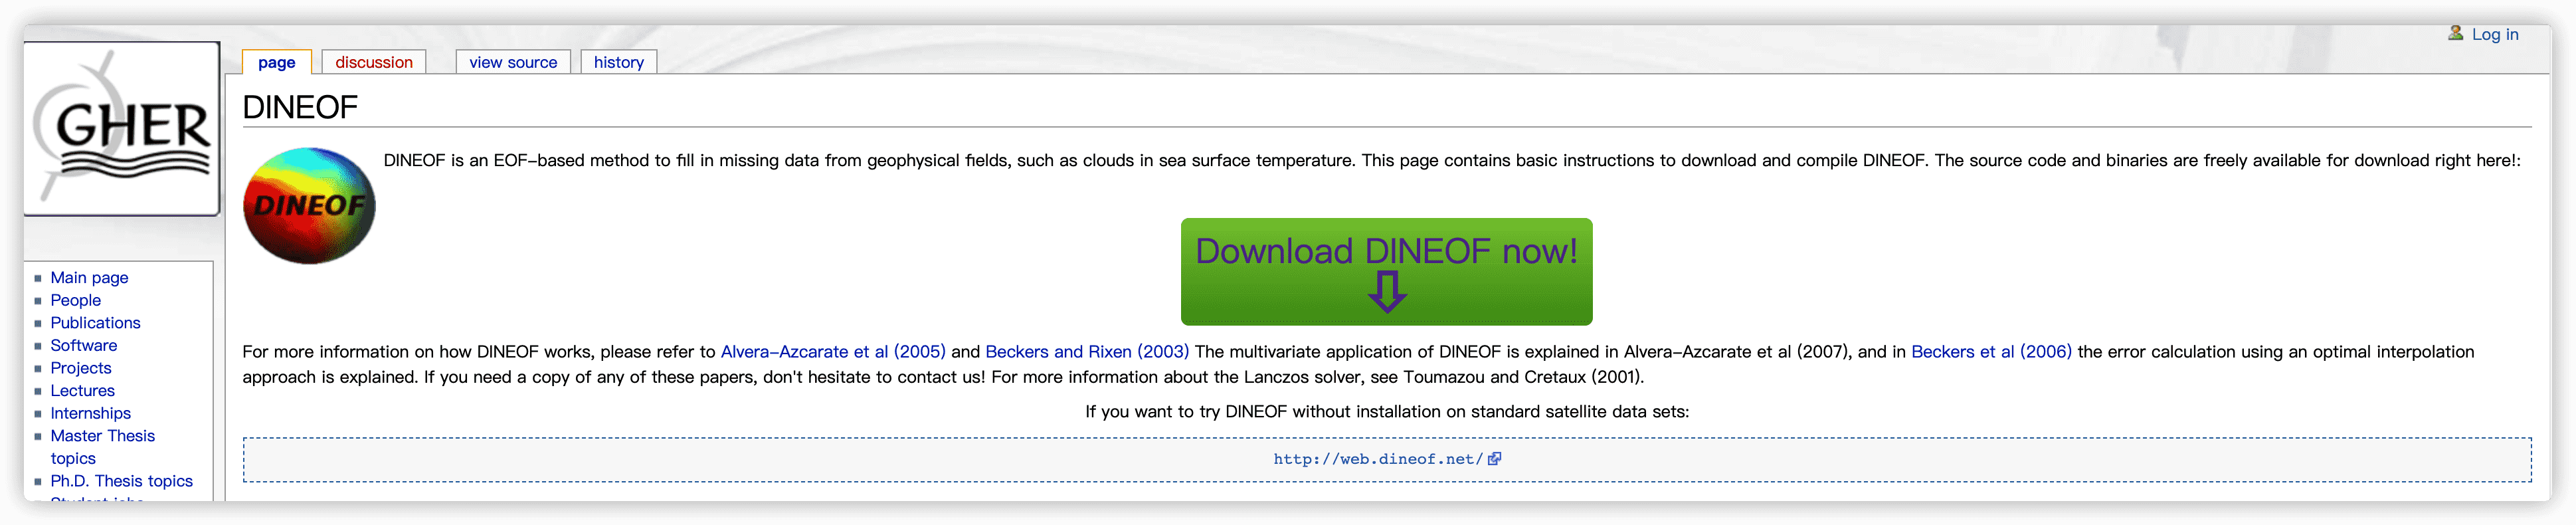
官网: http://modb.oce.ulg.ac.be/mediawiki/index.php/DINEOF
下载
从网站下载压缩包解压之后,有如图的目录结构,一般只需要用到框出来的这几样东西。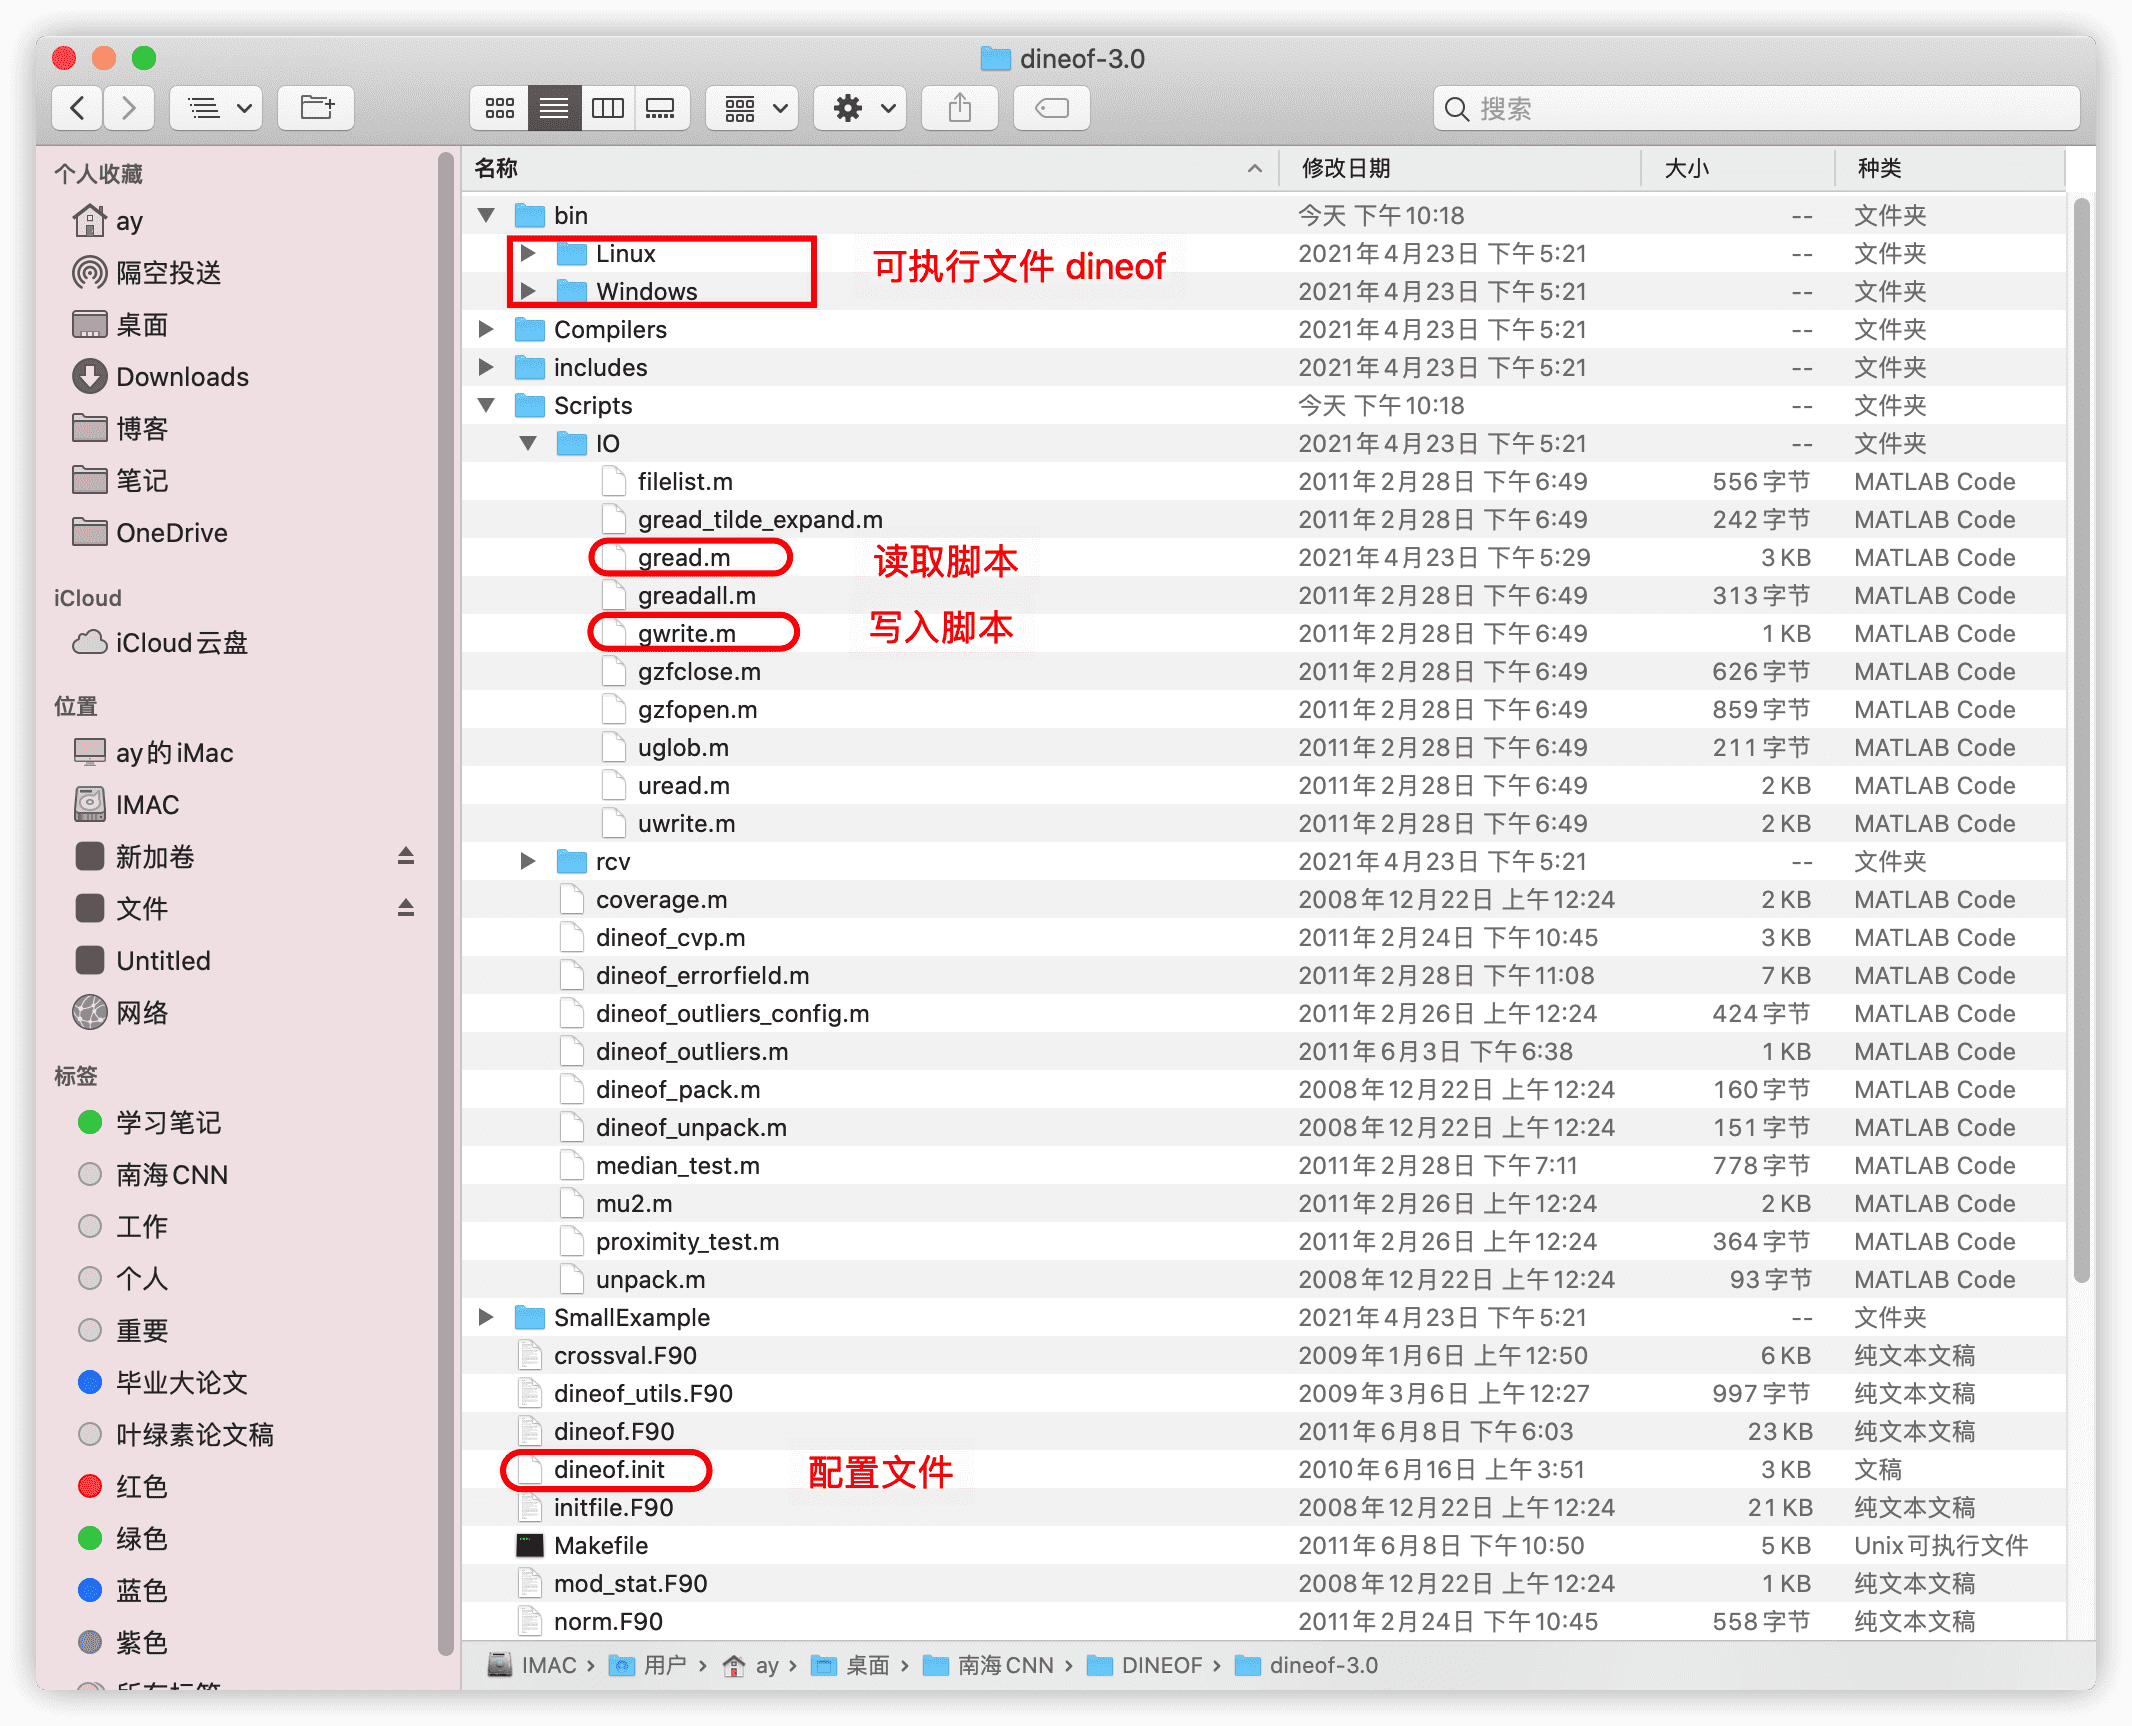
读取数据
基本步骤:
- 读取自己的文件,整理三个东西,分别是你要插值的变量,陆地掩码值,日期;
- 利用下载的dineof中的Matlab函数gwrite写成dineof可以直接读的数据
.dat格式 - 写好配置文件
dineof.init用shell脚本运行dineof dineof.init%% 南海叶绿素 元数据 写成DINEOF的格式filename = 'CCI_ALL-v5.0-DAILY.nc';ncinfos= ncinfo(filename);chlor_a = ncread(filename,'chlor_a');lon = ncread(filename,'lon');lat = ncread(filename,'lat');time = ncread(filename,'time');% generate mask[m,n,k] = size(chlor_a)mask = ones(m,n);for i = 1:mfor j = 1:nif sum(isnan(chlor_a(i,j,:)))>k-15mask(i,j) = 0;endendendgwrite('./occi14dat/chla.dat',chlor_a);gwrite('./occi14dat/mask.dat',mask);gwrite('./occi14dat/date.dat',time);
配置文件
有几个点解释一下:
- 陆地掩码:0-1矩阵,将数据中
NaN,或者缺失率超过一定比例的就设置为0,需要插值的海域设置为0. - 时间序列:生成一个代表时间连续性的时间列,不需要日期,只需要表示时间是否连续即可。比如说是一个月的天数据,那么时间就是1-30即可。如果中间缺失某一天,那么连续值需要跳过。
- 配置文件
dineof.init:# ! 表示注释,不执行,我们需要将matlab生成的dat文件路径在配置文件中详细写明确。分别为data=[]mask=[]time=[]还有输出放在哪个文件夹里output=[],除此之外,还有一些详细的参数,至于这些参数就需要读者理解原理,根据具体的任务和计算资源来进行调整了。! ! INPUT File for dineof 2.0 ! ! Lines starting with a ! or # are comments ! ! gappy data to fill by DINEOF. For several matrices, separate names with commas ! Example: ! data = ['seacoos2005.avhrr','seacoos2005.chl'] data = ['./occi14dat/chla.dat'] !data = ['2Dbelcolour_region_period_anomaly.gher'] !data = ['2Dbelcolour_region_period_dat.gher'] ! land-sea mask of gappy data. Several masks separated by commas: ! Example : ! mask = ['seacoos2005.avhrr.mask','seacoos2005.chl.mask'] mask = ['./occi14dat/mask.dat'] !mask = ['transpmaskindineof1D.gher'] time = './occi14dat/date.dat' alpha = 0.01 numit = 3 ! ! Sets the numerical variables for the computation of the required ! singular values and associated modes. ! ! Give 'nev' the maximum number of modes you want to compute nev = 5 ! Give 'neini' the minimum number of modes you want to compute neini = 1 ! Give 'ncv' the maximal size for the Krylov subspace ! (Do not change it as soon as ncv > nev+5) ! ncv must also be smaller than the temporal size of your matrix ncv = 10 ! Give 'tol' the treshold for Lanczos convergence ! By default 1.e-8 is quite reasonable tol = 1.0e-8 ! Parameter 'nitemax' defining the maximum number of iteration allowed for the stabilisation of eofs obtained by the cycle ((eof decomposition <-> truncated reconstruction and replacement of missing data)). An automatic criteria is defined by the following parameter 'itstop' to go faster nitemax = 300 ! Parameter 'toliter' is a precision criteria defining the threshold of automatic stopping of dineof iterations, once the ratio (rms of successive missing data reconstruction)/stdv(existing data) becomes lower than 'toliter'. toliter = 1.0e-3 ! Parameter 'rec' for complete reconstruction of the matrix ! rec=1 will reconstruct all points; rec=0 only missing points rec = 1 ! Parameter 'eof' for writing the left and right modes of the !input matrix. Disabled by default. To activate, set to 1 eof = 1 ! Parameter 'norm' to activate the normalisation of the input matrix !for multivariate case. Disabled by default. To activate, set to 1 norm = 0 ! Output folder. Left and Right EOFs will be written here ! !Output = './' Output = 'Output14/' ! ! user chosen cross-validation points, ! remove or comment-out the following entry if the cross-validation points are to be chosen ! internally ! ! clouds = 'crossvalidation.clouds' ! ! "results" contains the filenames of the filled data ! !results = ['All_95_1of2.sst.filled'] !results = ['Output/F2Dbelcolour_region_period_datfilled.gher'] results = ['./Output14/chla_filled.nc'] ! seed to initialize the random number generator seed = 243435 !-------------------------! ! cross-validation points ! !-------------------------! !number_cv_points = 7000 !cloud surface size in pixels cloud_size = 500 !cloud_mask = 'crossvalidation.mask' ! ! END OF PARAMETER FILE !
运行DINEOF
根据系统,将可执行文件
dineof,dineof.init放到同一个工作目录中,并确保dineof.init配置的数据路径可以被读取。同时保证dineof.init中你的输出文件夹已经创建且可被访问到。
配置好dineof.init文件之后,就可以在shell中通过如下命令来跑模型:
./dineof dineof.init

刚开始会输出一些你的输入信息,包括输入的文件和数据大小,同时还会计算数据的缺失率,后面就是模型的迭代过程了。
运行结束后,输出文件保存在Output/文件夹下,可以用Matlab通过下载的脚本里面的gread来调用,查看dineof插值之后的数据。
%% 读取DINEOF之后的数据chla_filled = gread('Output/chla_filled.nc');

若有收获,就点个赞吧
0 人点赞
