1.使用mock模拟服务器产生跨域
安装express
npm i -s express
新建mock文件夹
创建index.js
const express = require("express");const router = require("./router");const app = express();app.use("/", router);app.listen(3100, function () {console.log("端口已经启动,监听3000端口");});
创建路由文件router.js
const express = require("express");const router = express.Router();router.get("/api/list", (req, res) => {res.send([{ name: "iwen", age: 20, clas: 1 },{ name: "xiaomin", age: 25, clas: 3 },{ name: "wsen", age: 30, clas: 2 },{ name: "ddf", age: 21, clas: 1 },{ name: "wsfen", age: 30, clas: 2 },{ name: "dddddf", age: 24, clas: 4 },]);});module.exports = router;
运行文件
node index.js
2.配置代理解决跨域
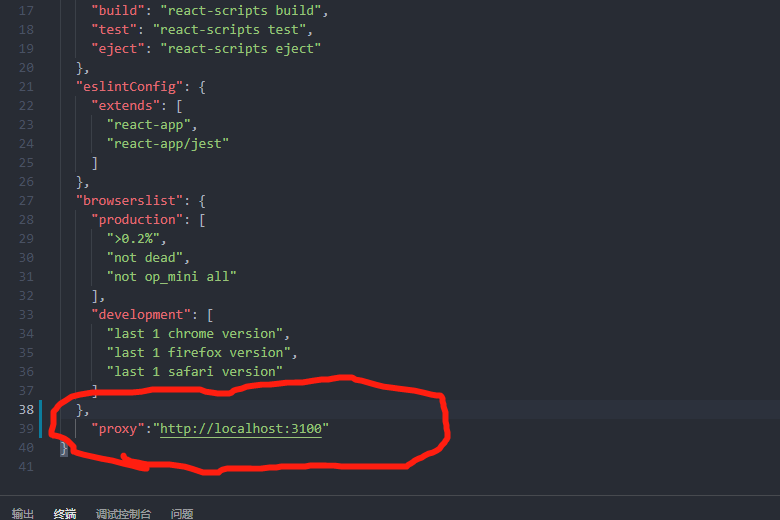
在package.json中配置代理
"proxy":"http://tingapi.ting.baidu.com"

在使用地址需要
function App() {const httpRequest = () => {//这里只需要写端口号后面的地址fetch("/api/list").then((res) => res.json()).then((data) => {console.log(data);});};return (<div className="App"><button onClick={httpRequest}>跨域请求方式一</button></div>);}export default App;
3.使用http-proxy-middleware
安装依赖
npm i http-proxy-middleware --s
在src目录下配置setupProxy.js文件
// const proxy = require('http-proxy-middleware')const { createProxyMiddleware } = require("http-proxy-middleware");module.exports = function (app) {// http://localhost:3100/api/listapp.use("/api",createProxyMiddleware("/api", {//api是需要转发的请求(所有带有/api1前缀的请求都会转发给5000)target: "http://localhost:8000", //配置转发目标地址(能返回数据的服务器地址)changeOrigin: true, //控制服务器接收到的请求头中host字段的值pathRewrite: {'^/api': ''} //去除请求前缀,保证交给后台服务器的是正常请求地址(必须配置)}));};
使用
function App() {const httpRequest = () => {//这里的地址为api开头fetch("/api/list").then((res) => res.json()).then((data) => {console.log(data);});};return (<div className="App"><button onClick={httpRequest}>跨域请求方式二</button></div>);}export default App;

