新建工程配置
点亮led灯
新建文件夹
把固件库版本的新建工程作为模板,位置:G:\开发板学习\野火指南者F103\1-书籍配套例程-F103VE指南者\11-新建工程—固件库版本。在use文件夹下新建led文件夹,在led文件夹中新建led.c和ed.h文件。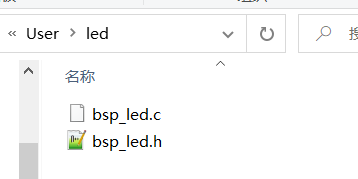
编写程序
led流水灯
main.c
#include "stm32f10x.h"#include "bsp_led.h"void Delay( uint32_t count){for(;count != 0;count--);}void GreenLed(uint32_t t){LED_G(ON);LED_B(OFF);LED_R(OFF);Delay(t);}void BlueLed(uint32_t t){LED_G(OFF);LED_B(ON);LED_R(OFF);Delay(t);}void RedLed(uint32_t t){LED_G(OFF);LED_B(OFF);LED_R(ON);Delay(t);}int main(void){uint32_t t = 0xFFFFFF;LED_GPIO_Config();while(1){GreenLed(t);BlueLed(t);RedLed(t);}}
led.c
//bsp:board support package#include "bsp_led.h"void LED_GPIO_Config(void){GPIO_InitTypeDef GPIO_InitStruct;RCC_APB2PeriphClockCmd(LED_G_GPIO_CLK , ENABLE);GPIO_InitStruct.GPIO_Pin = LED_G_GPIO_Pin;GPIO_InitStruct.GPIO_Mode = GPIO_Mode_Out_PP;GPIO_InitStruct.GPIO_Speed = GPIO_Speed_50MHz;GPIO_Init(LED_G_GPIO_PORT, &GPIO_InitStruct);GPIO_InitStruct.GPIO_Pin = LED_B_GPIO_Pin;GPIO_InitStruct.GPIO_Mode = GPIO_Mode_Out_PP;GPIO_InitStruct.GPIO_Speed = GPIO_Speed_50MHz;GPIO_Init(LED_G_GPIO_PORT, &GPIO_InitStruct);GPIO_InitStruct.GPIO_Pin = LED_R_GPIO_Pin;GPIO_InitStruct.GPIO_Mode = GPIO_Mode_Out_PP;GPIO_InitStruct.GPIO_Speed = GPIO_Speed_50MHz;GPIO_Init(LED_G_GPIO_PORT, &GPIO_InitStruct);}
led.h
#ifndef __BSP_LED_H#define __BSP_LED_H#include "stm32f10x.h"#define LED_G_GPIO_Pin GPIO_Pin_0#define LED_B_GPIO_Pin GPIO_Pin_1#define LED_R_GPIO_Pin GPIO_Pin_5#define LED_G_GPIO_PORT GPIOB#define LED_G_GPIO_CLK RCC_APB2Periph_GPIOB#define ON 1#define OFF 0#define LED_G(a) if(a) \GPIO_ResetBits(LED_G_GPIO_PORT, LED_G_GPIO_Pin); \else GPIO_SetBits(LED_G_GPIO_PORT, LED_G_GPIO_Pin);#define LED_B(a) if(a) \GPIO_ResetBits(LED_G_GPIO_PORT, LED_B_GPIO_Pin); \else GPIO_SetBits(LED_G_GPIO_PORT, LED_B_GPIO_Pin);#define LED_R(a) if(a) \GPIO_ResetBits(LED_G_GPIO_PORT, LED_R_GPIO_Pin); \else GPIO_SetBits(LED_G_GPIO_PORT, LED_R_GPIO_Pin);void LED_GPIO_Config(void);#endif /* __BSP_LED_H */
小技巧:
Doxygen 注释规范
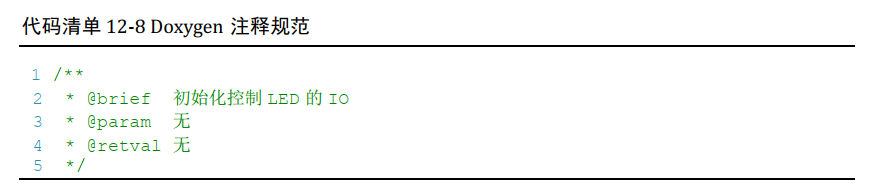
这是一种名为“Doxygen”的注释规范,如果在工程文件中按照这种规范去注释,可以使用 Doxygen 软件自动根据注释生成帮助文档。
语雀内容
keil5代码编写自动补充

在edit/configuration /Text Completion中,勾选第一个 struct/class members即可
关闭keil5动态检查
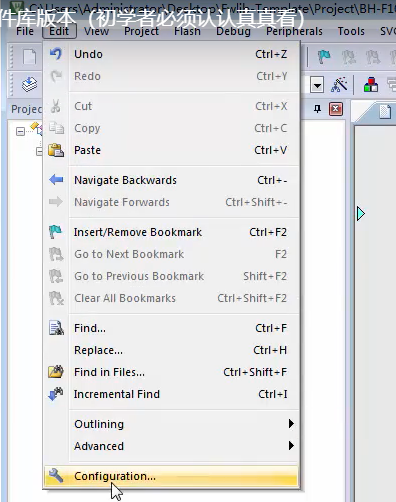
在edit/configuration 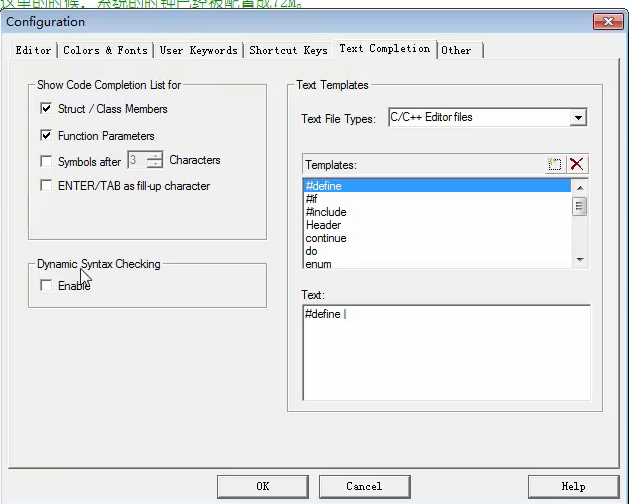
不要勾选Enable,就可以关闭语法检查。
更改字体
在edit/configuration 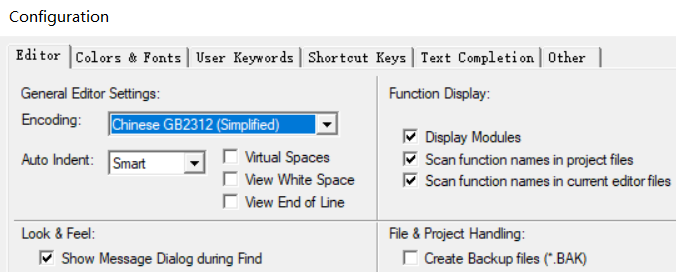
字体推荐选择 GB2312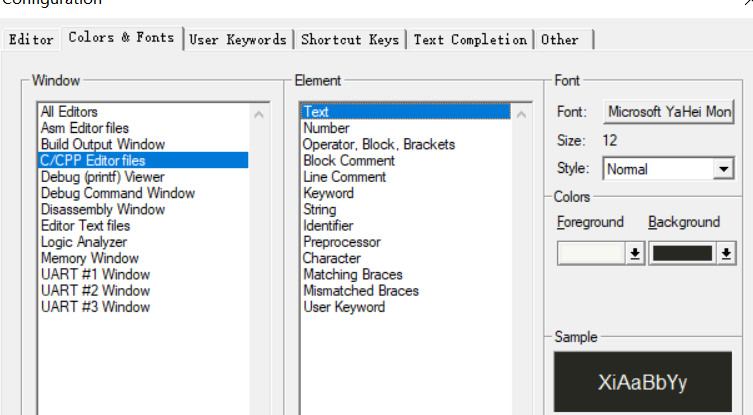
这里可以修改具体的关键字颜色、字体

若有收获,就点个赞吧
0 人点赞
