如何创建SpringBoot项目
访问https://start.spring.io/。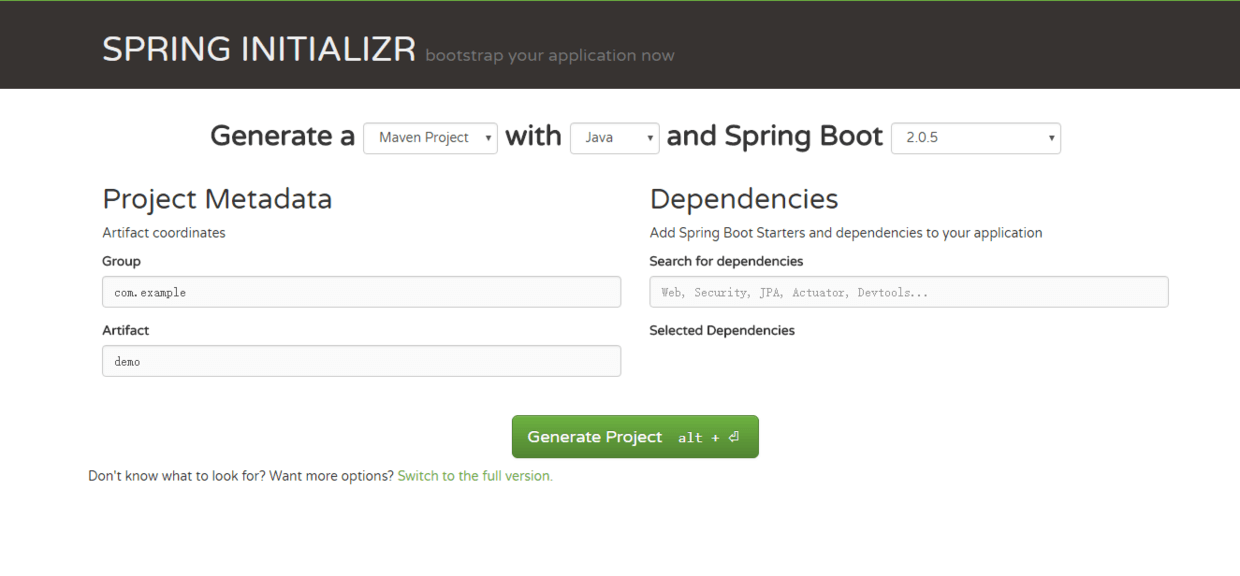
依次选择构建工具Maven Project、语言java、Spring Boot版本2.0.5,点击Generate Project下载项目压缩包,解压后倒入到ide中即可。(idea集成了SpringBoot,可直接创建项目)
如何整合ActiveMQ
1、添加spring-boot-starter-activemq依赖
<dependency><groupId>org.springframework.boot</groupId><artifactId>spring-boot-starter-activemq</artifactId></dependency>
2、添加配置
spring.activemq.in-memory=truespring.activemq.pool.enabled=false
3、添加SampleActiveMQApplication类
@SpringBootApplication@EnableJmspublic class SampleActiveMQApplication {@Beanpublic Queue queue() {return new ActiveMQQueue("sample.queue");}public static void main(String[] args) {SpringApplication.run(SampleActiveMQApplication.class, args);}}
4、添加Consumer类
@Componentpublic class Consumer {@JmsListener(destination = "sample.queue")public void receiveQueue(String text) {System.out.println(text);}}
5、添加Producer类
@Componentpublic class Producer implements CommandLineRunner {@Autowiredprivate JmsMessagingTemplate jmsMessagingTemplate;@Autowiredprivate Queue queue;@Overridepublic void run(String... args) throws Exception {send("Sample message");System.out.println("Message was sent to the Queue");}public void send(String msg) {this.jmsMessagingTemplate.convertAndSend(this.queue, msg);}}
6、启动服务
控制台输出:
Message was sent to the QueueSample message
以上例子使用的是SpringBoot内部的ActiveMQ,实际使用时肯定会用外部的ActiveMQ。
如何连接外部的ActiveMQ
1、添加依赖
<dependency><groupId>org.apache.activemq</groupId><artifactId>activemq-pool</artifactId></dependency>
2、修改配置
spring.activemq.broker-url=tcp://localhost:61616spring.activemq.close-timeout=5000spring.activemq.in-memory=falsespring.activemq.pool.enabled=truespring.activemq.pool.max-connections=100spring.activemq.send-timeout=3000
3、启动服务
首先,确保ActiveMQ已经启动。控制台输出:
Message was sent to the QueueSample message
如何使用topic
1、在SampleActiveMQApplication中添加:
@Beanpublic Topic topic() {return new ActiveMQTopic("sample.topic");}@Beanpublic JmsListenerContainerFactory<?> jmsListenerContainerTopic(ConnectionFactory activeMQConnectionFactory) {DefaultJmsListenerContainerFactory bean = new DefaultJmsListenerContainerFactory();bean.setPubSubDomain(true);bean.setConnectionFactory(activeMQConnectionFactory);return bean;}
2、创建TopicConsumer类
@Componentpublic class TopicConsumer {@JmsListener(destination = "sample.topic", containerFactory = "jmsListenerContainerTopic")public void receiveTopic1(String text) {System.out.println(text);}@JmsListener(destination = "sample.topic", containerFactory = "jmsListenerContainerTopic")public void receiveTopic2(String text) {System.out.println(text);}}
3、创建TopicProducer类
@Componentpublic class TopicProducer implements CommandLineRunner {@Autowiredprivate JmsMessagingTemplate jmsMessagingTemplate;@Autowiredprivate Topic topic;@Overridepublic void run(String... args) throws Exception {send("Topic message");System.out.println("Message was sent to the Topic");}public void send(String msg) {this.jmsMessagingTemplate.convertAndSend(this.topic, msg);}}
4、启动服务
控制台输出:
Message was sent to the TopicTopic messageTopic message

若有收获,就点个赞吧
0 人点赞
