Author:Gorit
Date:2020年11月29日
reference:《一步一步学 SpringBoot2微服务项目实战》
一、异步消息与异步调用
本节内容主要围绕 ActiveMQ的安装和使用, SpringBoot 集成 ActiveMQ,利用 ActiveMQ 实现一个异步发表朋友圈以及 SpringBoot 异步调用 @Async
二、JMS 消息介绍
JMS (Java Message Service)即 Java 消息服务,是一组 Java 应用程序接口,提供消息的创建,发送,读取等一系列服务。JMS 提供了一组公共应用程序接口和响应的语法
2.1 JMS通信类型 (P2P)
采用点对点的方式发送消息。P2P 的模型是基于 队列, 消费生产者(Producer)发送消息到队列,消息消费者(Consumer)从队列中接收消息,队列的存在,使得消息的异步成为可能。
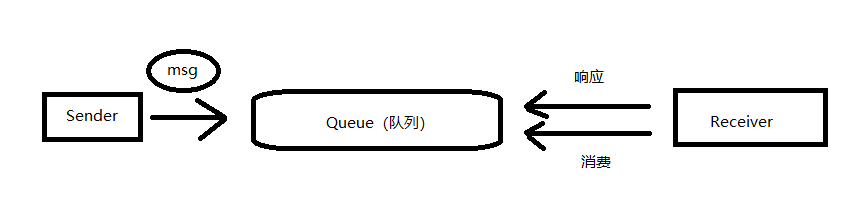
P2P的特点
- 每个消息只有一个消费者(消息一旦被消费,消息就不存在队列之中了)
- 发送者 和 接受者在时间上没有依赖
- 接受者不管是否运行,都不会影响到消息被发送到队列中
- 接收者在成功接收消息之后需向队列应答成功
2.2 JMS通信类型 (Pub/Sub)
即 发布/订阅模型,发布-订阅模型定义了如何像一个内容节点发布 和 订阅消息,这个内容节点称为 topic(主题),主题可以认为是消息传递的中介,消息发布者将消息发布到某个主题,而消息订阅者则从主题订阅消息。主题使得消息的订阅者 和 消息的发布者相互保持独立,不需要进行接触,即可进行消息的传递
发布 — 订阅模型在消息一对多广播时采用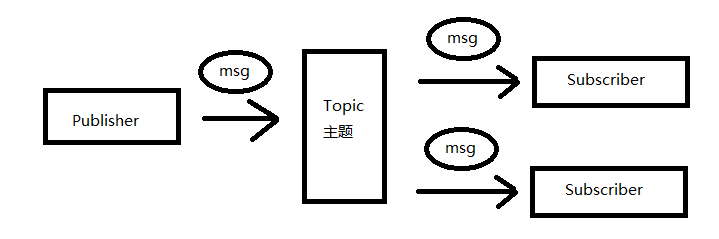
Pub/Sub 特点
- 每个消息可以有多个消费者
- 发布者 与 订阅者有时间上的依赖性
- 针对某个主题的(Topic)的订阅者,必须创建一个订阅者之后才能消费发布者的消息
- 为了消费信息,订阅者必须保持运行状态
三、SpringBoot 集成 ActiveMQ
3.1 ActiveMQ 概述
MQ 即 MessageQueue,中文名是消息队列,是一个消息接收和转发的一个容器,可用于消息推送。 ActiveMQ 是 Apache 提供的一个开源消息系统,完全采用 Java 实现,因此能很好的支持 JavaEE 提出的 JMS (Java Message Service,Java 消息服务)规范。
3.2 使用 ActiveMQ
提前下载好 ActiveMQ
apache-activemq-5.16.0.zip
然后解压,进入 apache-activemq-5.16.0\bin\win64 目录下,打开 activemq.bat 启动服务
前提是一定要安装好 Java 环境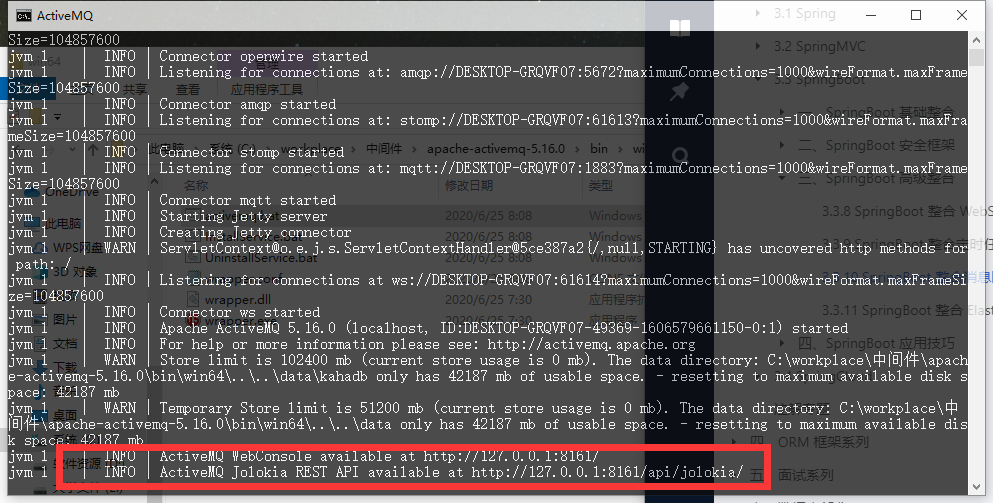
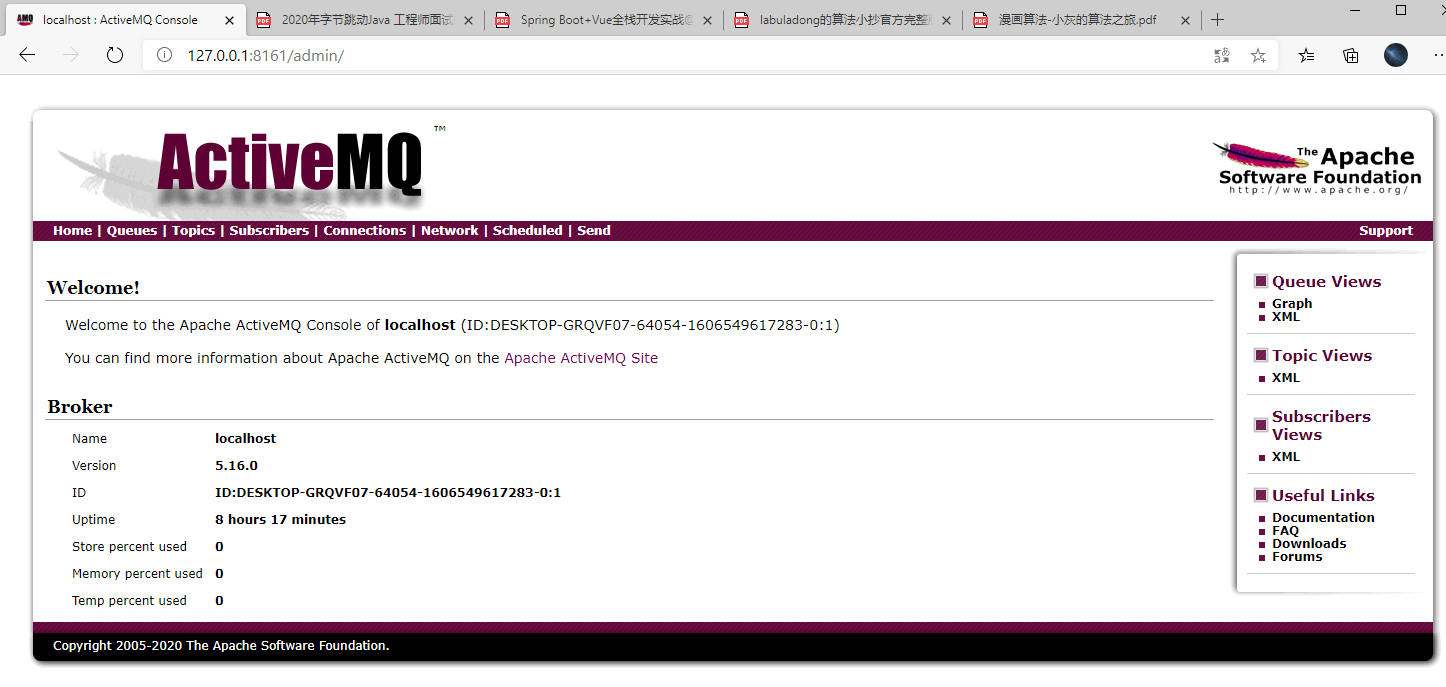
然后登陆 http://127.0.0.1:8161/
账号和密码都是:admin
3.3 开发一个简单的朋友圈发说说的功能
导入 Maven 坐标依赖
<dependencies><dependency><groupId>org.springframework.boot</groupId><artifactId>spring-boot-starter-web</artifactId></dependency><dependency><groupId>org.springframework.boot</groupId><artifactId>spring-boot-starter-activemq</artifactId></dependency><dependency><groupId>org.springframework.boot</groupId><artifactId>spring-boot-starter-data-jpa</artifactId></dependency><dependency><groupId>mysql</groupId><artifactId>mysql-connector-java</artifactId><version>8.0.21</version><scope>runtime</scope></dependency><dependency><groupId>org.springframework.boot</groupId><artifactId>spring-boot-starter-test</artifactId><scope>test</scope><exclusions><exclusion><groupId>org.junit.vintage</groupId><artifactId>junit-vintage-engine</artifactId></exclusion></exclusions></dependency></dependencies><dependencyManagement><dependencies><dependency><groupId>org.springframework.boot</groupId><artifactId>spring-boot-dependencies</artifactId><version>${spring-boot.version}</version><type>pom</type><scope>import</scope></dependency></dependencies></dependencyManagement>
配置文件编写 ```xml spring.activemq.broker-url=tcp://127.0.0.1:61616 spring.activemq.user=admin spring.activemq.password=admin spring.activemq.pool.enabled=false spring.activemq.in-memory=true spring.activemq.pool.max-connections=100 spring.jms.pub-sub-domain=true spring.datasource.driver-class-name=com.mysql.cj.jdbc.Driver spring.datasource.username=root spring.datasource.password=root spring.datasource.url=jdbc:mysql://localhost:3306/springboot?useUnicode=true&characterEncoding=utf8&serverTimezone=UTC
spring.jpa.show-sql=true spring.jpa.database=mysql spring.jpa.hibernate.ddl-auto=update
3. 创建实体类
```java
package com.example.entity;

import javax.persistence.Entity;
import javax.persistence.Id;
import javax.persistence.Table;
import java.util.Date;

/**
 * @Classname Mood
 * @Description 说说实体类
 * @Date 2020/11/29 0:30
 * @Created by CodingGorit
 * @Version 1.0
 */
@Entity
@Table
public class Mood {

    @Id
    private String id;
    // 朋友圈内容
    private String content;
    // 用户 ID
    private String userId;
    // 点赞数量
    private Integer praiseNum;
    // 发布日期
    private Date publishTime;

    // getter 和 setter 省略
}
- 持久层接口 ```java package com.example.repository;
import com.example.entity.Mood; import org.springframework.data.jpa.repository.JpaRepository; import org.springframework.stereotype.Repository;
/**
- @Classname ModdRepository
- @Description TODO
- @Date 2020/11/29 0:39
- @Created by CodingGorit
- @Version 1.0
*/
@Repository
public interface ModdRepository extends JpaRepository
- service 接口与实现类 ```java package com.example.service;
import com.example.entity.Mood;
/**
- @Classname MoodService
- @Description TODO
- @Date 2020/11/29 0:40
- @Created by CodingGorit
@Version 1.0 */ public interface MoodService {
Mood save(Mood mood); }
```java
package com.example.service;

import com.example.entity.Mood;
import com.example.repository.ModdRepository;
import org.springframework.beans.factory.annotation.Autowired;
import org.springframework.stereotype.Service;

/**
 * @Classname MoodServiceImpl
 * @Description 说说服务层
 * @Date 2020/11/29 0:40
 * @Created by CodingGorit
 * @Version 1.0
 */
@Service
public class MoodServiceImpl implements MoodService{

    @Autowired
    private ModdRepository moddRepository;

    @Override
    public Mood save(Mood mood) {
        return moddRepository.save(mood);
    }
}
- 添加说说 ```java package com.example.demo;
import com.example.entity.Mood; import com.example.service.MoodService; import org.junit.jupiter.api.Test; import org.springframework.boot.test.context.SpringBootTest;
import javax.annotation.Resource; import java.util.Date;
@SpringBootTest class DemoApplicationTests {
@Resource
private MoodService moodService;

@Test
void contextLoads() {
    Mood mood = new Mood();
    mood.setId("1");
    mood.setUserId("1");
    mood.setPraiseNum(0);
    // 说说内容
    mood.setContent("这是第一条说说");
    mood.setPublishTime(new Date());
    Mood mood1 =  moodService.save(mood);
}
}
执行完测试之后,我们发现数据库中已经出现了一条记录,这就是 Spring Data Jpa的魅力<br /><br />但是这还没完,我们并没有用到消息队列。实现这个功能有很多方法,但是我们知道微信的用户群体非常多,每天有几亿用户发不同的说说,如果都按照这么操作的话。用户每发一条说说,后端开辟一个线程,将说说的内容实时保存到数据库中,但是后端的系统资源非常宝贵。这样会对服务器和数据库造成巨大的压力。因此接下来我们会使用 ActiveMQ 做异步消费来抵抗用户量极大的发表说说产生的压力,从而提高系统性能。
<a name="8EsPy"></a>
### 3.4 使用 ActiveMQ 完善的发说说功能
1. 在主配置类开启 Jms @EnableJms
1. 编写说说发布者
```java
package com.example.service.producer;
import org.springframework.jms.core.JmsMessagingTemplate;
import org.springframework.stereotype.Service;
import javax.annotation.Resource;
import javax.jms.Destination;
/**
* @Classname MoodProducer
* @Description 生产者
* @Date 2020/11/29 10:33
* @Created by CodingGorit
* @Version 1.0
*/
@Service
public class MoodProducer {
// 发消息的工具类,也可以注入 JmsTemplate,
// 下面这个对 JmsTemplate 进行了封装,参数 destination 是发送到队列的,message 是待发送的消息
@Resource
private JmsMessagingTemplate jmt;
public void sendMessage(Destination destination, final String message) {
jmt.convertAndSend(destination,message);
}
}
- 编写说说消费者 ```java package com.example.consumer;
import org.springframework.jms.annotation.JmsListener; import org.springframework.stereotype.Component;
/**
- @Classname MoodConsumer
- @Description 消费者
- @Date 2020/11/29 10:42
- @Created by CodingGorit
@Version 1.0 */ @Component public class MoodConsumer {
// 使用 JmsListener 配置消费者监听队列 mood.queue,text 是接收到的消息 @JmsListener(destination = “mood.queue”) public void receiveQueue(String text) {
System.out.println("用户发表说说【"+text+"】成功");} } ```
测试
 @Test
 void testActiveMQ() {
     Destination destination = new ActiveMQQueue("mood.queue");
     moodProducer.sendMessage(destination,"Hello msg");
 }
打开 activeMQ 的管理界面
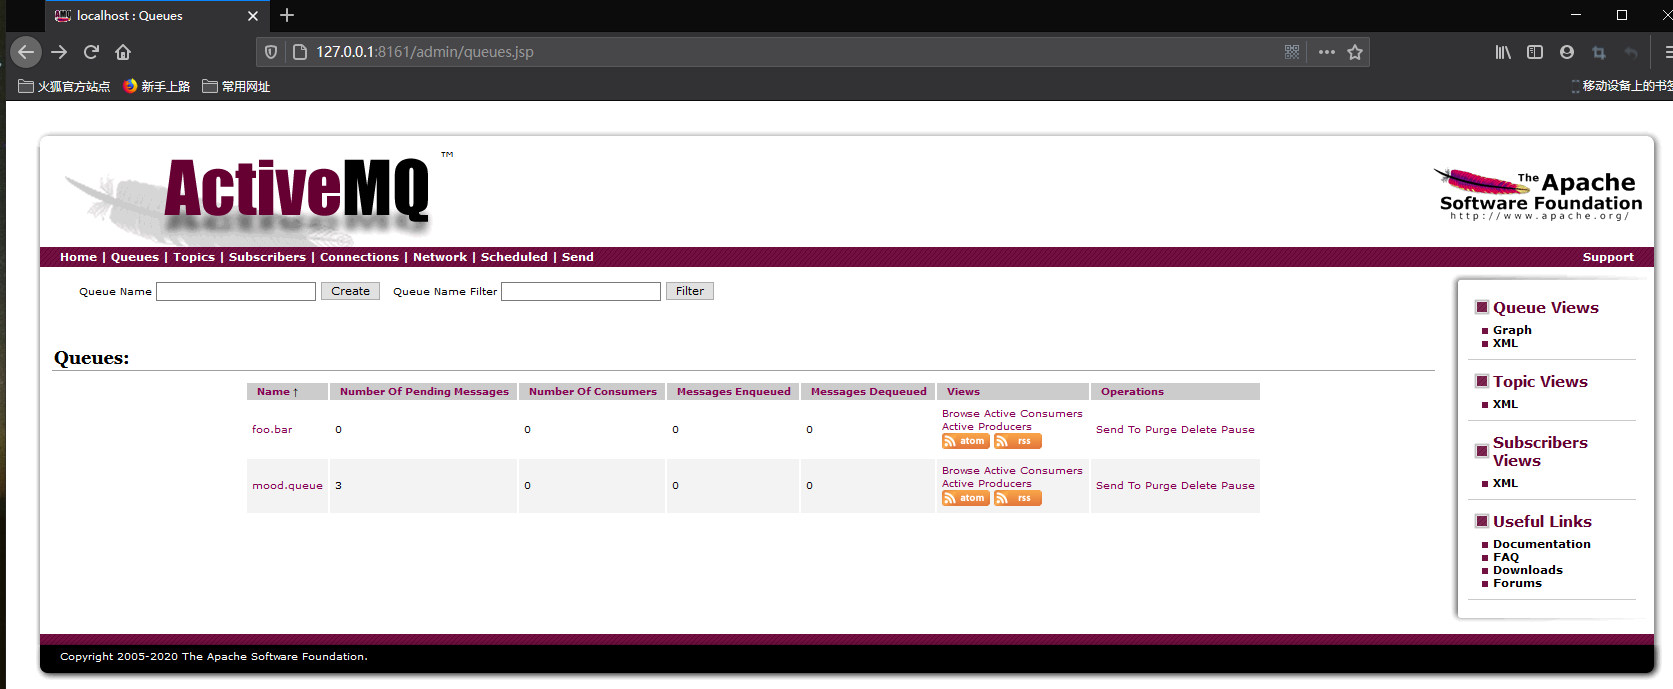
可以看到消息发布者的消息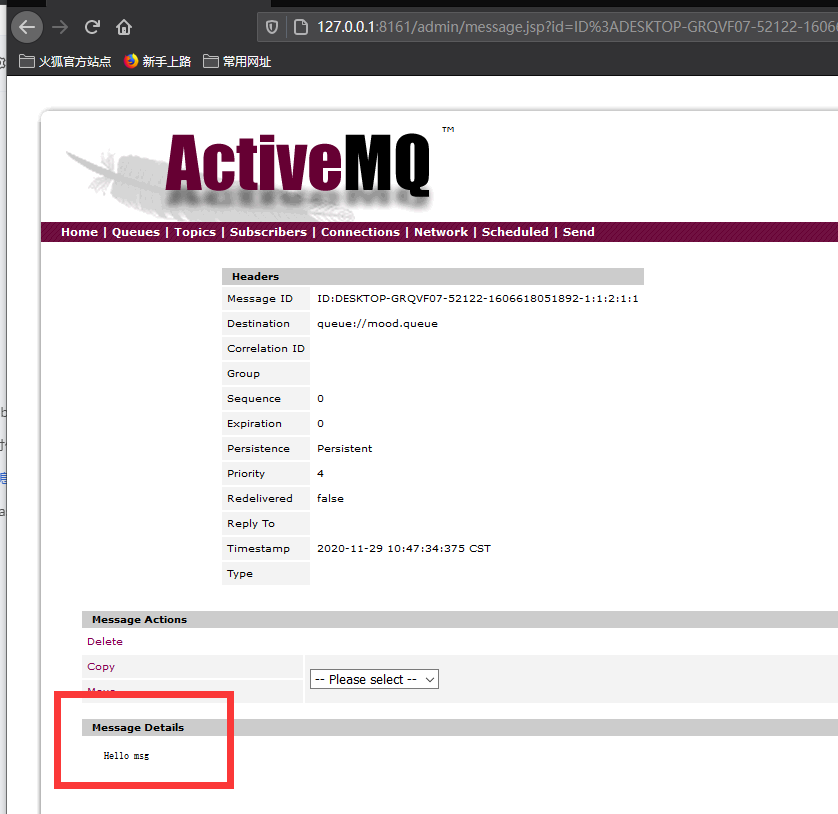

若有收获,就点个赞吧
0 人点赞
