一、定时任务实现的方式
Java 自带的 java.util.Timer 类
- timer:配置比较麻烦,时间延后问题
- timertask:不推荐
Quartz 框架
- 配置简单
- xml 或者注解
SpringBoot 使用 注解方式开启定时任务
- 启动类里面 @EnableScheduling 开启定时任务,自动扫描
- 定时任务业务类 加注解 @Component 被容器扫描
- 定时执行的方法加上注解 @Scheduled(fixedRate=200) 定期执行一次 (2s 每次)
二、SpringBoot 常用定时任务配置
SpringBoot 常用定时任务表达式配置和在线生成器
- cron 定时任务表达式 @Scheduled(cron= “/1 “) 表示每秒
- crontab 工具 https://tool.lu/crontab/
- fixedRate:定时多久执行一次(上一次开始执行时间后 xx 秒再次执行)
- fixedRate:定时多久执行一次(上一次执行结束时间点后 xx 秒再次执行)
- fixedDelayString:字符串形式,可以通过配置文件制定
这个方法是自带,所以我们只需要在 SpringBoot 的主配置类添加 @EnableScheduling 注解,即可开启定时任务
然后在任意一个 Component 中添加如下定时任务,这里我添加在 RestController 中
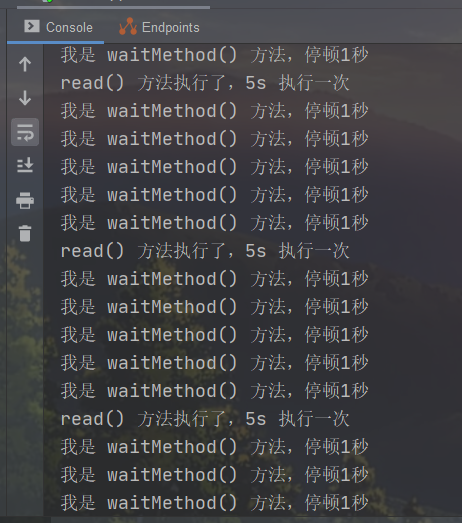
// fixedRate: 定时多久执行一次(上一次开始执行时间点后xx秒再次执行;// fixedDelay: 上一次执行结束时间点后xx秒再次执行// fixedDelayString: 字符串形式,可以通过配置文件指定// cron = "0 30 * * * *" 每半个小时执行一次 (这是一个表达式,可以指定具体在每天的什么时候运行// 最简单的定时任务执行@Scheduled(fixedRate = 5000)public void read() {System.out.println("read() 方法执行了,5s 执行一次");}@Scheduled(fixedDelay = 1000)public void waitMethod() {System.out.println("我是 waitMethod() 方法,停顿1秒");}
三、使用 quartz 框架实现任务调度
3.1 导入坐标依赖
<!-- https://mvnrepository.com/artifact/org.quartz-scheduler/quartz --><dependency><groupId>org.quartz-scheduler</groupId><artifactId>quartz</artifactId><version>2.3.2</version></dependency>
3.2 编写打印类
package com.example.test;

import org.quartz.Job;
import org.quartz.JobExecutionContext;
import org.quartz.JobExecutionException;

import java.text.SimpleDateFormat;
import java.util.Date;

/**
 * @Classname PrintMsgWork
 * @Description TODO
 * @Date 2020/10/19 23:03
 * @Created by CodingGorit
 * @Version 1.0
 */
public class PrintMsgWork implements Job {
    @Override
    public void execute(JobExecutionContext jobExecutionContext) throws JobExecutionException {
        String msg=new SimpleDateFormat("yyyy-MM-dd hh:mm:ss").format(new Date());
        System.out.println("当前时间为:"+msg);
    }
}
3.3 实现任务调度
package com.example.test;


import org.quartz.*;
import org.quartz.impl.StdSchedulerFactory;

import java.util.concurrent.TimeUnit;

/**
 * @Classname Test
 * @Description TODO
 * @Date 2020/10/19 22:33
 * @Created by CodingGorit
 * @Version 1.0
 */
public class Test {
    public static void main(String[] args) throws SchedulerException, InterruptedException {
        //
        SchedulerFactory sf = new StdSchedulerFactory();
        // 获取调度器
        Scheduler scheduler = sf.getScheduler();
        // 创建任务
        JobDetail jd = JobBuilder.newJob(PrintMsgWork.class)
                .withIdentity("job1","group1")
                .build();
        // 创建触发器
        Trigger t = TriggerBuilder
                .newTrigger()
                .withIdentity("trigger1","tgroup1")
                .startNow()
                .withSchedule(SimpleScheduleBuilder
                        .simpleSchedule()
                        .withIntervalInSeconds(1)
                        .repeatForever())
                .build();
        // 将任务和触发器整合
        scheduler.scheduleJob(jd,t);
        System.out.println("-------------------------");
        //开始执行
        scheduler.start();
        TimeUnit.MINUTES.sleep(1);
        //停止执行
        scheduler.shutdown();
        System.out.println("-------------------------");
    }
}
3.4 常见 corn 表达式
| 格式:[秒] [分] [小时] [日] [月] [周] [年] | 功能 |
|---|---|
| 0 0 12 ? | 每天12点触发 |
| 0 15 10 ? | 每天 10点15触发 |
| 0 11 11 11 11 ? | 每年的11月11号11点11分触发 |
| 0 15 10 15 * ? | 每月15号上午10点15触发 |
四、异步任务实战
4.1 异步任务的使用场景
适用于处理 log,发送邮件,短信。。。等
- 下单接口 ->
- 查库存 100ms
- 余额校验 150ms
- 风控用户 100
..
4.2 使用异步任务
- SpringBoot 启动类添加 @EnableAsync 注解
- 编写下单的接口 AsyncOrder ```java package cn.gorit.util;
import org.springframework.scheduling.annotation.Async; import org.springframework.scheduling.annotation.AsyncResult; import org.springframework.stereotype.Component;
import java.text.SimpleDateFormat; import java.util.Date; import java.util.concurrent.Future;
/**
开启异步任务功能 */ @Component @Async public class AsyncOrder {
String date = new SimpleDateFormat(“yyyy-MM-dd”).format(new Date());
// 检查库存 public Future
checkInventory() throws InterruptedException { Thread.sleep(1000); System.out.println("检查库存完毕于:"+date); return new AsyncResult<>(true);}
// 检查优惠券 public Future
checkCoupons() throws InterruptedException { Thread.sleep(4000); System.out.println("检查优惠券完毕于:"+date); return new AsyncResult<>("有");}
// 检查用户信息 public Future
checkIdentity() throws InterruptedException { Thread.sleep(1000); System.out.println("检查用户信息完毕于:"+date); return new AsyncResult<>(1);}
}
3. 测试接口

```java
package cn.gorit.controller;

import cn.gorit.util.AsyncOrder;
import org.springframework.beans.factory.annotation.Autowired;
import org.springframework.scheduling.annotation.Async;
import org.springframework.scheduling.annotation.AsyncResult;
import org.springframework.web.bind.annotation.RequestMapping;
import org.springframework.web.bind.annotation.RestController;

import java.util.Date;
import java.util.concurrent.Future;

@RestController
public class TestController {

    @Autowired
    private AsyncOrder ao;

    @RequestMapping("/test")
    public Object PlaceTheOrder() throws InterruptedException {
        System.out.println("开始下单业务于:"+new Date());
        Future<Boolean> a = ao.checkInventory(); // 检查库存
        Future<String> b= ao.checkCoupons(); // 检查优惠券
        Future<Integer> c= ao.checkIdentity(); // 检查身份
        // 实现线程阻塞的方案(死循环  new Scanner(System.in).next()
        while (true) {
            if (a.isDone() && b.isDone() && c.isDone())
                break;
        }
        Thread.sleep(2000);
        System.out.println("下单业务结束于:"+new Date());
        return "success";
    }
}
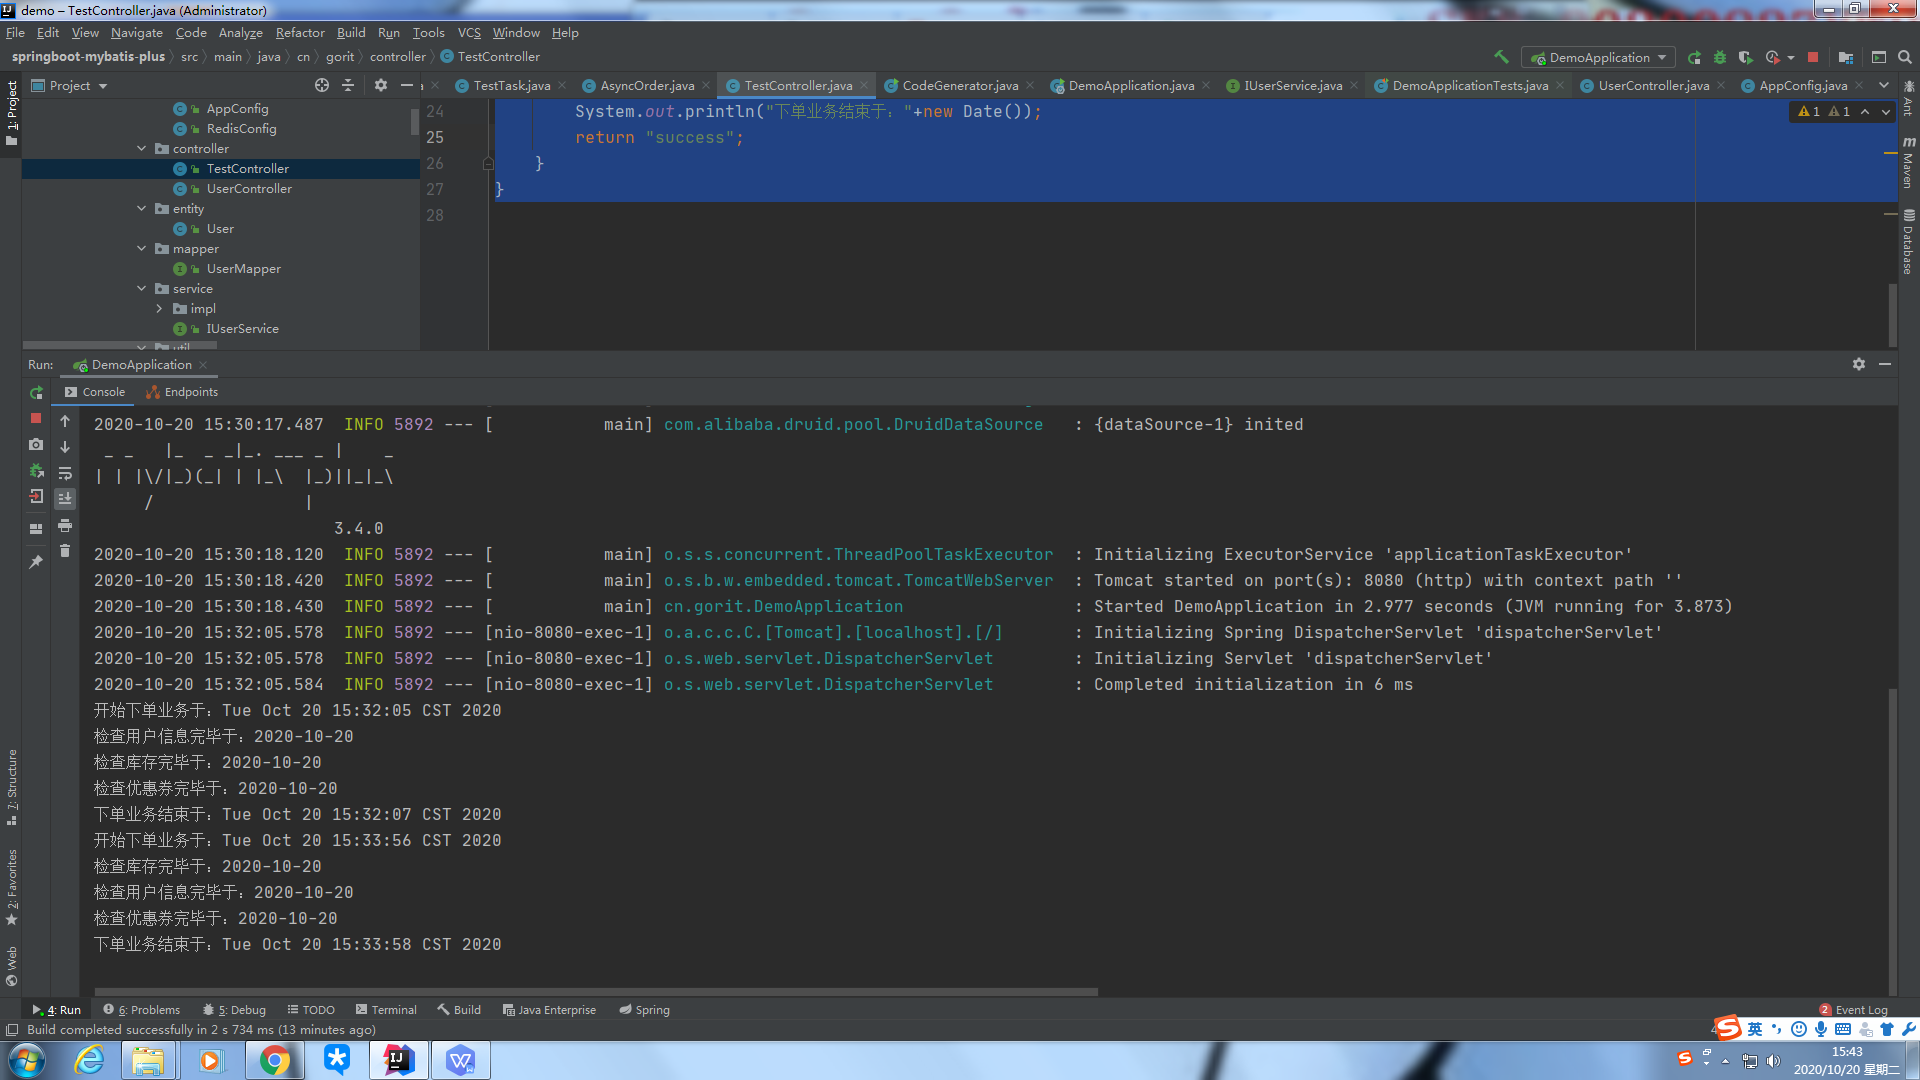
- 执行效果

若有收获,就点个赞吧
0 人点赞
