kettle简介
Kettle是一款开源的ETL工具,纯java编写,可以在Window、Linux、Unix上运行,绿色无需安装,数据抽取高效稳定。
ETL:数据抽取、转换、加载。kettle是由java编写。绿色无需安装
Kettle中文名称叫水壶,项目的开发者希望将各种数据放到一个壶里,然后以一种指定的格式流出。
两种设计模式:
1.transformation(转换):针对数据的基础转换
2.job(作业):完成整个工作流的控制
区别:
1.作业是步骤流,转换是数据流。
2.作业的每一个步骤,必须等到前面的步骤都跑完了,后面的步骤才会执行;而转换会一次性把所有空间全部先启动,然后数据流会从第一个控件开始,一条记录、一条记录地流向最后的控件。
核心组件:
spoon:通过图形接口,用于编辑作业和转换的桌面应用。
pan:一个独立的命令行程序,用于执行由spoon编辑的转换和作业。
kitchen:一个独立的命令行程序,用于执行由spoon编辑的作业。
carte:是一个轻量级的web容器,用于建立专用、远程的ETL server
特点: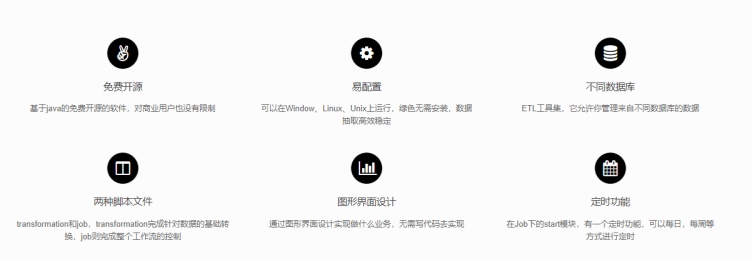
kettle任务表现形式(存储方式):
1.以xml形式存储
2.以资源库方式存储数据库资源库和文件库资源库
kettle安装:
安装jdk
因为kettle是java编写,所以需要安装java环境
下载Java 8SE
jdk-8u241-linux-x64.tar.gz
安装Java 8SE
cd /root/Desktop/1 #该目录是介质所在目录
tar xvfz jdk-8u241-linux-x64.tar.gz -C /usr
ln -s /usr/jdk1.8.0_241 /usr/jdk
cat>> /etc/profile<<EOF
JAVA_HOME=/usr/jdk
export JAVA_HOME
CLASSPATH=.:\$JAVA_HOME/lib:\$CLASSPATH
export CLASSPATH
PATH=\$JAVA_HOME/bin:\$PATH
export PATH
EOF
source /etc/profile
java -version #查看是否安装成功
安装kettle
cd /home/hadoop/Desktop/1
unzip pdi-ce-8.2.0.0-342.zip
mkdir /opt/kettle
chown hadoop.hadoop /opt/kettle/
cd /opt/kettle
mv /home/hadoop/Desktop/1/data-integration/ ./
ls
使用hadoop用户执行
cd /opt/kettle/data-integration
./kitchen.sh
警告:
no libwebkitgtk-1.0 detected, some features will be unavailable
Consider installing the package with apt-get or yum.
e.g. ‘sudo apt-get install libwebkitgtk-1.0-0’
解决:
sudo wget ftp://ftp.pbone.net/mirror/ftp5.gwdg.de/pub/opensuse/repositories/home:/matthewdva:/build:/EPEL:/el7/RHEL_7/x86_64/webkitgtk-2.4.9-1.el7.x86_64.rpm
sudo yum install webkitgtk-2.4.9-1.el7.x86_64.rpm
参考:https://wenchao.ren/2020/01/Kettle%E7%BC%BA%E5%B0%91libwebkitgtk-1-0%E7%9A%84%E9%97%AE%E9%A2%98/
./kitchen.sh
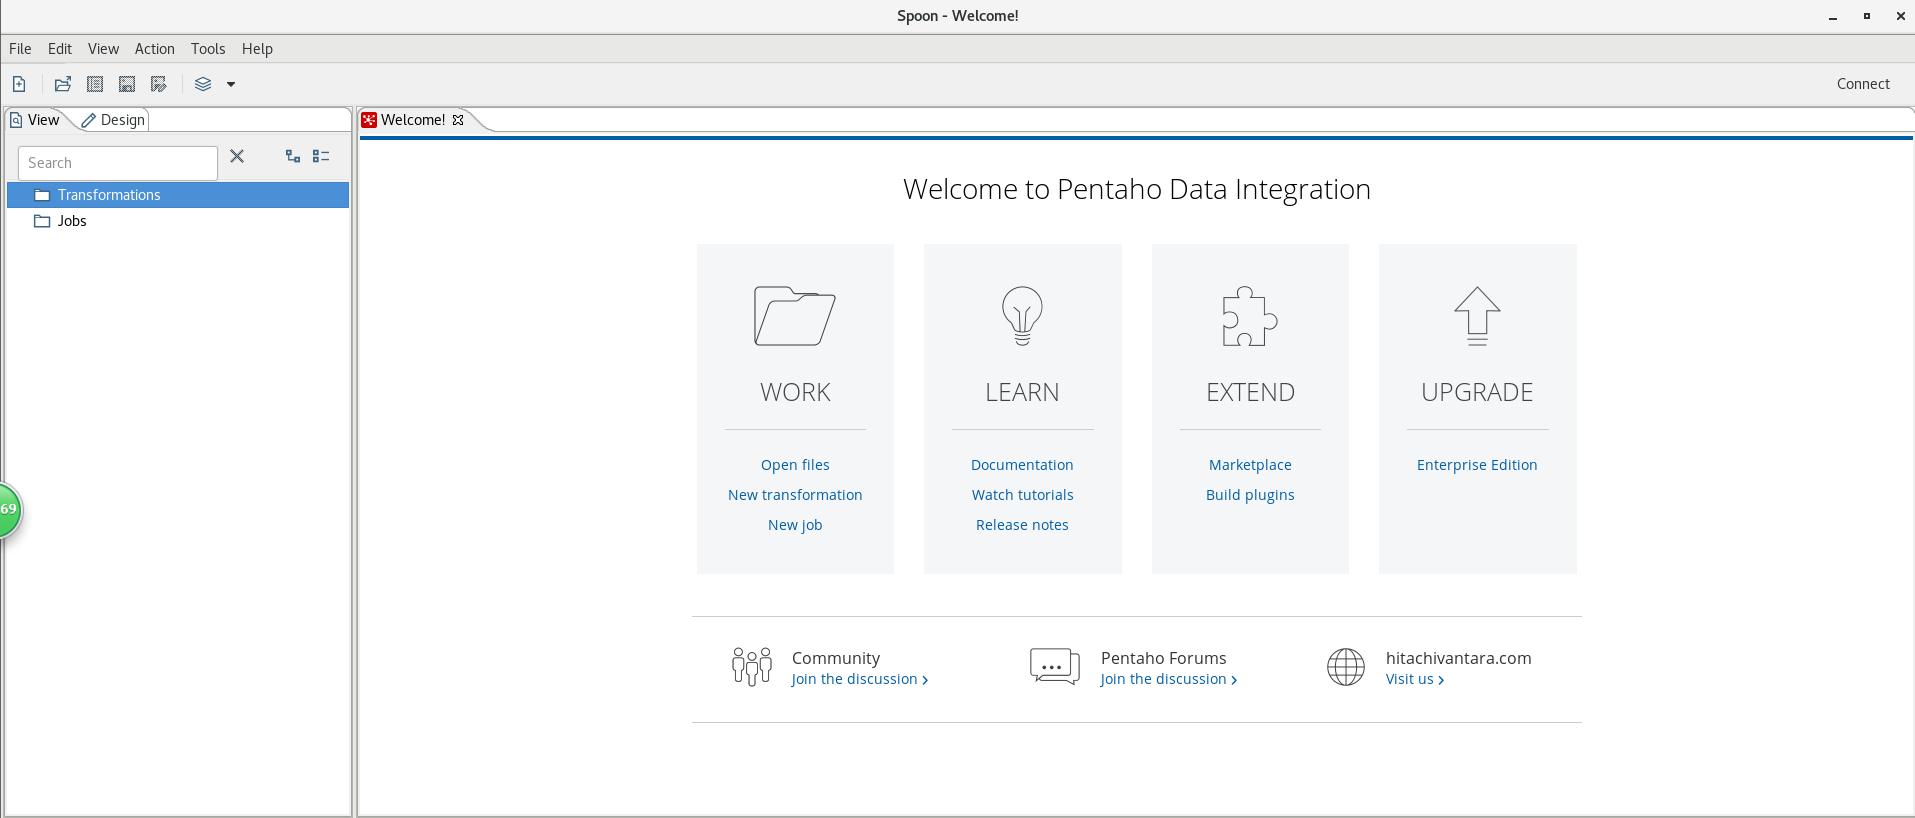
启动图形化界面
./spoon.sh
案例1:将stu1的数据同步到stu2
使用root用户开启mysqld服务
systemctl enable mysqld.service
systemctl start mysqld.service
使用hadoop用户执行
打开终端执行
mysql -uroot -pPassw0rd!
mysql> create database kettle;
mysql> use kettle;
mysql> create table stu1(id int,name varchar(20),age int);
mysql> create table stu2(id int,name varchar(20));
mysql> insert into stu1 values(1001,’zhangsan’,20),(1002,’lisi’,18), (1003,’wangwu’,23);
mysql> insert into stu2 values(1001,’wukong’);

mysql连接驱动jar包
cp /opt/spark/jars/mysql-connector-java-5.1.48-bin.jar /opt/kettle/data-integration/lib/
创建Transformation
右键点击Transformation或者file->new->Transformation创建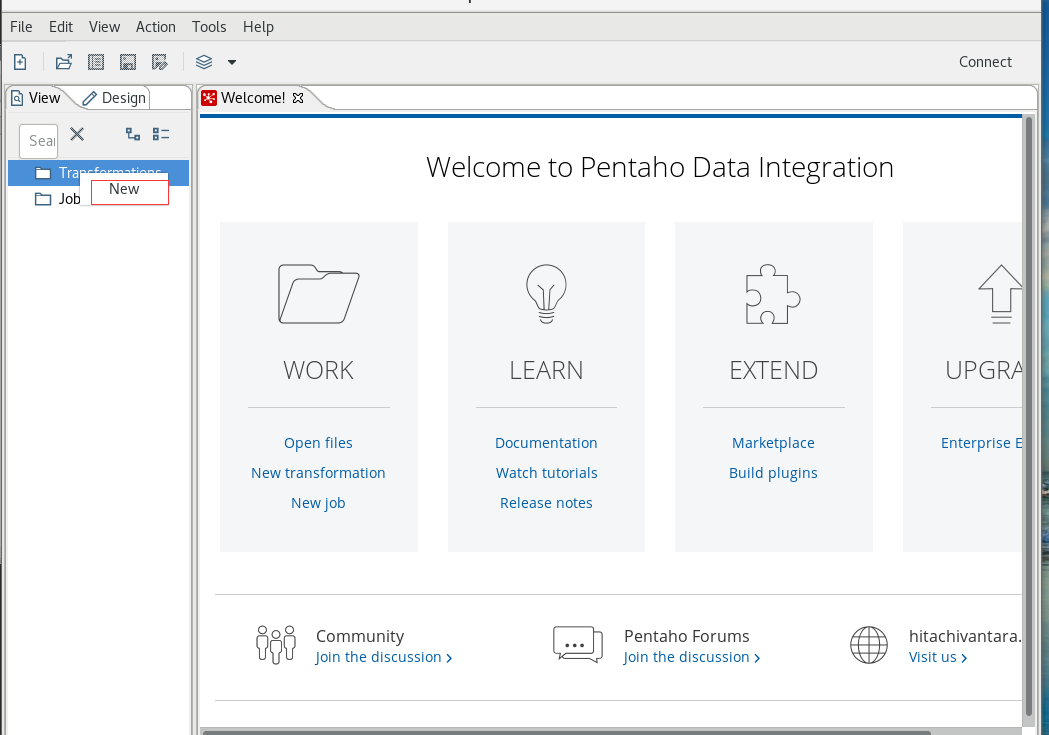

点击input

按住鼠标左键进行拖拽
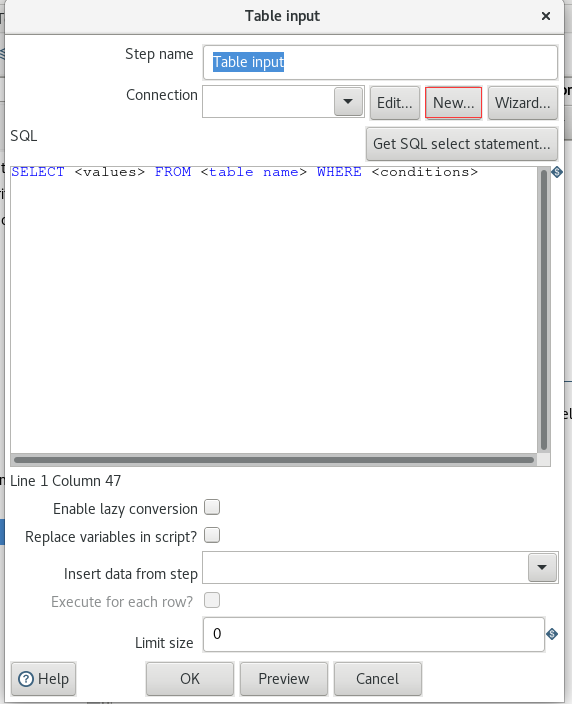
双击Table input,出现下面的页面,点击new创建一个MySQL连接
username是root
Password是Passw0rd!
点击Test,报错
执行
cp /opt/spark/jars/mysql-connector-java-5.1.48-bin.jar /opt/kettle/data-integration/lib/
连接成功

输入SQL:
select * from stu1

点击Output
拖拽
按住shift键,建立连接
双击Insert/update组件进行设置


点击添加,将id,name添加过去


mysql> use kettle;
mysql> select * from stu2;
案例2:使用作业执行上述转换,并且额外在表stu2中添加一条数据
新建一个job
按图示拉取组建


设置start组件
设置Transformation


设置SQL组件

insert into stu2 values(1004,’kettle’)


案例3:将hive表的数据输出到hdfs
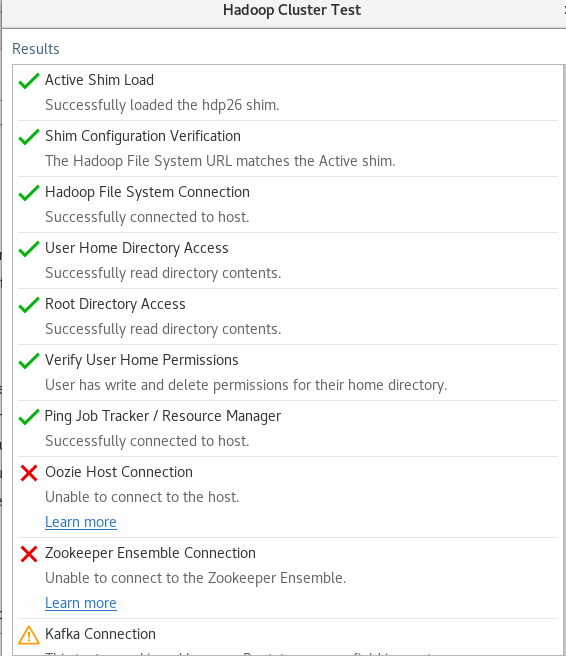
修改解压目录下的data-integration\plugins\pentaho-big-data-plugin下的plugin.properties,设置active.hadoop.configuration=hdp26,并将如下配置文件拷贝到data-integration\plugins\pentaho-big-data-plugin\hadoop-configurations\hdp26下

cd /opt/kettle/data-integration/plugins/pentaho-big-data-plugin
vim plugin.properties
大概是第5行左右
active.hadoop.configuration=hdp26
拷贝配置文件
cd /opt/kettle/data-integration/plugins/pentaho-big-data-plugin/hadoop-configurations/hdp26
cp -r /opt/hadoop-2.7.7/etc/hadoop/core-site.xml ./
cp /opt/hbase-1.2.7/conf/hbase-site.xml ./
cp /opt/hadoop-2.7.7/etc/hadoop/hdfs-site.xml ./
cp /opt/apache-hive-2.3.7-bin/conf/hive-site.xml ./
cp /opt/hadoop-2.7.7/etc/hadoop/mapred-site.xml ./
cp /opt/hadoop-2.7.7/etc/hadoop/yarn-site.xml ./
启动hdfs,yarn,hbase集群的所有进程,启动hiveserver2服务
start-dfs.sh
start-yarn.sh
start-hbase.sh
jps
hive —service metastore &
netstat -an |grep 9083
hiveserver2 start &
netstat -an |grep 10000
hive
建表
hive>CREATE TABLE dept(deptno int, dname string,loc string)
ROW FORMAT DELIMITED
FIELDS TERMINATED BY ‘\t’;
hive>CREATE TABLE emp(
empno int,
ename string,
job string,
mgr int,
hiredate string,
sal double,
comm int,
deptno int)
ROW FORMAT DELIMITED
FIELDS TERMINATED BY ‘\t’;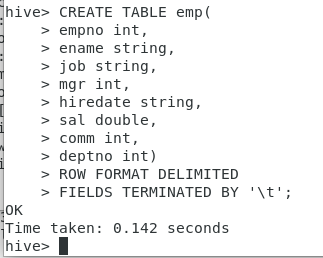
hive>show tables;
插入数据
hive>insert into dept values(10,’accounting’,’NEW YORK’),(20,’RESEARCH’,’DALLAS’),(30,’SALES’,’CHICAGO’),(40,’OPERATIONS’,’BOSTON’);
hive>insert into emp values
(7369,’SMITH’,’CLERK’,7902,’1980-12-17’,800,NULL,20),
(7499,’ALLEN’,’SALESMAN’,7698,’1980-12-17’,1600,300,30),
(7521,’WARD’,’SALESMAN’,7698,’1980-12-17’,1250,500,30),
(7566,’JONES’,’MANAGER’,7839,’1980-12-17’,2975,NULL,20);


按下图建立Transformation
input->Table input
Transform->Sort rows
Joins->Merge join
Transform->Select values
output->Text file output

设置表输入,连接hive
Username:hive
Password:Passw0rd!
点击Test
测试成功点击OK

输入
select * from emp


Table input2设置
输入sql
select * from dept

设置Sort rows

设置Merge join


设置select values


设置Text file output


hdfs dfs -ls /
查看0523.txt
hdfs dfs -cat /0523.txt
案例4:读取hdfs文件并将sal大于1000的数据保存到hbase中
在HBase中创建一张表用于存放数据
hbase shell
hbase(main):001:0> create ‘people’,’info’
hbase(main):002:0> list
hbase(main):003:0> scan ‘people’
按照如下添加组件:


设置文件输入


如果遇到Could not create file “file:///opt/kettle/testkettle/rdsfa.ktr”.
su - root
cd /opt/kettle
chmod +777 testkettle/
hbase(main):005:0> scan ‘people’
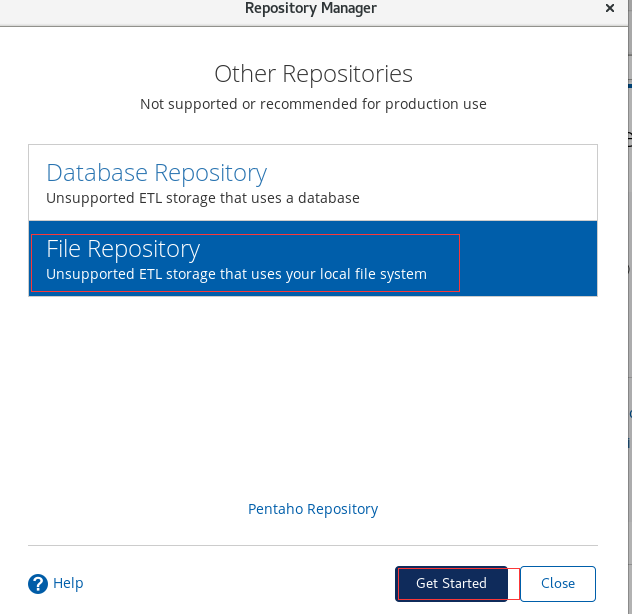
创建资源库
数据都不是存在本地,是存在在资源库库中
创建数据库资源库


用户名:admin
密码:admin

将原来的转换或者作业复制到新的资源库中
转换

此时只是打开,点击保存
job


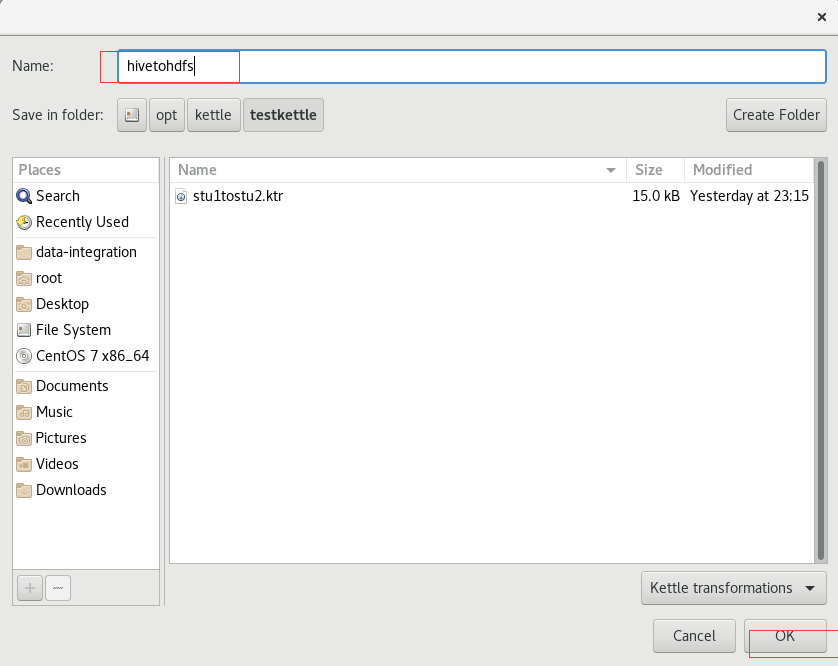
创建文件资源库


不需要账号密码
使用跟数据库资源库一样
pan使用
[hadoop@test data-integration]$ ./pan.sh -rep=my_repo -user=admin -pass=admin -trans=stu1tostu2 -dir=/
kitchen使用
[hadoop@test data-integration]$ ./kitchen.sh -rep=my_repo -user=admin -pass=admin -job=jobDemo -logfile=./logs/log.txt -dir=/
报错:
原因是转换的地址还是原来保存的地址,将地址改成资源库中的地址就可以了


保存
测试
mysql> use kettle;
Database changed
mysql> select * from stu2;
+———+—————+
| id | name |
+———+—————+
| 1001 | zhangsan |
| 1002 | lisi |
| 1003 | wangwu |
| 1004 | kettle |
| 1004 | kettle |
+———+—————+
5 rows in set (0.00 sec)
插入成功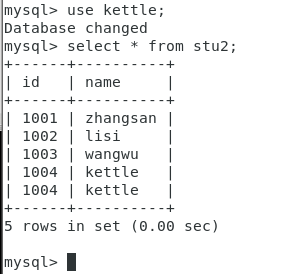
伪分布式集群模式
1) 准备一台Linux服务器,主服务器端口号为8080,子服务器端口号为8081
2) 安装部署jdk
3) hadoop伪分布式环境搭建,并启动进程(因为要使用hdfs)
4) 上传解压kettle的安装包
5) 进到/opt/module/data-integration/pwd目录,修改配置文件
修改主服务器配置文件carte-config-master-8080.xml
cd /opt/kettle/data-integration/pwd
ll
vim carte-config-master-8080.xml
vim carte-config-8081.xml
vim carte-config-8082.xml
启动集群:
#进入安装目录
cd /opt/kettle/data-integration
#启动主服务器
./carte.sh ./pwd/carte-config-master-8080.xml
#启动从服务器
cd /opt/kettle/data-integration
./carte.sh ./pwd/carte-config-8081.xml
cd /opt/kettle/data-integration
./carte.sh ./pwd/carte-config-8082.xml
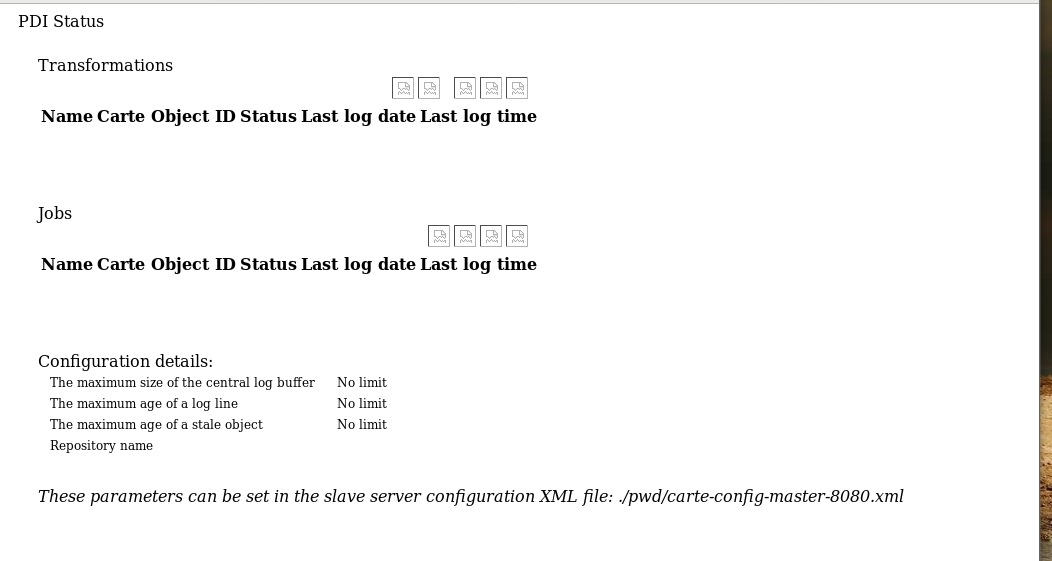
测试:
浏览器打开:http://test:8080

案例5:读取hive中的emp表,根据id进行排序,并将结果输出到hdfs上(分布式排序)
确保hive2开启
netstat -an |grep 10000
新建转换


select * from emp
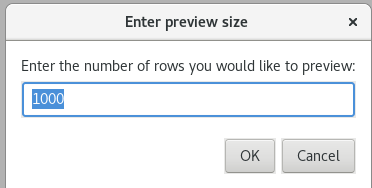
预览


设置集群启动方式

启动

查看结果:
hdfs dfs -ls /
hdfs dfs -cat /clusterOut.txt
因为排序是在两个几点进行的,所以
启动spoon报错:java.io.IOException: Cannot run program “lsb_release”: error=2, No such file or directory
解决:yum -y install redhat-lsb

若有收获,就点个赞吧
0 人点赞
