我们在实际生产过程可能会遇到需要在一台电脑上配置不同 SSH Key 的情况。例如我们可能需要同时使用 GitHub 以及 GitLab 的情况,这时我们就需要配置不同的 SSH Key 了
Modern
使用 1Passwrod 管理 SSH Key
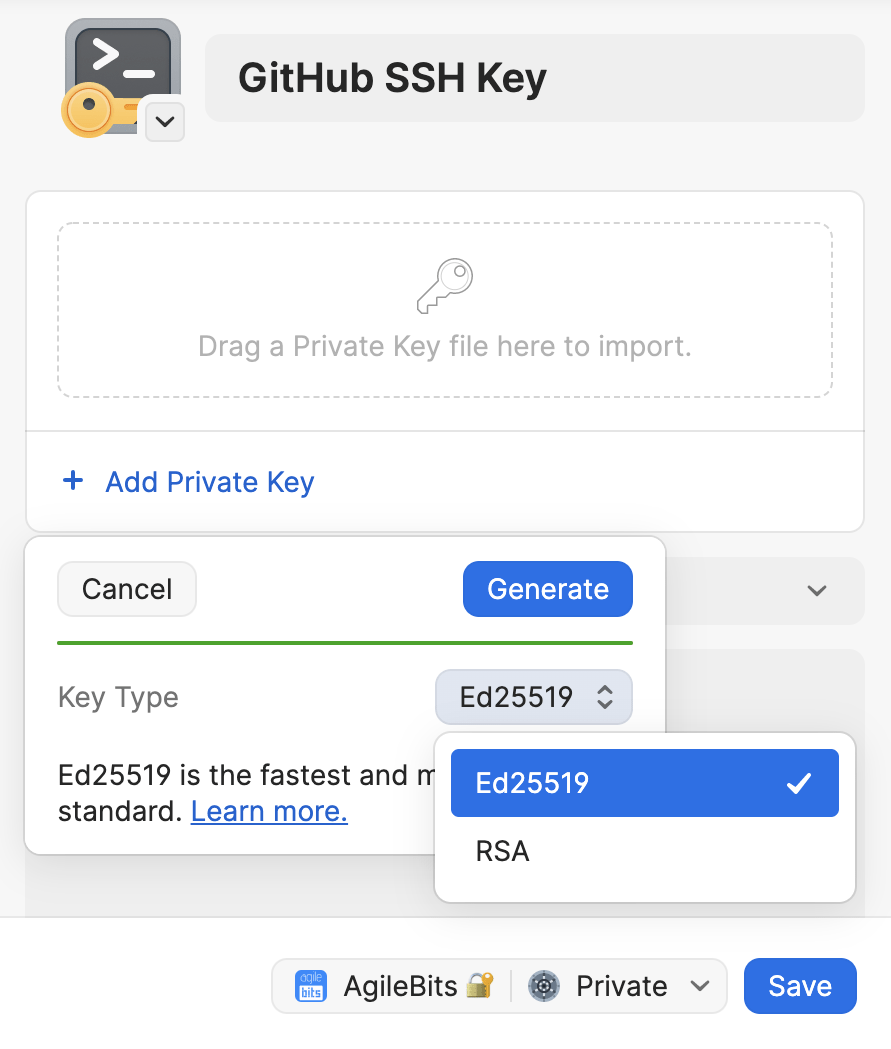
创建 SSH Key
- 点击创建项目(选择 SSH Key)
- 生成 New SSH Key(推荐使用 Ed25519)
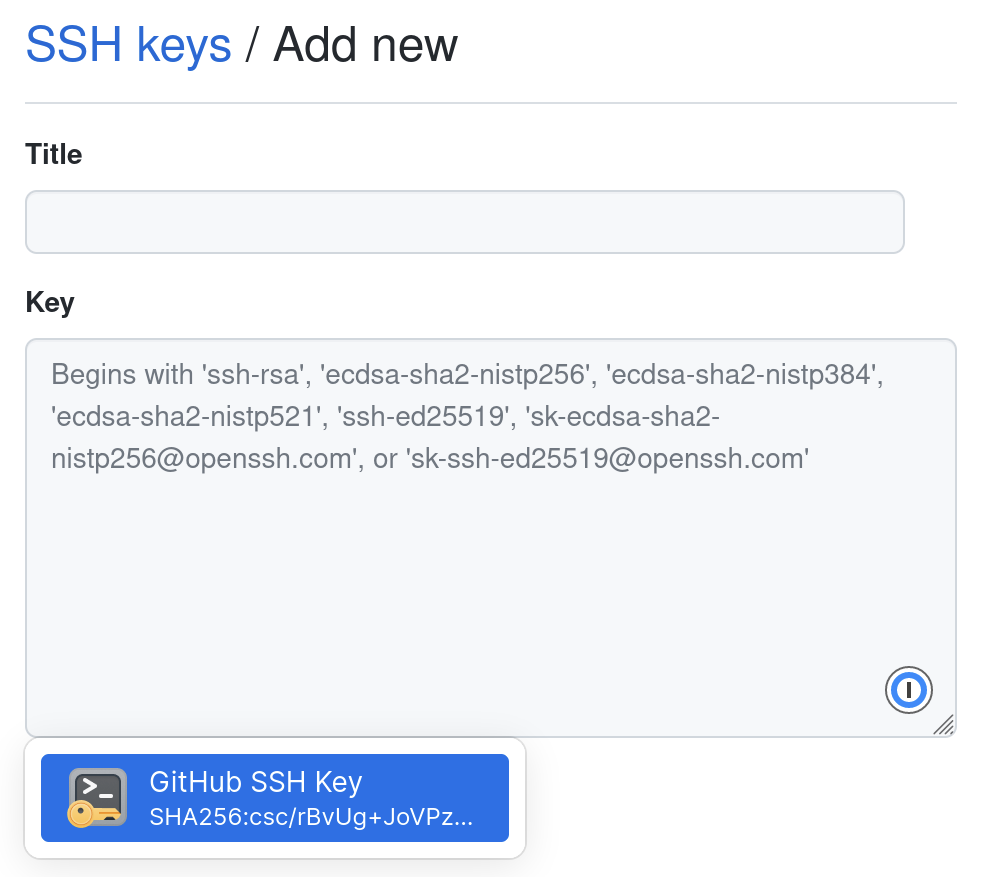
添加 SSH Key
- 在 GitHub/Gitlab 中选择 SSH Key
- 使用 1Password 自动填充公钥
配置 Config 文件
增加 config 配置文件(若有则直接编辑,无则创建。路径 ~/.ssh/config)
# 创建 config 配置文件$ touch ~/.ssh/config
添加以下内容:
Host *IdentityAgent "~/Library/Group Containers/2BUA8C4S2C.com.1password/t/agent.sock"
测试
# 测试 SSH 连接$ ssh -T git@github.com$ ssh -T git@gitlab.example_company.com
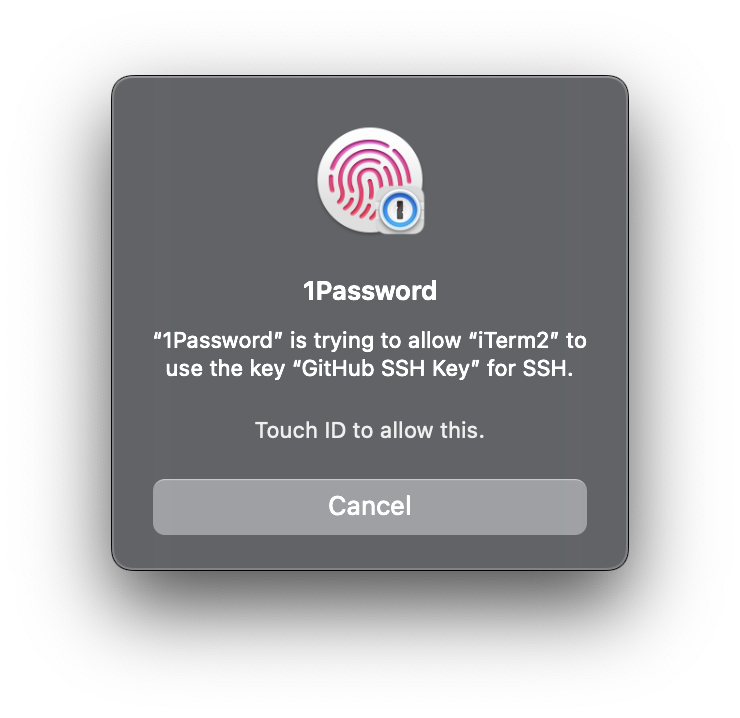
只需要一份 SSH Key,可在不同的客户端使用
Legacy
创建 SSH Key
有 .pub 后缀的文件就是公钥,另一个文件则是私钥。
# 生成 GitHub SSH Key$ ssh-keygen -t ed25519 -C 'your_email@example.com' -f ~/.ssh/github_rsa# 生成 GitLab SSH Key$ ssh-keygen -t ed25519 -C 'your_email@example.com' -f ~/.ssh/gitlab_rsa
若不想在使用公钥的时候输入密码,可以留空(直接回车即可)。
# 添加私钥$ ssh-add ~/.ssh/github_rsa$ ssh-add ~/.ssh/gitlab_rsa# 额外两个命令# 列出私钥列表$ ssh-add -l# 删除所有私钥$ ssh-add -D
配置 Config 文件
增加 config 配置文件(若有则直接编辑,无则创建。路径 ~/.ssh/config)
# 创建 config 配置文件$ touch ~/.ssh/config
添加以下内容:
# GitHubHost githubHostname github.comPreferredAuthentications publickeyIdentityFile ~/.ssh/github_rsa# GitLabHost gitlabHostname gitlab.comPreferredAuthentications publickeyIdentityFile ~/.ssh/gitlab_rsa
注意:
Host名称可以随便设置HostName则是网站的地址(例如:公司 GitLab 的地址是gitlab.example_company.com,则 HostName 为该地址)
添加 SSH Key
# 复制 SSH public key$ pbcopy < ~/.ssh/github_rsa.pub$ pbcopy < ~/.ssh/gitlab_rsa.pub
打开 GitHub - SSH and GPG keys 添加 SSH key 即可
# 测试 SSH 连接$ ssh -T git@github.com$ ssh -T git@gitlab.example_company.com
References

若有收获,就点个赞吧
0 人点赞
