1、浮动定义
作用:以前,浮动是用来做图文环绕的,现在主要是用来做布局,将块级元素完美的在一行中进行显示。
增加一个浮层来放置内容。
float属性定义元素在那个方向浮动,任何元素都可以浮动
float: left;left 元素向左浮动right 元素向右浮动
浮动的原理:
浮动以后使元素脱离了文档流
浮动只有左右浮动,没有上下浮动
2、元素向左浮动
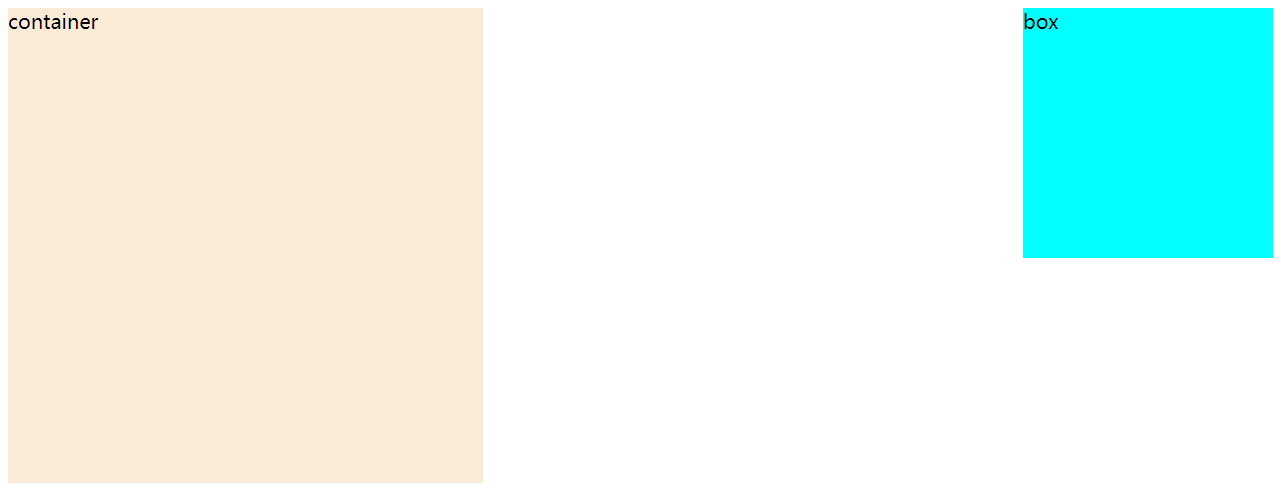
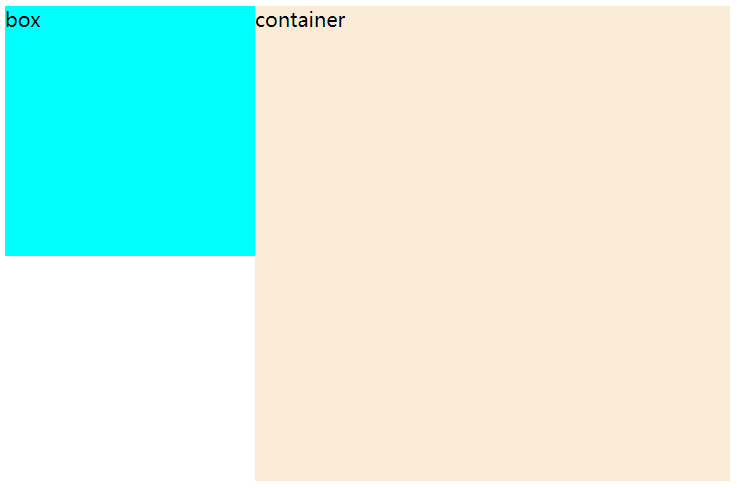
脱离文档流以后,元素相当于在页面上增加一个浮层来放置内容。此时可以理解为有两层页面,一层是底层的原页面,一层是脱离文档流的上层页面,所以会出现折叠现象。如下图1是未脱离文档流的情况,下图2是box脱离了文档流container未脱离文档流的情况: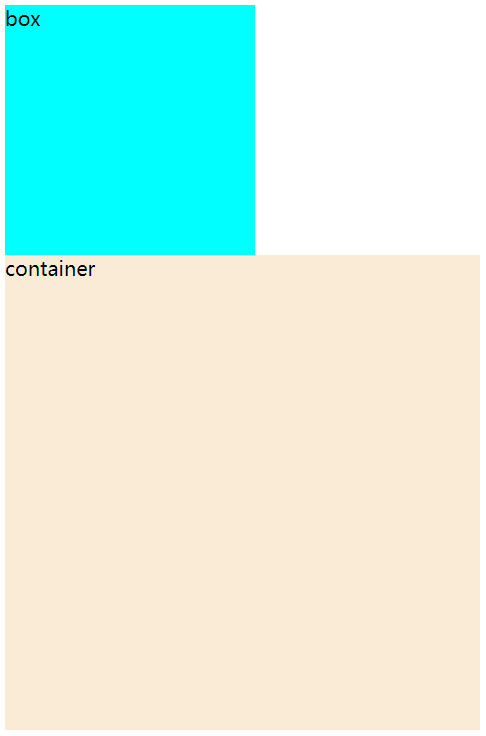
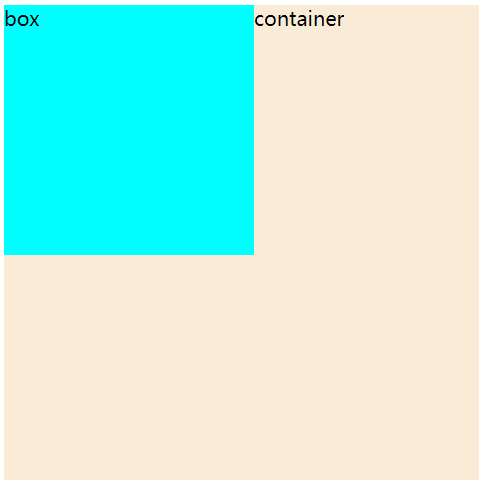
<!DOCTYPE html><html lang="en"><head><meta charset="UTF-8"><title>浮动</title><style>.box{float: left;width: 200px;height: 200px;background-color: aqua;}.container{float: left;width: 380px;height: 380px;background-color: antiquewhite;}</style></head><body><div class="box">box</div><div class="container">container</div></body></html>
3、元素向右浮动
4、所有元素向左浮动
<!DOCTYPE html><html lang="en"><head><meta charset="UTF-8"><title>浮动</title><style>div{float: left;}.box{width: 200px;height: 200px;background-color: aqua;}.container{width: 380px;height: 380px;background-color: antiquewhite;}</style></head><body><div class="box">box</div><div class="container">container</div></body></html>
5、img标签浮动实现去除原样式的间隙
<!DOCTYPE html><html lang="en"><head><meta charset="UTF-8"><title>浮动</title><style>img{float: left;}</style></head><body><img src="./1.jpg"><img src="./1.jpg"></body></html>
6、ul标签浮动实现去除原样式的竖向摆放,实现横向摆放
<!DOCTYPE html><html lang="en"><head><meta charset="UTF-8"><title>浮动</title><style>ul li{float: left;margin: 0px 22px 0px 0px;}</style></head><body><ul><li> <a href="#">导航一</a> </li><li> <a href="#">导航二</a> </li><li> <a href="#">导航三</a> </li></ul></body></html>
7、浮动副作用
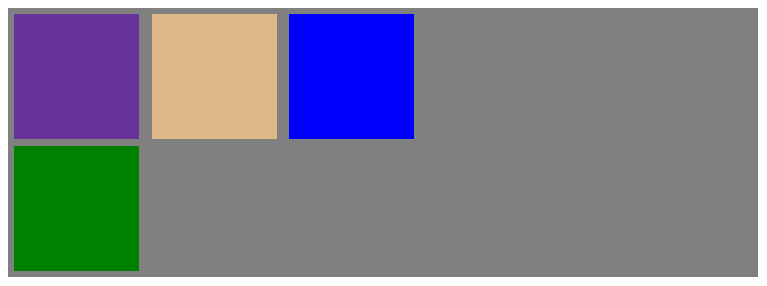
浮动副作用:当元素浮动后,该元素会脱离文档流,会向左或者向中浮动,浮动元素会造成父元素高度塌陷,后续元素会受到影响。
a、如下父元素高度塌陷demo:
<!DOCTYPE html><html lang="en"><head><meta charset="UTF-8"><title>父元素高度塌陷demo</title><style>.container{width: 600px;background-color: gray;}.box{width: 100px;height: 100px;float: left;margin: 5px;}.box1{background-color: rebeccapurple;}.box2{background-color: burlywood;}.box3{background-color: blue;}</style></head><body><div><div class="container"><div class="box box1"></div><div class="box box2"></div><div class="box box3"></div></div></div></body></html>
效果如下图,box浮动后container容器不见了:
b、后续元素会受到影响:
<!DOCTYPE html><html lang="en"><head><meta charset="UTF-8"><title>后续元素会受到影响demo</title><style>.container{width: 600px;background-color: gray;}.box{width: 100px;height: 100px;margin: 5px;}.boxfloatleft{float: left;}.box1{background-color: rebeccapurple;}.box2{background-color: burlywood;}.box3{background-color: blue;}.textbox{background-color: green;}</style></head><body><div><div class="container"><div class="box box1 boxfloatleft"></div><div class="box box2 boxfloatleft"></div><div class="box box3 boxfloatleft"></div><div class="box textbox"></div></div></div></body></html>
8、清除浮动
清除浮动的方案有以下四种:
1、父元素设置高度,实际开发比较少用。
2、受影响的元素增加clear属性,与第3个一起用,是最常用的。
3、overflow清除浮动,与第2个一起用,是最常用的。
4、伪对象方式,需要添加一个::after样式,一般也比较少用。
示例代码:
<!DOCTYPE html><html lang="en"><head><meta charset="UTF-8"><title>清除浮动</title><style>.container{width: 600px;/* 方式1:父元素设置高度,但这种方法不太好,因为实际开发中一般是不知道box的高度的 *//* height: 600px; *//* 方式3:父元素同时添加overflow和clear,是用得最多的方式 */overflow: hidden;clear: both;background-color: gray;}.container::after{/* 方式4:伪对象方式,需要添加一个::after样式,一般也比较少用。 */content: "";display: block;clear: both;}.box{width: 100px;height: 100px;margin: 5px;}.boxfloatleft{float: left;}.box1{background-color: rebeccapurple;}.box2{background-color: burlywood;}.box3{background-color: blue;}.textbox{background-color: green;/* 方式2:给受影响的元素增加clear属性,是用得最多的方式 *//* left是清除左浮动,right是清除右浮动,both是清除左右浮动 */clear: both;}</style></head><body><div><div class="container"><div class="box box1 boxfloatleft"></div><div class="box box2 boxfloatleft"></div><div class="box box3 boxfloatleft"></div><div class="box textbox"></div></div></div></body></html>
如下图,container容器、box容器、textbox容器都已经按预期出来了: