一、元素的浮动
请看下图,当把框 1 向右浮动时,它脱离文档流并且向右移动,直到它的右边缘碰到包含框的右边缘: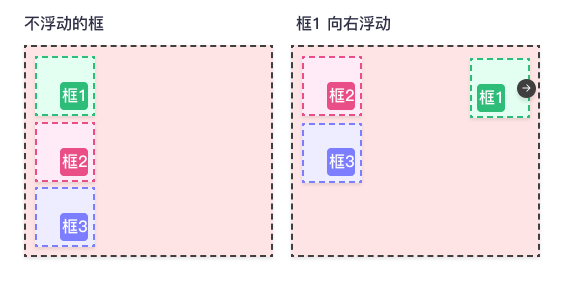
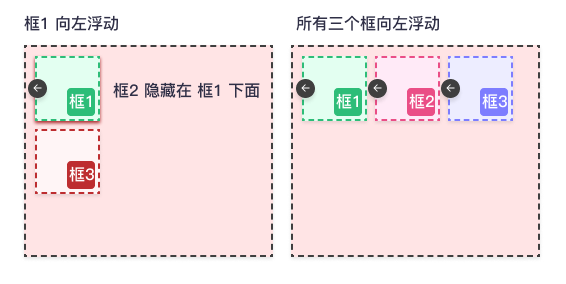
再请看下图,当框 1 向左浮动时,它脱离文档流并且向左移动,直到它的左边缘碰到包含框的左边缘。因为它不再处于文档流中,所以它不占据空间,实际上覆盖住了框 2,使框 2 从视图中消失。
如果把所有三个框都向左移动,那么框 1 向左浮动直到碰到包含框,另外两个框向左浮动直到碰到前一个浮动框。
如下图所示,如果包含框太窄,无法容纳水平排列的三个浮动元素,那么其它浮动块向下移动,直到有足够的空间。如果浮动元素的高度不同,那么当它们向下移动时可能被其它浮动元素“卡住”: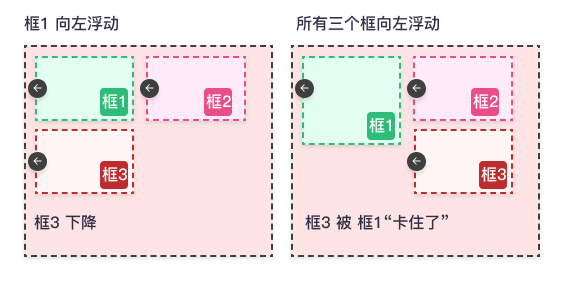
选择器{float:属性值;}
| 值 | 描述 |
|---|---|
| left | 元素向左浮动。 |
| right | 元素向右浮动。 |
| none | 默认值。元素不浮动,并会显示在其在文本中出现的位置。 |
| inherit | 规定应该从父元素继承 float 属性的值。 |
案例讲解:
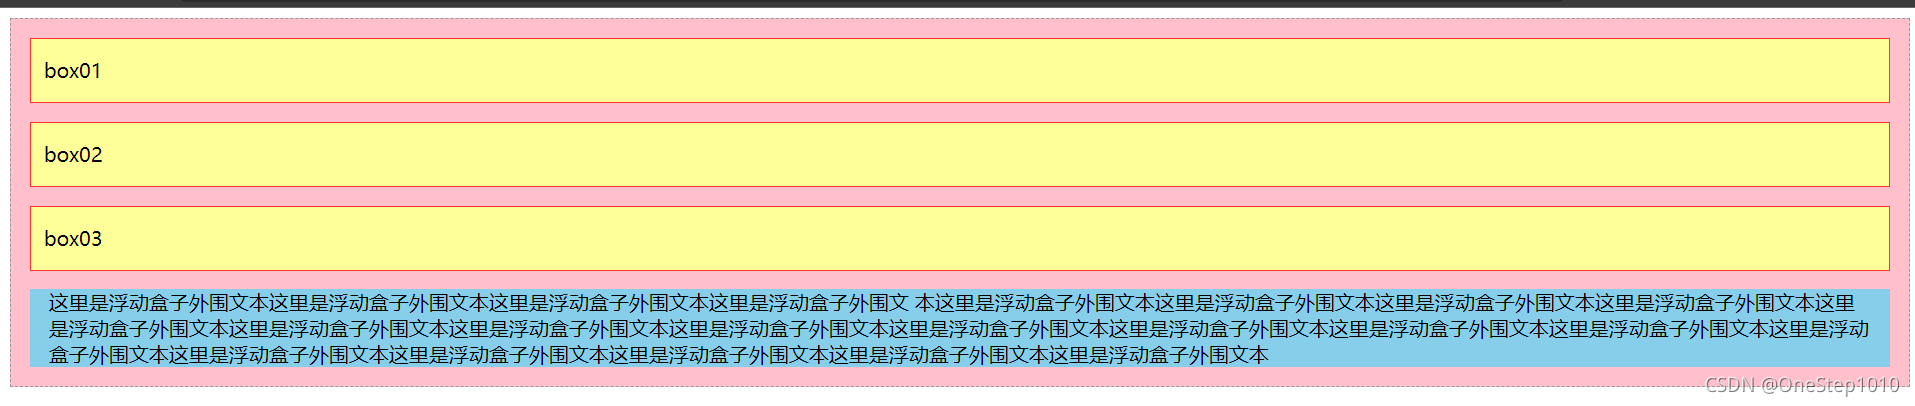
- 不设置浮动时元素默认排列效果 ```css
<!doctype html>
这里是浮动盒子外围文本这里是浮动盒子外围文本这里是浮动盒子外围文本这里是浮动盒子外围文 本这里是浮动盒子外围文本这里是浮动盒子外围文本这里是浮动盒子外围文本这里是浮动盒子外围文本这里是浮动盒子外围文本这里是浮动盒子外围文本这里是浮动盒子外围文本这里是浮动盒子外围文本这里是浮动盒子外围文本这里是浮动盒子外围文本这里是浮动盒子外围文本这里是浮动盒子外围文本这里是浮动盒子外围文本这里是浮动盒子外围文本这里是浮动盒子外围文本这里是浮动盒子外围文本这里是浮动盒子外围文本这里是浮动盒子外围文本
- box01左浮动效果css
.box01{ /定义box01左浮动/
float:left;
}

- box01和box02同时浮动css
.box01,.box02{
float:left;}

- box01、box02、box03同时左浮动css
.box01,.box02,.box03{
float:left;}

<a name="mAnxf"></a>
# 二、清除浮动css
选择器{clear:属性值;}
| **值** | **描述** |
| --- | --- |
| left | 不允许左侧有浮动元素(清除左侧浮动的影响) |
| right | 不允许右侧有浮动元素(清除右侧浮动的影响) |
| both | 同时清除左右两侧浮动的影响 |
**案例演示**<br />没有清除左浮动之前<br /><br /> 清除左浮动之后css
<!doctype html>
这里是浮动盒子外围文本这里是浮动盒子外围文本这里是浮动盒子外围文本这里是浮动盒子外围文 本这里是浮动盒子外围文本这里是浮动盒子外围文本这里是浮动盒子外围文本这里是浮动盒子外围文本这里是浮动盒子外围文本这里是浮动盒子外围文本这里是浮动盒子外围文本这里是浮动盒子外围文本这里是浮动盒子外围文本这里是浮动盒子外围文本这里是浮动盒子外围文本这里是浮动盒子外围文本这里是浮动盒子外围文本这里是浮动盒子外围文本这里是浮动盒子外围文本这里是浮动盒子外围文本这里是浮动盒子外围文本这里是浮动盒子外围文本
<br /> 需要注意的是,clear属性只能清除元素左右两侧浮动效果。然而在制作网页时,经常会遇到一些特殊的浮动情况。例如,对子元素设置浮动时,如果不对其父元素定义高度,则子元素的浮动会对父元素产生影响。css
<!doctype html>
<br />由于受到元素浮动的影响,没有设置高度的父元素变成了一条直线,即父元素不能自己适应子元素的高度了。<br />我们知道子元素和父元素为嵌套关系,不存在左右关系,所以使用clear属性并不能清除子元素浮动对父元素的影响。下面总结了3中常用的清除浮动的方式。<a name="ROIqq"></a>## 方法一、使用空标记清除浮动```css<!doctype html><html><head><meta charset="utf-8"><title>清除浮动</title><style type="text/css">.father{ /*没有对父元素定义高度*/background:#ccc;border:1px dashed #999;}.box01,.box02,.box03{height:50px;line-height:50px;background:#f9c;border:1px dashed #999;margin:15px;padding:0px 10px;float:left;}.box04{ clear:both;}</style></head><body><div class="father"><div class="box01">box01</div><div class="box02">box02</div><div class="box03">box03</div><div class="box04"></div> <!--在浮动元素后添加空标记--></div></body></html>

父元素被子元素撑开了,即子元素的浮动对父元素的影响已经不存在。
上面方法虽然可以清除浮动,但是无形之中添加了毫无意义的结构元素,工作中不建议使用。
方法二、使用overflow属性清除浮动。
<!doctype html><html><head><meta charset="utf-8"><title>清除浮动</title><style type="text/css">.father{ /*没有对父元素定义高度*/background:#ccc;border:1px dashed #999;overflow:hidden;}.box01,.box02,.box03{height:50px;line-height:50px;background:#f9c;border:1px dashed #999;margin:15px;padding:0px 10px;float:left;}.box04{ clear:both;}</style></head><body><div class="father"><div class="box01">box01</div><div class="box02">box02</div><div class="box03">box03</div></div></body></html>

父元素又被其子元素撑开了,即子元素浮动对父元素的影响已经不存在。
方法三、使用after伪对象清除浮动。
(1)必须为需要清除浮动的元素伪对象设置”height:0”,样式,否则该元素比其实际高度高出若干像素。
(2)必须在伪对象中设置content属性,属性值可以为空,如”content “”;”
<!doctype html><html><head><meta charset="utf-8"><title>清除浮动</title><style type="text/css">.father{ /*没有对父元素定义高度*/background:#ccc;border:1px dashed #999;}.father:after{display:block;clear:both;content:"";visibility:hidden;height:0;}.box01,.box02,.box03{height:50px;line-height:50px;background:#f9c;border:1px dashed #999;margin:15px;padding:0px 10px;float:left;}</style></head><body><div class="father"><div class="box01">box01</div><div class="box02">box02</div><div class="box03">box03</div></div></body></html>

三、overflow属性
| 属性值 | 描述 |
|---|---|
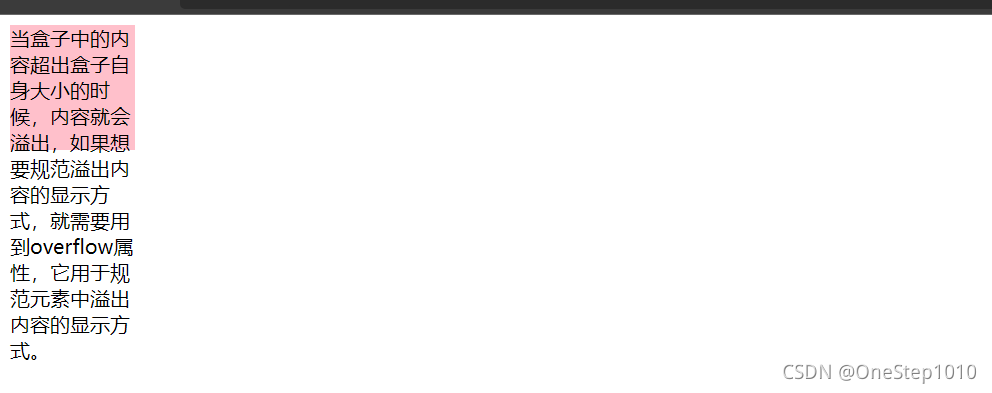
| visible | 内容不会被修剪,会呈现在元素框之外(默认值) |
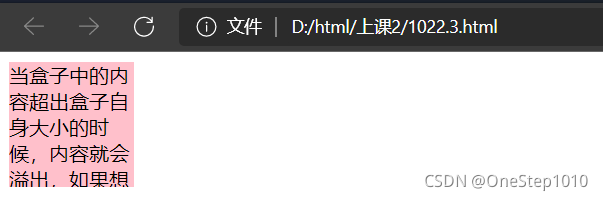
| hidden | 溢出内容会被修剪,并且被修剪的内容是不可见的 |
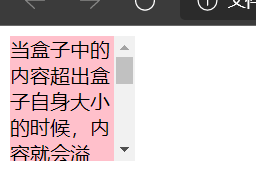
| auto | 在需要时产生滚动条,即自适应所要显示内容 |
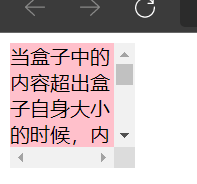
| scroll | 溢出内容会被修剪,且浏览器会始终显示滚 |
<!doctype html><html><head><meta charset="utf-8"><title>overflow</title><style type="text/css">div{width:100px;height:100px;background:pink;overflow:visible; /*溢出内容呈现在元素框之外*/}</style></head><body><div>当盒子中的内容超出盒子自身大小的时候,内容就会溢出,如果想要规范溢出内容的显示方式,就需要用到overflow属性,它用于规范元素中溢出内容的显示方式。</div></body></html>
overflow:hidden; /*溢出内容被修剪,不可见
overflow:auto; /*根据需求产生滚动条*/
overflow:scroll /*始终显示滚动条*/
四、元素的定位
position 属性指定了元素的定位类型。
position 属性的五个值:
- static
- relative
- fixed
- absolute
- sticky
元素可以使用的顶部,底部,左侧和右侧属性定位。然而,这些属性无法工作,除非是先设定position属性。他们也有不同的工作方式,这取决于定位方法。
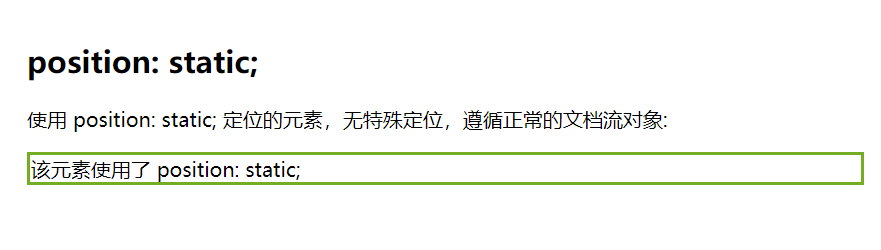
static
<!DOCTYPE html><html><head><meta charset="utf-8"><title>菜鸟教程(runoob.com)</title><style>div.static {position: static;border: 3px solid #73AD21;}</style></head><body><h2>position: static;</h2><p>使用 position: static; 定位的元素,无特殊定位,遵循正常的文档流对象:</p><div class="static">该元素使用了 position: static;</div></body></html>HTML
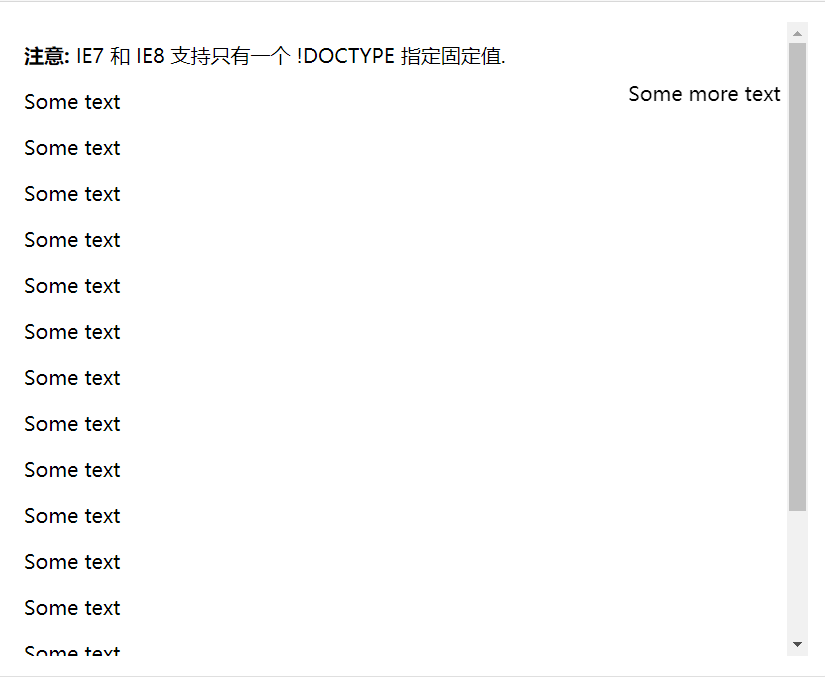
fixed
元素的位置相对于浏览器窗口是固定位置。
即使窗口是滚动的它也不会移动:
<!DOCTYPE html><html><head><meta charset="utf-8"><title>菜鸟教程(runoob.com)</title><style>p.pos_fixed{position:fixed;top:30px;right:5px;}</style></head><body><p class="pos_fixed">Some more text</p><p><b>注意:</b> IE7 和 IE8 支持只有一个 !DOCTYPE 指定固定值.</p><p>Some text</p><p>Some text</p><p>Some text</p><p>Some text</p><p>Some text</p><p>Some text</p><p>Some text</p><p>Some text</p><p>Some text</p><p>Some text</p><p>Some text</p><p>Some text</p><p>Some text</p><p>Some text</p><p>Some text</p><p>Some text</p></body></html>
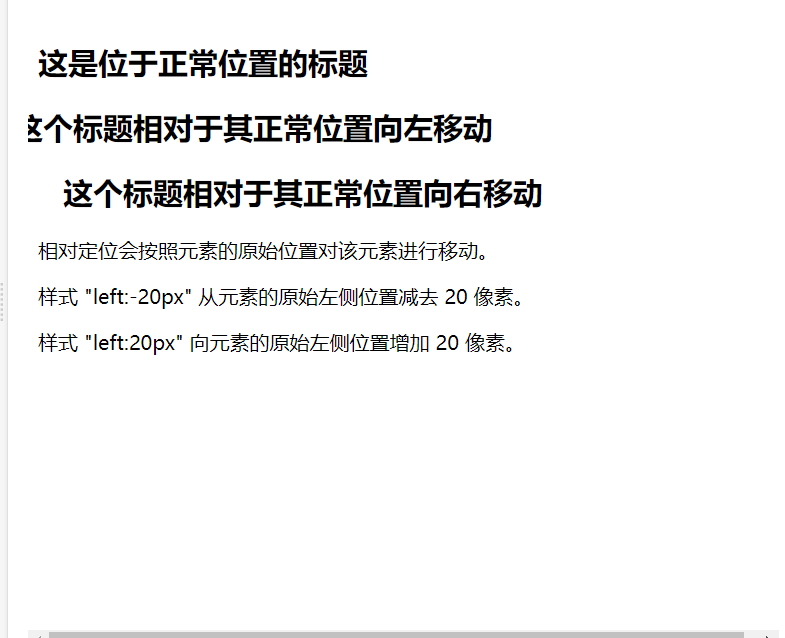
relative
相对定位元素的定位是相对其正常位置。
<!DOCTYPE html><html><head><meta charset="utf-8"><title>菜鸟教程(runoob.com)</title><style>h2.pos_left{position:relative;left:-20px;}h2.pos_right{position:relative;left:20px;}</style></head><body><h2>这是位于正常位置的标题</h2><h2 class="pos_left">这个标题相对于其正常位置向左移动</h2><h2 class="pos_right">这个标题相对于其正常位置向右移动</h2><p>相对定位会按照元素的原始位置对该元素进行移动。</p><p>样式 "left:-20px" 从元素的原始左侧位置减去 20 像素。</p><p>样式 "left:20px" 向元素的原始左侧位置增加 20 像素。</p></body></html>
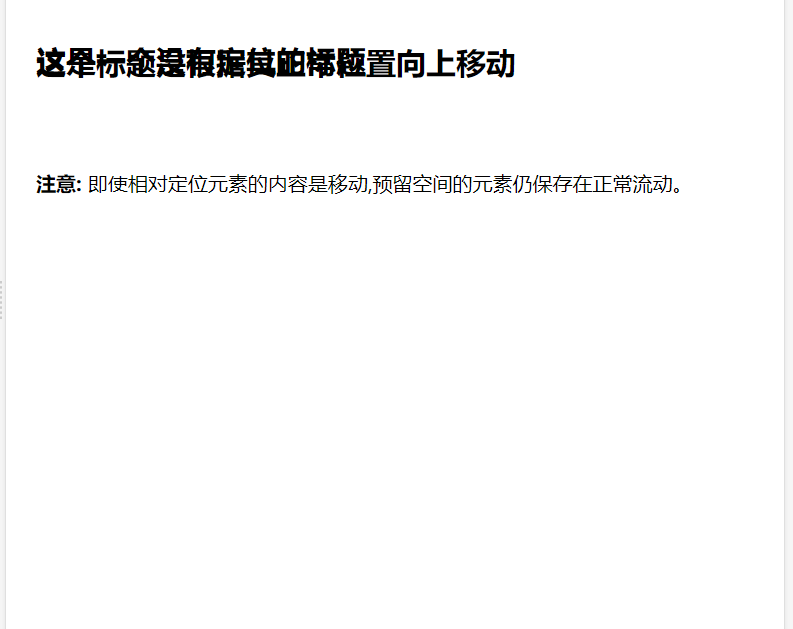
移动相对定位元素,但它原本所占的空间不会改变。
<!DOCTYPE html><html><head><meta charset="utf-8"><title>菜鸟教程(runoob.com)</title><style>h2.pos_top{position:relative;top:-50px;}</style></head><body><h2>这是一个没有定位的标题</h2><h2 class="pos_top">这个标题是根据其正常位置向上移动</h2><p><b>注意:</b> 即使相对定位元素的内容是移动,预留空间的元素仍保存在正常流动。</p></body></html>
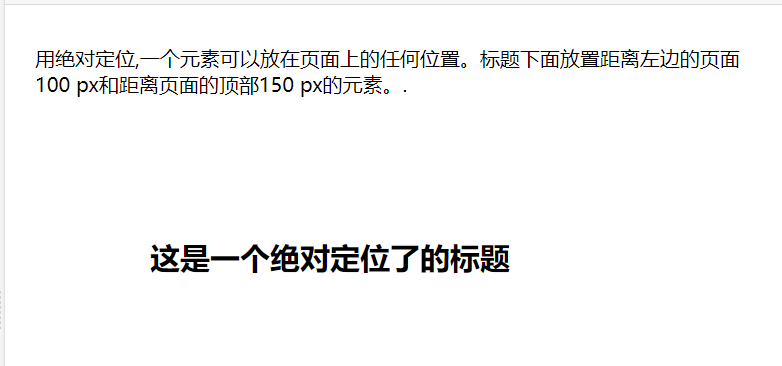
absolute (字绝父相)
绝对定位的元素的位置相对于最近的已定位父元素,如果元素没有已定位的父元素,那么它的位置相对于:
<!DOCTYPE html><html><head><meta charset="utf-8"><title>菜鸟教程(runoob.com)</title><style>h2{position:absolute;left:100px;top:150px;}</style></head><body><h2>这是一个绝对定位了的标题</h2><p>用绝对定位,一个元素可以放在页面上的任何位置。标题下面放置距离左边的页面100 px和距离页面的顶部150 px的元素。.</p></body></html>
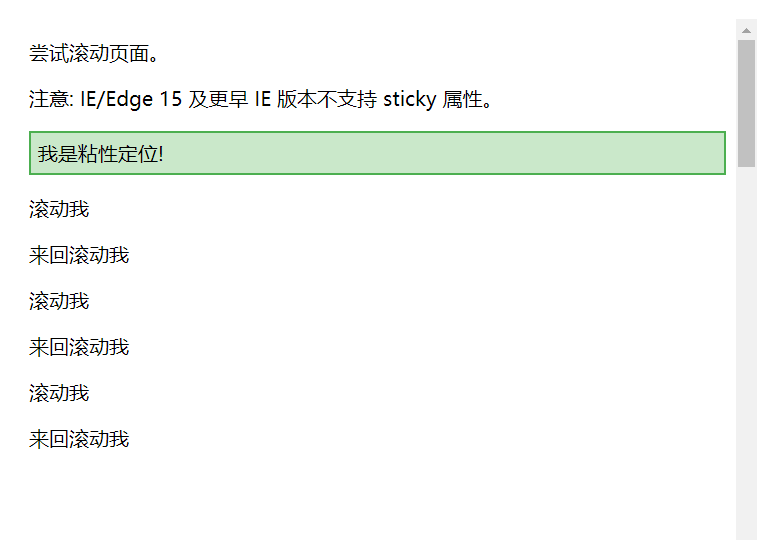
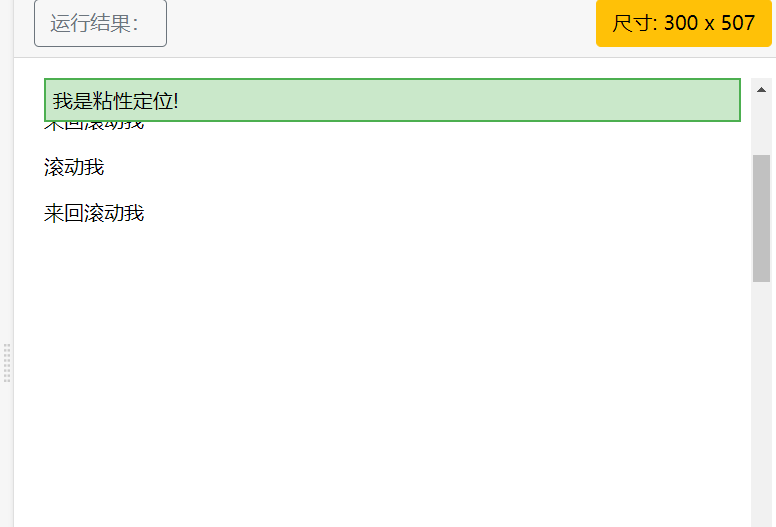
sticky
<!DOCTYPE html><html><head><meta charset="utf-8"><title>菜鸟教程(runoob.com)</title><style>div.sticky {position: -webkit-sticky;position: sticky;top: 0;padding: 5px;background-color: #cae8ca;border: 2px solid #4CAF50;}</style></head><body><p>尝试滚动页面。</p><p>注意: IE/Edge 15 及更早 IE 版本不支持 sticky 属性。</p><div class="sticky">我是粘性定位!</div><div style="padding-bottom:2000px"><p>滚动我</p><p>来回滚动我</p><p>滚动我</p><p>来回滚动我</p><p>滚动我</p><p>来回滚动我</p></div></body></html>

若有收获,就点个赞吧
0 人点赞
