什么是消息总线
消息代理中间件构建一个共用的消息主题让所有微服务实例订阅,当该消息主题产生消息时会被所有微服务实例监听和消费。
消息代理又是什么?消息代理是一个消息验证、传输、路由的架构模式,主要用来实现接收和分发消息,并根据设定好的消息处理流来转发给正确的应用。它在微服务之间起到通信调度作用,减少了服务之间的依赖。
什么是 Spring Cloud Bus
Spring Cloud Bus 是 Spring Cloud 体系内的消息总线,用来连接分布式系统的所有节点。
Spring Cloud Bus 将分布式的节点用轻量的消息代理(RibbitMQ、Kafka)连接起来。可以通过消息代理广播配置文件的更改,或服务之间的通讯,也可以用于监控。解决了微服务数据变更,及时同步的问题。
官方文档:https://cloud.spring.io/spring-cloud-static/spring-cloud-bus/2.2.1.RELEASE/reference/html/
什么时候使用 Spring Cloud Bus
微服务一般都采用集群方式部署,而且在高并发下经常需要对服务进行扩容、缩容、上线、下线的操作。比如我们需要更新配置,又或者需要同时失效所有服务器上的某个缓存,需要向所有相关的服务器发送命令,此时就可以选择使用 Spring Cloud Bus 了。
总的来说,就是在我们需要把一个操作散发到所有后端相关服务器的时候,就可以选择使用 Spring Cloud Bus 了。
接下来我们通过 Spring Cloud Bus 实现微服务架构的配置刷新。
环境准备
RibbitMQ v3.8.2` 地址:`192.168.10.101
bus-demo 聚合工程。SpringBoot 2.2.4.RELEASE、Spring Cloud Hoxton.SR1。
eureka-server:注册中心eureka-server02:注册中心config-server:配置中心服务端config-server02:配置中心服务端order-service:订单服务(配置中心客户端)order-service02:订单服务(配置中心客户端)
配置文件 order-service-prod.yml
spring:application:name: order-service ## 应用名称## 配置 Eureka Server 注册中心eureka:instance:prefer-ip-address: true ## 是否使用 ip 地址注册instance-id: ${spring.cloud.client.ip-address}:${server.port} ## ip:portclient:service-url: ## 设置服务注册中心地址defaultZone: http://localhost:8761/eureka/,http://localhost:8762/eureka/## 自定义配置name: order-service-prodpassword: root
Spring Cloud Bus 实现配置刷新
客户端发起通知
消息总线(Bus)的典型应用场景就是配置中心客户端刷新。
我们在学习 Spring Cloud Config 配置中心时给大家讲了基于 Actuator 的配置刷新,当时的案例只有一个 Config Client,我们可以使用 Webhook,设置手动刷新都不算太费事,但是如果客户端比较多的情况下,一个一个去手动刷新未免有点复杂,这种方案就不太适合了。使用 Spring Cloud Bus 可以完美解决这一问题。
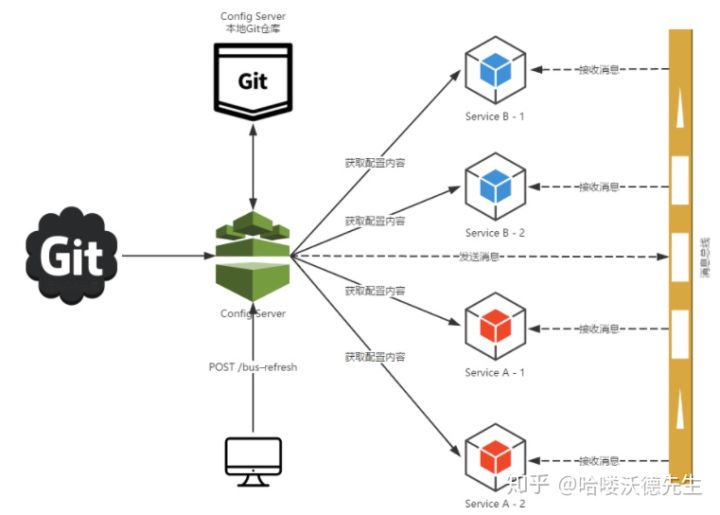
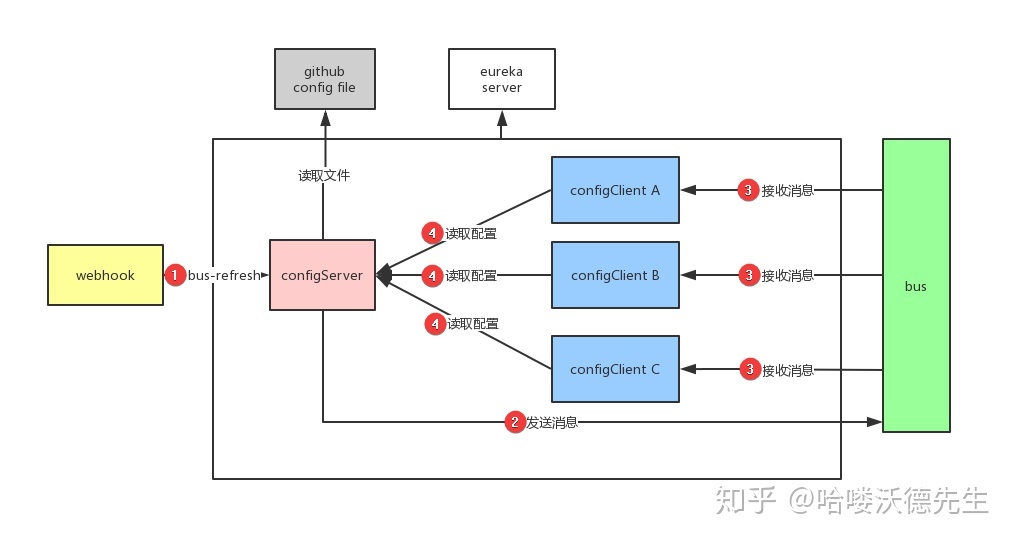
借助 Spring Cloud Bus 的广播功能,让 Config Client 都订阅配置更新事件,当配置更新时,触发其中一个端的更新事件,Spring Cloud Bus 就把此事件广播到其他订阅客户端,以此来达到批量更新。
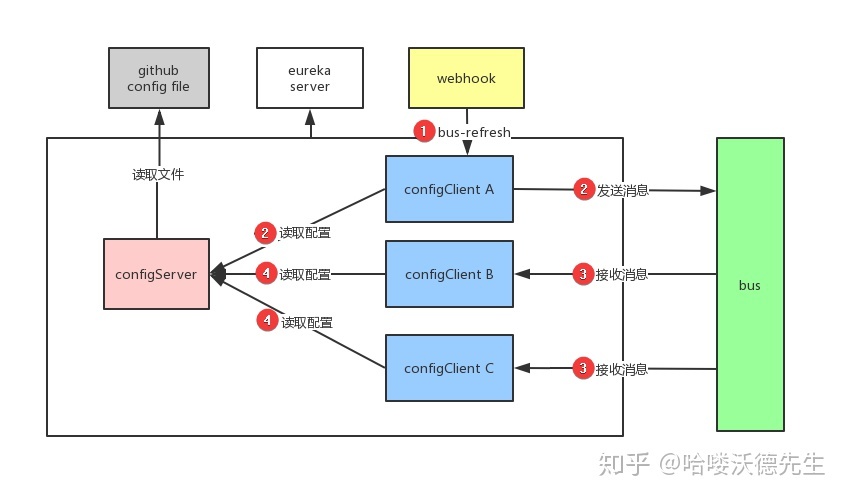
- Webhook 监听被触发,给 ConfigClient A 发送 bus-refresh 请求刷新配置
- ConfigClient A 读取 ConfigServer 中的配置,并且发送消息给 Bus
- Bus 接收消息后广播通知其他 ConfigClient
- 其他 ConfigClient 收到消息重新读取最新配置
添加依赖
Config Client 添加 spring cloud starter bus amqp 依赖。
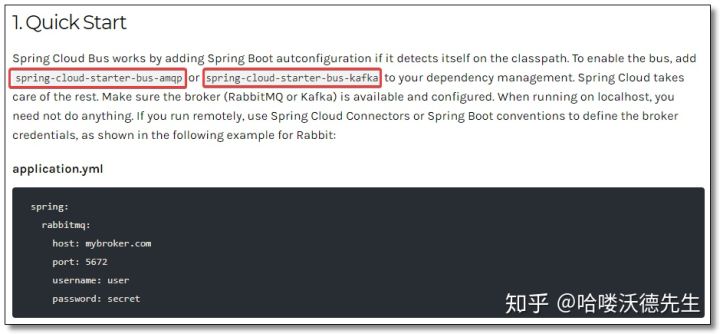
<!-- spring cloud starter bus amqp 依赖 --><dependency><groupId>org.springframework.cloud</groupId><artifactId>spring-cloud-starter-bus-amqp</artifactId></dependency>
配置文件
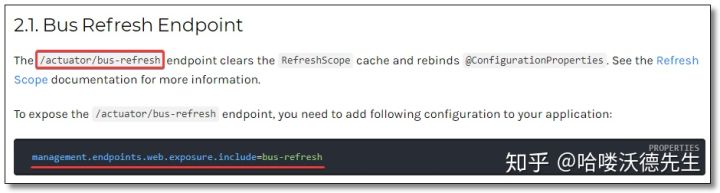
配置文件需要配置 消息队列 和 bus-refresh 自动刷新端点。/actuator/bus-refresh 端点会清除 @RefreshScope 缓存重新绑定属性。

Config Client 的 bootstrap.yml 核心配置。
spring:cloud:config:name: order-service ## 配置文件名称,对应 git 仓库中配置文件前半部分label: master ## git 分支profile: prod ## 指定环境discovery:enabled: true ## 开启service-id: config-server ## 指定配置中心服务端的 service-id## 消息队列rabbitmq:host: 192.168.10.101port: 5672username: guestpassword: guestvirtual-host: /## 度量指标监控与健康检查management:endpoints:web:base-path: /actuator ## 访问端点根路径,默认为 /actuatorexposure:include: bus-refresh ## 需要开启的端点#exclude: ## 不需要开启的端点
测试
查看端点
访问:http://localhost:9091/actuator 可以看到已经开启了 bus-refresh 自动刷新端点。

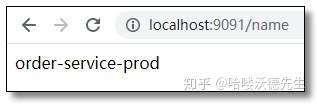
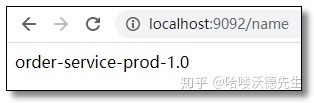
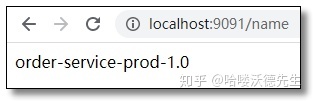
访问:http://localhost:9091/name 和 http://localhost:9092/name 结果如下:

修改 Git 仓库配置
修改 Git 仓库配置信息如下:
## 自定义配置name: order-service-prod-1.0
自动刷新
刷新页面发现结果并未改变,没事正常。
通过 Post 方式调用任意客户端的自动刷新端点:http://localhost:9091/actuator/bus-refresh 再次访问结果如下:

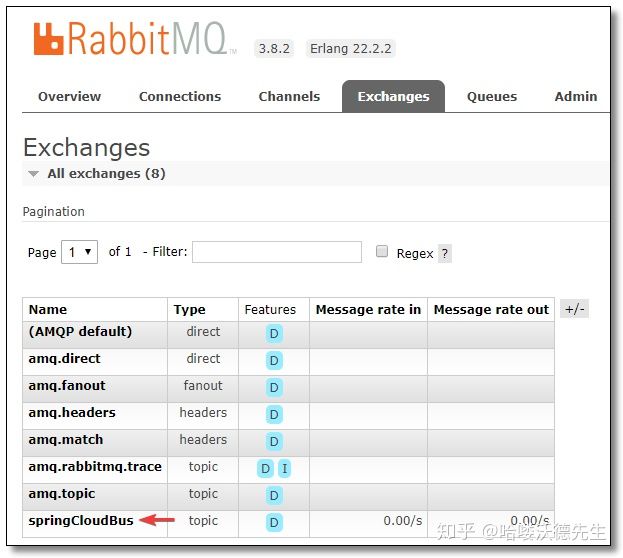
查看队列
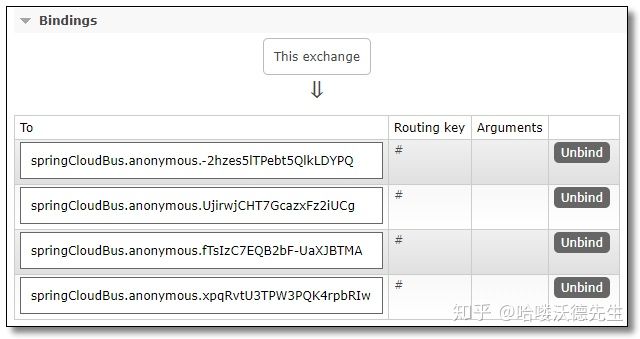
再来观察一下消息队列的 UI 界面,发现多了一个 springCloudBus 的交换机。
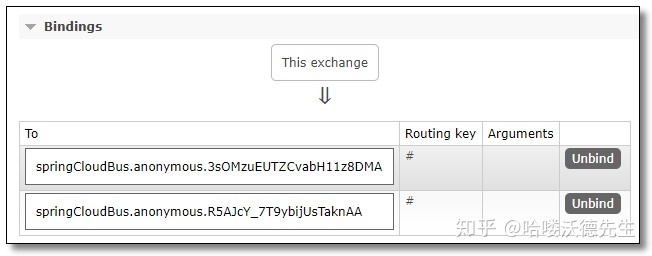
该交换机下绑定了两个队列对应我们的两个 Config Client。
客户端发起通知缺陷
- 打破了微服务的职责单一性。微服务本身是业务模块,它本不应该承担配置刷新的职责。
- 破坏了微服务各节点的对等性。
- 存在一定的局限性。例如,微服务在迁移时,它的网络地址常常会发生变化,此时如果想要做到自动刷新,就不得不修改Webhook 的配置。
服务端发起通知
为了解决客户端发起通知缺陷,我们改用服务端发起通知。
- Webhook监听被触发,给 ConfigServer 发送 bus-refresh 请求刷新配置
- ConfigServer 发送消息给 Bus
- Bus 接收消息后广播通知所有 ConfigClient
- 各 ConfigClient 收到消息重新读取最新配置
添加依赖
Config Server 添加 spring cloud starter bus amqp 依赖。

<!-- spring cloud starter bus amqp 依赖 --><dependency><groupId>org.springframework.cloud</groupId><artifactId>spring-cloud-starter-bus-amqp</artifactId></dependency>
配置文件
配置文件需要配置 消息队列 和 bus-refresh 自动刷新端点。/actuator/bus-refresh 端点会清除 @RefreshScope 缓存重新绑定属性。
Config Server 的 application.yml 核心配置。
spring:application:name: config-server ## 应用名称cloud:config:server:git:uri: https://github.com/imrhelloworld/config-repo ## 配置文件所在仓库地址#username: ## Github 等产品的登录账号#password: ## Github 等产品的登录密码#default-label: master ## 配置文件分支#search-paths: ## 配置文件所在根目录## 消息队列rabbitmq:host: 192.168.10.101port: 5672username: guestpassword: guestvirtual-host: /## 配置 Eureka Server 注册中心eureka:instance:prefer-ip-address: true ## 是否使用 ip 地址注册instance-id: ${spring.cloud.client.ip-address}:${server.port} ## ip:portclient:service-url: ## 设置服务注册中心地址defaultZone: http://localhost:8761/eureka/,http://localhost:8762/eureka/## 度量指标监控与健康检查management:endpoints:web:base-path: /actuator ## 访问端点根路径,默认为 /actuatorexposure:include: bus-refresh ## 需要开启的端点#exclude: ## 不需要开启的端点
测试
查看端点
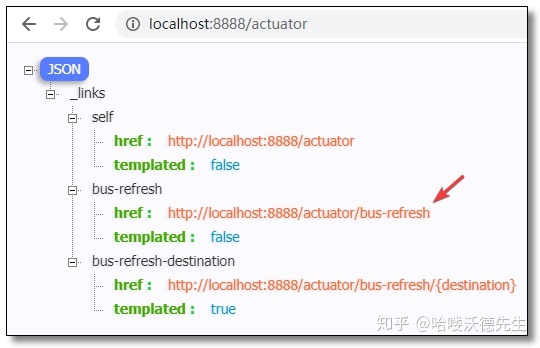
访问:http://localhost:8888/actuator 可以看到已经开启了 bus-refresh 自动刷新端点。
访问:http://localhost:9091/name 和 http://localhost:9092/name 结果如下:

修改 Git 仓库配置
修改 Git 仓库配置信息如下:
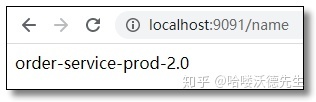
## 自定义配置name: order-service-prod-2.0
自动刷新
刷新页面发现结果并未改变,没事正常。
通过 Post 方式调用任意服务端的自动刷新端点:http://localhost:8888/actuator/bus-refresh 再次访问结果如下:

查看队列
再来观察一下消息队列的 UI 界面,发现多了一个 springCloudBus 的交换机。

该交换机下绑定了四个队列对应我们的两个 Config Server 和两个 Config Client。
局部刷新
假设有这样一种场景,我们开发了一个新的功能,此时需要对该功能进行测试。我们只希望其中一个微服务的配置被更新,等功能测试完毕,正式部署线上时再更新至整个集群。但是由于所有微服务都受 Spring Cloud Bus 的控制,我们更新了其中一个微服务的配置,就会导致其他服务也被通知去更新配置。这时候局部刷新的作用就体现出来了。
刷新指定服务
修改 Git 仓库配置信息如下:
## 自定义配置name: order-service-prod-3.0
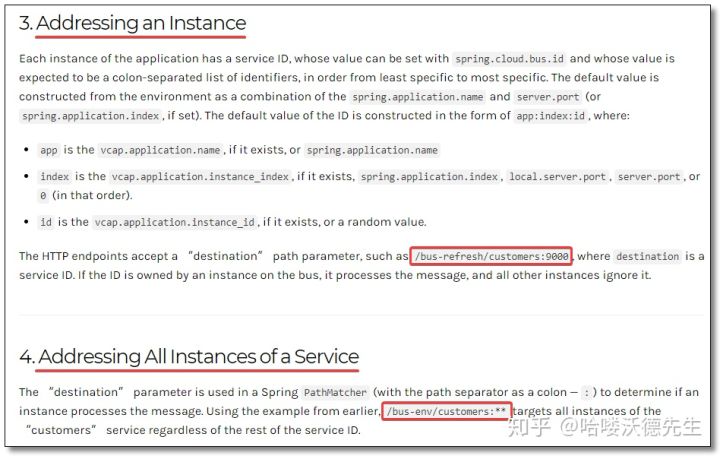
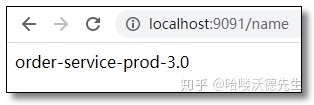
通过 Post 方式调用任意服务端的自动刷新端点:http://localhost:8888/actuator/bus-refresh/order-service:9091 再次访问结果如下:
9091 端口的客户端已经更新配置。
9092 端口的客户端没有更新配置。

刷新指定集群
假设现在功能测试完毕,需要正式部署线上更新至整个集群。但是由于 Spring Cloud Bus 控制着多个微服务集群(订单微服务、商品微服务等),而我们只想更新指定集群下的配置,这个时候就可以使用 Bus 提供的通配符更新方案。
修改 Git 仓库配置信息如下:
## 自定义配置name: order-service-prod-4.0
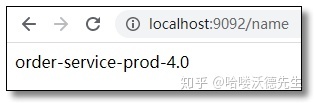
通过 Post 方式调用任意服务端的自动刷新端点:http://localhost:8888/actuator/bus-refresh/order-service:** 再次访问结果如下:

至此 Bus 消息总线所有的知识点就讲解结束了。

若有收获,就点个赞吧
0 人点赞
