补充:
2021-02-19 又是好消息
vue-cli-plugin-vite vue-cli-plugin-vite
通过
vue add vite一键启动,具体操作方法和我的文章一致。
0 按
最近 Vite 是相当火,尤大推Vite2、换新Logo,围绕vite发推又点赞,代码不停:可真是肝力十足!
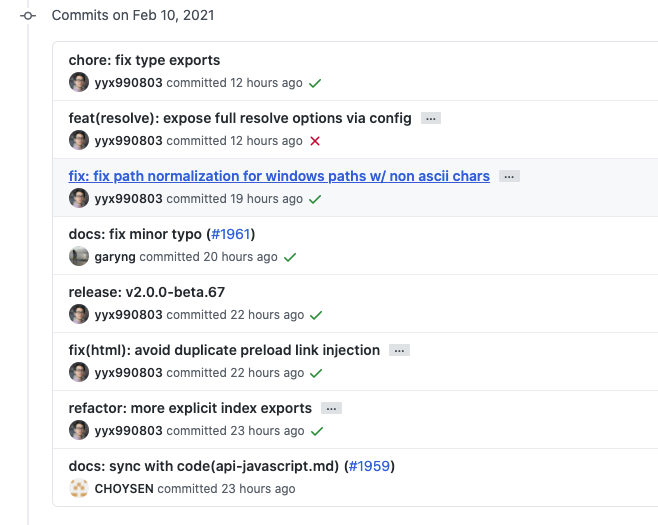
Vite2 进一步和Vue解耦,变得越来越技术无关了,Vue3,React项目一样跑。
那问题来了,Vite2能不能跑Vue2全家桶?官方的vite 模板中没有vue2的身影。
经过试验,答案是能。这次分享不讲已经过时的 Vite1 原理,(真是学不动了要),讲应用:用 Vite2 搞 Vue2 全家桶。
本次分享思路大纲:
1 起Vue2项目
话不多说,我们开搞。本次项目代码我建立了一个 Git 仓库,小伙们 —> 戳此查看 <—。
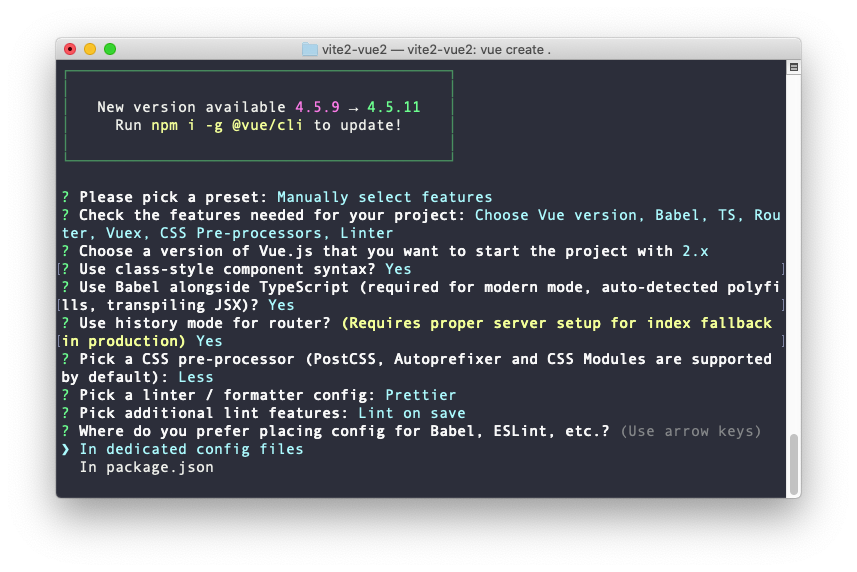
搭建项目这块比较简单:
Vue2 + router + vuex + + less + ts + prettier vue add element
最终项目通过 yarn serve 跑起来。
2 引入Vite依赖
得益于 vite 插件的机制,我们要从 vue-cli 迁移到 vite 只需要做下面的操作:
npm i vite vite-plugin-vue2 -D
修改 package.json 中的 script.dev="vite" 。
接下来我们准备 src/index.html ,内容和 原来 public/index.html 的大致内容一致,只不过需要手动引入 src/main.ts 启动入口,设置 type=module ,如下图:
<!DOCTYPE html><html lang="zh-CN"><head><meta charset="UTF-8" /><meta http-equiv="X-UA-Compatible" content="IE=edge" /><meta name="viewport" content="width=device-width, initial-scale=1.0" /><title>vue2 vite2</title></head><body><div id="app"></div><script type="module" src="/src/main.ts"></script></body></html>
我们需要准备配置文件了,可以参考我的配置文件 /vite.config.js
import { createVuePlugin } from "vite-plugin-vue2";import { defineConfig } from "vite";import path from "path";export default defineConfig({resolve: {alias: {"@": path.resolve(__dirname, "src"),},},base: "/",plugins: [// vue()createVuePlugin()]});
这里我们设置了 base=/ 和 alias 两项配置。
还有一项配置需要处理,因为默认的 router/index.ts 用到了环境变量,根据vite文档,这里需要做修改
const router = new VueRouter({mode: "history",base: import.meta.env.BASE_URL,routes});
从 process.env 改成了 import.meta.env
万事俱备,试试吧:
npm run dev
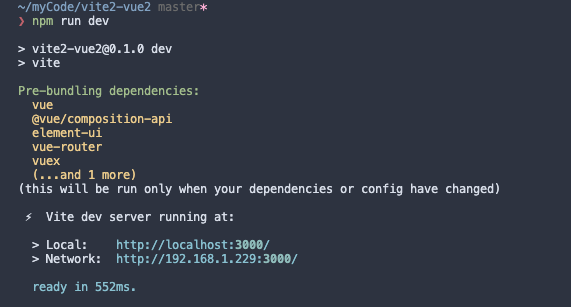
就,跑起来了:router 工作、element工作、Vue2 Devtools 工作、修改文件热更新工作。
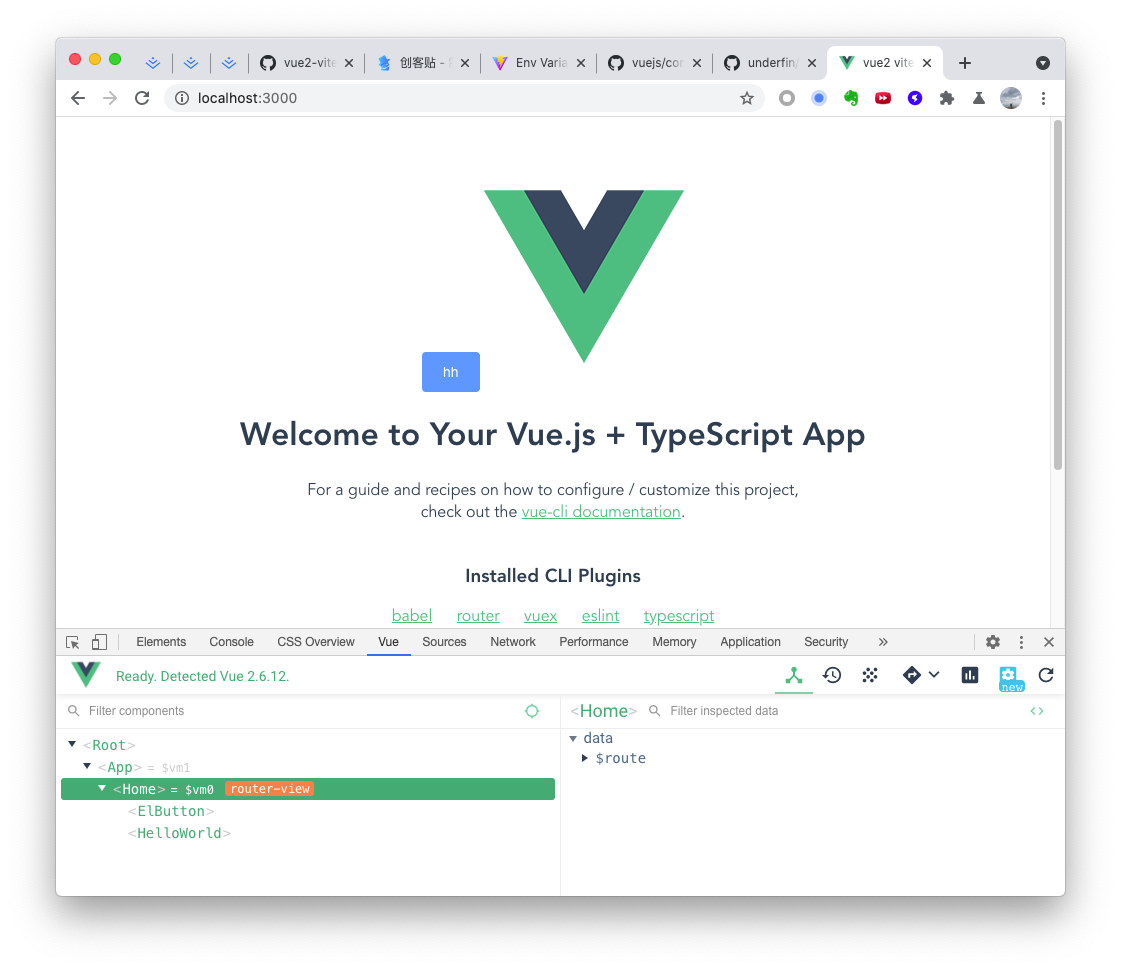
那就完了呗。
等等,既然Vue3 的 composition API 这么火,也试试呗
3 试试CompositionAPI
参考文档 https://github.com/vuejs/composition-api
安装、配置、使用一条龙
npm install @vue/composition-api
修改 src/main.ts
import VueCompositionAPI from '@vue/composition-api'Vue.use(VueCompositionAPI)
修改下页面
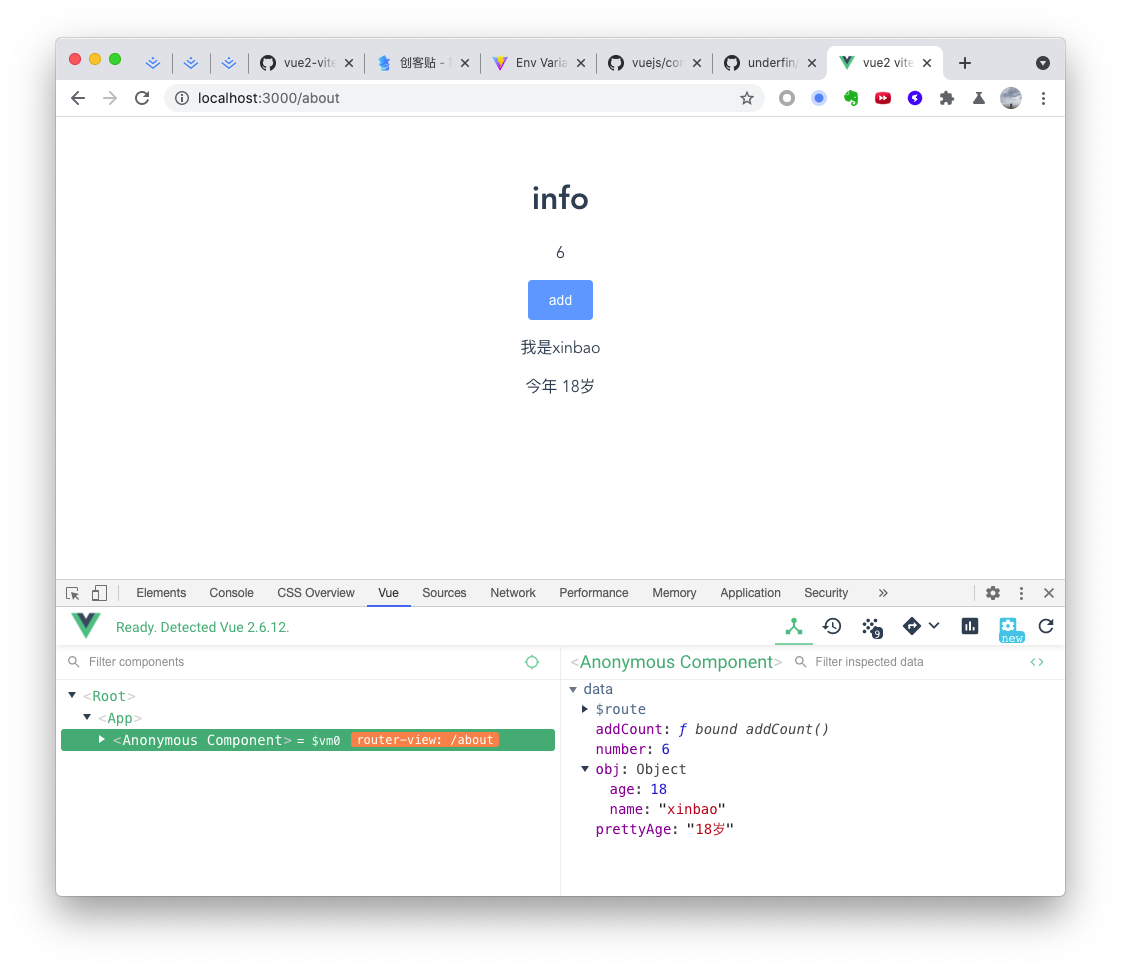
<template><div class="about"><h1>info</h1><p>{{ number }}</p><el-button @click="addCount" type="primary">add</el-button><p>我是{{ obj.name }}</p><p>今年 {{ prettyAge }}</p></div></template><script lang="ts">import { ref, reactive, defineComponent, computed } from "@vue/composition-api";interface TypeInfo {name: string;age: number;hobby?: string[];}export default defineComponent({setup() {const number = ref(0);const obj: TypeInfo = reactive({name: "xinbao",age: 18});const addCount = () => number.value++;const prettyAge = computed(() => obj.age + "岁");return {number,prettyAge,obj,addCount};}});</script>
再跑,就跑起来了
4 初步结论
理论可行,能跑。
我试着在我的其他项目中跑来着,还是有坑,等一个后续吧。
技术收益:
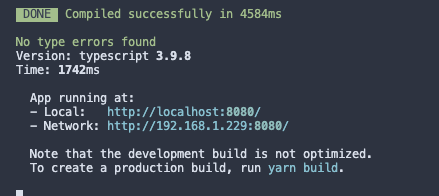
- webpack dev模式
- vite模式
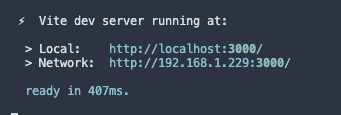
4584/407 约等于 11.3 , 那你觉得我从webpack切换到vite是否提升了 10x 倍 的编译速度?
欢迎留言交流。
