安装conda, 换源,安装软件
# 安装bash Miniconda3-latest-Linux-x86_64.shsource ~/.bashrc# 换源conda config --add channels https://mirrors.tuna.tsinghua.edu.cn/anaconda/pkgs/main/conda config --add channels https://mirrors.tuna.tsinghua.edu.cn/anaconda/cloud/conda-forge/conda config --add channels https://mirrors.tuna.tsinghua.edu.cn/anaconda/cloud/bioconda/conda config --set show_channel_urls yes# 查看一下cat ~/.condarc# 删除掉 `~/.condarc ` 中的 defaultssed -i '/default/d' ~/.condarc###### 创建名为 rna 的软件环境##########conda create -y -n rna python=3.7# 激活创建的小环境rnaconda activate rna# 查看当前conda环境conda info -e# 安装 fastqc 软件#conda install -y fastqcconda install -y samtools=1.14 # 等于号没有空格conda install -y salmon=1.6.0conda install -c bioconda snakemake# aspera (可选)conda install -y -c hcc aspera-cli# 可以一次安装多个软件conda install -y fastqc trim-galore hisat2 subread multiqc fastp##通过软件的命令,检查软件安装情况# trim-galoretrim_galore --help# hisat2hisat2 -h# subreadfeatureCounts# multiqcmultiqc --help# salmonsalmon --help# fastpfastp --help#### 检查软件 位置which fastqc # 注意 which后是软件的某个应用###### 创建R4环境 #######conda create -y -n R4 python=3.8# 激活R4环境conda activate R4# 安装R语言本体conda install -y r-base=4.1# 安装R语言软件包#conda install -y r-getopt#conda install -y r-tidyverse#conda install -y r-ggplot2#conda install -y bioconductor-limma#conda install -y bioconductor-edger#conda install -y bioconductor-deseq2#conda install -y bioconductor-clusterprofilerconda install -y bioconductor-clusterprofiler bioconductor-deseq2 bioconductor-edger \bioconductor-limma r-ggplot2 r-tidyverse r-getopt############ R 内部 安装#######################Roptions(BioC_mirror="http://mirrors.tuna.tsinghua.edu.cn/bioconductor/")options("repos" = c(CRAN="https://mirrors.tuna.tsinghua.edu.cn/CRAN/"))library(BiocManager)BiocManager::install('org.Hs.eg.db')## 检查 R 包是否安装成功,library R 包:library(getopt)library(tidyverse)library(ggplot2)library(limma)library(edgeR)library(DESeq2)library(clusterProfiler)library(org.Hs.eg.db)
conda 的 各种软件操作(更新,卸载,克隆,删除,查找)


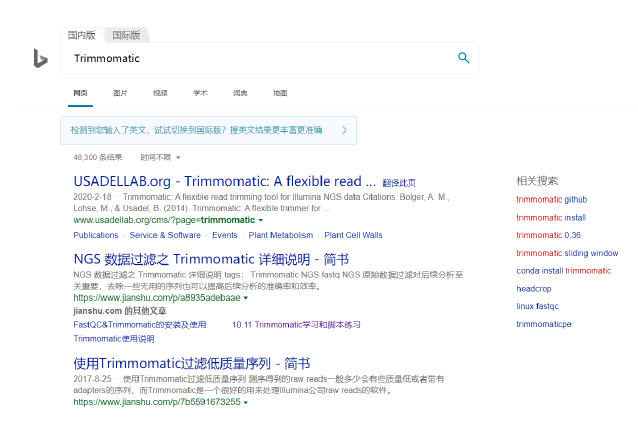
软件库: https://anaconda.org/serach https://bioconda.github.io/ 搜索时注意软件的 名字的输入
## 查看已创建conda 环境
conda info -e

## 更新
conda update XXX
## 卸载软件
conda remove XXX
## 克隆
conda create -n (new env name)  -cloone (old env name)
## 删除整个环境
conda env remove -n (env name)
## 查找
conda search XXX
## 迁移环境
conda env export > XXenv.yml
## 查看已安装的软件
conda list
## 清空缓存:清除掉下载了但是没有用到的包,清除掉index
conda clean -a
## 查看空间大小
du -sh XXX
从yam创建环境
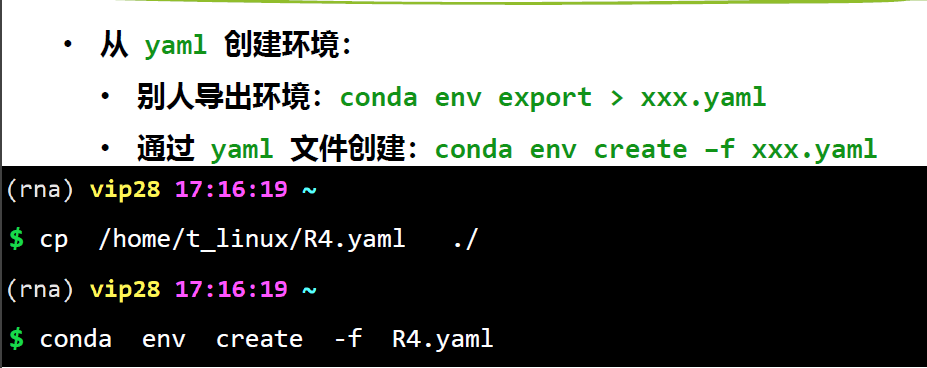
cat R4.yaml
conda env create -f R4.yaml # 注意名字
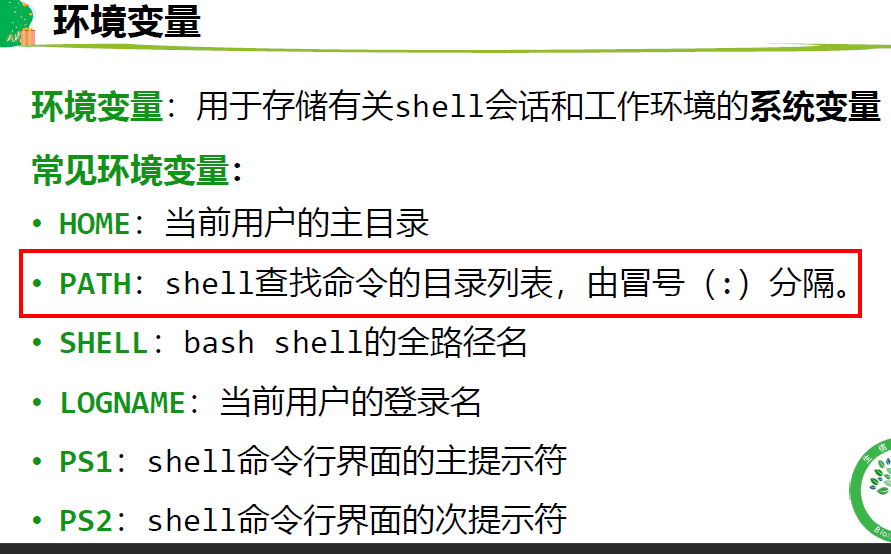
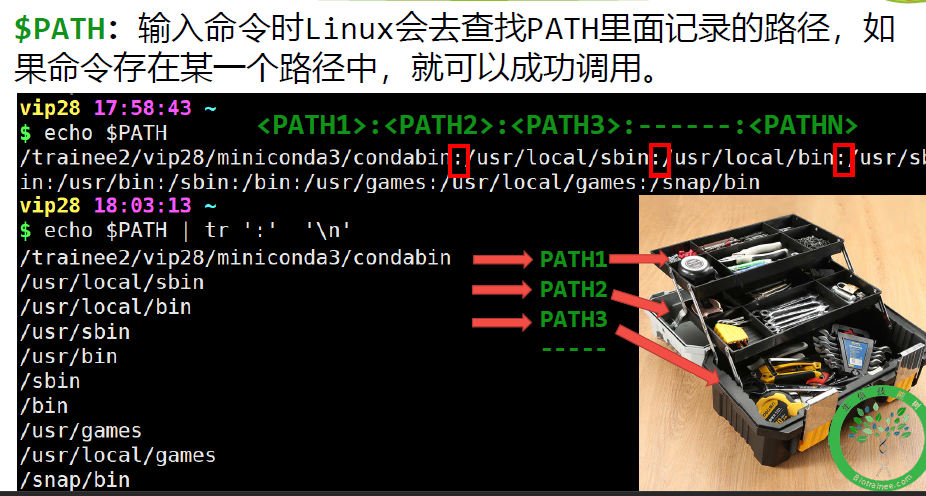
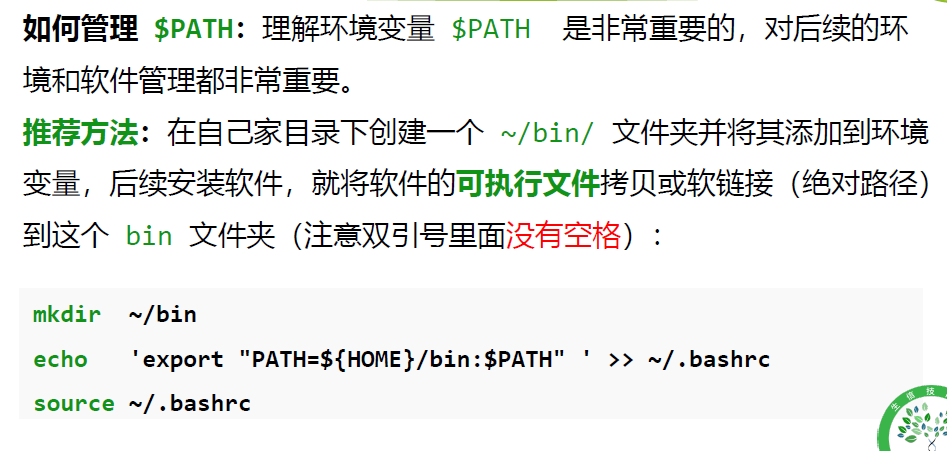
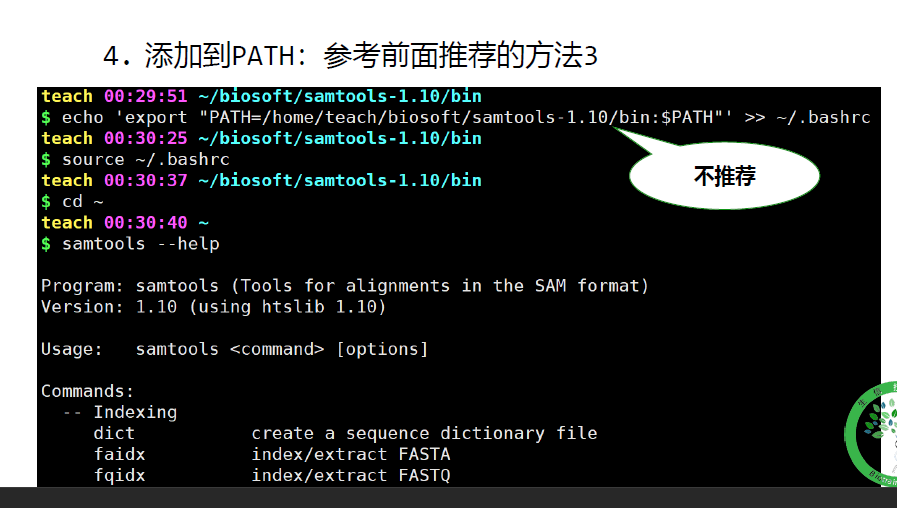
环境变量$PATH
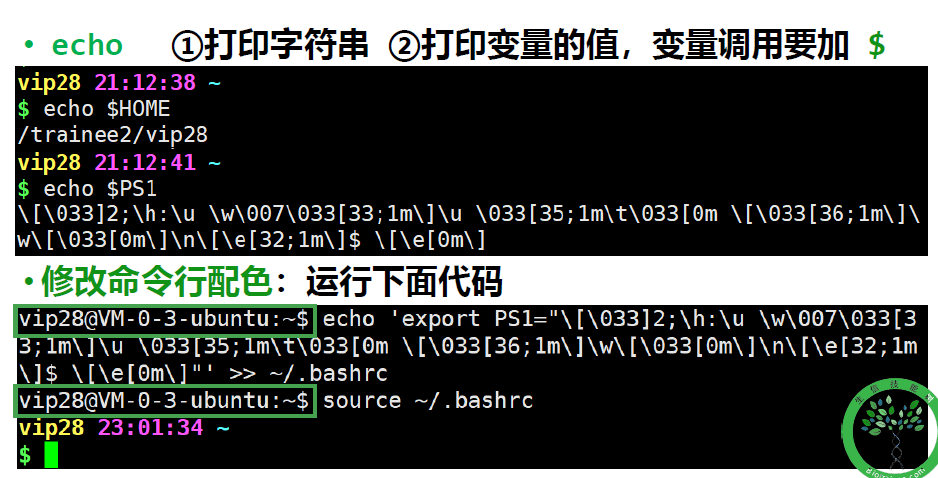
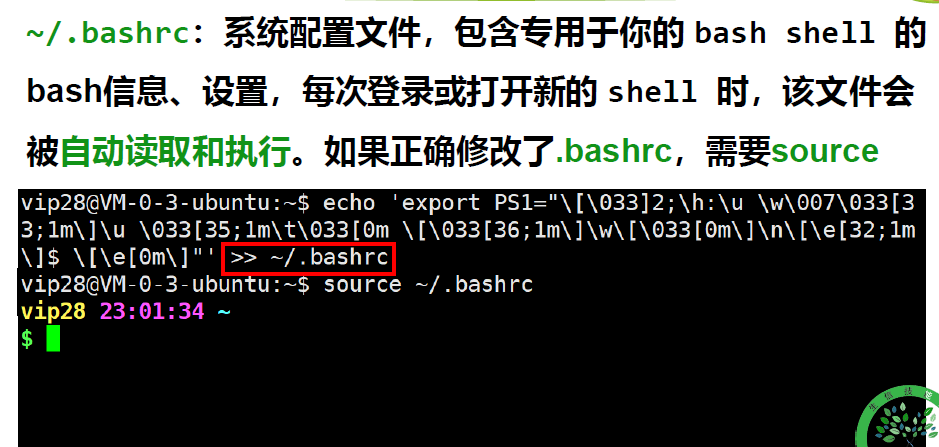
.bashrc : 系统配置文件,用户bash 信息
 ## 备份bashrc
 cp  ~/.bashrc   ~/Data/bashrc_bk
$PATH
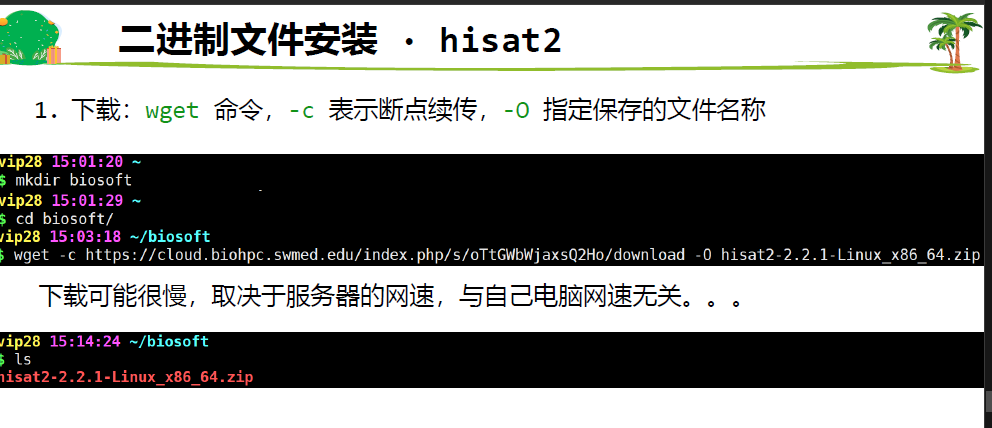
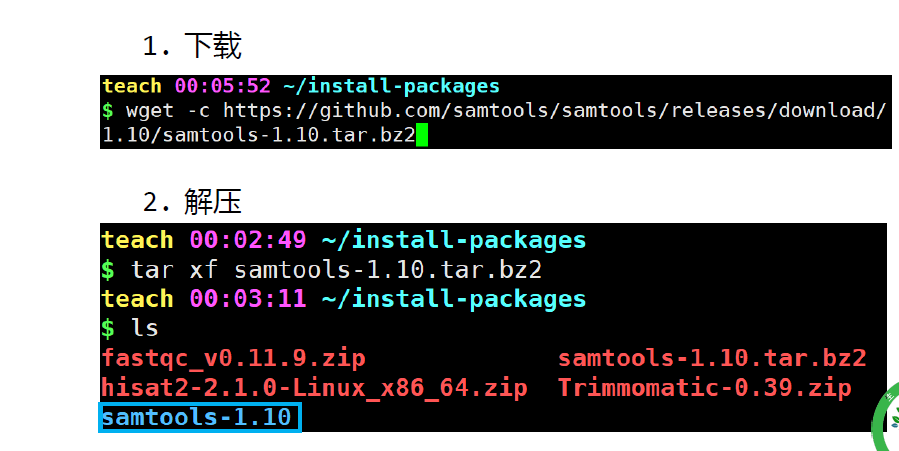
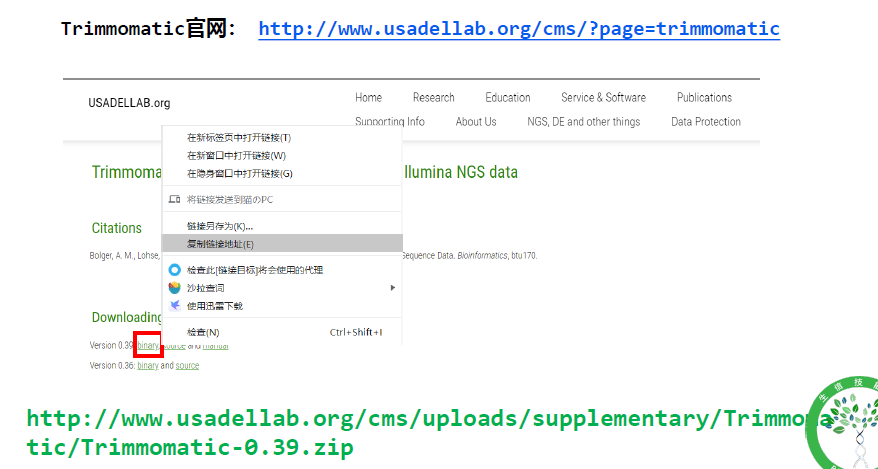
二进制安装方式
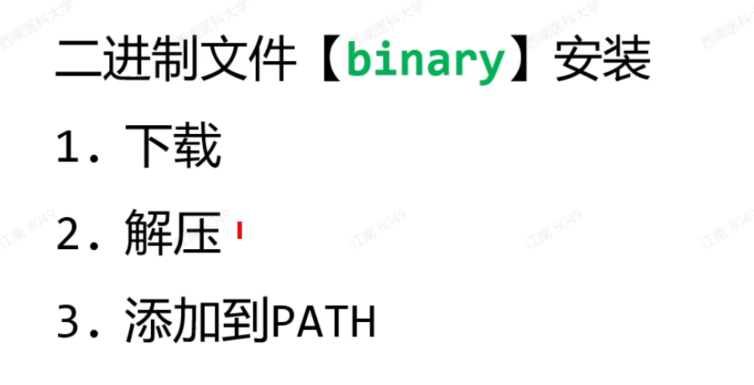
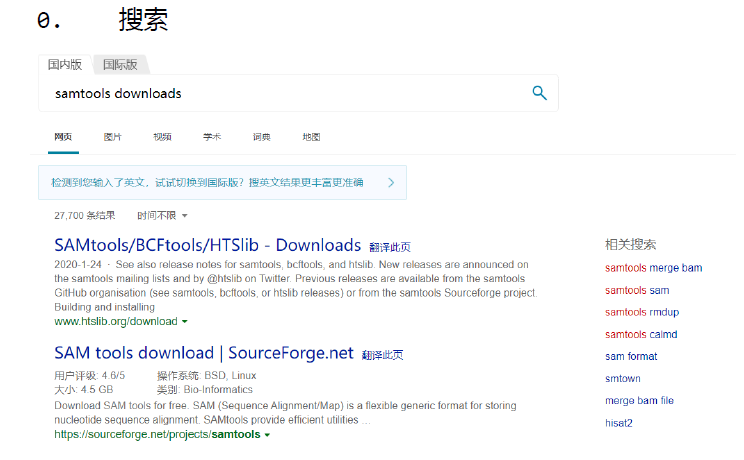
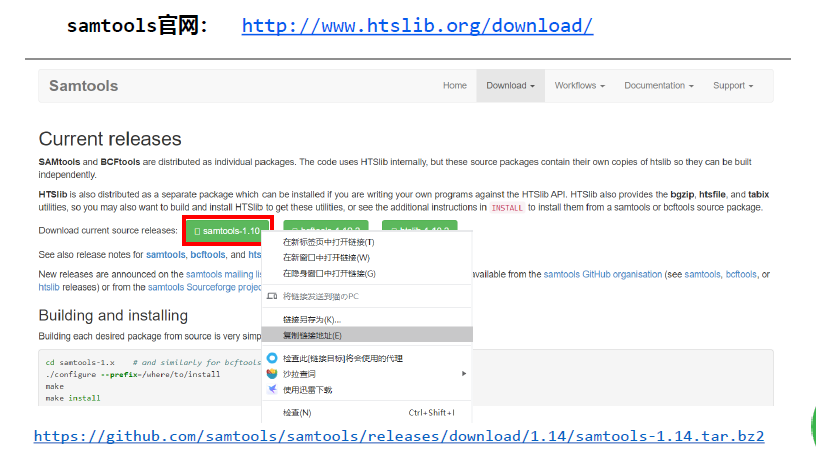
下载
hisat2 conda安装
$ conda install hisat2
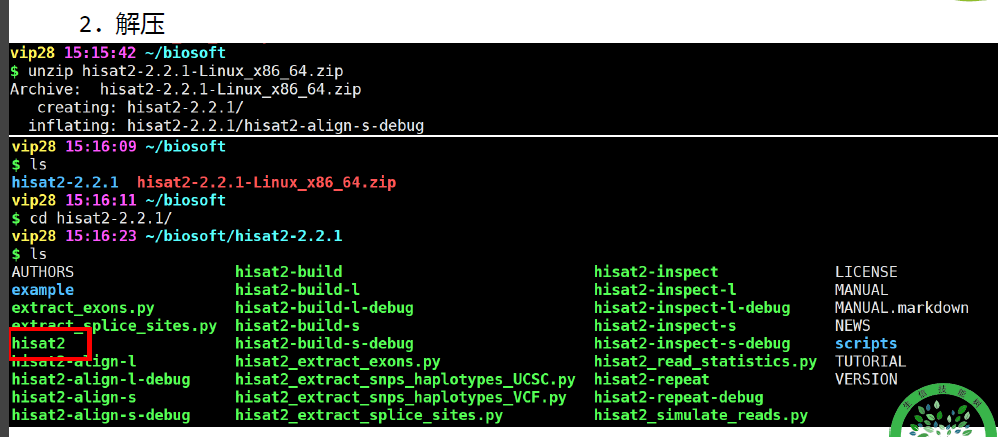
解压
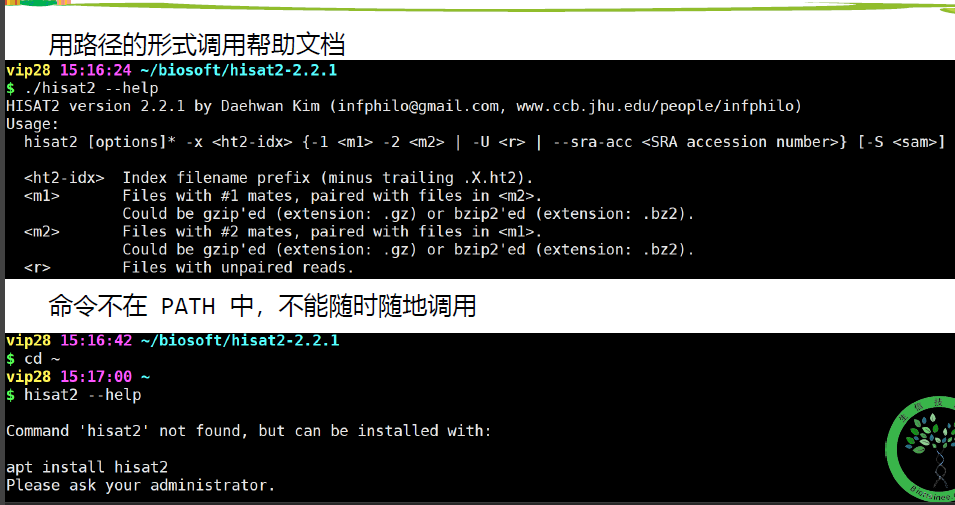
路径法调用
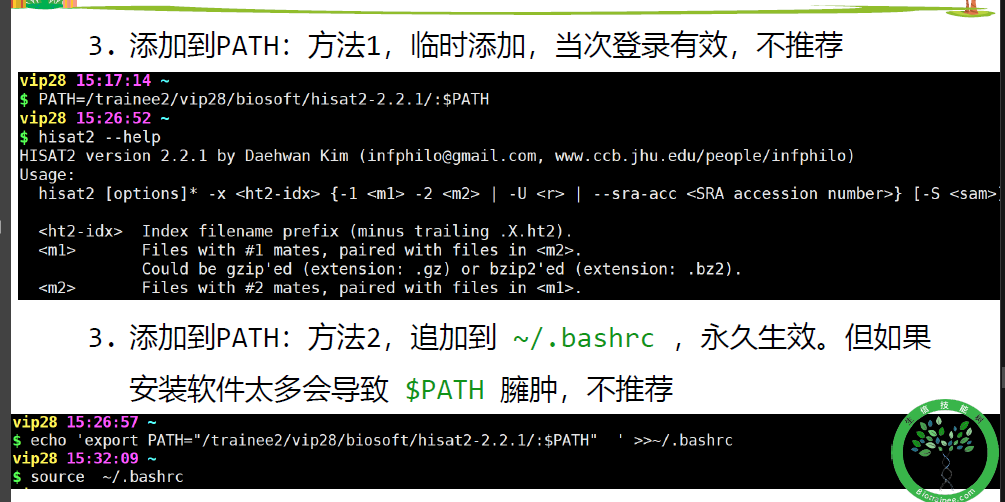
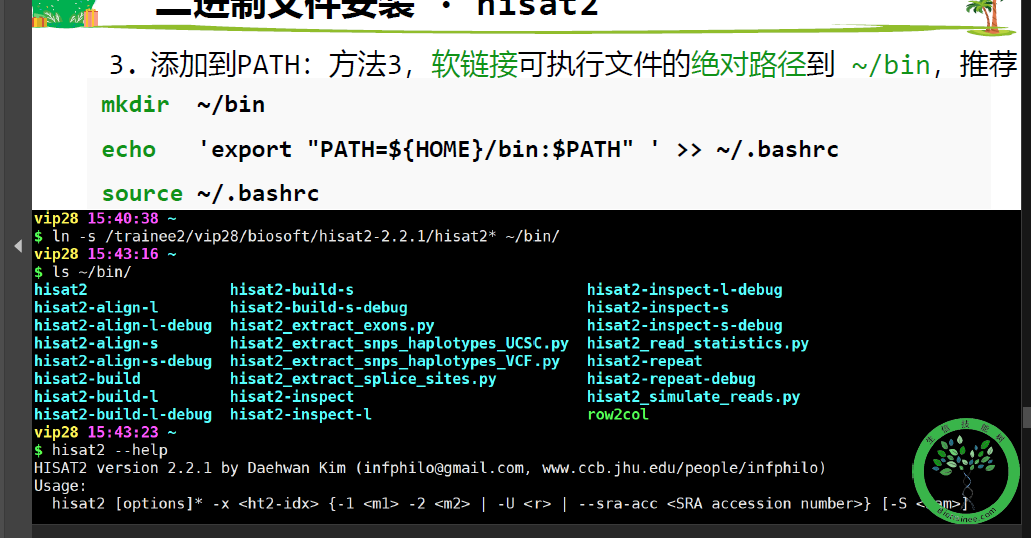
添加到path
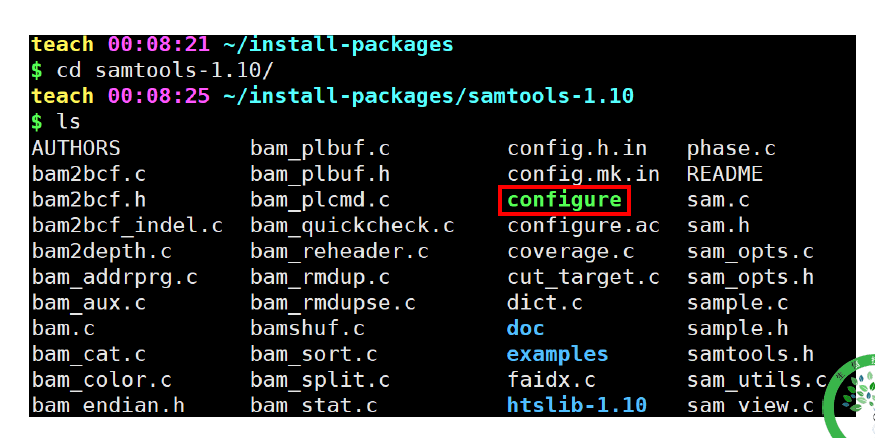
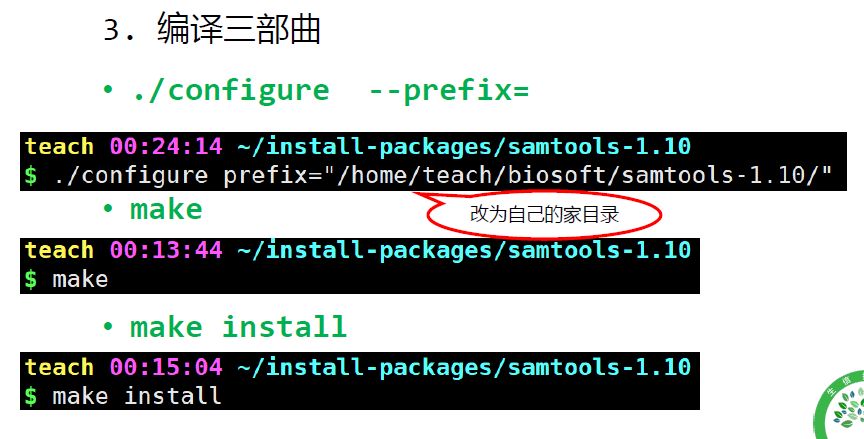
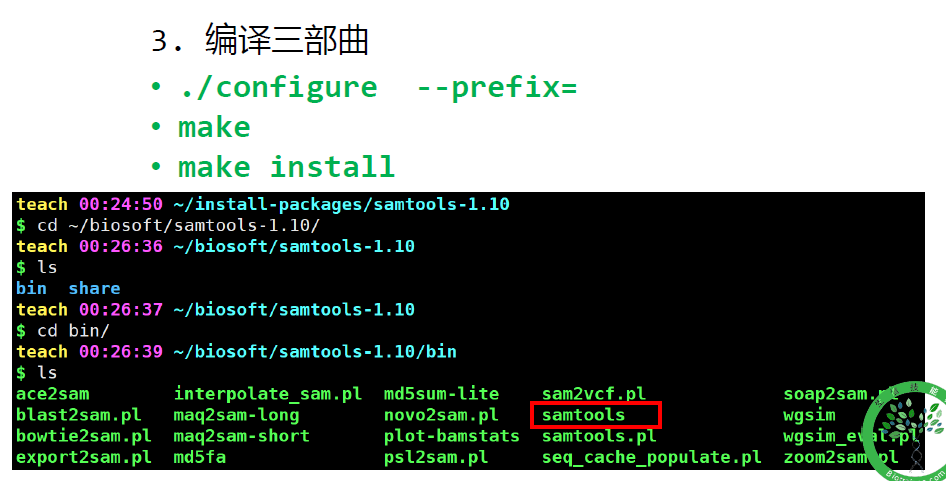
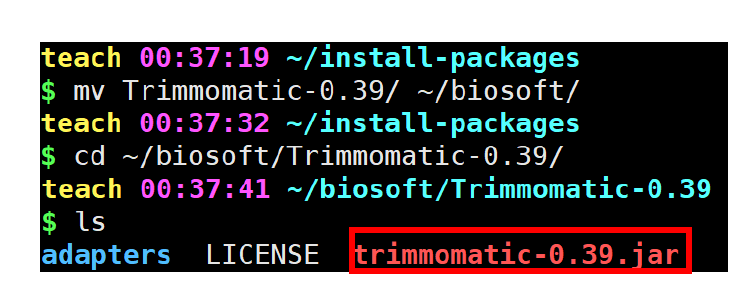
源代码【source code】安装
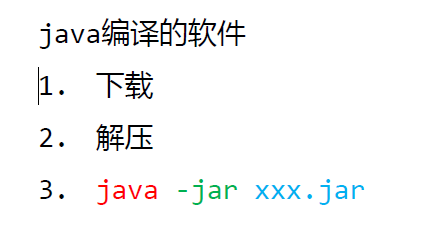
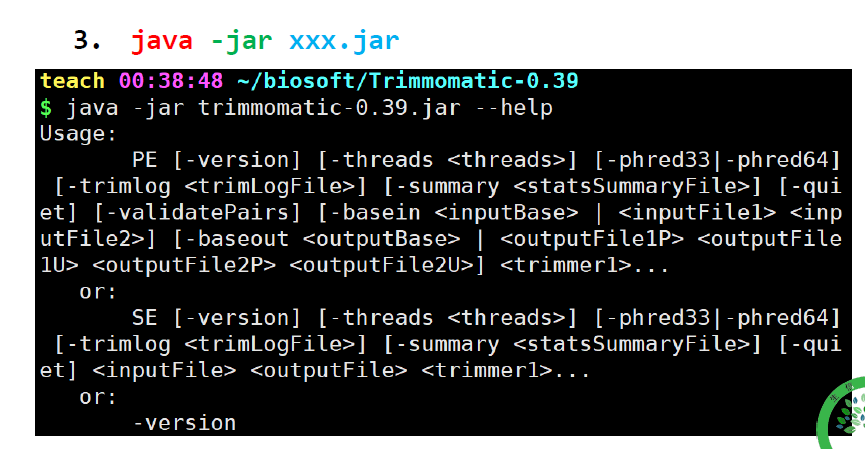
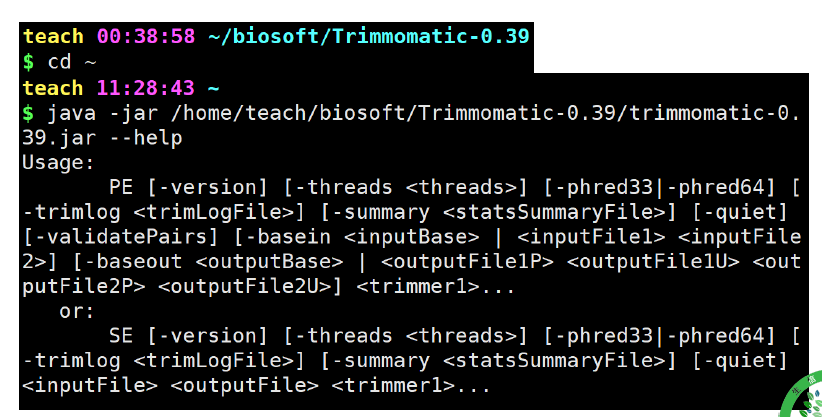
java编译的软件

其他安装法

练习
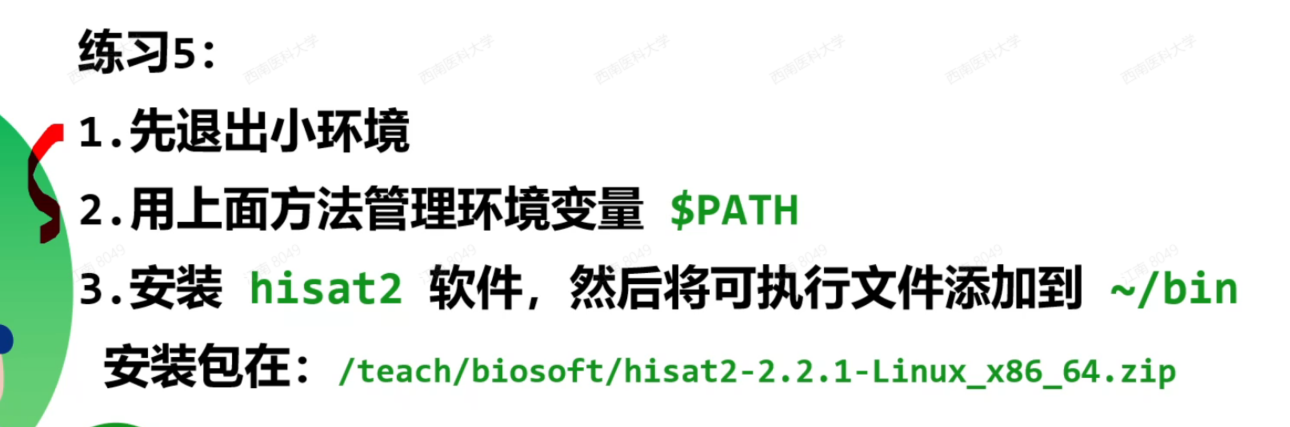
## 1
conda deactivate
## 2
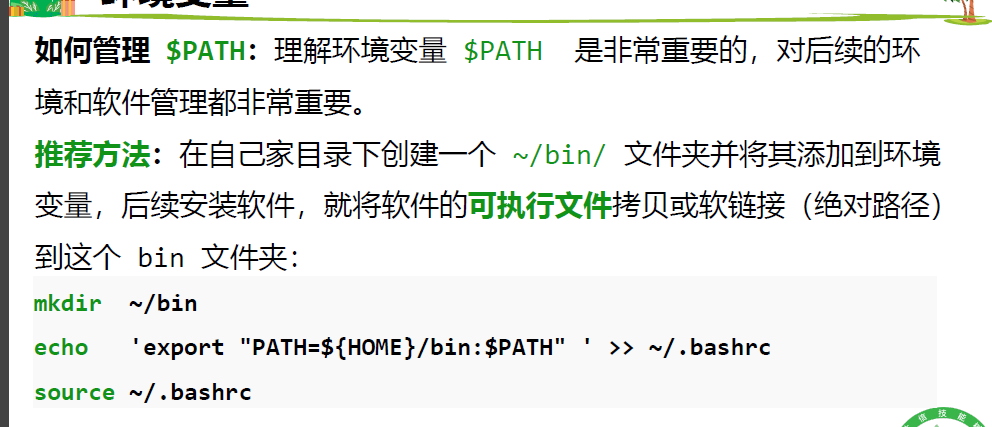
mkdir ~/bin
echo 'export "PATH=${HOME}/bin:$PATH" ' >> ~/.bashrc
source ~/.bashrc
## 3
cp /teach/biosoft/hisat2-2.1.0-Linux_x86_64.zip ~/hisat2/hisat2-2.1.0-Linux_x86_64.zip
cd hisat2/
unzip hisat2-2.1.0-Linux_x86_64.zip
echo 'export "PATH=/trainee/May24/hisat2/hisat2-2.1.0/:$PATH" ' >>~/.bashrc
source ~/.bashrc
hisat2 --help

若有收获,就点个赞吧
0 人点赞
