本地系统是windows,远程服务器是Linux,如何远程编译和调试服务器端的c/c++程序?
一种比较好的方式是:
vs code + remote tools + CMake
1 安装VS CODE
2 在本地的VS CODE安装remote - SSH插件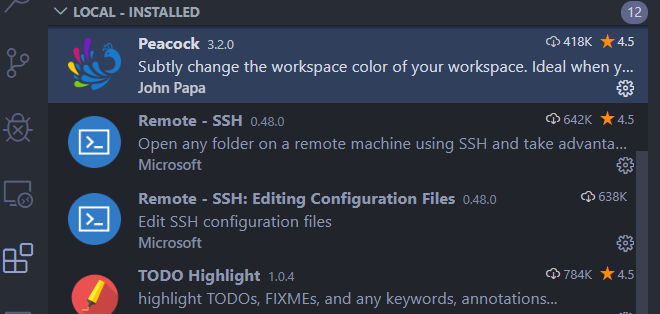
3 通过remote-ssh远程连接到服务器,然后在远程服务器上的VS CODE安装如下插件: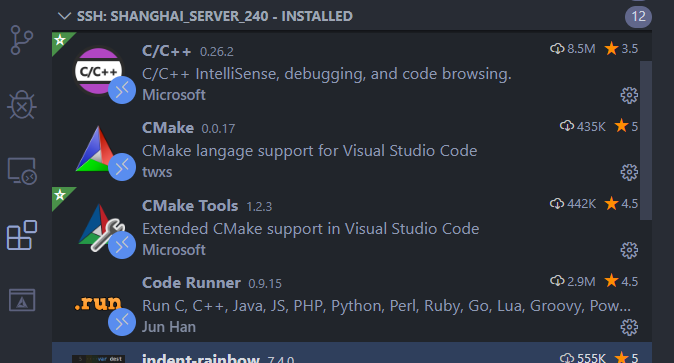
4 打开远程服务器上的文件夹
菜单”File”->”Open Folder”,选择test,单击”OK”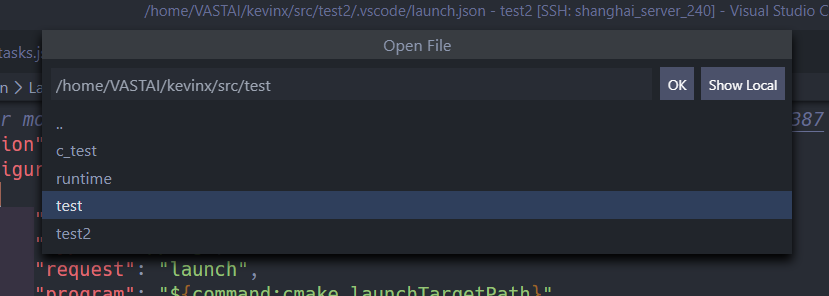
5 添加源文件
在test新建一个文件”main.c”,如下:
#include <stdio.h>int main(int argc, char *argv[]){printf("Hello world!\n");return 0;}
6 添加CMakeLists.txt文件
在test中添加CMakeLists.txt文件,如下:
cmake_minimum_required(VERSION 2.6)project(test_cmake)set(CMAKE_CXX_FLAGS, "${CMAKE_CXX_FLAGS} -g") #debugset(EXECUTABLE_OUTPUT_PATH ${PROJECT_SOURCE_DIR})add_executable(test_cmake main.cc)
左侧side bar底部多出了一个CMake, 单击它切换到CMake。
左侧side bar如果没有CMake,可在side bar上右键单击,在弹出菜单中勾选CMake。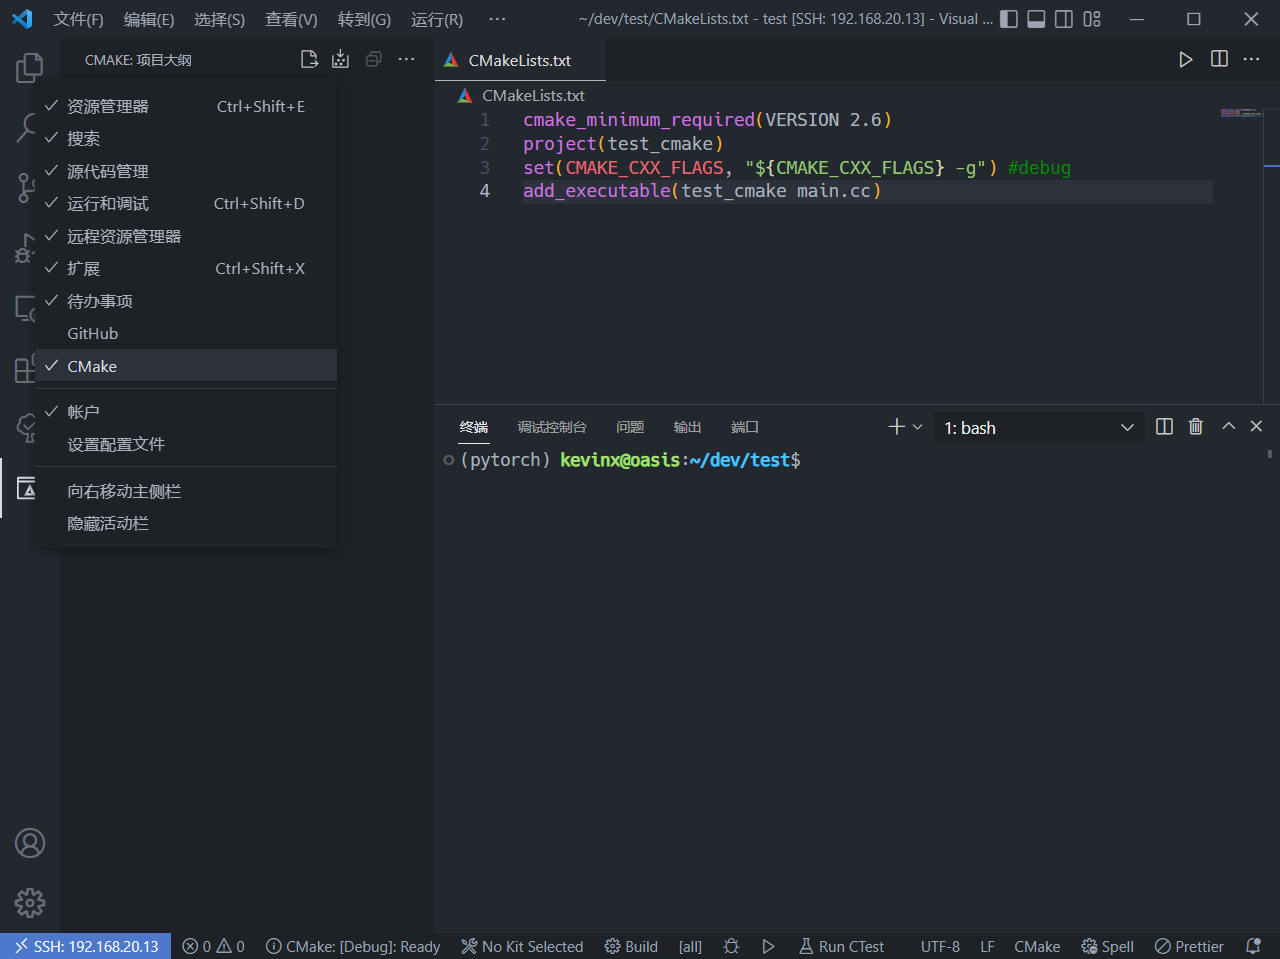
单击该右侧的Configuation(配置所有项目)按钮,等待配置完毕。在该窗口出现了test_cmake…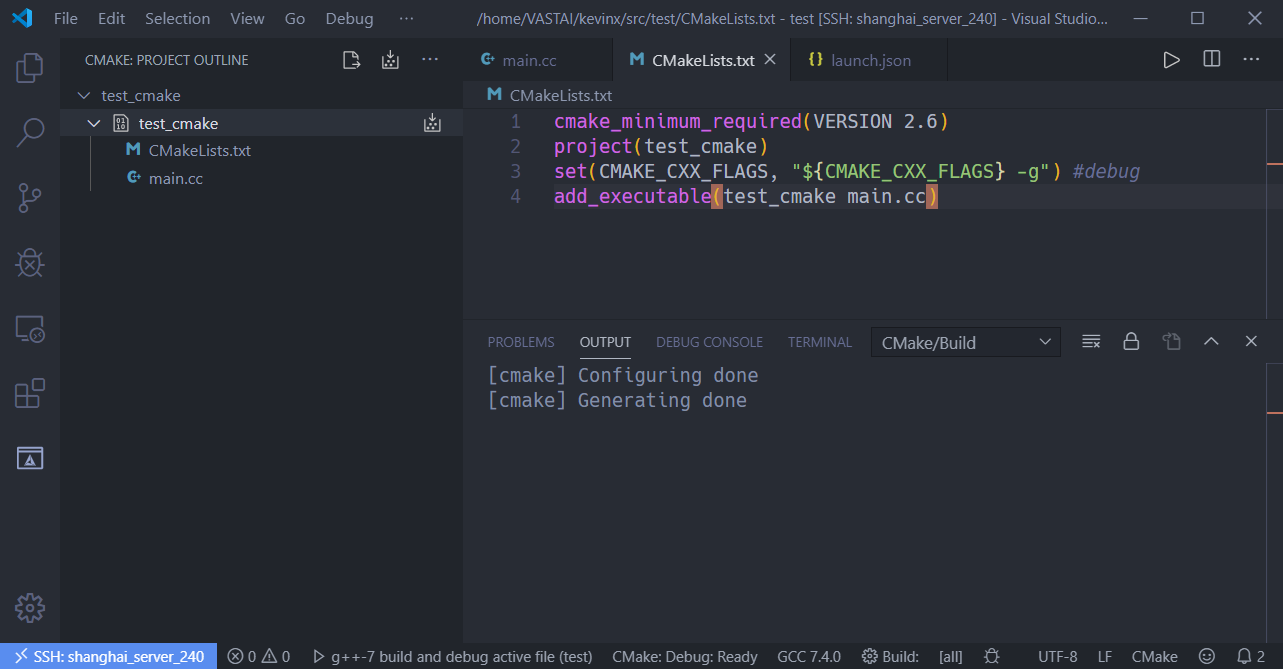
切换到explorer, 发现多了build文件夹,展开build,发现多了很多文件,但是还没生成文件test_cmake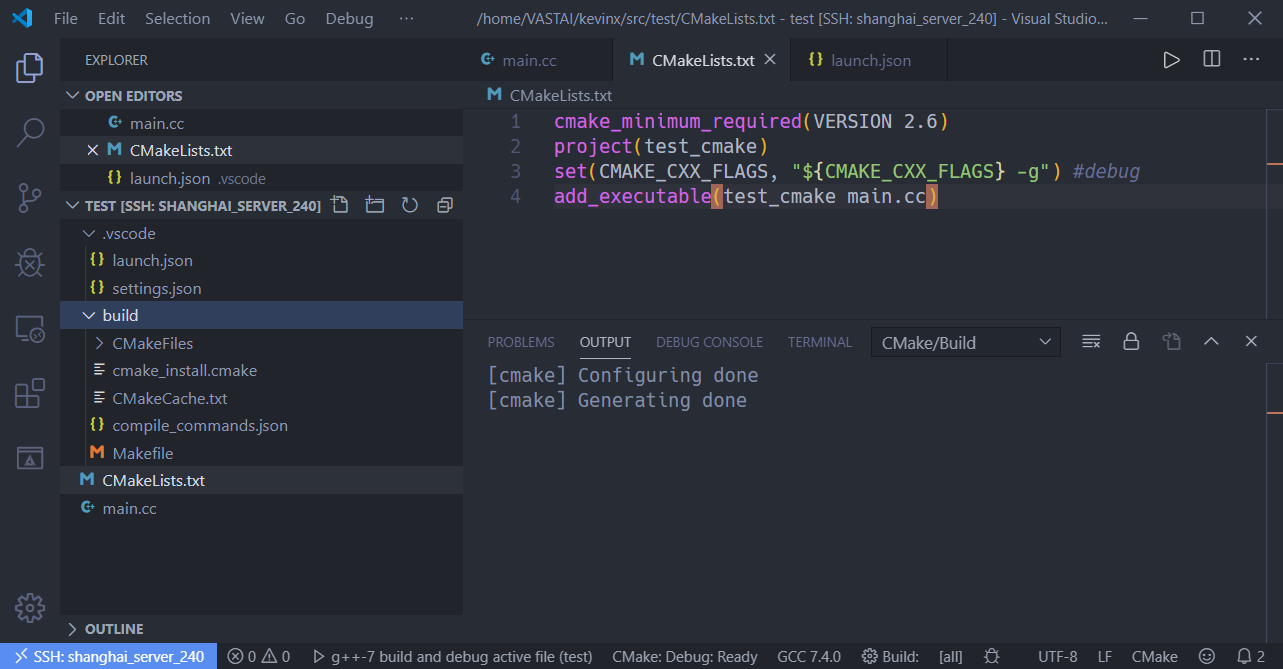
切换到CMake, 点击build
此时再去build目录,发现生成了test_cmake文件。
7 状态栏CMake Tool
CMake:Select a kit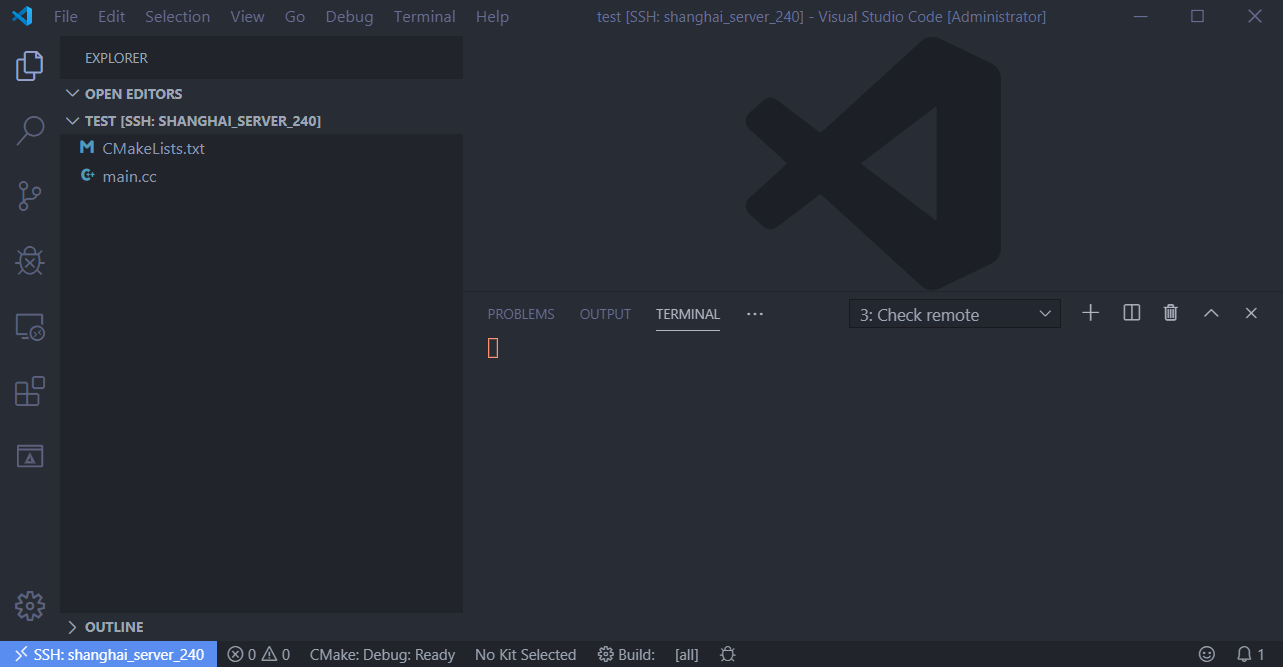
如上图,vs code的底部状态栏,第5个区域显示的是”No Kit Selected”,表示没有选择 CMake kit,单击该项,或者F1,CMake:Select a kit. select a kit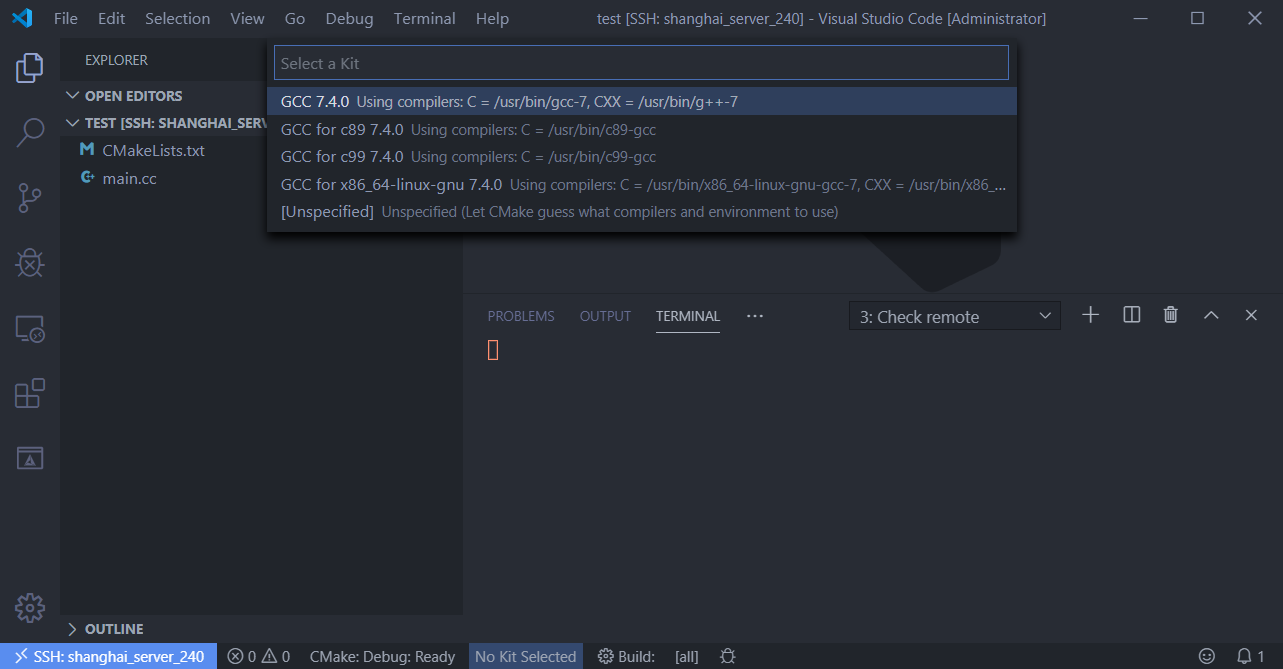
8 create a launch.json file
单击左侧的dubug, click “create a launch.json file”, or click key F5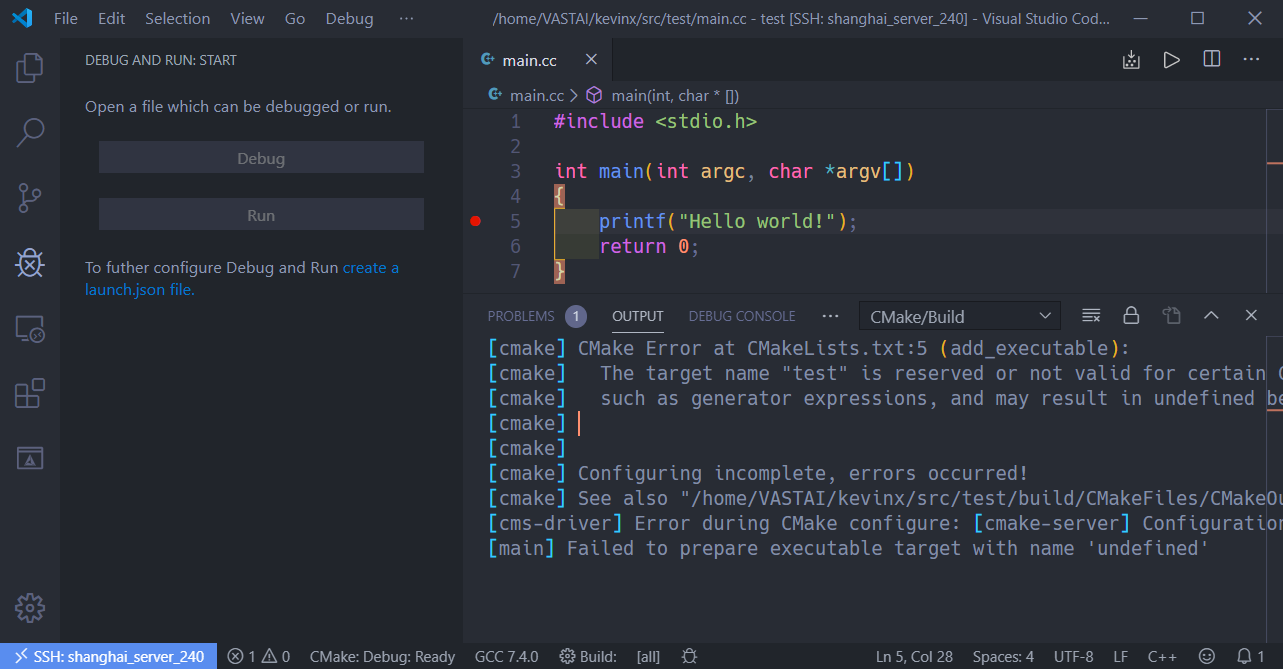
select environment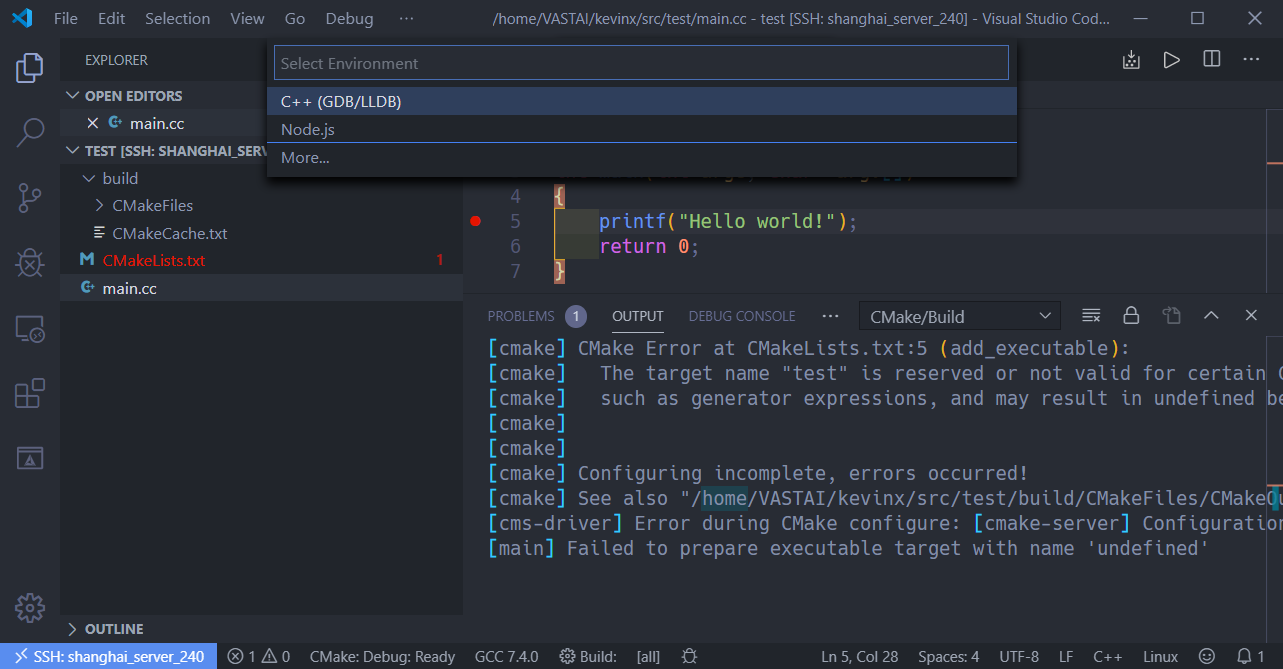
select a configuration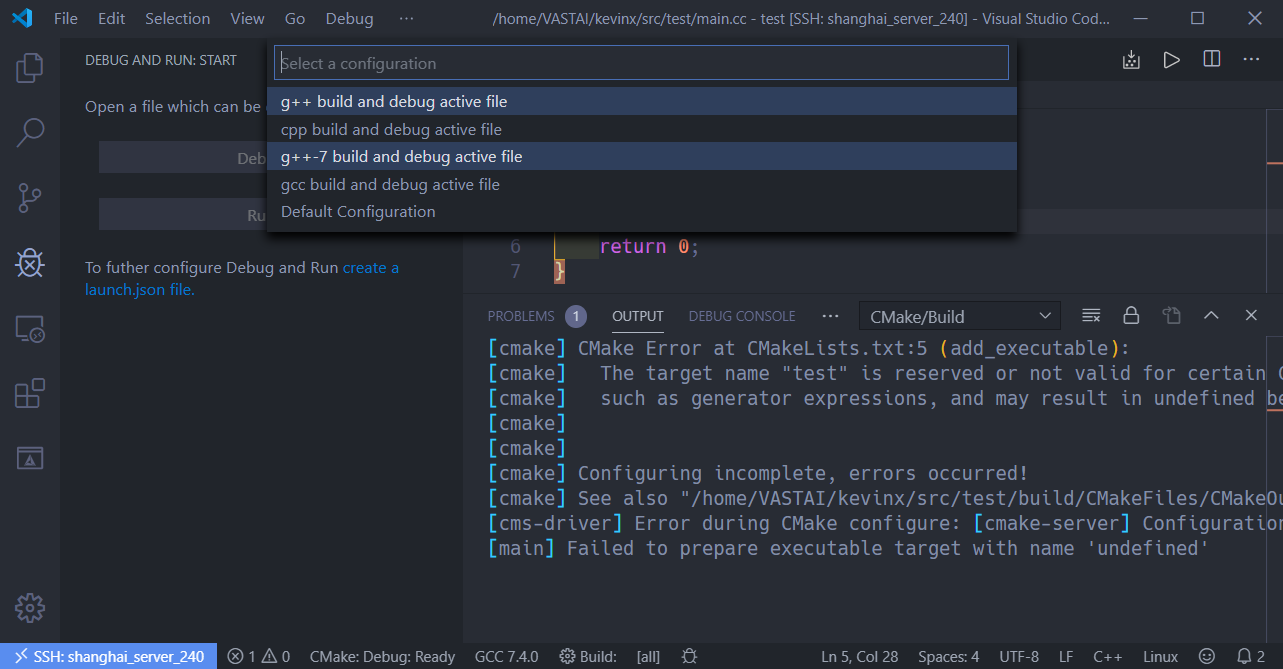
then a file “launch.json” is created in folder “.vscode”, make some change as below:
{// Use IntelliSense to learn about possible attributes.// Hover to view descriptions of existing attributes.// For more information, visit: https://go.microsoft.com/fwlink/?linkid=830387"version": "0.2.0","configurations": [{"name": "g++-7 build and debug active file","type": "cppdbg","request": "launch","program": "${command:cmake.launchTargetPath}", //modify"args": [],"stopAtEntry": false,"cwd": "${workspaceFolder}","environment": [],"externalConsole": false,"MIMode": "gdb","setupCommands": [{"description": "Enable pretty-printing for gdb","text": "-enable-pretty-printing","ignoreFailures": true}],"preLaunchTask": "g++ test", //the task label in task.json"miDebuggerPath": "/usr/bin/gdb"}]}
9 create a file task.json
按F5,弹出提示框,选择”Configure Task”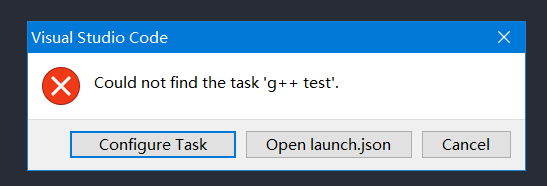
then a file “task.json” is created in folder “.vscode”, make some change as below:
{// See https://go.microsoft.com/fwlink/?LinkId=733558// for the documentation about the tasks.json format"version": "2.0.0","tasks": [{"type": "shell","label": "g++ test","command": "cmake --build ${workspaceFolder}/build --config Debug --target all -- -j 50","args": [],"options": {"cwd": "/usr/bin"},"problemMatcher": ["$gcc"],"group": "build"}]}
编译和调试
编译 快捷键:F7
调试 快捷键:F5
如果断点无效,就删除上述非源文件,从第6步开始,重新做一遍即可。

若有收获,就点个赞吧
0 人点赞
