使用Yii profiling一个应用
如果在部署一个Yii应用时,你使用了所有的最佳实践,但是你仍然得不到你想要的性能,很有可能是应用本身存在一些性能瓶颈。在处理这些性能瓶颈时最主要的原则是你不应该假设任何事请,并在尝试优化它之前去测试和profile代码。
在本小节中,我们将会尝试找出Yii2最小应用的性能瓶颈。
准备
按照官方指南http://www.yiiframework.com/doc-2.0/guide-start-installation.html的描述,使用Composer包管理器创建一个新的yii2-app-basic应用。
- 设置数据库连接,并应用如下migration:
<?phpuse yii\db\Migration;class m160308_093233_create_example_tables extends Migration{public function up(){$tableOptions = null;if ($this->db->driverName === 'mysql') {$tableOptions = 'CHARACTER SET utf8 COLLATE utf8_general_ci ENGINE=InnoDB';}$this->createTable('{{%category}}', ['id' => $this->primaryKey(),'name' => $this->string()->notNull(),], $tableOptions);$this->createTable('{{%article}}', ['id' => $this->primaryKey(),'category_id' => $this->integer()->notNull(),'title' => $this->string()->notNull(),'text' => $this->text()->notNull(),], $tableOptions);$this->createIndex('idx-article-category_id','{{%article}}', 'category_id');$this->addForeignKey('fk-article-category_id','{{%article}}', 'category_id', '{{%category}}', 'id');}public function down(){$this->dropTable('{{%article}}');$this->dropTable('{{%category}}');}}
- 在Yii中为每一个表生成模型。
- 写如下控制台命令:
<?phpnamespace app\commands;use app\models\Article;use app\models\Category;use Faker\Factory;use yii\console\Controller;class DataController extends Controller{public function actionInit(){$db = \Yii::$app->db;$faker = Factory::create();$transaction = $db->beginTransaction();try {$categories = [];for ($id = 1; $id <= 100; $id++) {$categories[] = ['id' => $id,'name' => $faker->name,];}$db->createCommand()->batchInsert(Category::tableName(), ['id', 'name'], $categories)->execute();$articles = [];for ($id = 1; $id <= 100; $id++) {$articles[] = ['id' => $id,'category_id' => $faker->numberBetween(1, 100),'title' => $faker->text($maxNbChars = 100),'text' => $faker->text($maxNbChars = 200),];}$db->createCommand()->batchInsert(Article::tableName(), ['id', 'category_id', 'title', 'text'], $articles)->execute();$transaction->commit();} catch (\Exception $e) {$transaction->rollBack();throw $e;}}}
并执行它:
./yii data/init
- 添加
ArticleController类:
<?phpnamespace app\controllers;use Yii;use app\models\Article;use yii\data\ActiveDataProvider;use yii\web\Controller;class ArticleController extends Controller{public function actionIndex(){$query = Article::find();$dataProvider = new ActiveDataProvider(['query' => $query,]);return $this->render('index', ['dataProvider' => $dataProvider,]);}}
- 添加
views/article/index.php视图:
<?phpuse yii\helpers\Html;use yii\widgets\ListView;/* @var $this yii\web\View *//* @var $dataProvider yii\data\ActiveDataProvider */$this->title = 'Articles';$this->params['breadcrumbs'][] = $this->title;?><div class="article-index"><h1><?= Html::encode($this->title) ?></h1><?= ListView::widget(['dataProvider' => $dataProvider,'itemOptions' => ['class' => 'item'],'itemView' => '_item',]) ?></div>
然后添加views/article/_item.php:
<?phpuse yii\helpers\Html;/* @var $this yii\web\View *//* @var $model app\models\Article */?><div class="panel panel-default"><div class="panel-heading"><?= Html::encode($model->title);?></div><div class="panel-body">Category: <?= Html::encode($model->category->name) ?></div></div>
如何做…
跟随如下步骤,profile基于Yii的应用:
- 打开文章页面:
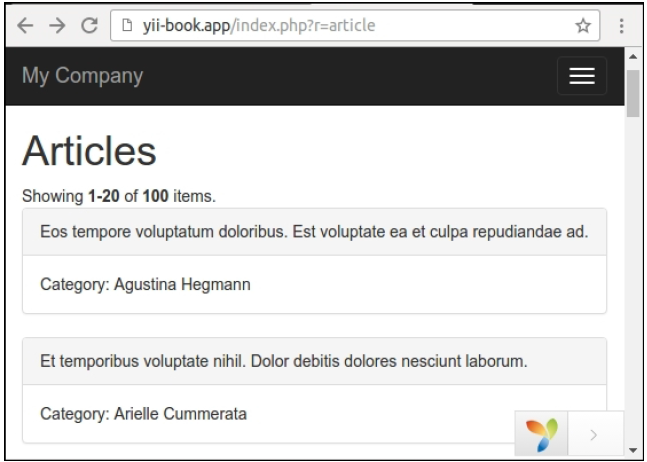
- 打开
views/article/index.php并在ListView小部件之前和之后添加profiler调用:
<div class="article-index"><h1><?= Html::encode($this->title) ?></h1><?php Yii::beginProfile('articles') ?><?= ListView::widget(['dataProvider' => $dataProvider,'itemOptions' => ['class' => 'item'],'itemView' => '_item',]) ?><?php Yii::endProfile('articles') ?></div>
现在刷新这个页面。
- 展开页面底部的调试面板,点击timing badge(在我们的例子中是73ms):

现在检查Profiling报告:
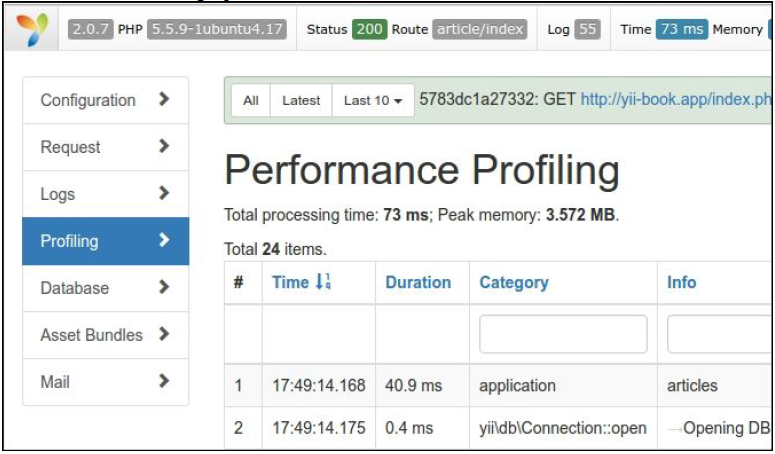
我们可以看到我们的文章块花费了将近40ms。
- 打开我们的控制器,并为文章的
category关系添加主动加载:
class ArticleController extends Controller{public function actionIndex(){$query = Article::find()->with('category');$dataProvider = new ActiveDataProvider(['query' => $query,]);return $this->render('index', ['dataProvider' => $dataProvider,]);}}
- 回到网站,刷新页面,再次打开Profiling报告:
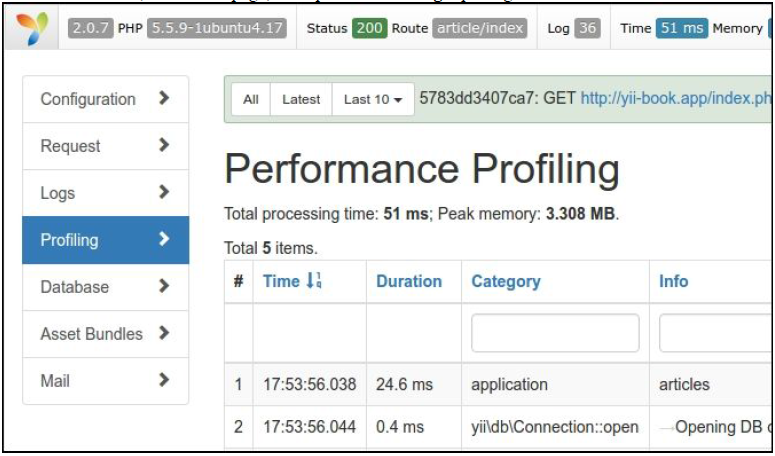
现在这个文章列表花费了将近25ms,因为应用使用主动加载做了更少的SQL查询。
工作原理…
你可以使用Yii::beginProfile和Yii::endProfile查看源代码的任何片段:
Yii::beginProfile('articles');// ...Yii::endProfile('articles');
在执行过页面以后,你可以在调试模块的Profiling页面看到这个报告,有所有的执行时间。
此外,你可以使用嵌套profiling调用:
Yii::beginProfile('outer');Yii::beginProfile('inner');// ...Yii::endProfile('inner');Yii::endProfile('outer');
注意:注意要正确的打开和关闭调用,以及正确命名block名称。如果你忘记调用Yii::endProfile,或者颠倒了Yii::endProfile('inner')和Yii::endProfile('outer')的嵌套顺序,性能Profiling将不会工作。
参考

若有收获,就点个赞吧
0 人点赞
