代码要点:
- 使用tkinter的Label显示图片;
- tkinter的PhotoImage支持的图片格式较少,使用pillow扩展库的Image和ImageTk弥补了这个缺点。
代码
import osimport tkinterimport tkinter.messageboxfrom PIL import Image, ImageTk# 创建tkinter应用程序窗口root = tkinter.Tk()# 设置窗口大小和位置root.geometry('430x650+40+30')# 不允许改变窗口大小root.resizable(False, False)# 设置窗口标题root.title('使用Label显示图片')# 获取当前文件夹中所有图片文件列表suffix = ('.jpg', '.bmp', '.png')pics = [p for p in os.listdir('.') if p.endswith(suffix)]current = -1def changePic(flag):'''flag=-1表示上一个,flag=1表示下一个'''global currentnew = current + flagif new<0:tkinter.messagebox.showerror('', '这已经是第一张图片了')elif new>=len(pics):tkinter.messagebox.showerror('', '这已经是最后一张图片了')else:# 获取要切换的图片文件名pic = pics[new]# 创建Image对象并进行缩放im = Image.open(pic)w, h = im.size# 这里假设用来显示图片的Label组件尺寸为400*600if w>400:h = int(h*400/w)w = 400if h>600:w = int(w*600/h)h = 600im = im.resize((w,h))# 创建PhotoImage对象,并设置Label组件图片im1 = ImageTk.PhotoImage(im)lbPic['image'] = im1lbPic.image = im1current = new# “上一张”按钮def btnPreClick():changePic(-1)btnPre = tkinter.Button(root, text='上一张', command=btnPreClick)btnPre.place(x=100, y=20, width=80, height=30)# “下一张”按钮def btnNextClick():changePic(1)btnNext = tkinter.Button(root, text='下一张', command=btnNextClick)btnNext.place(x=230, y=20, width=80, height=30)# 用来显示图片的Label组件lbPic = tkinter.Label(root, text='test', width=400, height=600)changePic(1)lbPic.place(x=10, y=50, width=400, height=600)# 启动消息主循环root.mainloop()
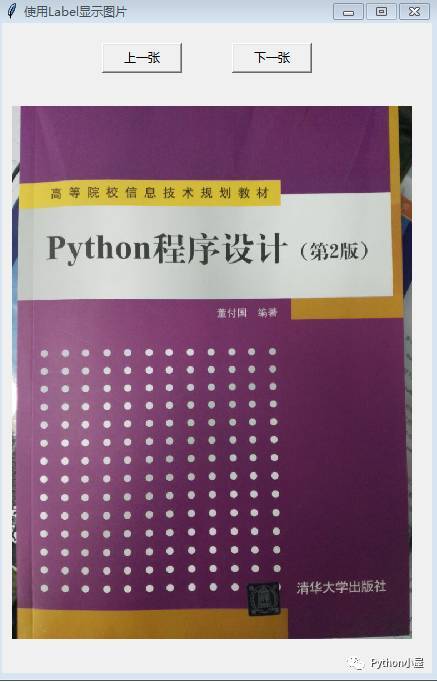
运行截图:

若有收获,就点个赞吧
0 人点赞
