ElasticSearch 与 Kibana 的 Helm Chart 模板是 ES 官方 Github 获取的,它的 Github 地址为 https://github.com/elastic/helm-charts 可以访问该地址了解更多信息。
这里只介绍下如何使用 Helm 安装 ElasticSearch 与 Kibana 应用。
环境以及版本信息
| 软件 | 版本 |
|---|---|
| Kubernetes | 1.17.2 |
| Elasticsearch | 7.10.1 |
| Kibana | 7.10.1 |
项目部署在Kubernetes中的elastic命名空间下 kubectl create ns elastic
添加Elastic仓库
(1)、添加Elastic仓库
helm repo add elastic https://helm.elastic.cohelm repo update
(2)、将Elastic Chart包下载到本地
helm pull elastic/elasticsearch
配置ES集群证书
(1)、下载镜像
docker pull docker.elastic.co/elasticsearch/elasticsearch:7.10.1
(2)、制作证书
# 运行容器生成证书$ docker run --name elastic-charts-certs -i -w /app docker.elastic.co/elasticsearch/elasticsearch:7.10.1 /bin/sh -c \"elasticsearch-certutil ca --out /app/elastic-stack-ca.p12 --pass '' && \elasticsearch-certutil cert --name security-master --dns \security-master --ca /app/elastic-stack-ca.p12 --pass '' --ca-pass '' --out /app/elastic-certificates.p12"# 从容器中将生成的证书拷贝出来$ docker cp elastic-charts-certs:/app/elastic-certificates.p12 ./# 删除容器$ docker rm -f elastic-charts-certs# 将 pcks12 中的信息分离出来,写入文件$ openssl pkcs12 -nodes -passin pass:'' -in elastic-certificates.p12 -out elastic-certificate.pem
(3)、添加证书到Kubernetes
$ kubectl create secret -n elastic generic elastic-certificates --from-file=elastic-certificates.p12$ kubectl create secret -n elastic generic elastic-certificate-pem --from-file=elastic-certificate.pem
(4)、设置集群用户名和密码
$ kubectl create secret -n elastic generic elastic-credentials \--from-literal=username=elastic --from-literal=password=elastic@123456
部署ES
(1)、创建Elastic master、data、client节点的配置文件
es-master-values.yaml
# ============设置集群名称============## 设置集群名称clusterName: "elasticsearch"## 设置节点名称nodeGroup: "master"## 设置角色roles:master: "true"ingest: "false"data: "false"# ============镜像配置============## 指定镜像与镜像版本image: "docker.elastic.co/elasticsearch/elasticsearch"imageTag: "7.10.1"## 副本数replicas: 1# ============资源配置============## JVM 配置参数esJavaOpts: "-Xmx1g -Xms1g"## 部署资源配置(生成环境一定要设置大些)resources:requests:cpu: "1000m"memory: "1Gi"limits:cpu: "1000m"memory: "1Gi"## 数据持久卷配置persistence:enabled: true## 存储数据大小配置volumeClaimTemplate:storageClassName: managed-nfs-storageaccessModes: [ "ReadWriteOnce" ]resources:requests:storage: 5Gi# ============安全配置============## 设置协议,可配置为 http、httpsprotocol: http## 证书挂载配置,这里我们挂入上面创建的证书secretMounts:- name: elastic-certificatessecretName: elastic-certificatespath: /usr/share/elasticsearch/config/certs## 允许您在/usr/share/elasticsearch/config/中添加任何自定义配置文件,例如 elasticsearch.yml## ElasticSearch 7.x 默认安装了 x-pack 插件,部分功能免费,这里我们配置下## 下面注掉的部分为配置 https 证书,配置此部分还需要配置 helm 参数 protocol 值改为 httpsesConfig:elasticsearch.yml: |xpack.security.enabled: truexpack.security.transport.ssl.enabled: truexpack.security.transport.ssl.verification_mode: certificatexpack.security.transport.ssl.keystore.path: /usr/share/elasticsearch/config/certs/elastic-certificates.p12xpack.security.transport.ssl.truststore.path: /usr/share/elasticsearch/config/certs/elastic-certificates.p12# xpack.security.http.ssl.enabled: true# xpack.security.http.ssl.truststore.path: /usr/share/elasticsearch/config/certs/elastic-certificates.p12# xpack.security.http.ssl.keystore.path: /usr/share/elasticsearch/config/certs/elastic-certificates.p12## 环境变量配置,这里引入上面设置的用户名、密码 secret 文件extraEnvs:- name: ELASTIC_USERNAMEvalueFrom:secretKeyRef:name: elastic-credentialskey: username- name: ELASTIC_PASSWORDvalueFrom:secretKeyRef:name: elastic-credentialskey: password# ============调度配置============## 设置调度策略## - hard:只有当有足够的节点时 Pod 才会被调度,并且它们永远不会出现在同一个节点上## - soft:尽最大努力调度antiAffinity: "hard"## 容忍配置(一般 kubernetes master 或其它设置污点的节点,只有指定容忍才能进行调度,如果测试环境只有三个节点,则可以开启在 master 节点安装应用)#tolerations:# - operator: "Exists" ##容忍全部污点
es-data-values.yaml
# ============设置集群名称============## 设置集群名称clusterName: "elasticsearch"## 设置节点名称nodeGroup: "data"## 设置角色roles:master: "false"ingest: "true"data: "true"# ============镜像配置============## 指定镜像与镜像版本image: "docker.elastic.co/elasticsearch/elasticsearch"imageTag: "7.10.1"## 副本数replicas: 1# ============资源配置============## JVM 配置参数esJavaOpts: "-Xmx1g -Xms1g"## 部署资源配置(生成环境一定要设置大些)resources:requests:cpu: "1000m"memory: "2Gi"limits:cpu: "1000m"memory: "2Gi"## 数据持久卷配置persistence:enabled: true## 存储数据大小配置volumeClaimTemplate:storageClassName: managed-nfs-storageaccessModes: [ "ReadWriteOnce" ]resources:requests:storage: 10Gi# ============安全配置============## 设置协议,可配置为 http、httpsprotocol: http## 证书挂载配置,这里我们挂入上面创建的证书secretMounts:- name: elastic-certificatessecretName: elastic-certificatespath: /usr/share/elasticsearch/config/certs## 允许您在/usr/share/elasticsearch/config/中添加任何自定义配置文件,例如 elasticsearch.yml## ElasticSearch 7.x 默认安装了 x-pack 插件,部分功能免费,这里我们配置下## 下面注掉的部分为配置 https 证书,配置此部分还需要配置 helm 参数 protocol 值改为 httpsesConfig:elasticsearch.yml: |xpack.security.enabled: truexpack.security.transport.ssl.enabled: truexpack.security.transport.ssl.verification_mode: certificatexpack.security.transport.ssl.keystore.path: /usr/share/elasticsearch/config/certs/elastic-certificates.p12xpack.security.transport.ssl.truststore.path: /usr/share/elasticsearch/config/certs/elastic-certificates.p12# xpack.security.http.ssl.enabled: true# xpack.security.http.ssl.truststore.path: /usr/share/elasticsearch/config/certs/elastic-certificates.p12# xpack.security.http.ssl.keystore.path: /usr/share/elasticsearch/config/certs/elastic-certificates.p12## 环境变量配置,这里引入上面设置的用户名、密码 secret 文件extraEnvs:- name: ELASTIC_USERNAMEvalueFrom:secretKeyRef:name: elastic-credentialskey: username- name: ELASTIC_PASSWORDvalueFrom:secretKeyRef:name: elastic-credentialskey: password# ============调度配置============## 设置调度策略## - hard:只有当有足够的节点时 Pod 才会被调度,并且它们永远不会出现在同一个节点上## - soft:尽最大努力调度antiAffinity: "hard"## 容忍配置(一般 kubernetes master 或其它设置污点的节点,只有指定容忍才能进行调度,如果测试环境只有三个节点,则可以开启在 master 节点安装应用)#tolerations:# - operator: "Exists" ##容忍全部污点
es-client-values.yaml
# ============设置集群名称============## 设置集群名称clusterName: "elasticsearch"## 设置节点名称nodeGroup: "client"## 设置角色roles:master: "false"ingest: "false"data: "false"# ============镜像配置============## 指定镜像与镜像版本image: "docker.elastic.co/elasticsearch/elasticsearch"imageTag: "7.10.1"## 副本数replicas: 1# ============资源配置============## JVM 配置参数esJavaOpts: "-Xmx1g -Xms1g"## 部署资源配置(生成环境一定要设置大些)resources:requests:cpu: "1000m"memory: "1Gi"limits:cpu: "1000m"memory: "1Gi"## 数据持久卷配置persistence:enabled: false# ============安全配置============## 设置协议,可配置为 http、httpsprotocol: http## 证书挂载配置,这里我们挂入上面创建的证书secretMounts:- name: elastic-certificatessecretName: elastic-certificatespath: /usr/share/elasticsearch/config/certs## 允许您在/usr/share/elasticsearch/config/中添加任何自定义配置文件,例如 elasticsearch.yml## ElasticSearch 7.x 默认安装了 x-pack 插件,部分功能免费,这里我们配置下## 下面注掉的部分为配置 https 证书,配置此部分还需要配置 helm 参数 protocol 值改为 httpsesConfig:elasticsearch.yml: |xpack.security.enabled: truexpack.security.transport.ssl.enabled: truexpack.security.transport.ssl.verification_mode: certificatexpack.security.transport.ssl.keystore.path: /usr/share/elasticsearch/config/certs/elastic-certificates.p12xpack.security.transport.ssl.truststore.path: /usr/share/elasticsearch/config/certs/elastic-certificates.p12# xpack.security.http.ssl.enabled: true# xpack.security.http.ssl.truststore.path: /usr/share/elasticsearch/config/certs/elastic-certificates.p12# xpack.security.http.ssl.keystore.path: /usr/share/elasticsearch/config/certs/elastic-certificates.p12## 环境变量配置,这里引入上面设置的用户名、密码 secret 文件extraEnvs:- name: ELASTIC_USERNAMEvalueFrom:secretKeyRef:name: elastic-credentialskey: username- name: ELASTIC_PASSWORDvalueFrom:secretKeyRef:name: elastic-credentialskey: password
(2)、创建应用
# 创建Master节点$ helm install elasticsearch-master -f es-master-values.yaml --namespace elastic --version 7.10.1 elasticsearch# 创建Data节点$ helm install elasticsearch-data -f es-data-values.yaml --namespace elastic --version 7.10.1 elasticsearch# 创建Client节点$ helm install elasticsearch-client -f es-client-values.yaml --namespace elastic --version 7.10.1 elasticsearch
部署kibana
(1)、下载kibana的chart包
$ helm pull elastic/kibana
(2)、添加kibana配置文件
values.yaml
---elasticsearchHosts: "http://elasticsearch-client:9200"replicas: 1extraEnvs:- name: 'ELASTICSEARCH_USERNAME'valueFrom:secretKeyRef:name: elastic-credentialskey: username- name: 'ELASTICSEARCH_PASSWORD'valueFrom:secretKeyRef:name: elastic-credentialskey: passwordenvFrom: []secretMounts: []image: "docker.elastic.co/kibana/kibana"imageTag: "7.10.1"imagePullPolicy: "IfNotPresent"labels: {}podAnnotations: {}resources:requests:cpu: "1000m"memory: "2Gi"limits:cpu: "1000m"memory: "2Gi"protocol: httpserverHost: "0.0.0.0"healthCheckPath: "/app/kibana"kibanaConfig:kibana.yml: |i18n.locale: "zh-CN"podSecurityContext:fsGroup: 1000securityContext:capabilities:drop:- ALLrunAsNonRoot: truerunAsUser: 1000serviceAccount: ""priorityClassName: ""httpPort: 5601extraContainers: ""extraInitContainers: ""updateStrategy:type: "Recreate"service:type: ClusterIPloadBalancerIP: ""port: 5601nodePort: ""labels: {}annotations: {}loadBalancerSourceRanges: []httpPortName: httpingress:enabled: trueannotations: {}path: /hosts:- kibana-test.xxx.comtls: []readinessProbe:failureThreshold: 3initialDelaySeconds: 10periodSeconds: 10successThreshold: 3timeoutSeconds: 5imagePullSecrets: []nodeSelector: {}tolerations: []affinity: {}nameOverride: ""fullnameOverride: ""lifecycle: {}
(3)、部署kibana
$ helm install kibana -n elastic kibana
待所以pod变成running,即可通过kibana进行访问。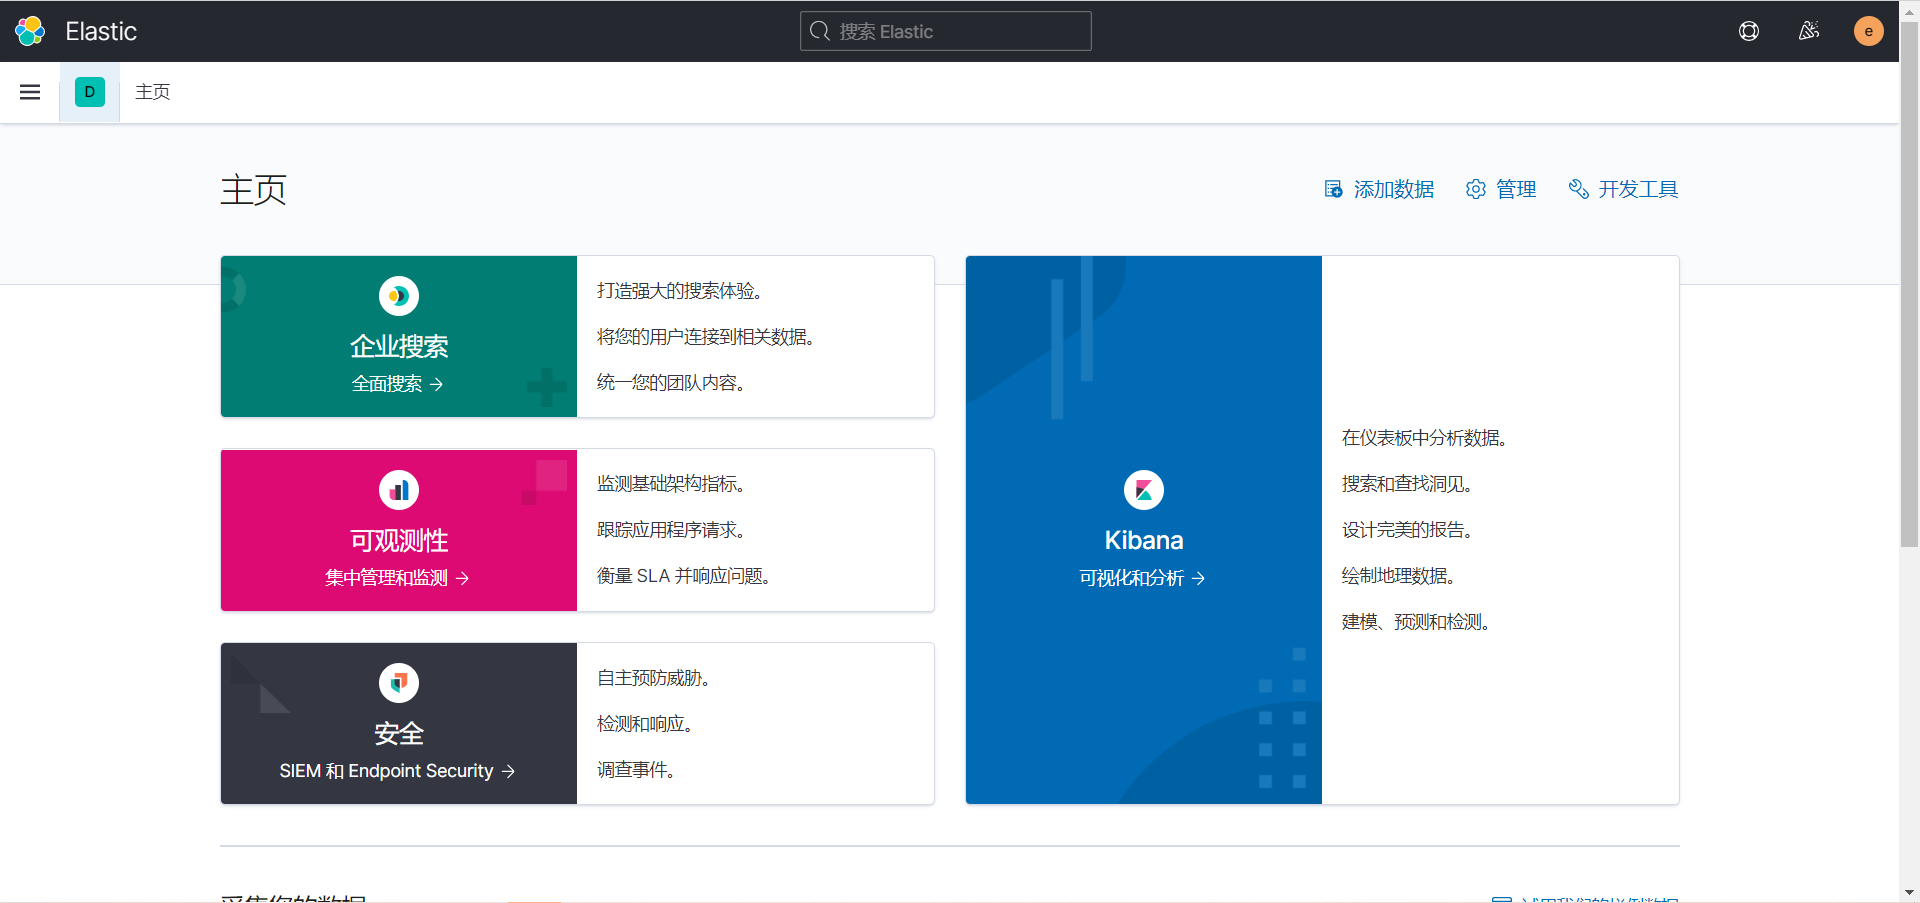

若有收获,就点个赞吧
0 人点赞
