https://eggjs.org/zh-cn/basics/structure.html
介绍
基础

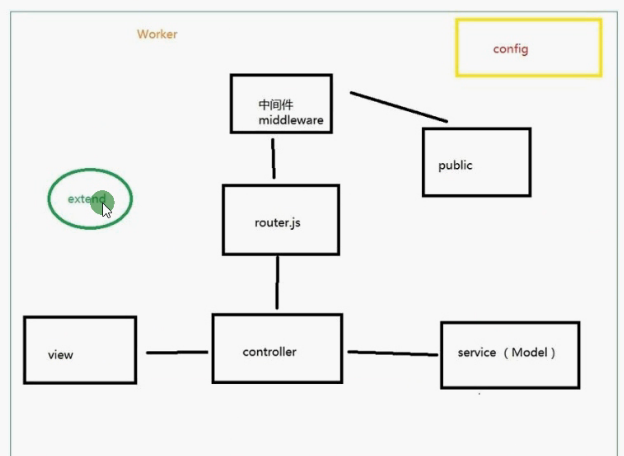
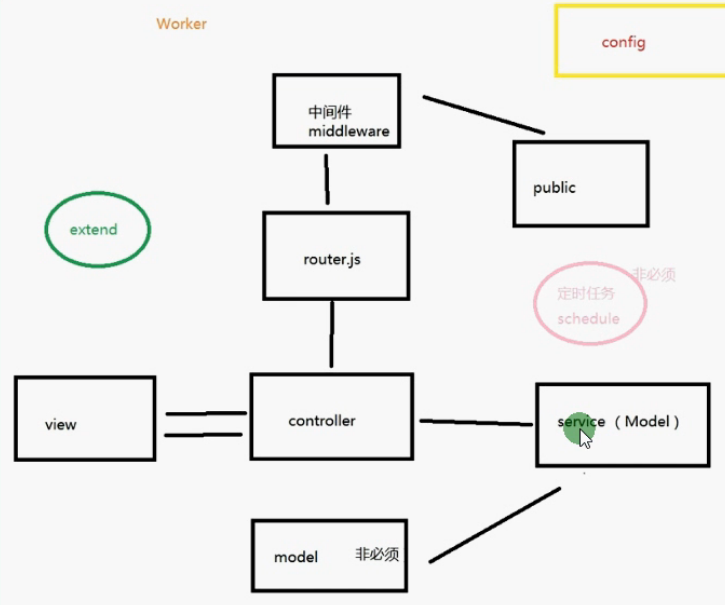
各功能间的关系
MVC

====================
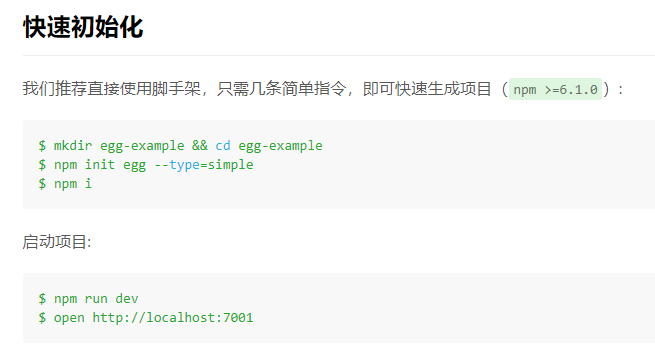
安装、启动
基础功能
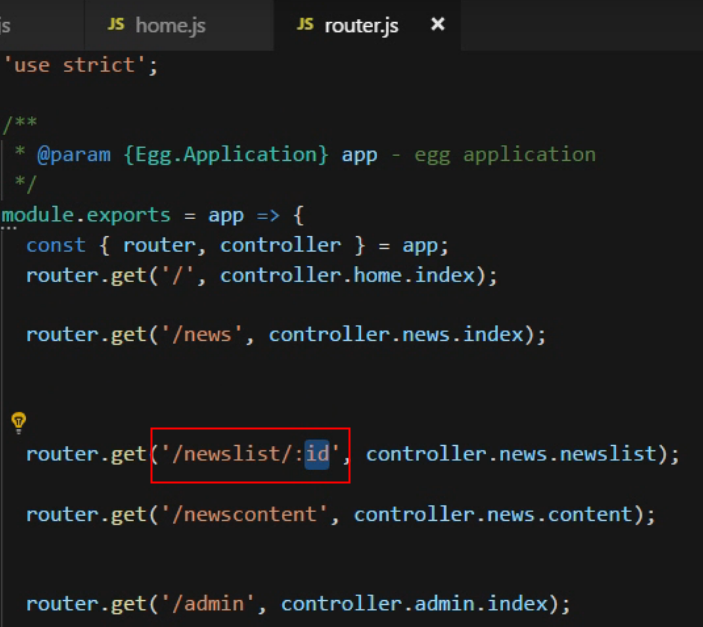
路由 router.js
路由跳转,就是用户输入特定的路径,就调用对应的控制器进行操作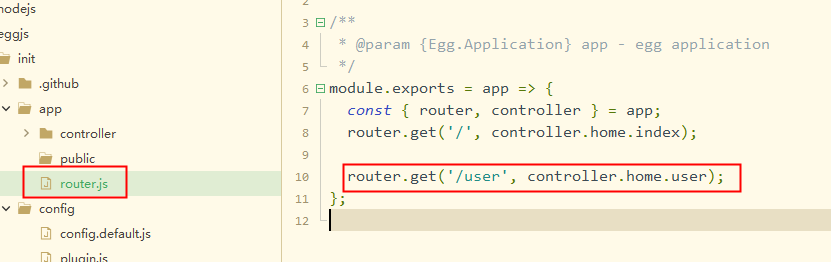
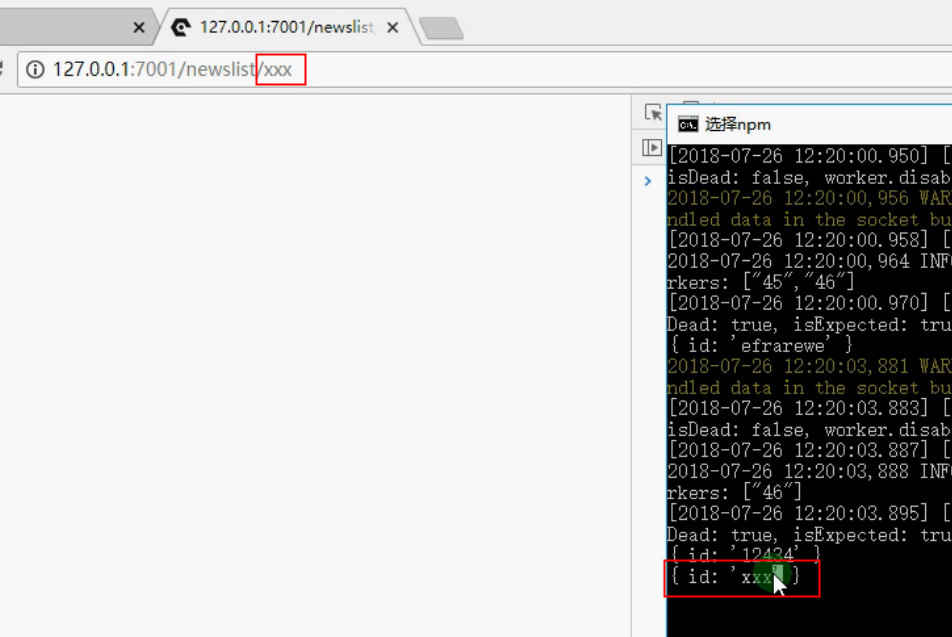
动态路由

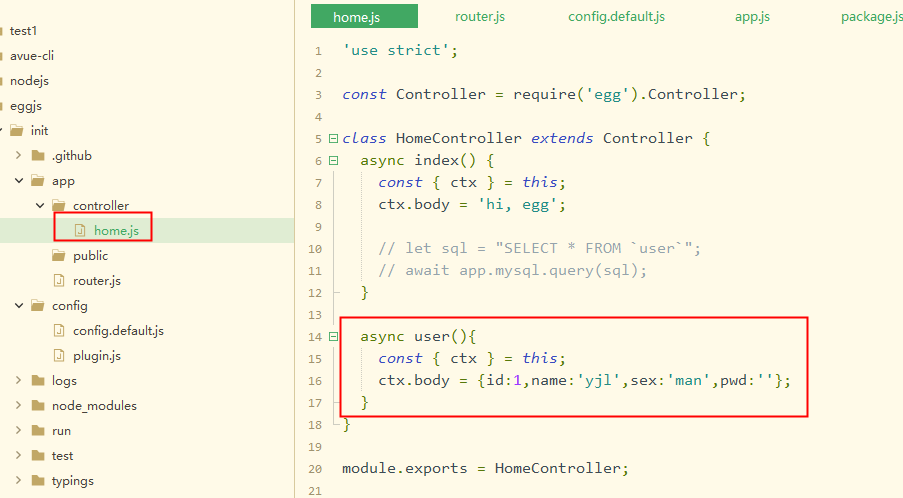
app/controller/home.js 控制器里面,通过ctx.params的方式获得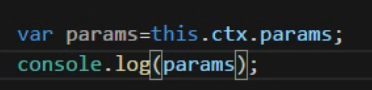
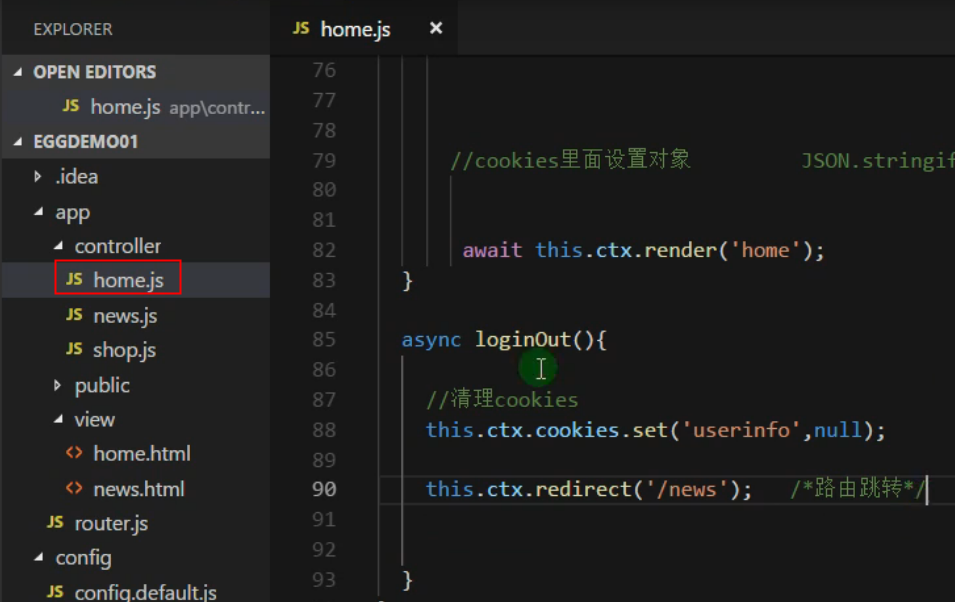
控制器跳转
控制器 Controller
控制器:处理业务逻辑
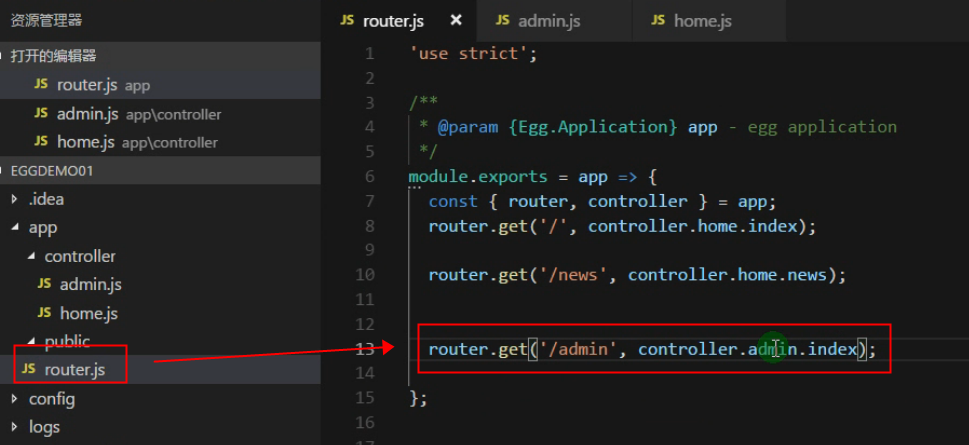
admin.js(新增的控制器的js文件)
'use strict';const Controller = require('egg').Controller;class AdminController extends Controller {async index() {const { ctx } = this;ctx.body = 'hi, admin';}}module.exports = AdminController;
一个控制器可以调用多个服务,但是控制器不能调用控制器,服务不能调用控制器
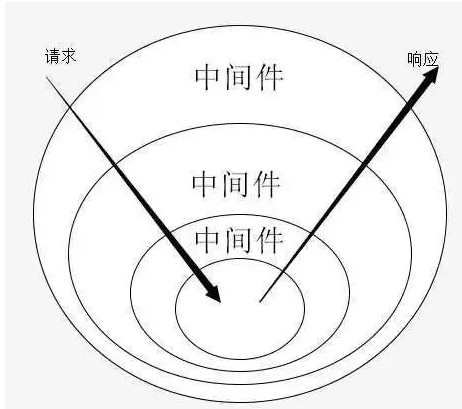
中间件
在匹配路由之前进行的一些操作,比如鉴权、配置全局变量等。不管用户怎么请求,请求到哪个地址,都会先通过中间件。
https://eggjs.org/zh-cn/basics/middleware.html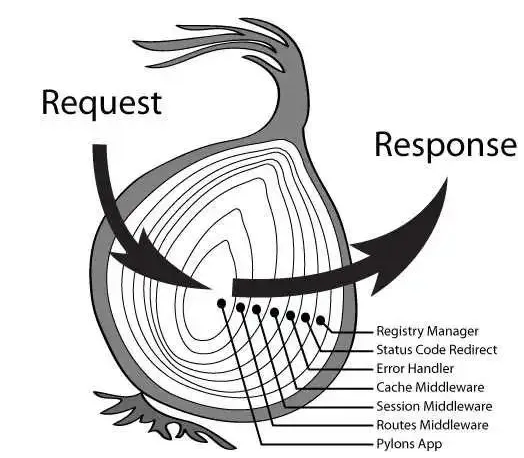

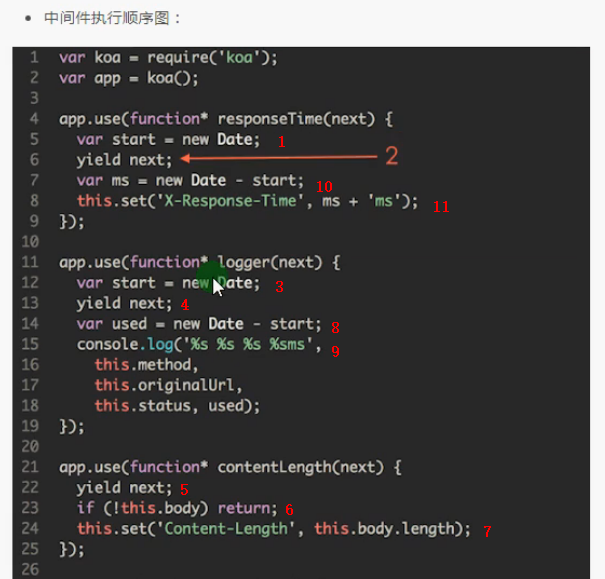
定义中间件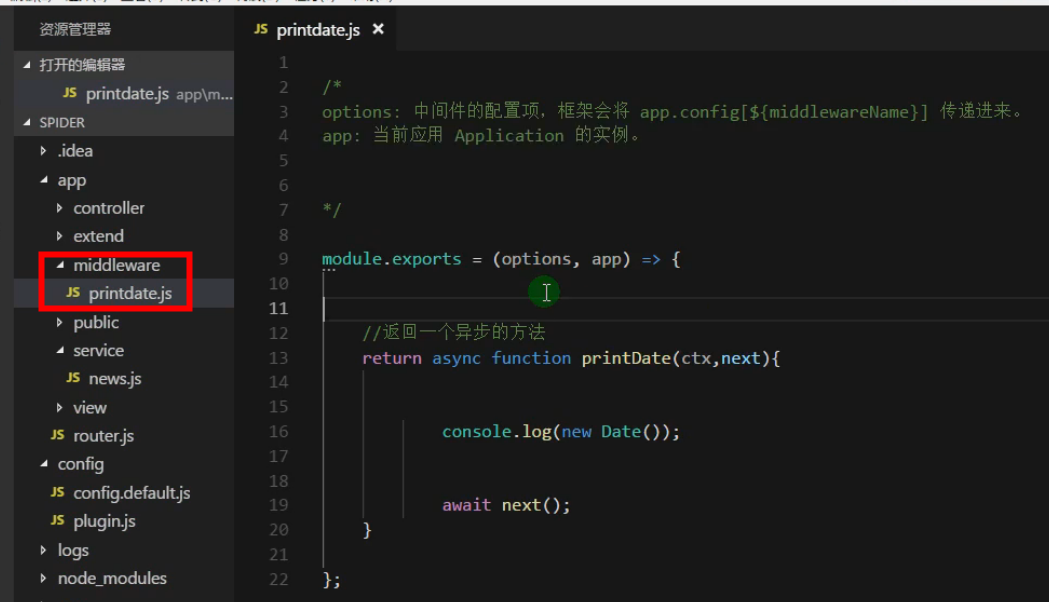
启用中间件
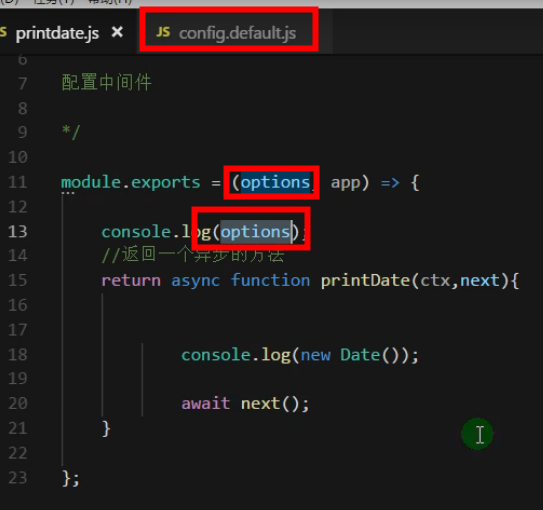
中间件传值,可以通过在config.default.js里面配置好值,然后直接就给中间件的option获得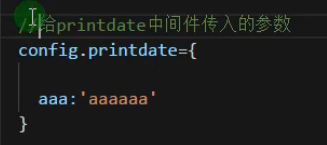
例子:屏蔽一些ip访问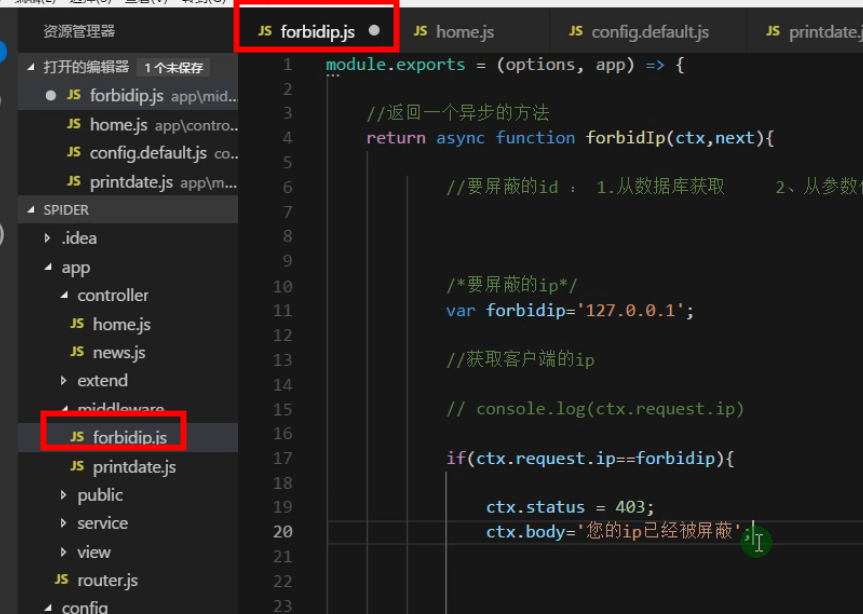
服务 Service
和数据打交道,主要是请求数据、操作数据等复杂操作
创建一个服务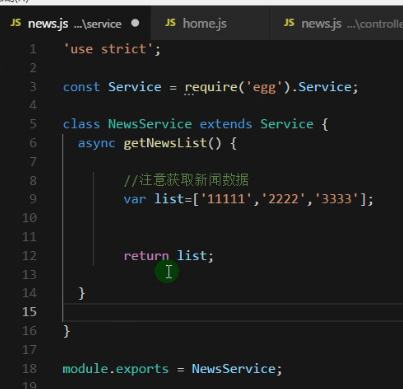
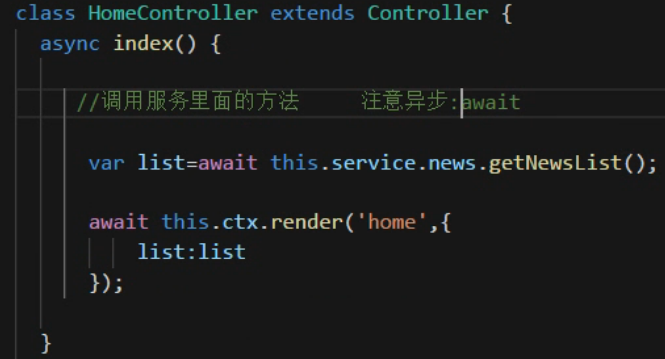
在控制器里面调用服务(异步)
let xxx = await this.ctx.service.服务所在的文件名.服务的方法();
服务都是集成egg.Service,因此可以调用下面this.xxx,甚至服务之间都可以调用服务。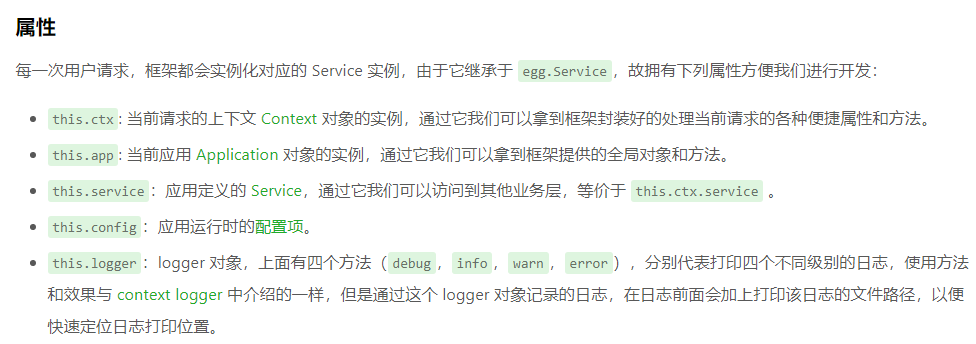
一个控制器可以调用多个服务,但是控制器不能调用控制器,服务不能调用控制器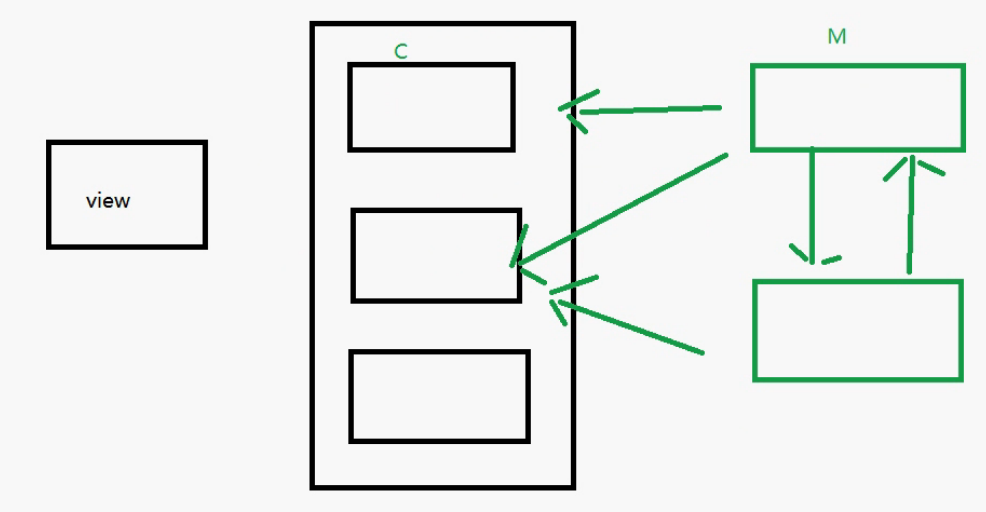
扩展 extend
https://eggjs.org/zh-cn/basics/extend.html
可以自定义一些方法,来扩展框架内已有的对象的功能,然后直接调用。
已有的对象包括:
- Application
- Context
- Request
- Response
- Helper (类似工具方法)
helper
创建
\app\extend\helper.js
module.exports = {a(){return "abc"}}
在其他文件内使用
ctx.helper.a()
====================
请求、响应

get
app/router.js 里面url
module.exports = app => {const { router, controller } = app;router.get('/user', controller.home.testPwd);};
app/controller/home.js 控制器里面
'use strict';const Controller = require('egg').Controller;class HomeController extends Controller {async user(){const { ctx } = this;//get方法接收的参数,会通过下面ctx.quary传递var quary = ctx.query;console.log(quary);ctx.body = quary;}}module.exports = HomeController;

post
post方法
https://eggjs.org/zh-cn/core/httpclient.html#post
表单提交
https://eggjs.org/zh-cn/core/httpclient.html#form-%E8%A1%A8%E5%8D%95%E6%8F%90%E4%BA%A4
1、设置路由
要用post方法设置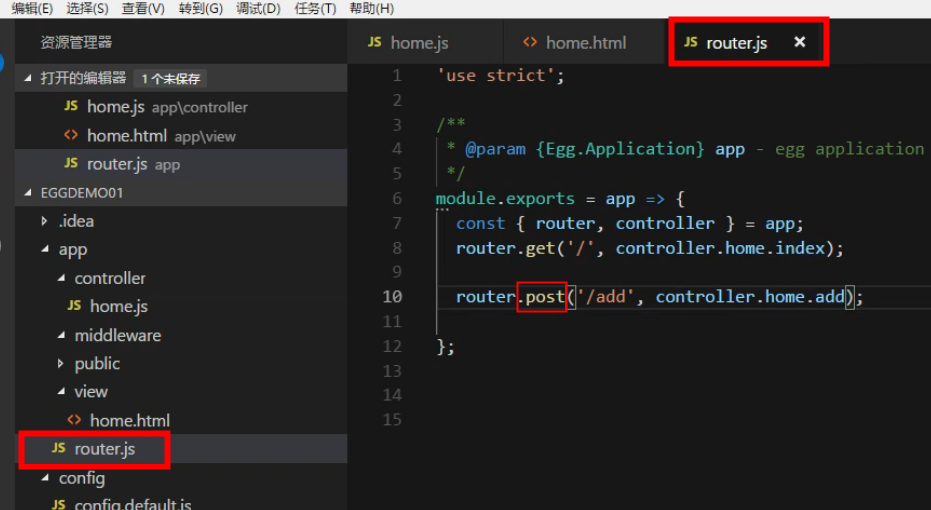
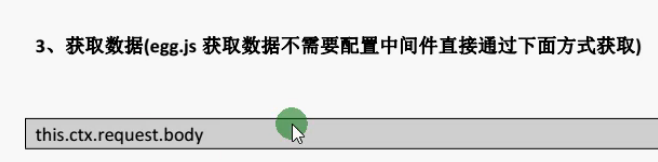
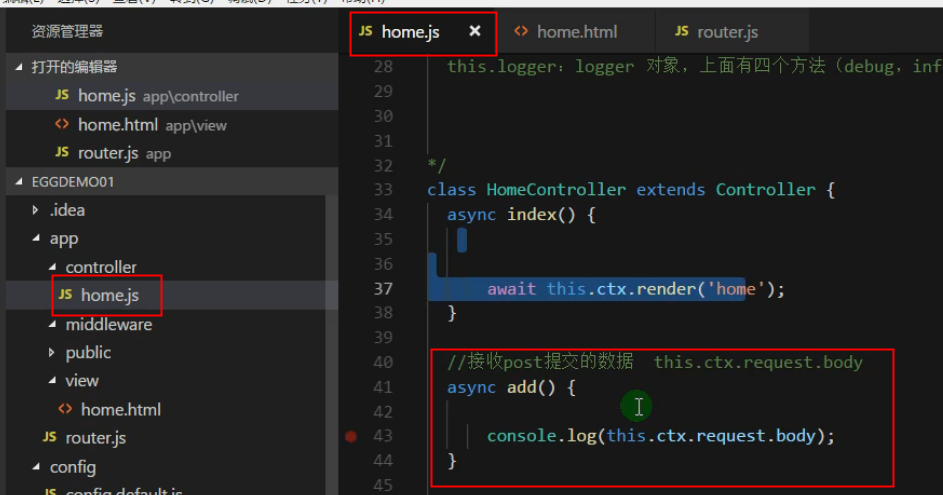
2、控制器获取post数据
3、CSRF
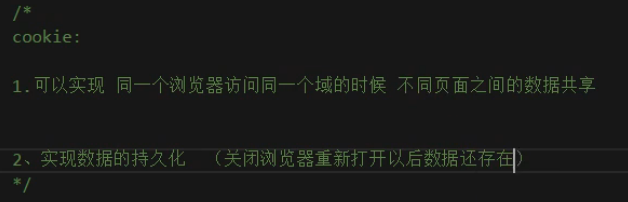
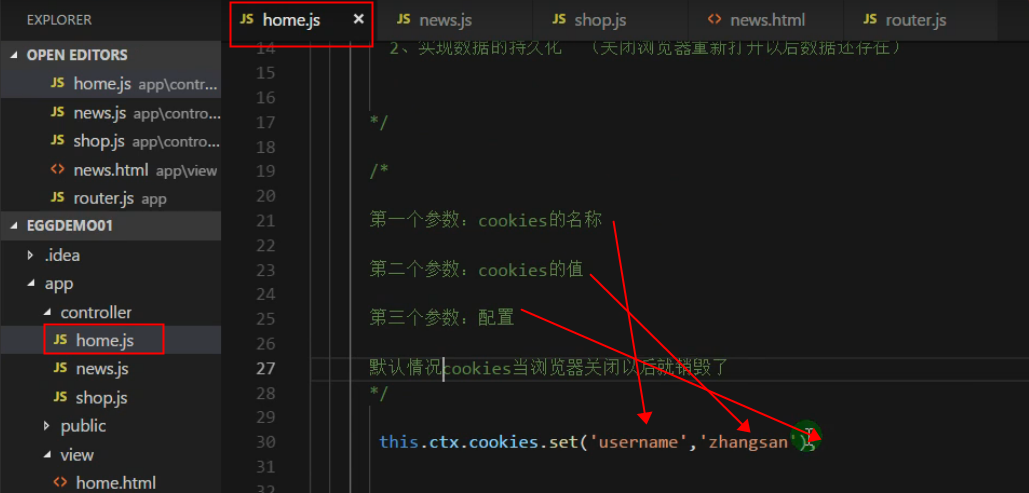
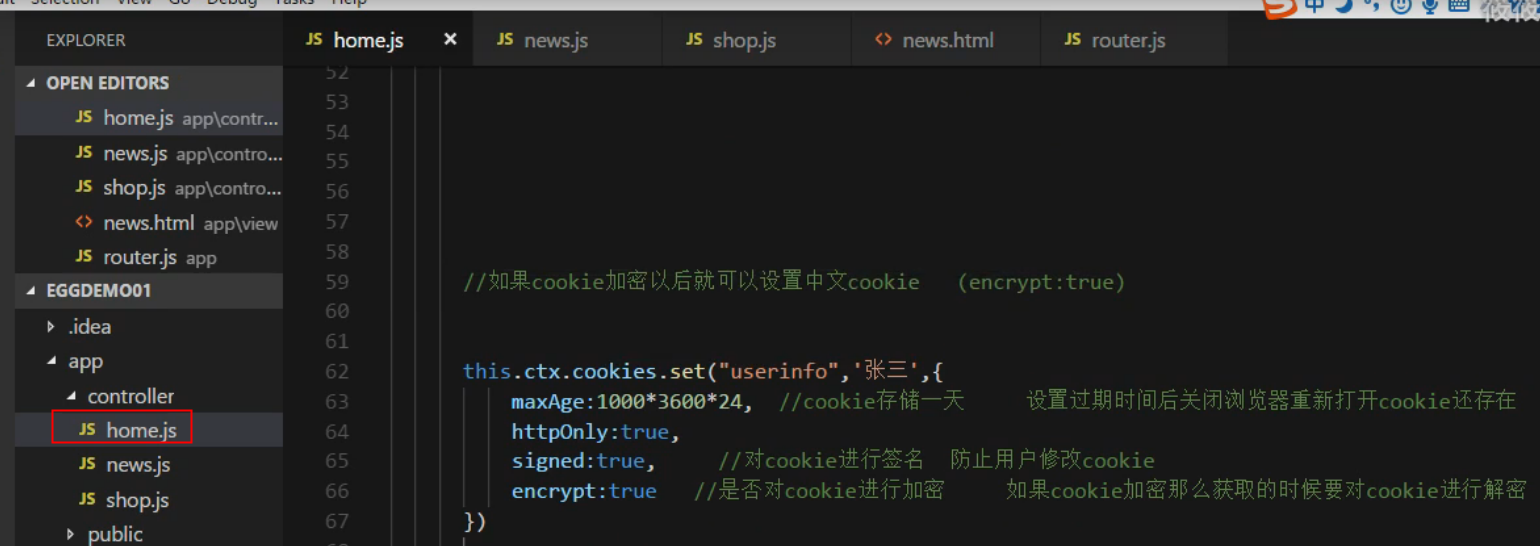
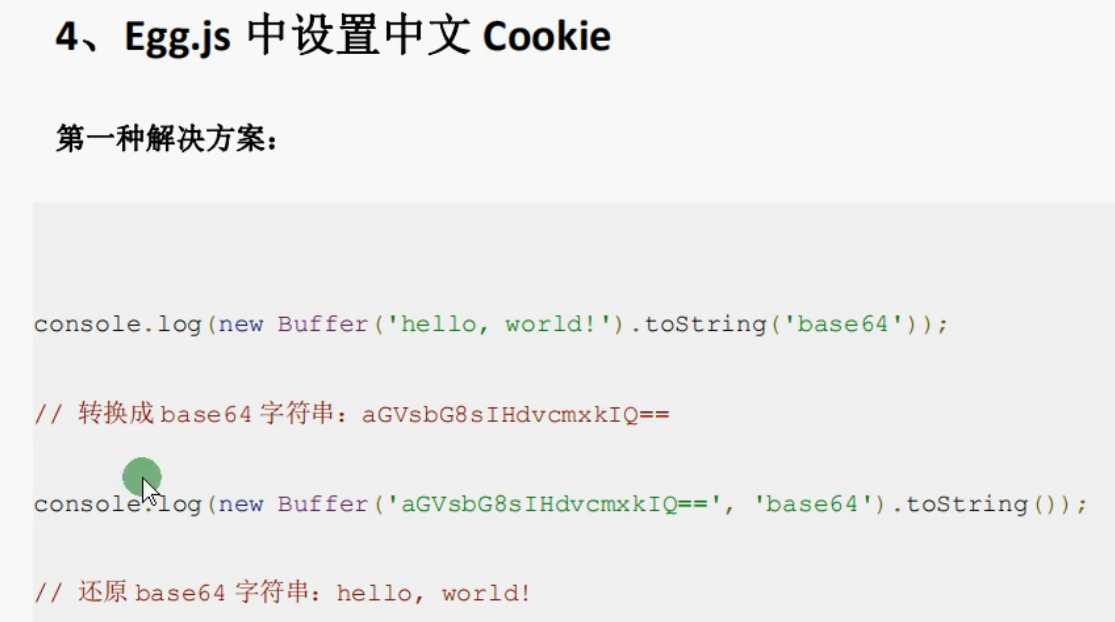
cookie
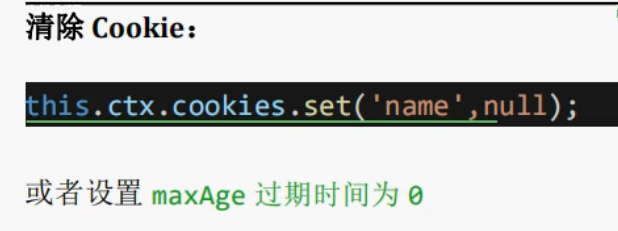 或者设置为空NULL
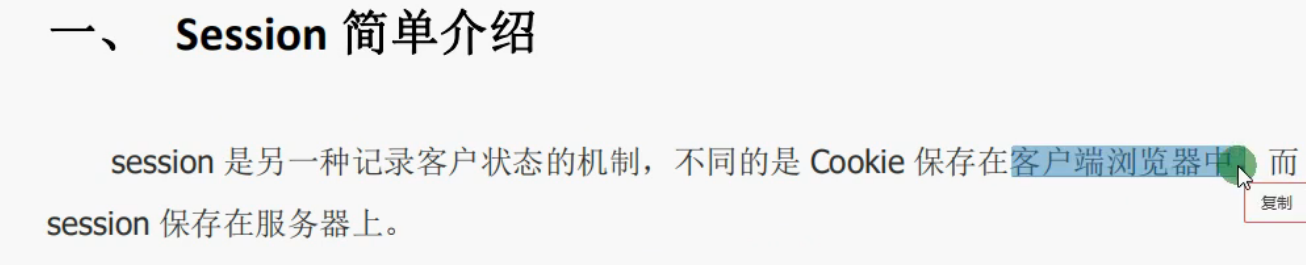
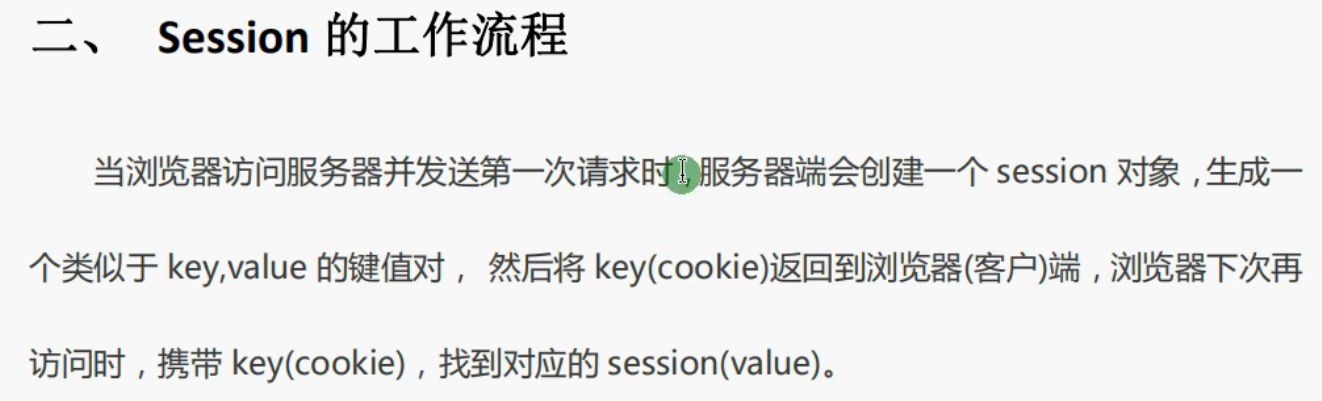
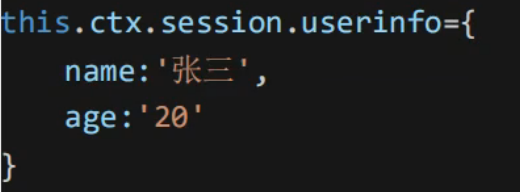
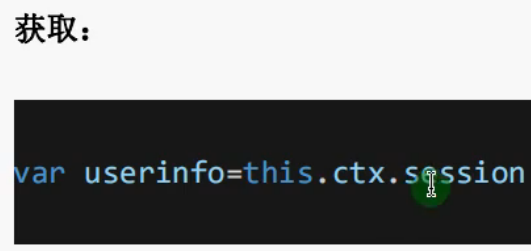
Session
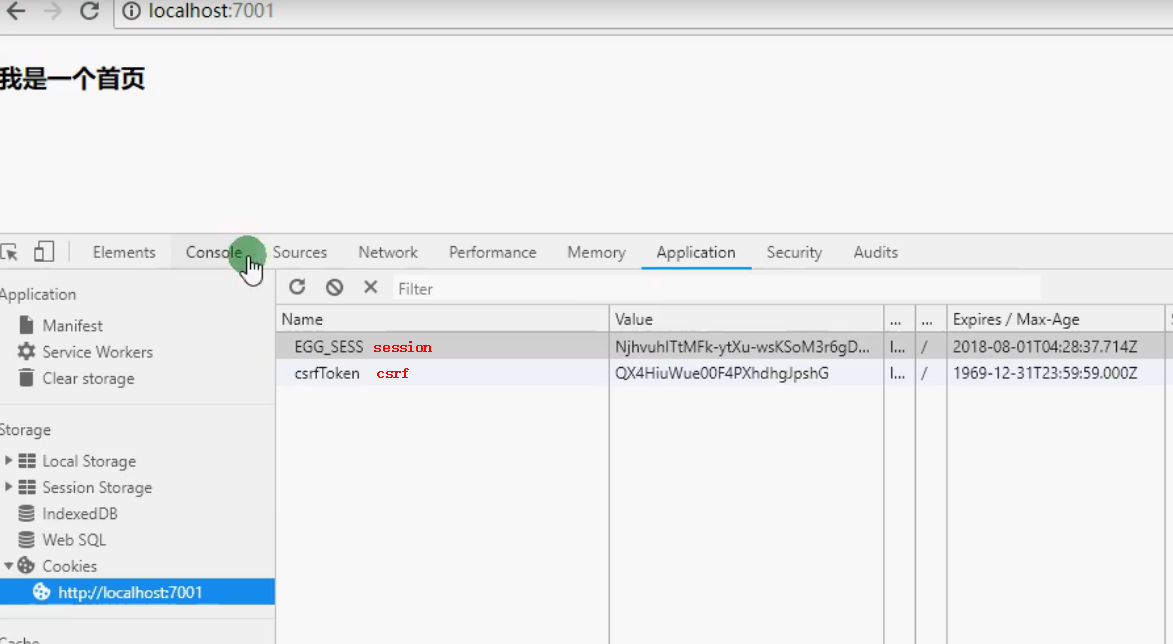
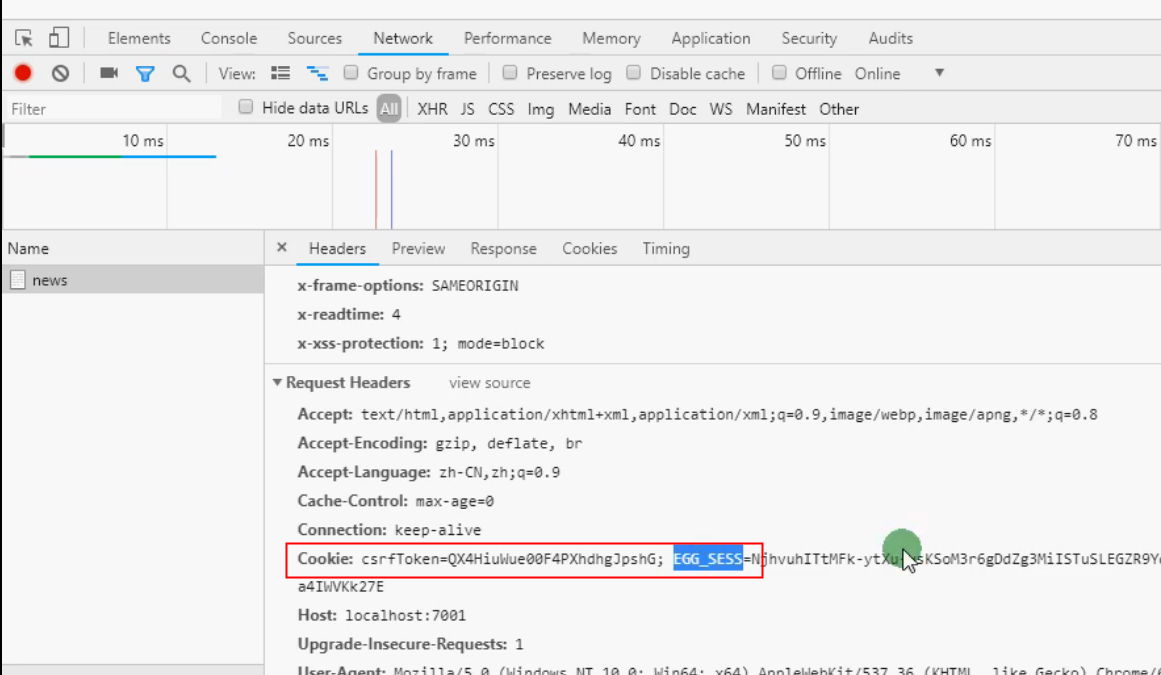
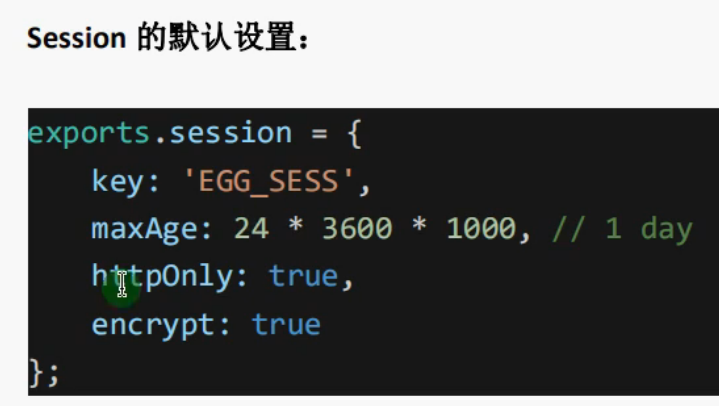
设置是完全基于cookie (不建议)
(不建议)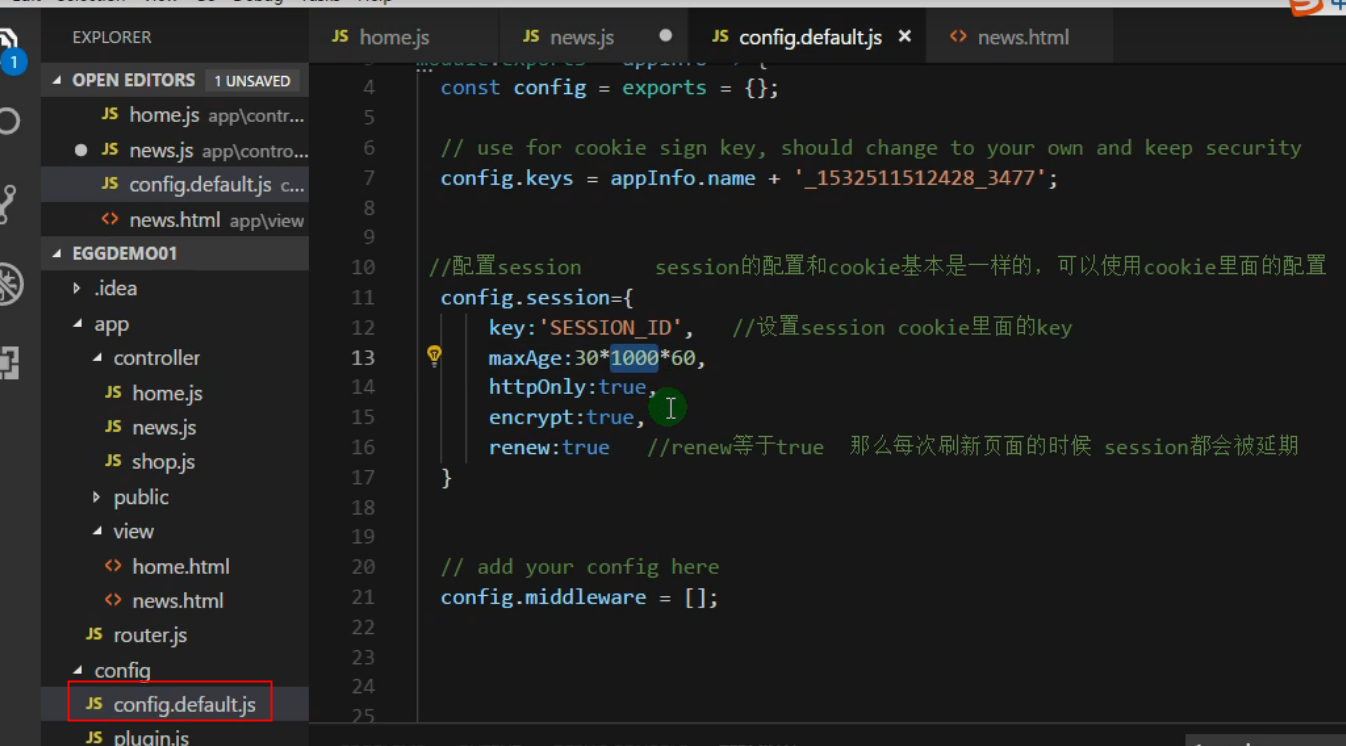 (推荐)
(推荐)
=================
关系型数据库 egg-MySQL
https://eggjs.org/zh-cn/tutorials/mysql.html
https://github.com/eggjs/egg-mysql
1、安装插件
npm i egg-mysql --save
2、启用插件
/config/plugin.js
'use strict';/** @type Egg.EggPlugin */module.exports = {// had enabled by egg// static: {// enable: true,// }mysql:{enable:true,package:'egg-mysql',}};
3、配置数据库信息
config/config.default.js
/* eslint valid-jsdoc: "off" */'use strict';/*** @param {Egg.EggAppInfo} appInfo app info*/module.exports = appInfo => {/*** built-in config* @type {Egg.EggAppConfig}**/const config = exports = {};// use for cookie sign key, should change to your own and keep securityconfig.keys = appInfo.name + '_1600680771247_3607';// add your middleware config hereconfig.middleware = [];// add your user config hereconst userConfig = {// myAppName: 'egg',};//配置数据库信息config.mysql = {client: {// hosthost: '127.0.0.1',// 端口号port: '3306',// 用户名user: 'root',// 密码password: 'root',// 数据库名database: 'test',// 时区,重要,否则可能和数据库储存的date类型的时间不一致timezone: 'utc',},// 是否加载到 app 上,默认开启app: true,// 是否加载到 agent 上,默认关闭agent: false,}return {...config,...userConfig,};};
4、在service中使用
/app/service/home.js
'use strict';const Service = require('egg').Service;class homeService extends Service {//根据id查询用户async getUser(uid) {let userInfo = await this.app.mysql.get('user',{id:uid});return userInfo;};//查询所有用户async getAllUser() {let userInfo = await this.app.mysql.select('user');return userInfo;};//插入async insertUser(){let result = await this.app.mysql.insert('user', {id: null ,name:'xjt',sex:'man',psw:'888888'});//INSERT INTO `user` (`id`, `name`, `sex`, `psw`) VALUES (NULL, 'xjt', 'man', '888888')return result;};//修改async updateUser(){let result = await this.app.mysql.update('user', {id: 5 ,name:'xxxxx',sex:'xxxxx',psw:'123123'});//UPDATE `user` SET `name` = 'xjt', `sex` = 'man', 'psw' = '888888' WHERE id = 5 ;return result;};//删除async delUser(){let result = await this.app.mysql.delete('user', {id: 5});//DELETE FROM `user` WHERE `id` = '5';return result;};}module.exports = homeService;
拼接SQL语句
https://github.com/eggjs/egg-mysql#custom-literal
官方建议是使用Literal,可以看例子
5、调用
可以通过其他的服务 或者 控制器调用
/app/controller/home.js
'use strict';const Controller = require('egg').Controller;class HomeController extends Controller {async index() {const { ctx } = this;ctx.body = 'hi, egg';};//调用查询async getUser() {const { ctx } = this;let uid = this.ctx.params.id;if (uid > 0) {ctx.body = await this.service.home.getUser(uid);} else{ctx.body = await this.service.home.getAllUser();}};async insertUser(){const { ctx } = this;ctx.body = await this.service.home.insertUser();};//调用更新async updateUser(){const { ctx } = this;ctx.body = await this.service.home.updateUser();};//调用删除async delUser(){const { ctx } = this;ctx.body = await this.service.home.delUser();};}module.exports = HomeController;
6、配置路由
/app/router.js
'use strict';/*** @param {Egg.Application} app - egg application*/module.exports = app => {const { router, controller } = app;router.get('/', controller.home.index);router.get('/getUser/:id', controller.home.getUser);router.get('/insertUser', controller.home.insertUser);router.get('/updateUser', controller.home.updateUser);router.get('/delUser', controller.home.delUser);};
==================
跨域 egg-cors

只要前端浏览器页面的协议、主机、端口,任意一个和后端服务器的不一致,就是跨域,浏览器就会触发保护。
前后端分离就会遇到上面的提示,不能直接访问服务器的数据,除非服务器设置请求来源的白名单’Access-Control-Allow-Origin’ ,让服务器知道哪些来源是开发者信任的,然后把这个信息放在响应头,传回给浏览器,才能成功交换数据。
1、安装插件
npm i egg-cors --save
2、启用插件
位置: 项目app/config/plugin.js
'use strict';/** @type Egg.EggPlugin */module.exports = {// had enabled by egg// static: {// enable: true,// }mysql:{enable:true,package:'egg-mysql',},//启用跨域cors插件cors:{enable: true,package: 'egg-cors',}};
3、配置白名单
config/config.default.js
/* eslint valid-jsdoc: "off" */'use strict';/*** @param {Egg.EggAppInfo} appInfo app info*/module.exports = appInfo => {/*** built-in config* @type {Egg.EggAppConfig}**/const config = exports = {};// use for cookie sign key, should change to your own and keep securityconfig.keys = appInfo.name + '_1600680771247_3607';// add your middleware config hereconfig.middleware = [];// add your user config hereconst userConfig = {// myAppName: 'egg',};config.mysql = {client: {// hosthost: '127.0.0.1',// 端口号port: '3306',// 用户名user: 'root',// 密码password: 'root',// 数据库名database: 'test',},// 是否加载到 app 上,默认开启app: true,// 是否加载到 agent 上,默认关闭agent: false,};//配置白名单config.cors = {origin: '*', //*号表示所有来源都是信任的allowMethods: 'GET,HEAD,PUT,POST,DELETE,PATCH' //表示允许通过左边的请求方法};return {...config,...userConfig,};};
配置好后,所有的前端请求都可以正常访问后端。
====================
防范 csrf
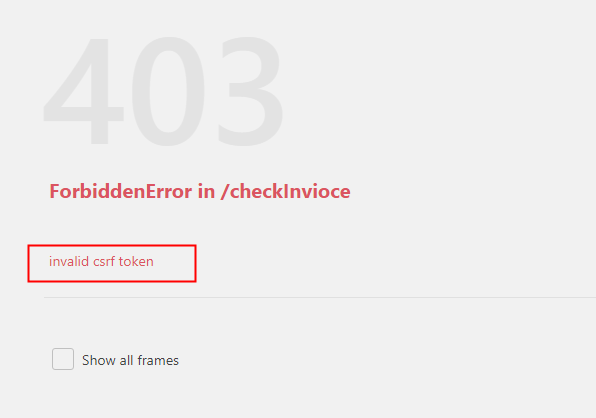
请求发现报403,原因是eggjs自带一个防止csrf 攻击,因此多了个需要配置csrf_token 的东西。
https://eggjs.org/zh-cn/core/security.html#%E5%AE%89%E5%85%A8%E5%A8%81%E8%83%81-ssrf-%E7%9A%84%E9%98%B2%E8%8C%83
如果不需要,可以关掉,因为前后端分离我们可以不通过这样来检查攻击,关掉后,真的可以正常通信了。
关闭csrf
config/config.default.js
/* eslint valid-jsdoc: "off" */'use strict';/*** @param {Egg.EggAppInfo} appInfo app info*/module.exports = appInfo => {/*** built-in config* @type {Egg.EggAppConfig}**/const config = exports = {};// use for cookie sign key, should change to your own and keep securityconfig.keys = appInfo.name + '_1606374315935_8008';// add your middleware config hereconfig.middleware = [];// add your user config hereconst userConfig = {// myAppName: 'egg',};config.mysql = {client: {// hosthost: '111.230.149.73',// 端口号port: '3306',// 用户名user: 'ddUser',// 密码password: 'LS0A2g9CvBYmC78X',// 数据库名database: 'ddinvioce',},// 是否加载到 app 上,默认开启app: true,// 是否加载到 agent 上,默认关闭agent: false,};// 跨域config.cors = {origin: '*', //*号表示所有来源都是信任的allowMethods: 'GET,POST' //表示允许通过左边的请求方法};// 防范csrfconfig.security = {csrf: {enable:false, // 表示关掉csrf防范验证},};return {...config,...userConfig,};};
====================
NoSQL egg-redis
https://www.npmjs.com/package/egg-redis
在服务器内存开一个简单的数据库,专门存取简单的key : value,一般用于缓存,这里用于存储用户的token
1、安装插件
npm i egg-redis --save
2、启用插件
/config/plugin.js
'use strict';/** @type Egg.EggPlugin */module.exports = {// had enabled by egg// static: {// enable: true,// }mysql:{enable:true,package:'egg-mysql',},cors:{enable: true,package: 'egg-cors',},exports.redis = {enable: true,package: 'egg-redis',};};
3、配置
/config/config.default.js
module.exports = appInfo => {//其他配置//exports.XXXX = {};//启用egg-redis插件config.redis = {client: {port: 6379, // Redis 端口,默认6379host: '127.0.0.1', // Redis 数据库的主机password: 'auth', // Redis 数据库密码db: 0, // Redis 数据库名,一般就是0,多个数据库看官网配置},}return {...config,...userConfig,};}
4、使用
设置Key:Value
读取Value

若有收获,就点个赞吧
0 人点赞
