准备工作
打开 Visual Studio Installer 安装移动开发套件 Mobile development with .NET。
以前 VS 带的安卓模拟器和 Hyper-V 有冲突,从 VS 15.7 版本开始冲突解决了。
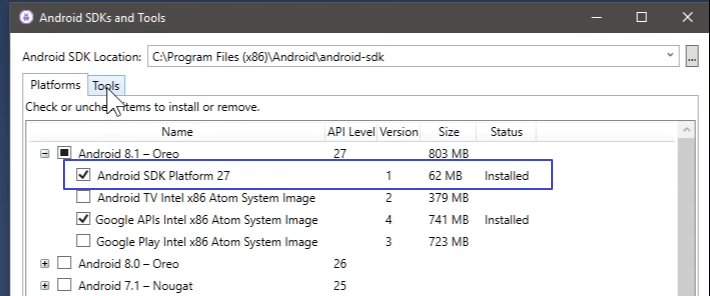
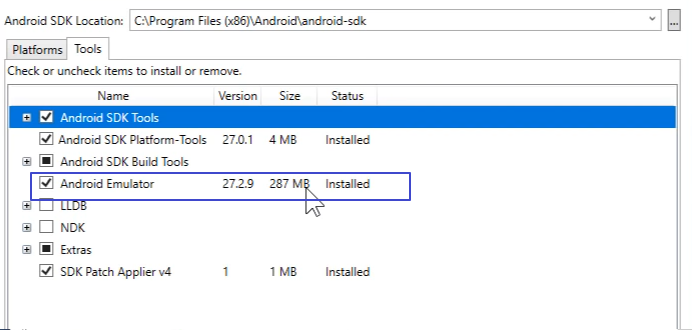
安装好套件后打开 VS 的 Tools - Android SDK Manager 确认 SDK Platform 和 27.2.9 版本的 Emulator 安装成功。

PS:如果有 update 就更新即可。
体验 Android 模拟器
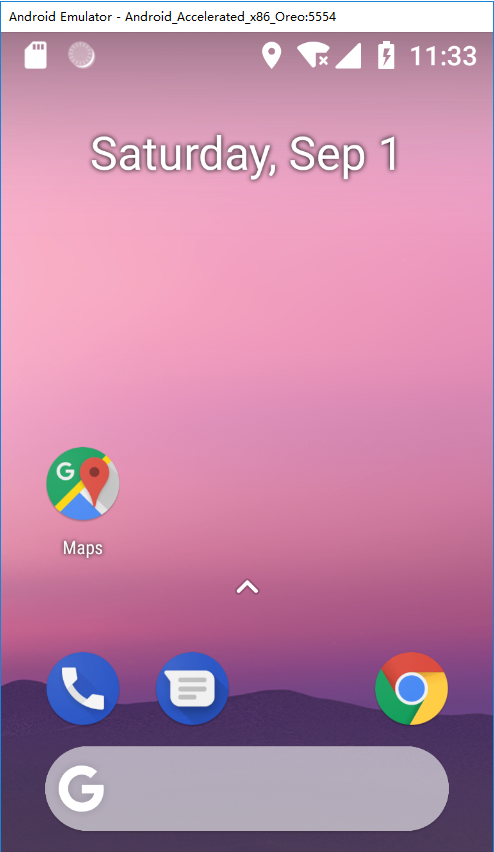
Android SDK 更新完毕后,可以在 Tools - Android SDK Manager - Android Device Manager 直接体验 Android 模拟器(一瞥 8.1)。
开发一个简单的加法 App
开发安卓应用可以通过创建移动端跨平台项目,也可以通过创建单纯的安卓项目。考虑到 IOS 和 UWP 项目较难调试和发布我就只创建了 Android XAML App(Xamarin.Forms) 项目。
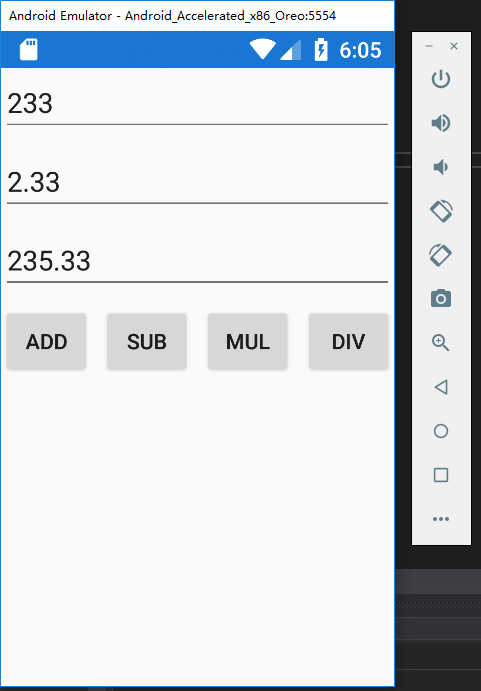
下面开发一个简单的加法应用。
前端 XAML:
<?xml version="1.0" encoding="utf-8" ?><ContentPage xmlns="http://xamarin.com/schemas/2014/forms"xmlns:x="http://schemas.microsoft.com/winfx/2009/xaml"xmlns:local="clr-namespace:HelloAndroid.Client"x:Class="HelloAndroid.Client.MainPage"><Grid><Grid.RowDefinitions><RowDefinition Height="Auto"/><RowDefinition Height="Auto"/><RowDefinition Height="Auto"/><RowDefinition Height="Auto"/></Grid.RowDefinitions><Editor x:Name="Txt1" Grid.Row="0"/><Editor x:Name="Txt2" Grid.Row="1"/><Editor x:Name="Txt3" Grid.Row="2"/><Grid Grid.Row="3"><Grid.ColumnDefinitions><ColumnDefinition Width="*"/><ColumnDefinition Width="*"/><ColumnDefinition Width="*"/><ColumnDefinition Width="*"/></Grid.ColumnDefinitions><Button x:Name="BtnAdd" Grid.Column="0" Text="Add" Clicked="DoAdd"/><Button x:Name="BtnSub" Grid.Column="1" Text="Sub"/><Button x:Name="BtnMul" Grid.Column="2" Text="Mul"/><Button x:Name="BtnDiv" Grid.Column="3" Text="Div"/></Grid></Grid></ContentPage>
后端 C#:
using System;using Xamarin.Forms;namespace HelloAndroid.Client{public partial class MainPage : ContentPage{public MainPage(){InitializeComponent();}private void DoAdd(object sender, EventArgs e){double.TryParse(Txt1.Text, out double x);double.TryParse(Txt2.Text, out double y);Txt3.Text = (x + y).ToString();}}}
注:最好先 Build 项目,再进行调试。
打包成 APK
- In your toolbar change the project from debug mode to release mode
- Right-click on your Project and Select Archive(存档)…
- Click on the generated archive and below on the Right side you will find two options Open folder and Distribute. (Select Distribute)
- Then on the Pop-up that appears Select AD-HOC
- Click on the Green plus icon to add signing identity where you need to provide the identity of the signing person or company
- After creating the signing identity click on that identity to select it and then click on save as to save your APK.
- A pop-up will appear asking password for the signing identity which you will produce in step 5.
打包成 APK,安装到手机上的效果:
其它问题
Android 设计器不工作
再 XAML 切换到设计器时提示:System.ComponentModel.Composition.ImportCardinalityMismatchException: No exports were found that match the constraint:
...
解决方法:
- 保证 SDK 都更新到了最新版
- 清除 C:\Users\UserName\AppData\Local\Microsoft\VisualStudio\15.0*\ComponentModelCache 里面的缓存文件

