- 任务一 更改root密码
- 任务2 连接MySQL
- 任务3 MySQL常用命令
- 1. 查询库 show databases;
- 2. 切换库 use mysql;
- 3. 查看库里的表 show tables;
- 4. 查看表里的字段 desc tb_name;
- 5. 查看建表语句 show create table tb_name\G;
- 6. 查看当前用户 select user();
- 7. 查看当前使用的数据库 select database();
- 8. 创建库 create database db1;
- 9. 创建表 use db1; create table t1(
idint(4),namechar(40)); - 10. 查看当前数据库版本 select version();
- 11. 查看数据库状态 show status;
- 12. 查看各参数 show variables; show variables like ‘max_connect%’;
- 13. 修改参数 set global max_connect_errors=1000;
- 14. 查看队列 show processlist; show full processlist;
- 任务4 MySQL创建用户以及授权
- 任务5 MySQL常用SQL语句
- 1. 查看表内行数select count(*) from mysql.user;
- 2. 查看db表内的内容 select * from mysql.db;
- 3. 查看db表内含有db字段的内容 select db from mysql.db;
- 4. 搜索查看多个字段 select db,user from mysql.db;
- 5. 查询host为127.0的内容 select * from mysql.db where host like ‘192.168.%’;
- 6. 向db1.t1中插入内容 insert into db1.t1 values (1, ‘abc’);
- 7. 把id=1的字段内容更新成aaa update db1.t1 set name=’aaa’ where id=1;
- 8. 清空db1.t1表内的内容 truncate table db1.t1;
- 9. 删除db1.t1表内的内容 drop table db1.t1;
- 10. 清空db1.t1数据库 drop database db1;
- 任务6 MySQL数据库的备份与恢复
任务一 更改root密码
1. 更改环境变量
修改/etc/profile文件,文件尾添加mysql的绝对路径,修改环境变量如图所示:
[root@lnmp ~]# vim /etc/profileexport PATH=$PATH:/usr/local/mysql/bin/# 刷新参数[root@lnmp mysql]# source /etc/profile

2. 创建MySQL密码
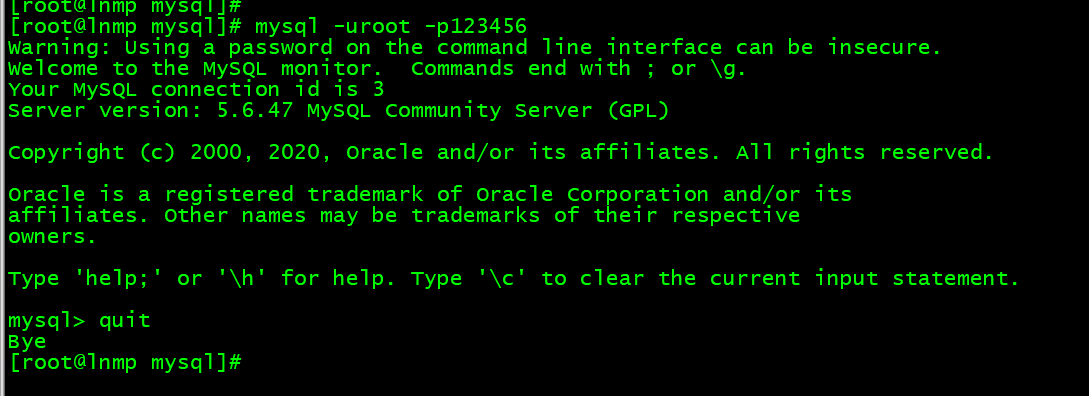
使用命令mysqladmin -uroot password ‘123456’为root用户创建初始密码,如图所示:
[root@lnmp mysql]# mysqladmin -uroot password '123456'Warning: Using a password on the command line interface can be insecure.mysqladmin:You cannot use 'password' command as mysqld runswith grant tables disabled (was started with --skip-grant-tables).Use: "mysqladmin flush-privileges password '*'" instead# 可以忽略warning内容,指的是明码输入屏幕不安全。使用命令mysql -uroot -p123456,完成初始密码登录,如图所示:[root@lnmp mysql]# mysql -uroot -p123456
3. 密码重置
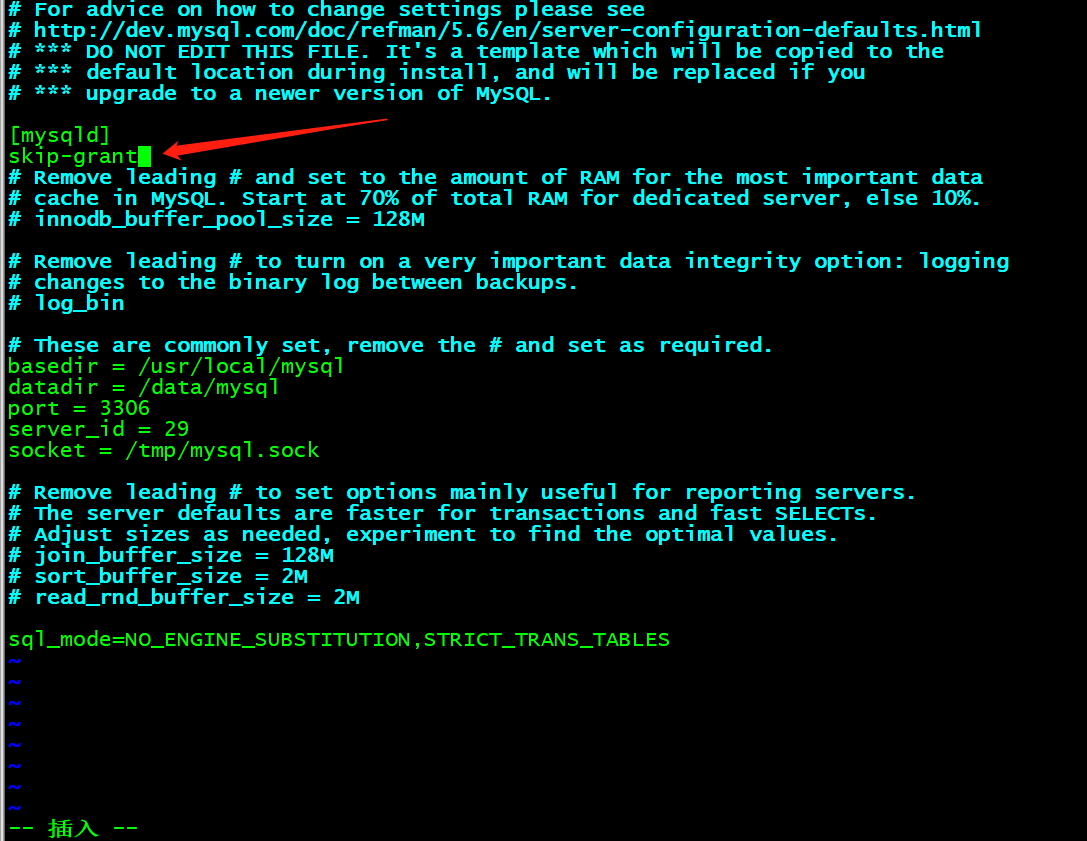
修改配置文件2,在mysqld配置段,增加字段skip-grant,如图所示:
[root@lnmp mysql]# vim /etc/my.cnf
修改完成后,重启MySQL服务:/etc/init.d/mysqld restart
使用命令登入MySQL(修改的配置段,是完成忽略授权的操作,可以直接登入,无需输入用户名密码),切换到MySQL库,对user表进行更新操作,如图所示: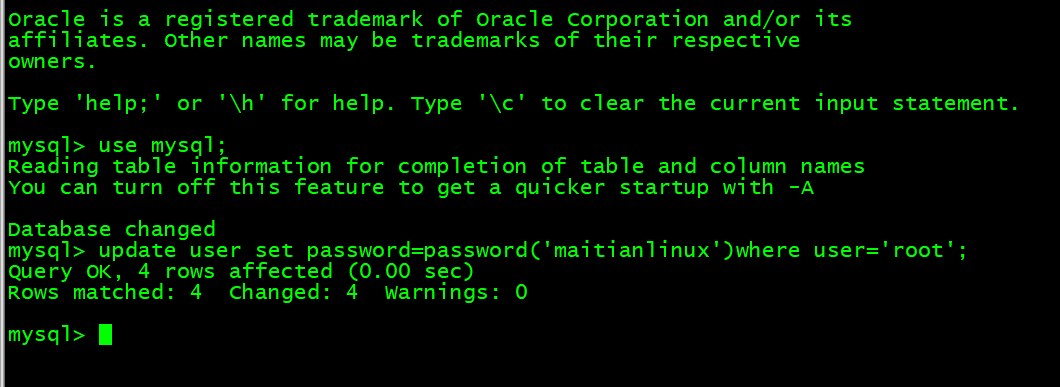
修改完成后,确认新密码登录有效。把/etc/my.cnf改回原有状态,并重启MySQL服务。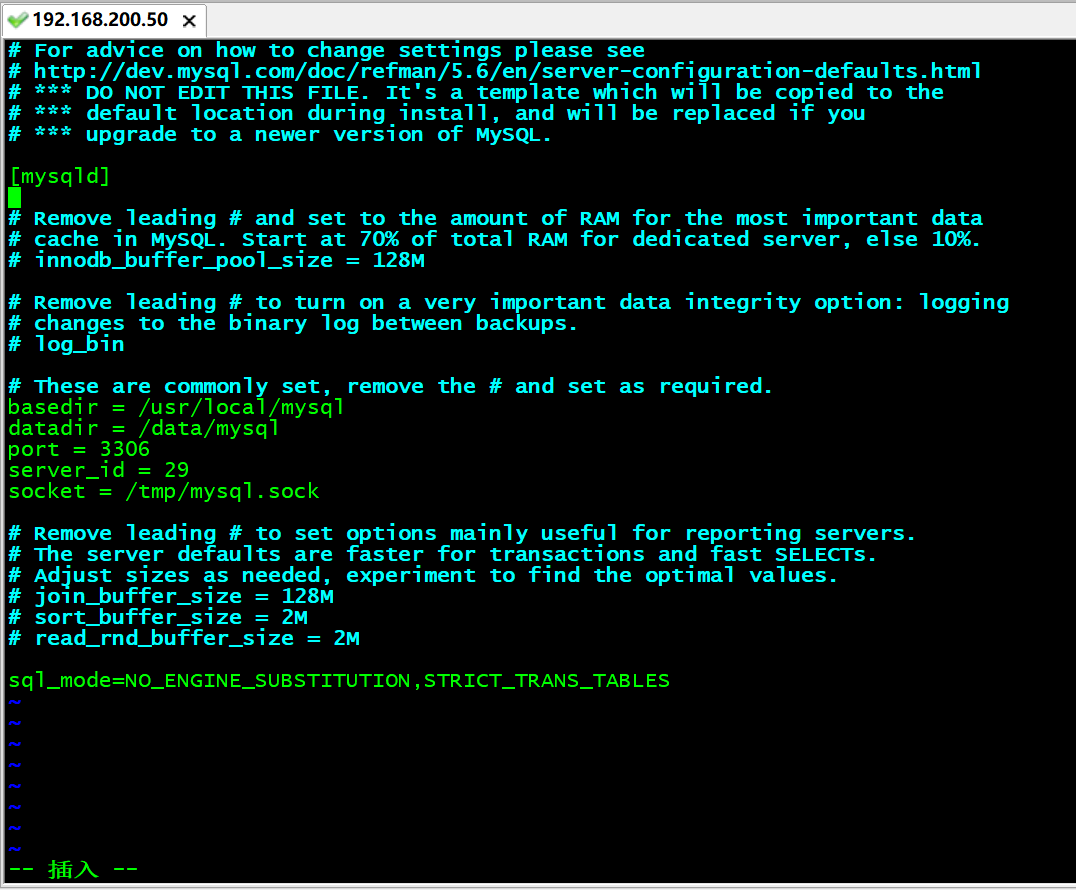
任务2 连接MySQL
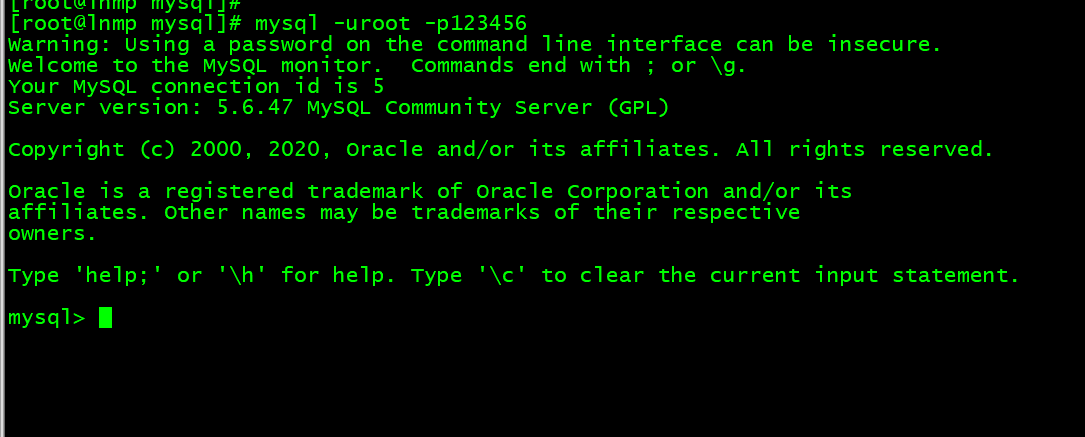
1. mysql -uroot -p123456
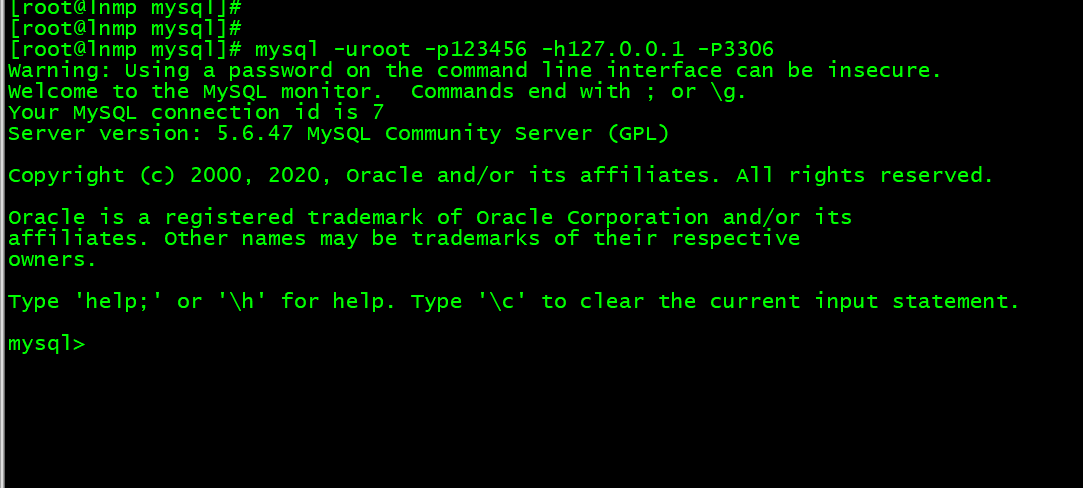
2. mysql -uroot -p123456 -h127.0.0.1 -P3306
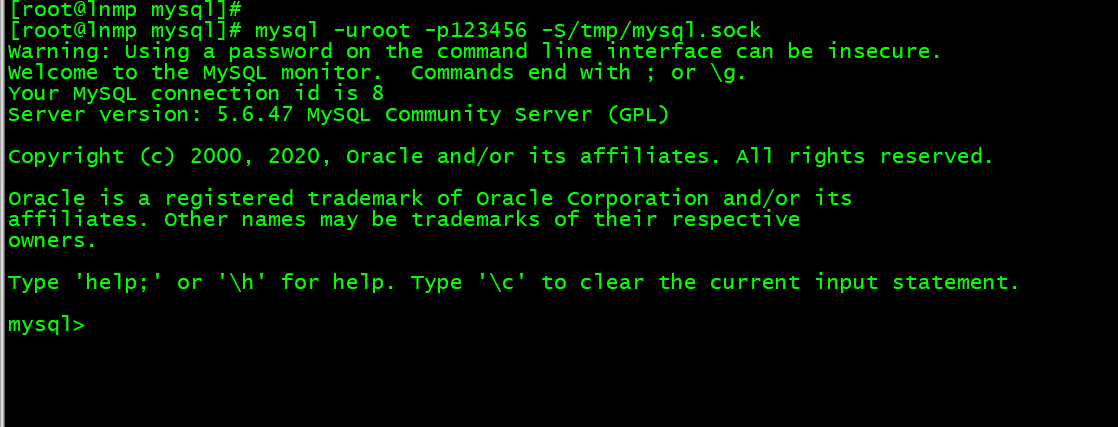
3. mysql -uroot -p123456 -S/tmp/mysql.sock
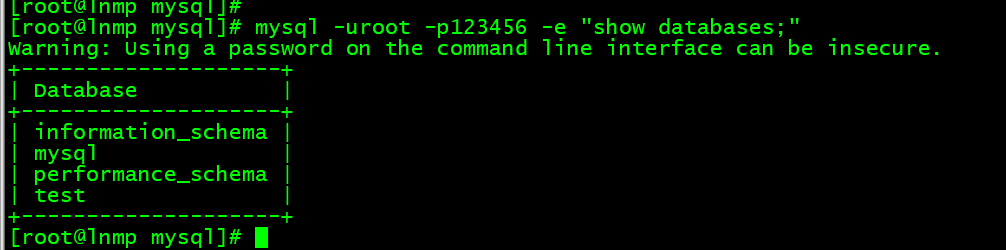
4. mysql -uroot -p123456 -e “show databases;”
# 注意引号必须是英文状态才可以。[root@lnmp mysql]# mysql -uroot -p123456 -e "show databases;"Warning: Using a password on the command line interface can be insecure.+--------------------+| Database |+--------------------+| information_schema || mysql || performance_schema || test |+--------------------+
任务3 MySQL常用命令
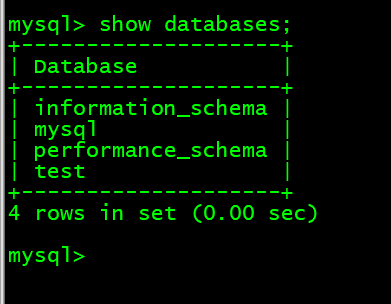
1. 查询库 show databases;
[root@lnmp mysql]# mysql -uroot -p123456mysql> show databases;
2. 切换库 use mysql;
mysql> use mysql;

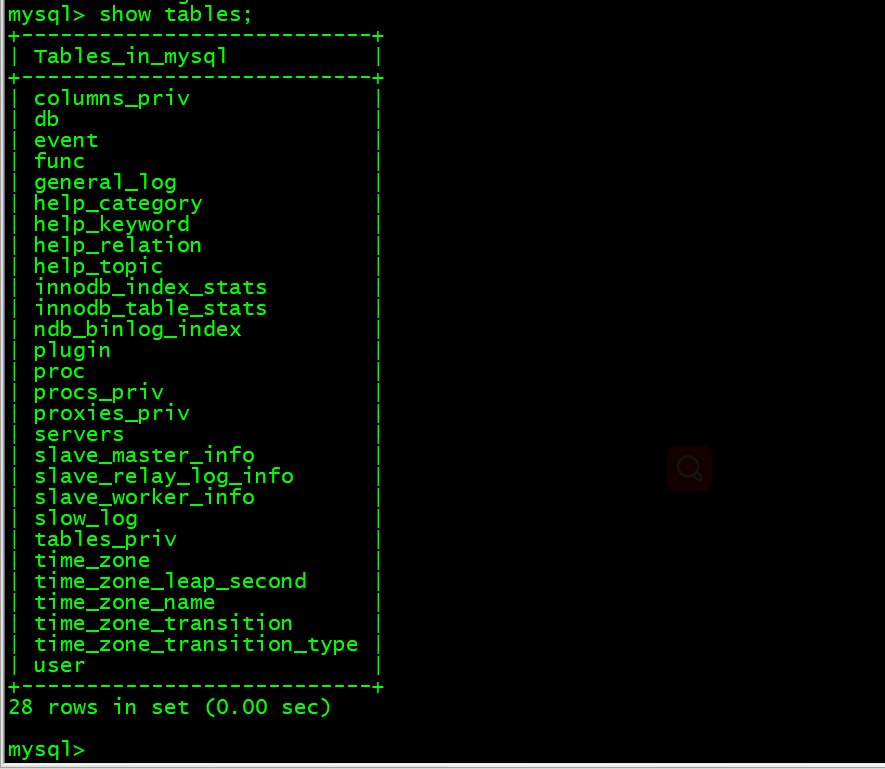
3. 查看库里的表 show tables;
mysql> show tables;
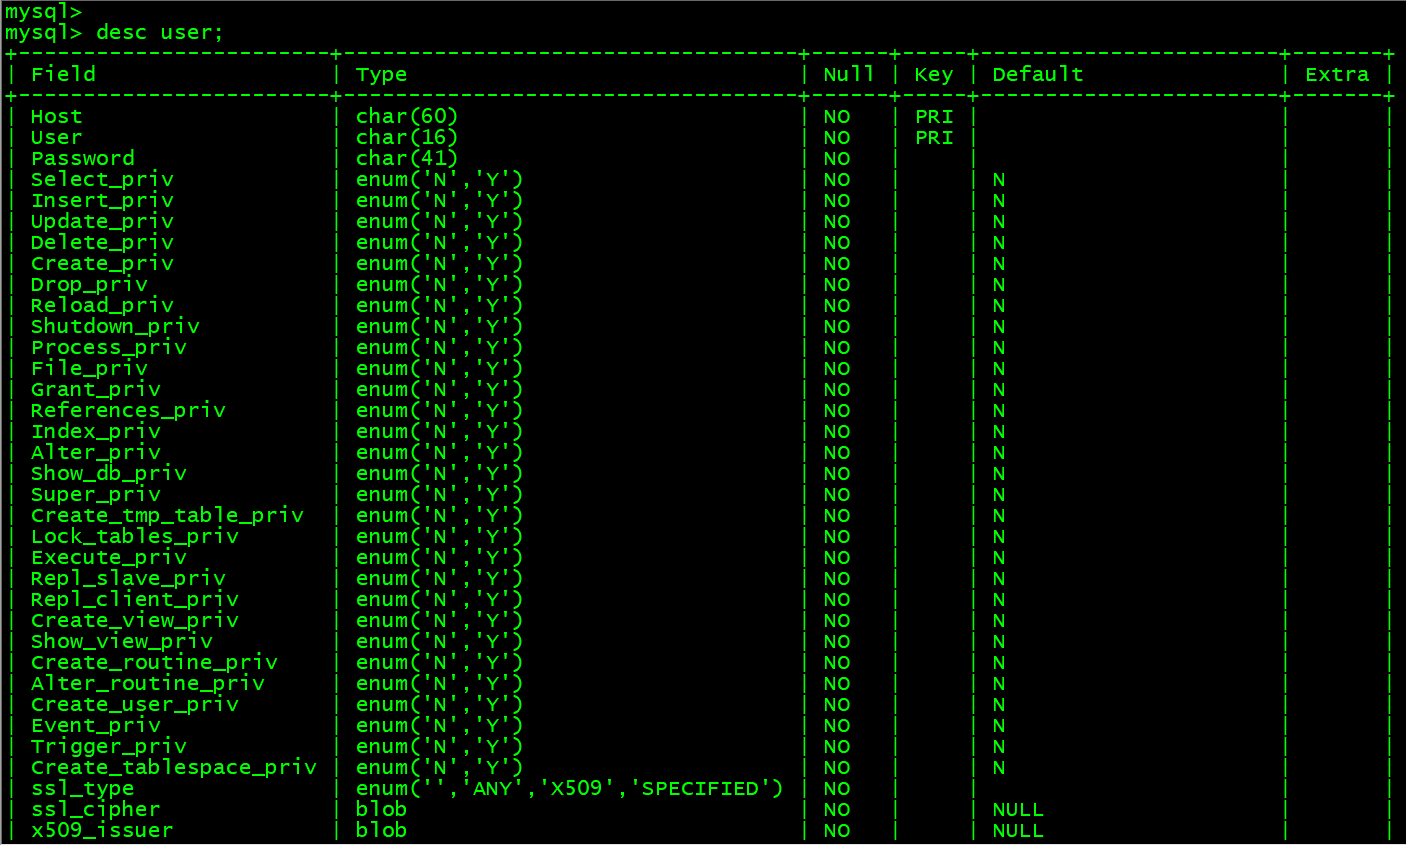
4. 查看表里的字段 desc tb_name;
mysql> desc user;
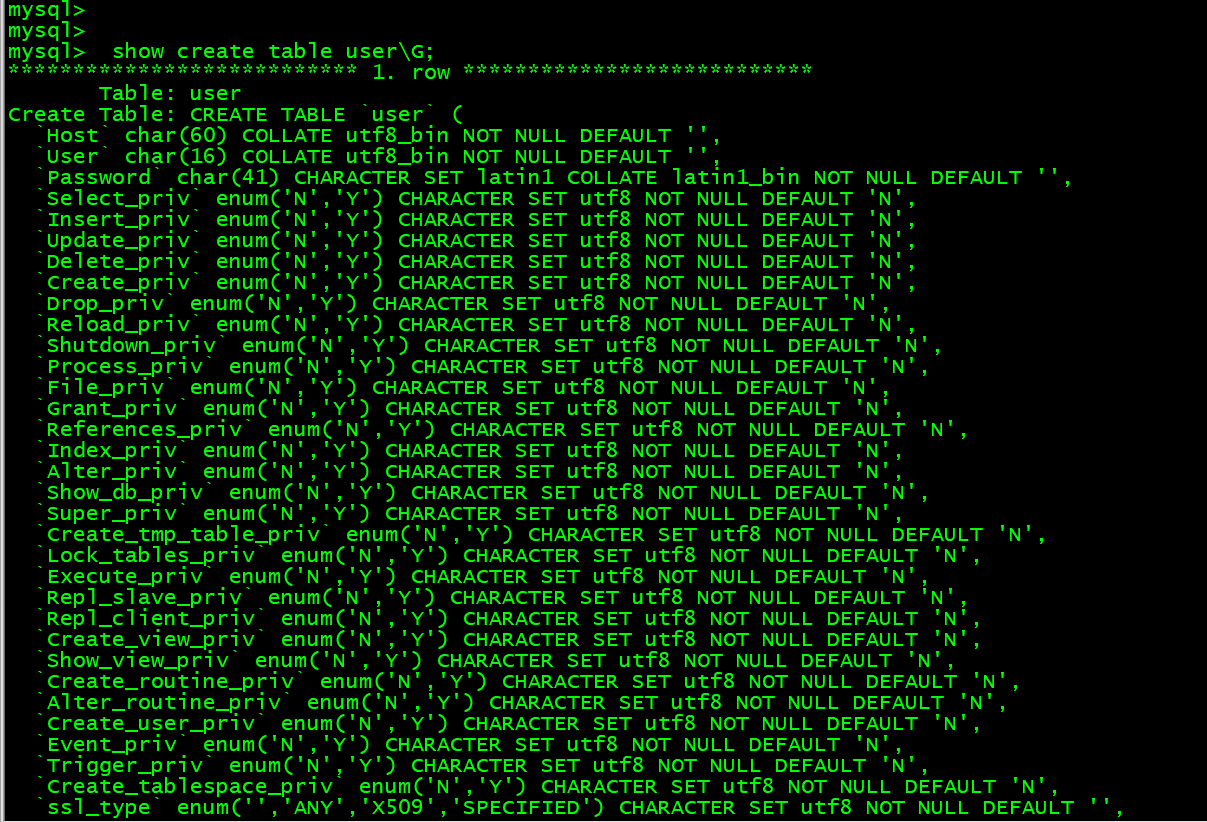
5. 查看建表语句 show create table tb_name\G;
mysql> show create table user\G;
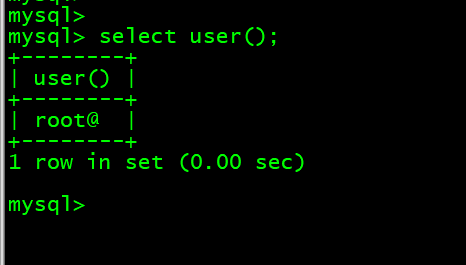
6. 查看当前用户 select user();
mysql> select user();
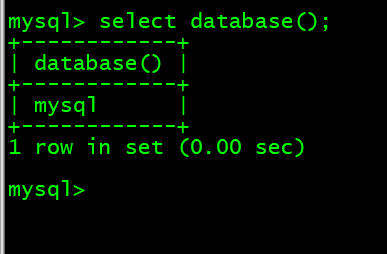
7. 查看当前使用的数据库 select database();
mysql> select database();
8. 创建库 create database db1;
mysql> create database db1;
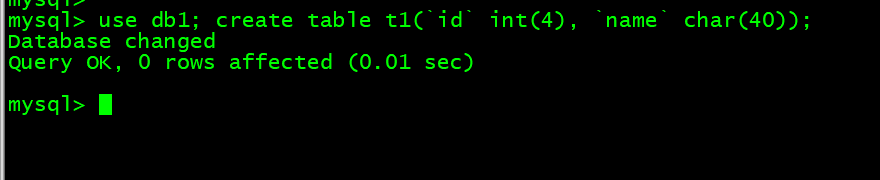
9. 创建表 use db1; create table t1(id int(4), name char(40));
mysql> use db1; create table t1(`id` int(4), `name` char(40));
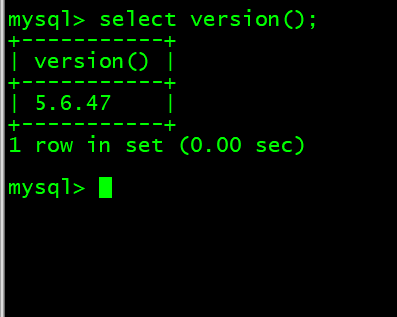
10. 查看当前数据库版本 select version();
mysql> select version();
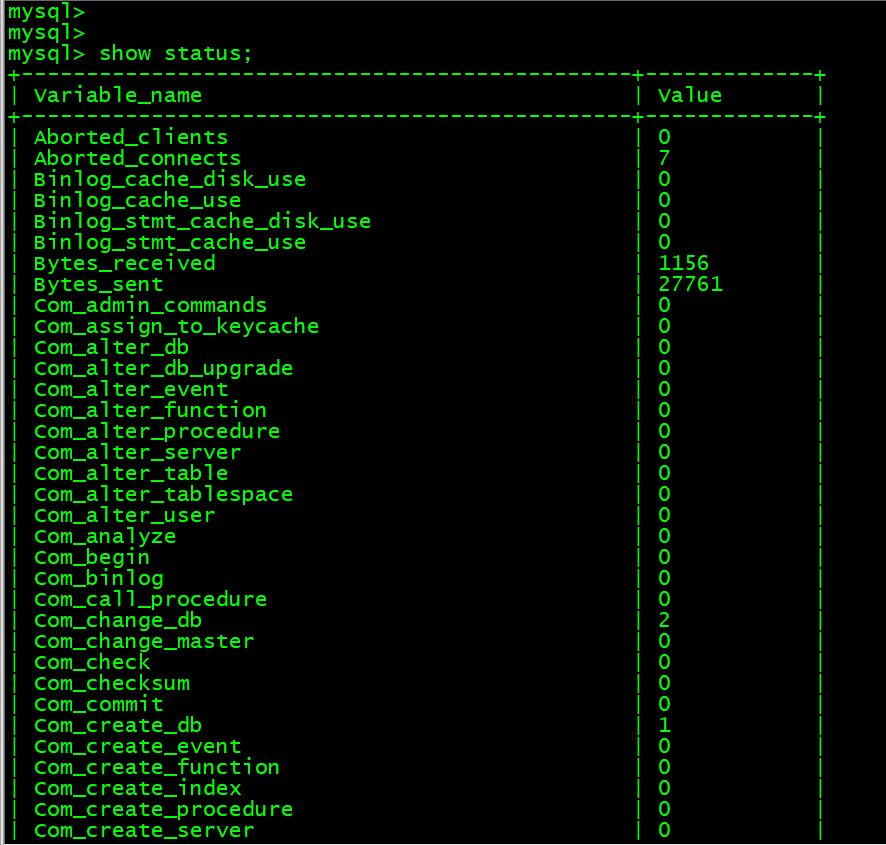
11. 查看数据库状态 show status;
mysql> show status;
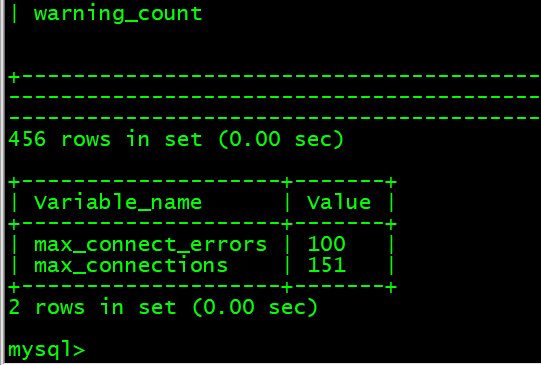
12. 查看各参数 show variables; show variables like ‘max_connect%’;
mysql> show variables; show variables like 'max_connect%';
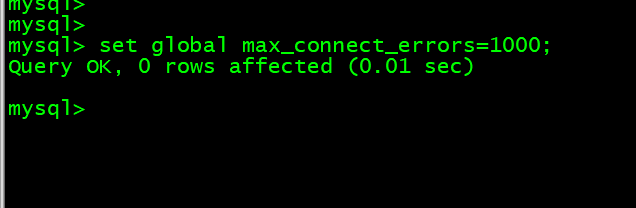
13. 修改参数 set global max_connect_errors=1000;
mysql> set global max_connect_errors=1000;
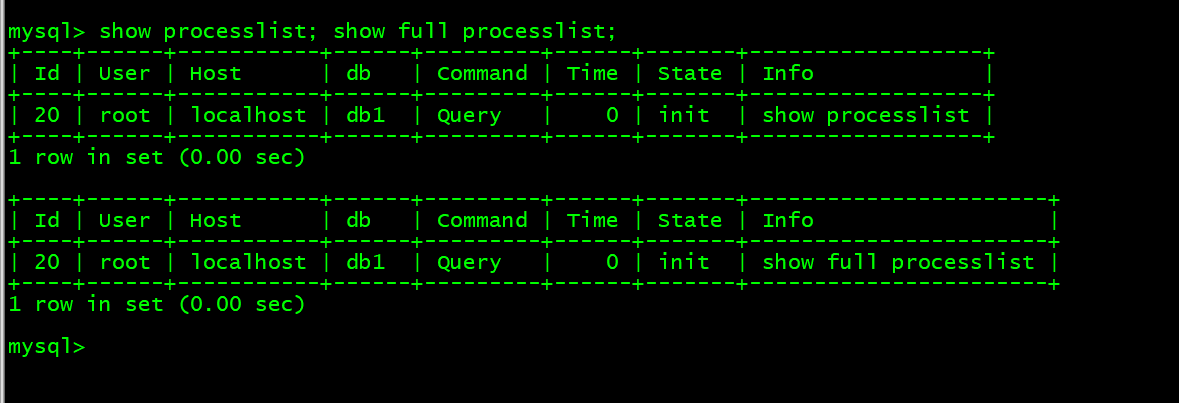
14. 查看队列 show processlist; show full processlist;
mysql> show processlist; show full processlist;
任务4 MySQL创建用户以及授权
1. 进行授权
mysql> grant all on *.* to 'user1' identified by 'passwd';mysql> grant SELECT,UPDATE,INSERT on db1.* to 'user2'@'127.0.0.1' identified by 'passwd';mysql> grant all on db1.* to 'user3'@'%' identified by 'passwd';# 第一条实现不了的话先输入以下参数mysql> flush privileges;


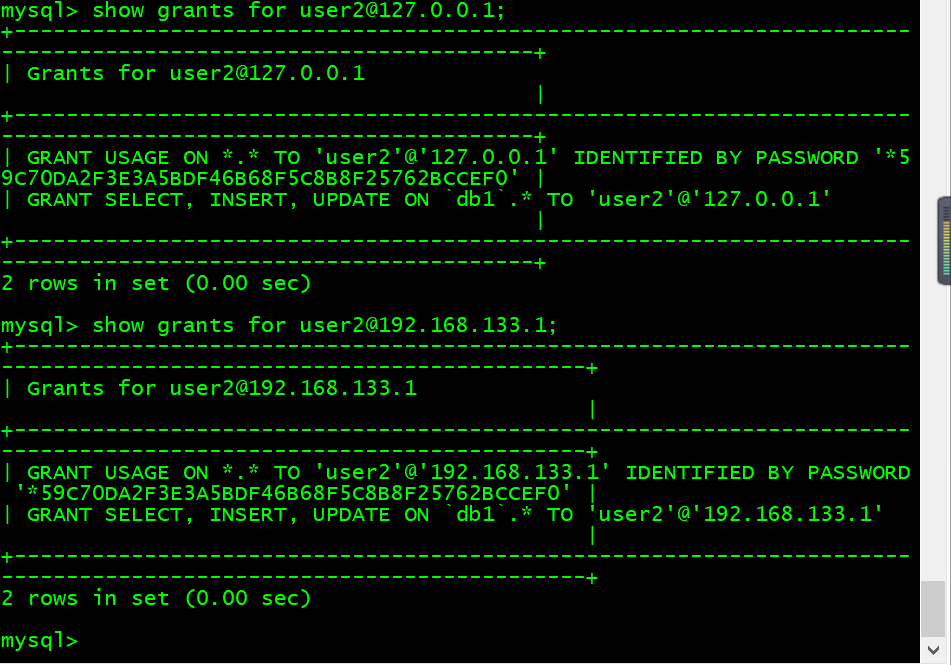
2. 查看授权表
mysql> show grants for user2@127.0.0.1;mysql> show grants for user2@192.168.133.1;
任务5 MySQL常用SQL语句
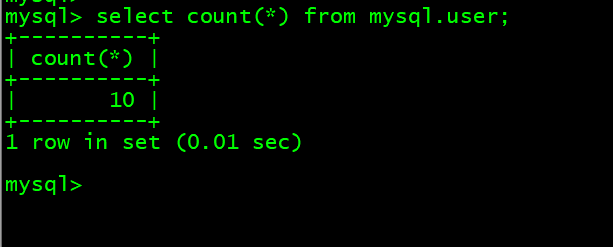
1. 查看表内行数select count(*) from mysql.user;
mysql> select count(*) from mysql.user;
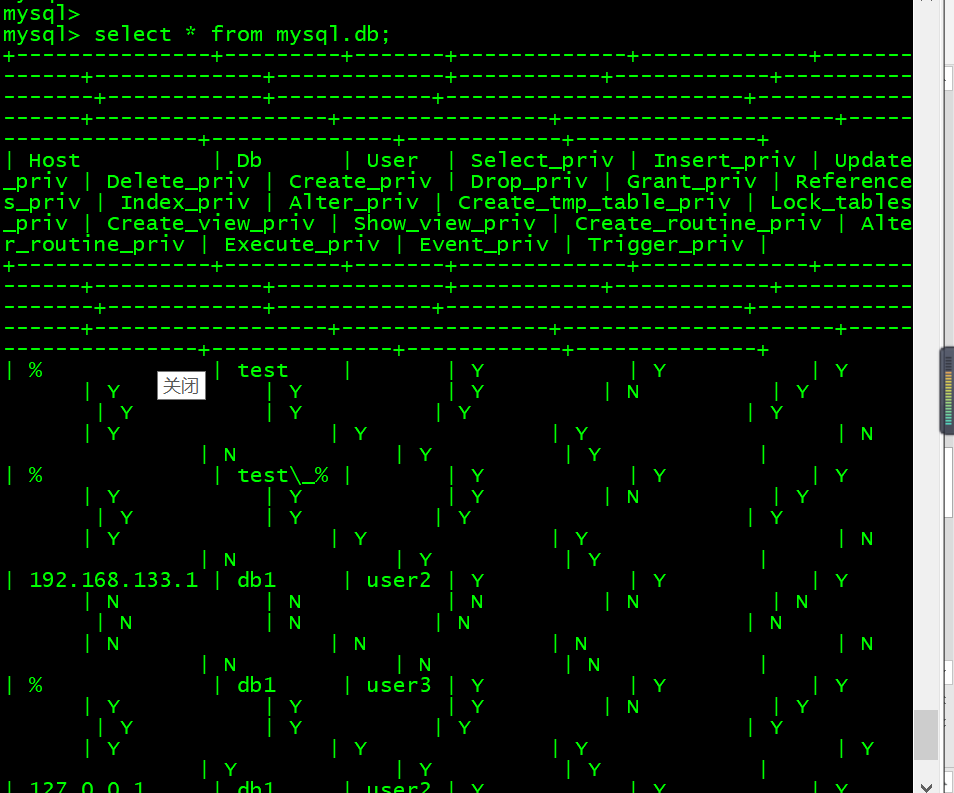
2. 查看db表内的内容 select * from mysql.db;
mysql> select * from mysql.db;
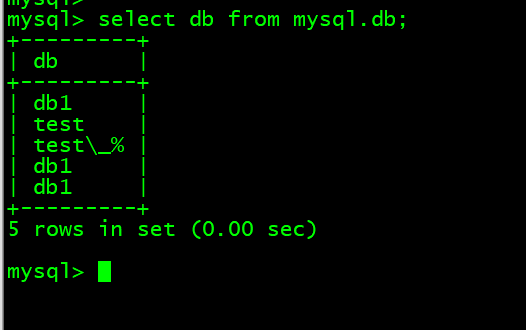
3. 查看db表内含有db字段的内容 select db from mysql.db;
mysql> select db from mysql.db;
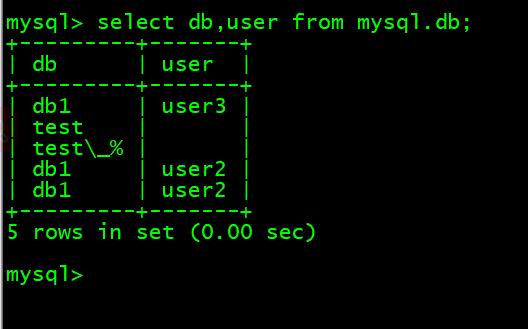
4. 搜索查看多个字段 select db,user from mysql.db;
mysql> select db,user from mysql.db;
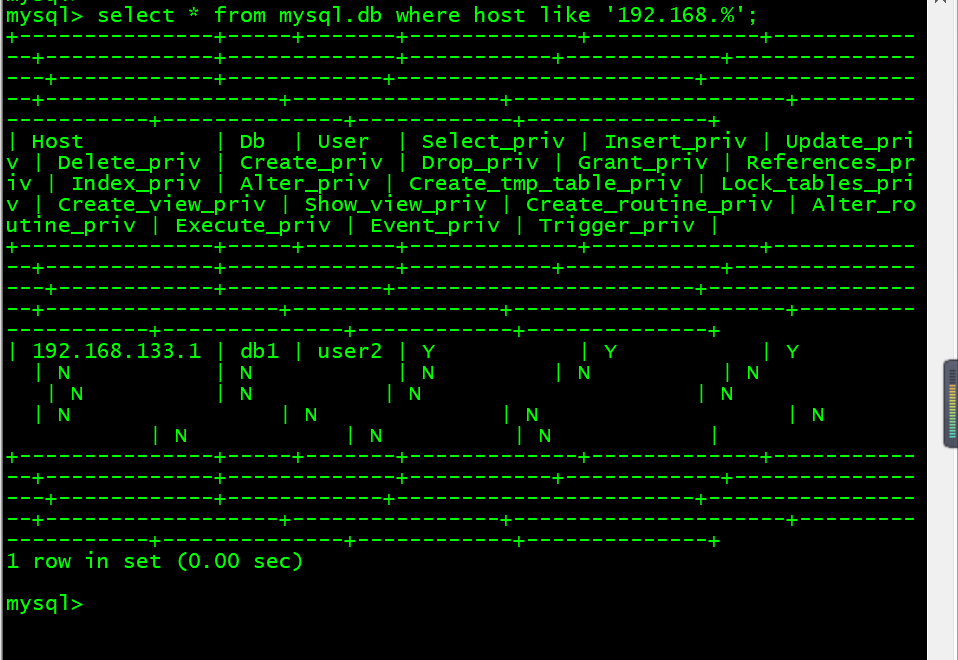
5. 查询host为127.0的内容 select * from mysql.db where host like ‘192.168.%’;
mysql> select * from mysql.db where host like '192.168.%';
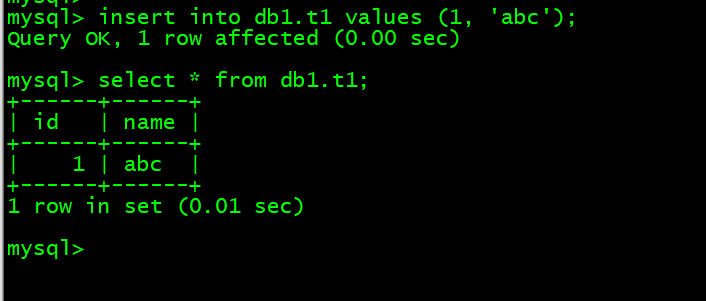
6. 向db1.t1中插入内容 insert into db1.t1 values (1, ‘abc’);
mysql> insert into db1.t1 values (1, 'abc');mysql> select * from db1.t1;
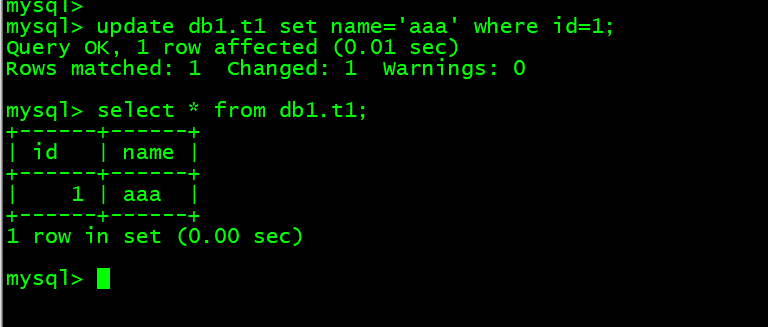
7. 把id=1的字段内容更新成aaa update db1.t1 set name=’aaa’ where id=1;
mysql> update db1.t1 set name='aaa' where id=1;mysql> select * from db1.t1;
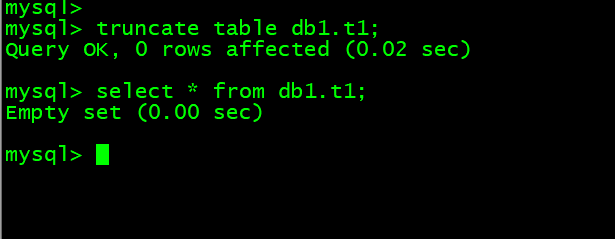
8. 清空db1.t1表内的内容 truncate table db1.t1;
mysql> truncate table db1.t1;mysql> select * from db1.t1;
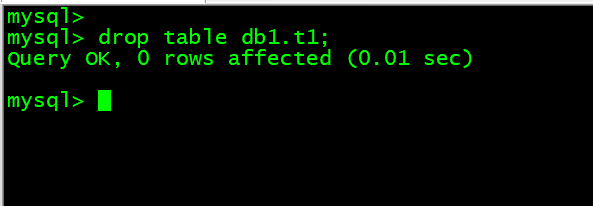
9. 删除db1.t1表内的内容 drop table db1.t1;
mysql> drop table db1.t1;
10. 清空db1.t1数据库 drop database db1;
mysql> drop database db1;mysql> show databases;

任务6 MySQL数据库的备份与恢复
1.备份库
vim /etc/my.cnf# 添加skip-grant# 重启/etc/init.d/mysqld restart[root@lnmp mysql]# mysqldump -uroot -p123456 mysql > /tmp/mysql.sql

2. 恢复库
[root@lnmp mysql]# mysql -uroot -plinux mysql < /tmp/mysql.sql

3. 备份表
[root@lnmp mysql]# mysqldump -uroot -plinux mysql user > /tmp/user.sql

4. 恢复表
[root@lnmp mysql]# mysql -uroot -plinux mysql < /tmp/user.sql

5. 备份所有库
[root@lnmp mysql]# mysqldump -uroot -p123456 -A > /tmp/123.sql

6. 只备份表结构
[root@lnmp mysql]# mysqldump -uroot -p123456 -d mysql > /tmp/mysql.sql


若有收获,就点个赞吧
0 人点赞
