Git
一、什么是Git
Git 是一个开源的分布式版本控制系统,用于敏捷高效地处理任何或小或大的项目。
Git 是 Linus Torvalds 为了帮助管理 Linux 内核开发而开发的一个开放源码的版本控制软件。
Git 与常用的版本控制工具 CVS, Subversion 等不同,它采用了分布式版本库的方式,不必服务器端软件支持。
二、单机使用Git
1、安装
1.1安装
[root@localhost ~]# yum install -y git
1.2配置基本信息
[root@localhost ~]# git config —global user.name “zzx”
[root@localhost ~]# git config —global user.email “example@qq.com”
1.3初始化仓库
[root@localhost ~]# mkdir -p /data/gitroot
[root@localhost ~]# cd /data/gitroot/
[root@localhost gitroot]# git init
初始化空的 Git 版本库于 /data/gitroot/.git/
2.使用
2.1添加新文件
[root@localhost gitroot]# echo “hello word” >1.txt
[root@localhost gitroot]# git add 1.txt
[root@localhost gitroot]# git commit -m “add new file 1.txt”
[master(根提交) e93ba18] add new file 1.txt
1 file changed, 1 insertion(+)
create mode 100644 1.txt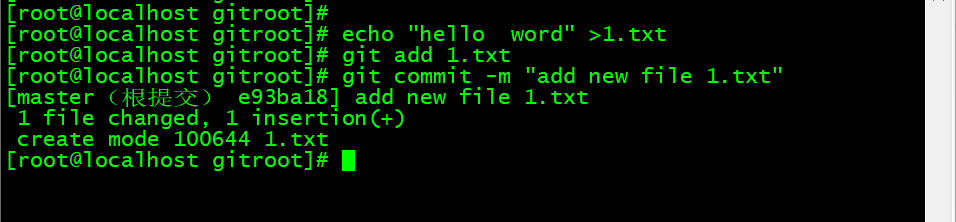
2.2查看当前仓库状态是否有改动的文件
[root@localhost gitroot]# echo ‘asafa’ >> 1.txt
[root@localhost gitroot]# git status
# 位于分支 master
# 尚未暂存以备提交的变更:
# (使用 “git add
# (使用 “git checkout —
#
# 修改: 1.txt
#
修改尚未加入提交(使用 “git add” 和/或 “git commit -a”)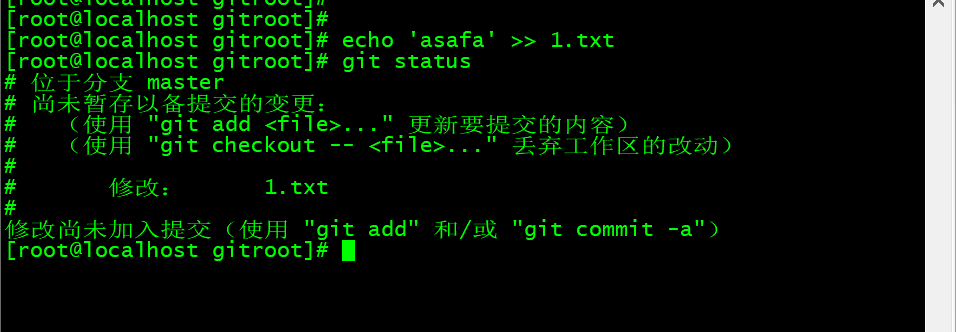
2.3对比本次修改了什么内容
git diff 1.txt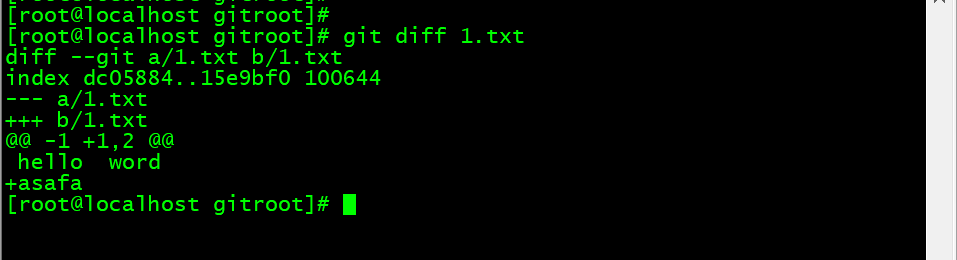
2.4版本回退
[root@localhost gitroot]# git add 1.txt
[root@localhost gitroot]# git commit -m “>> 1.txt”
[master 4530322] >> 1.txt
1 file changed, 1 insertion(+)
[root@localhost gitroot]# echo ‘123141’ >> 1.txt
[root@localhost gitroot]# git add 1.txt
[root@localhost gitroot]# git commit -m “echo 123141 >> 1.txt”
[master 6171600] echo 123141 >> 1.txt
1 file changed, 1 insertion(+)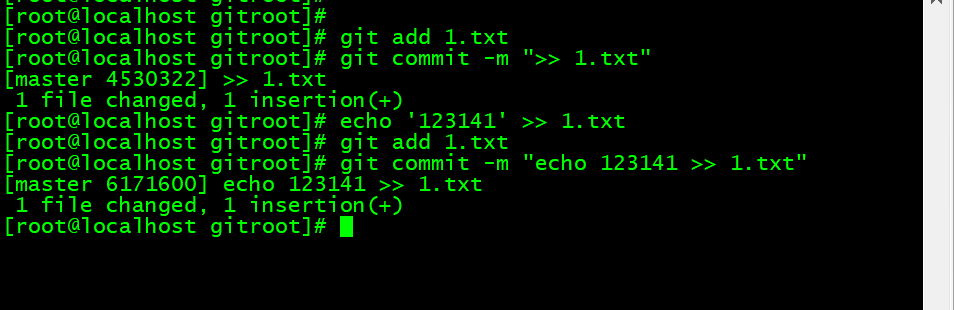
2.5查看日志
[root@localhost gitroot]# git log
2.6日志一行显示
[root@localhost gitroot]# git log —pretty=oneline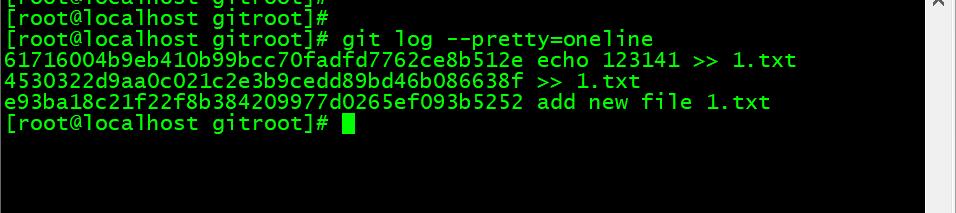
2.7版本回退
[root@localhost gitroot]# git reset —hard e93ba18
HEAD 现在位于 e93ba18 add new file 1.txt
[root@localhost gitroot]# cat 1.txt
hello word
2.8撤销修改
[root@localhost gitroot]# rm -f 1.txt
[root@localhost gitroot]# git checkout — 1.txt
[root@localhost gitroot]# ls
1.txt
[root@localhost gitroot]# cat 1.txt
hello word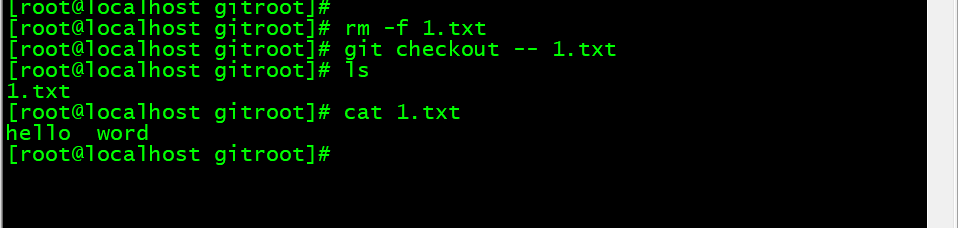
2.9 如果1.txt文件修改,add后但没有commit,再想回退到上一次提交的状态,
可以使用git reset HEAD 1.txt,再执行git checkout — 1.txt。
[root@localhost gitroot]# echo “1231224” >> 1.txt
[root@localhost gitroot]# git add 1.txt
[root@localhost gitroot]# git reset HEAD 1.txt
重置后撤出暂存区的变更:
M 1.txt
[root@localhost gitroot]# cat 1.txt
hello word
1231224
[root@localhost gitroot]# git checkout — 1.txt
[root@localhost gitroot]# cat 1.txt
hello word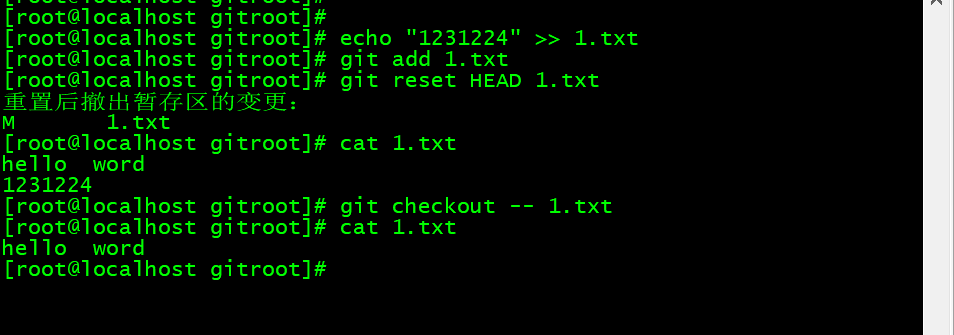
2.10查看所有历史版本
[root@localhost gitroot]# git reflog
2.11删除文件
[root@localhost gitroot]# echo -e “11111\n2222222222” > 2.txt
[root@localhost gitroot]# git add 2.txt
[root@localhost gitroot]# git commit -m ‘add 2.txt’
[master 54a0738] add 2.txt
1 file changed, 2 insertions(+)
create mode 100644 2.txt
[root@localhost gitroot]# git rm 2.txt
rm ‘2.txt’
[root@localhost gitroot]# git commit -m ‘rm 2.txt’
[master 701e3ea] rm 2.txt
1 file changed, 2 deletions(-)
delete mode 100644 2.txt
[root@localhost gitroot]# ls
1.txt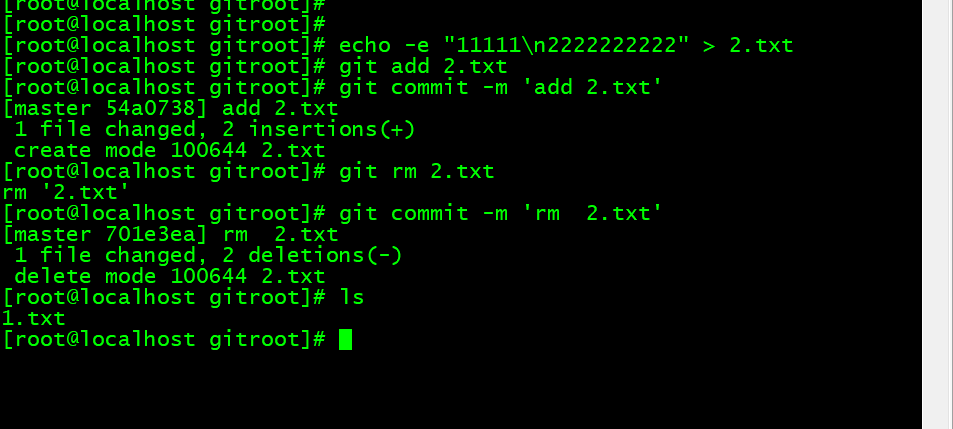
三、gitee
1.添加公钥
1.1公钥位置
[root@localhost ~]# ssh-keygen
三次回车
[root@localhost ~]# ls -a
. anaconda-ks.cfg .bash_profile .cshrc .ssh
.. .bash_logout .bashrc .gitconfig .tcshrc
[root@localhost ~]# cd .ssh/
[root@localhost .ssh]# ls
id_rsa id_rsa.pub
[root@localhost .ssh]# cat id_rsa.pub
ssh-rsa AAAAB3NzaC1yc2EAAAADAQABAAABAQCr1r0Wazpyk/vY4H0NoZrlMR8o+m54atSOoEtsx1/8h/FUi8ZbdOiRepQtIIaZhtqkjc3VChMwygimvZ9v0+ceMt2uqJuRhZbxLu5DmE59+WHJiF0QCOfHhSVPTx1g9qyU977C10BaMrXOwKrHA3KuUnf+ZK48U8MBWLEO7KAaNp50wleLhUUi/l4TfbN8KtsixLbyMgQBmyxF4KVduKKE9qL3FJXPnOFfDtlfnYkC2MQYNhRjGbD5xjqJMKHoPIQN6bNjB5F6uj1jinbAdIy1LB4s8+ezH02ReibuMzbuh725nmvpr7VMc9egB1QP2rT+F70IbK3fYxOJL+Pw/R5N root@localhost.localdomain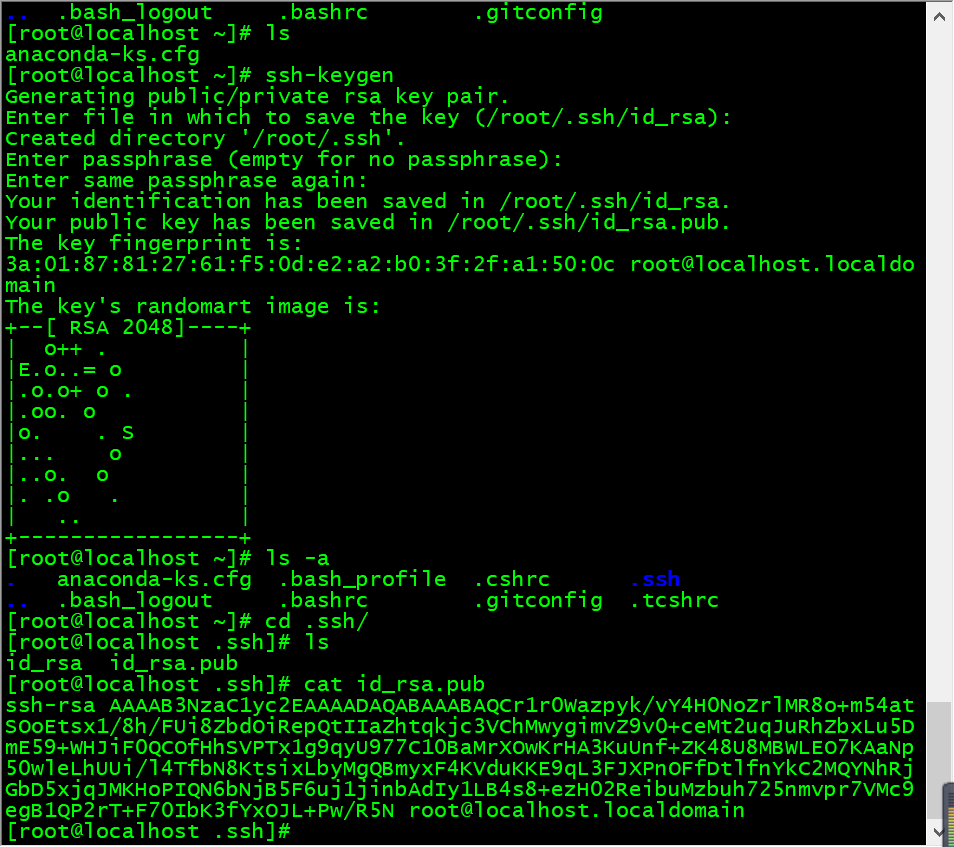
公钥网址:https://gitee.com/profile/sshkeys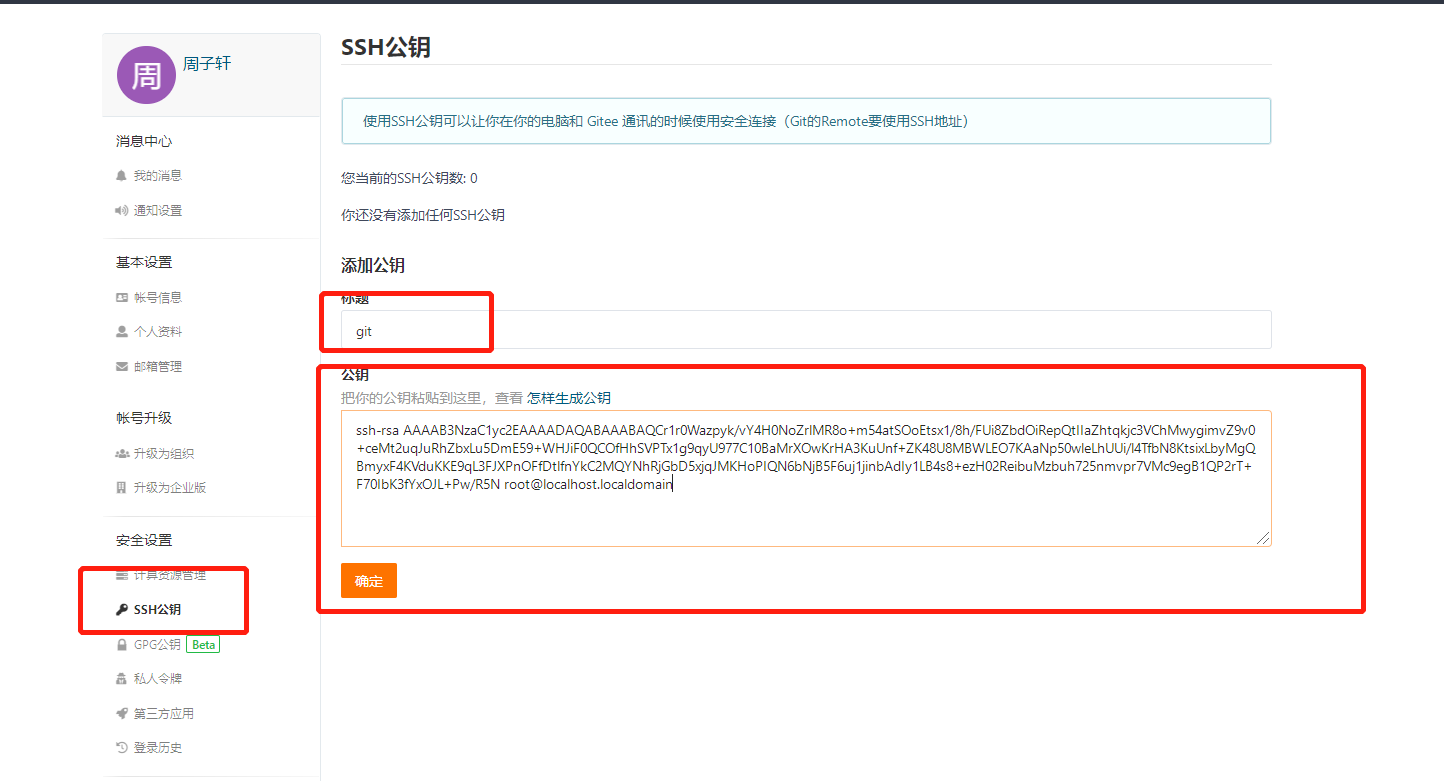
输入密码完成验证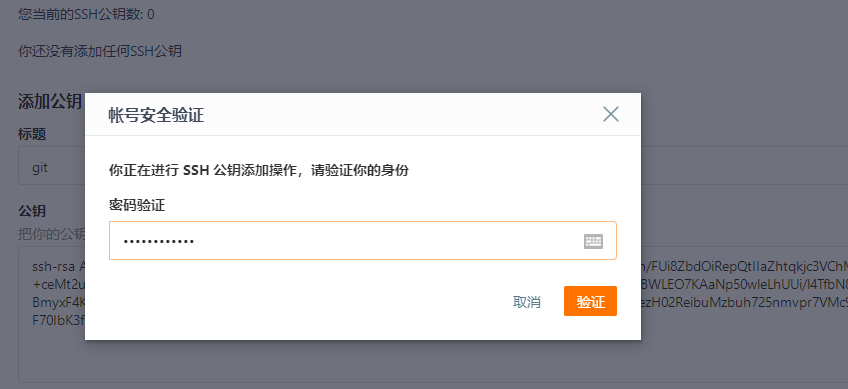

进入官网注册https://gitee.com/
2. 创建仓库
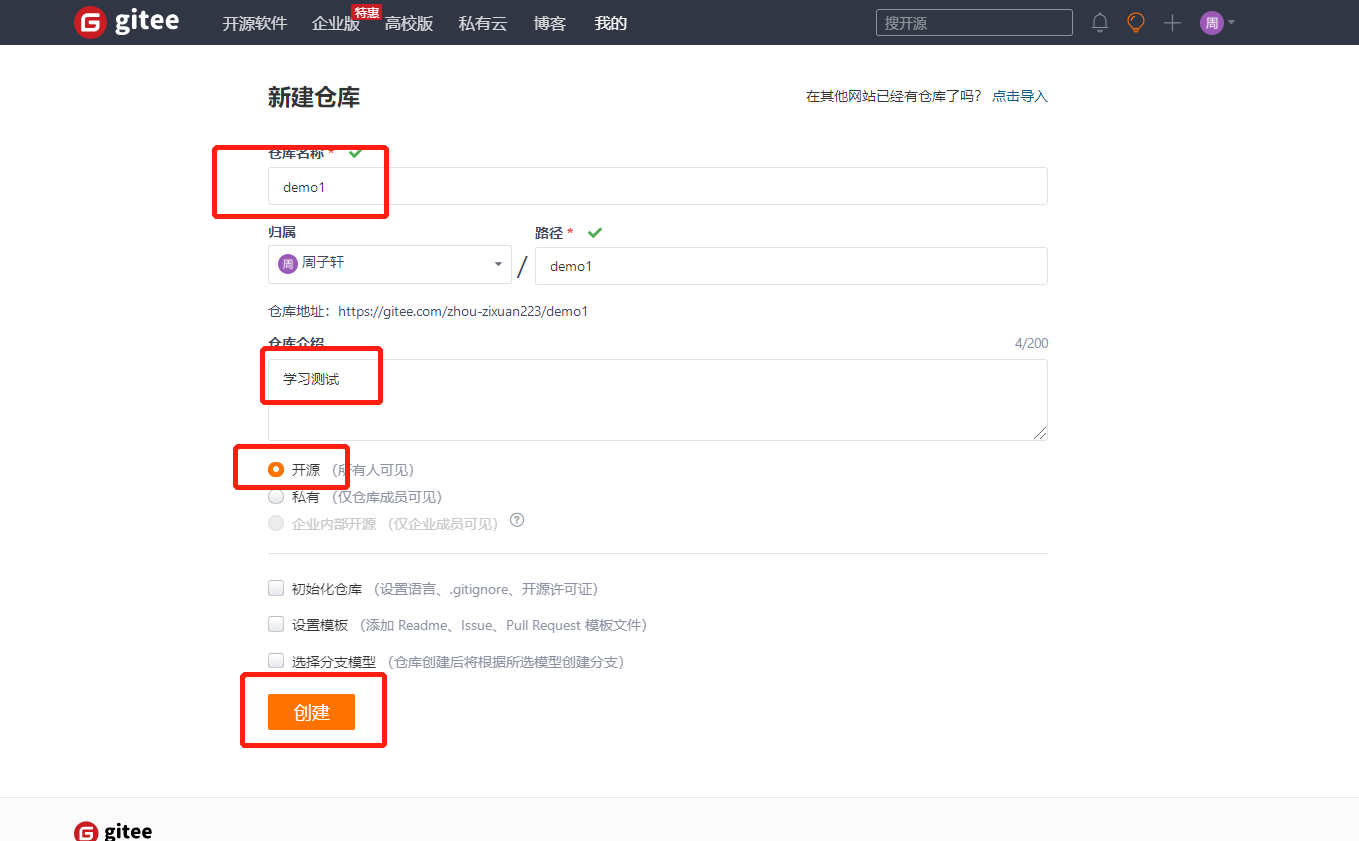
3. 创建仓库
[root@localhost ~]# cd /data/gitroot/
[root@localhost gitroot]# git remote add origin https://gitee.com/zhou-zixuan223/demo1.git
[root@localhost gitroot]# ls
1.txt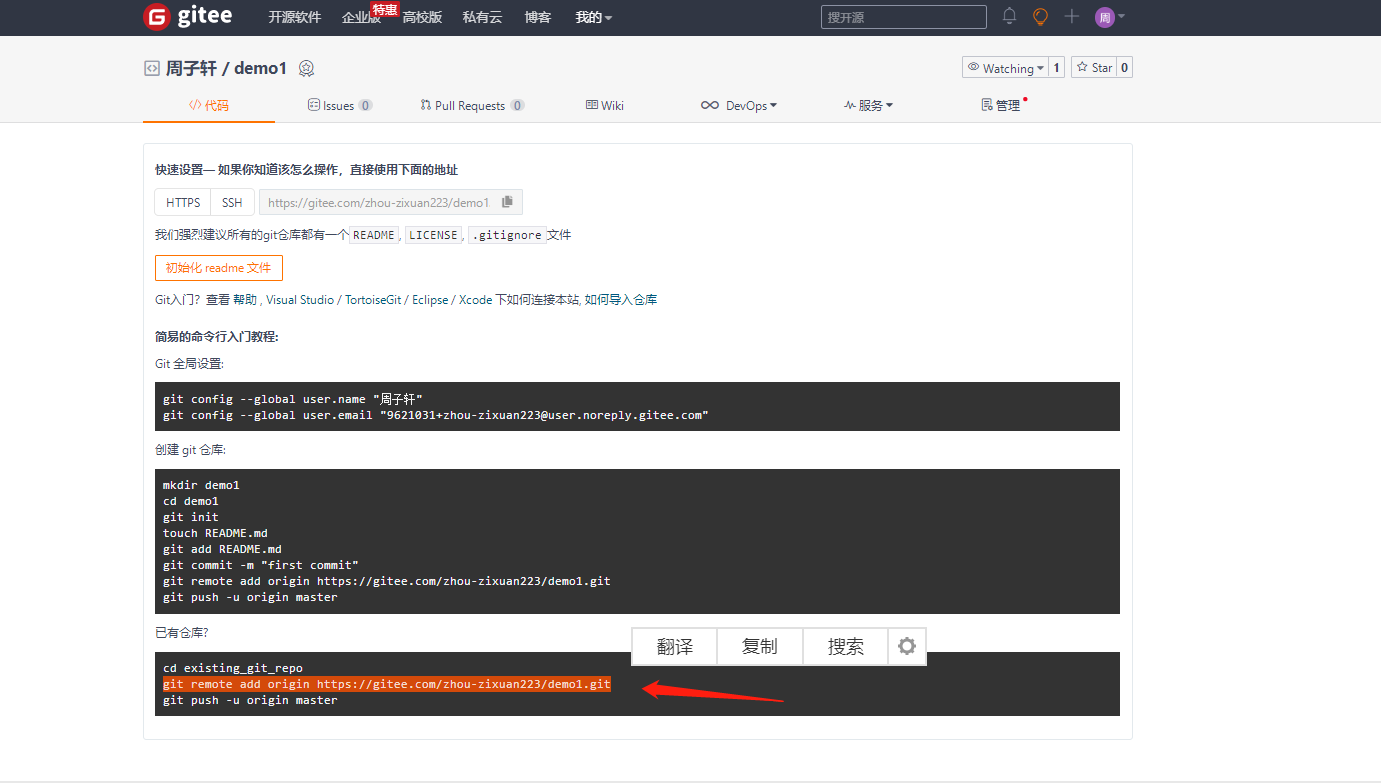
[root@localhost gitroot]# git push -u origin master
Username for ‘https://gitee.com‘: 17684745359
Password for ‘https://17684745359@gitee.com‘:
Counting objects: 7, done.
Compressing objects: 100% (4/4), done.
Writing objects: 100% (7/7), 531 bytes | 0 bytes/s, done.
Total 7 (delta 1), reused 0 (delta 0)
remote: Powered by GITEE.COM [GNK-6.0]
To https://gitee.com/zhou-zixuan223/demo1.git
* [new branch] master -> master
分支 master 设置为跟踪来自 origin 的远程分支 master。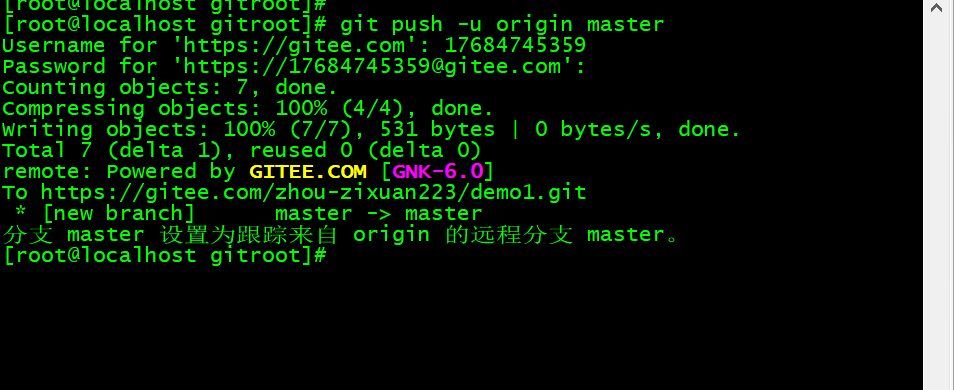
4.克隆远程仓库
[root@localhost gitroot]# cd /opt/
[root@localhost opt]# git clone https://gitee.com/zhou-zixuan223/demo1.git
正克隆到 ‘demo1’…
remote: Enumerating objects: 7, done.
remote: Counting objects: 100% (7/7), done.
remote: Compressing objects: 100% (4/4), done.
remote: Total 7 (delta 1), reused 0 (delta 0), pack-reused 0
Unpacking objects: 100% (7/7), done.
[root@localhost opt]# ls
demo1
[root@localhost opt]# cd demo1/
[root@localhost demo1]# ls -a
. .. 1.txt .git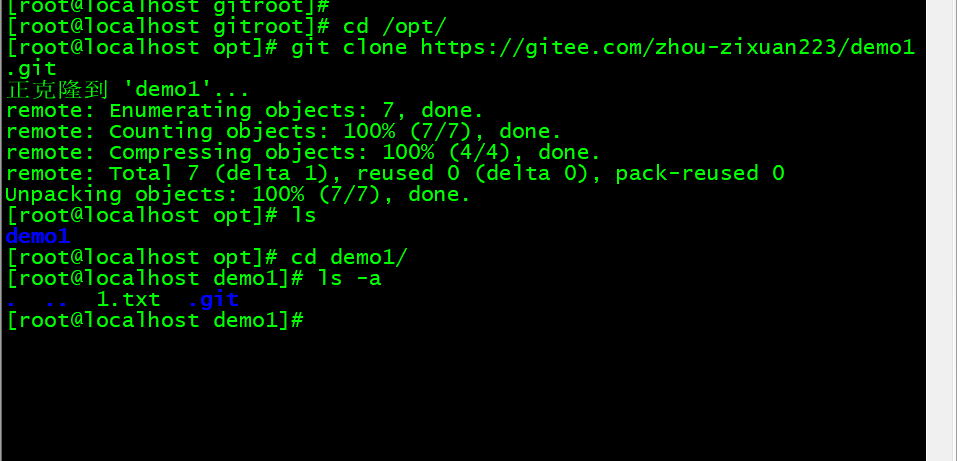
5. 推送远程服务端
[root@localhost demo1]# cd /data/gitroot/
[root@localhost gitroot]# ls
1.txt
[root@localhost gitroot]# echo “1231224” >> 2.sh
[root@localhost gitroot]# git add 2.sh
[root@localhost gitroot]# git commit -m “add 2.sh”
[master 9055c71] add 2.sh
1 file changed, 1 insertion(+)
create mode 100644 2.sh
[root@localhost gitroot]# git push
warning: push.default 未设置,它的默认值将会在 Git 2.0 由 ‘matching’
修改为 ‘simple’。若要不再显示本信息并在其默认值改变后维持当前使用习惯,
进行如下设置:
git config —global push.default matching
若要不再显示本信息并从现在开始采用新的使用习惯,设置:
git config —global push.default simple
参见 ‘git help config’ 并查找 ‘push.default’ 以获取更多信息。
(’simple’ 模式由 Git 1.7.11 版本引入。如果您有时要使用老版本的 Git,
为保持兼容,请用 ‘current’ 代替 ‘simple’ 模式)
Username for ‘https://gitee.com‘: 17684745359
Password for ‘https://17684745359@gitee.com‘:
Counting objects: 4, done.
Compressing objects: 100% (2/2), done.
Writing objects: 100% (3/3), 265 bytes | 0 bytes/s, done.
Total 3 (delta 0), reused 0 (delta 0)
remote: Powered by GITEE.COM [GNK-6.0]
To https://gitee.com/zhou-zixuan223/demo1.git
701e3ea..9055c71 master -> master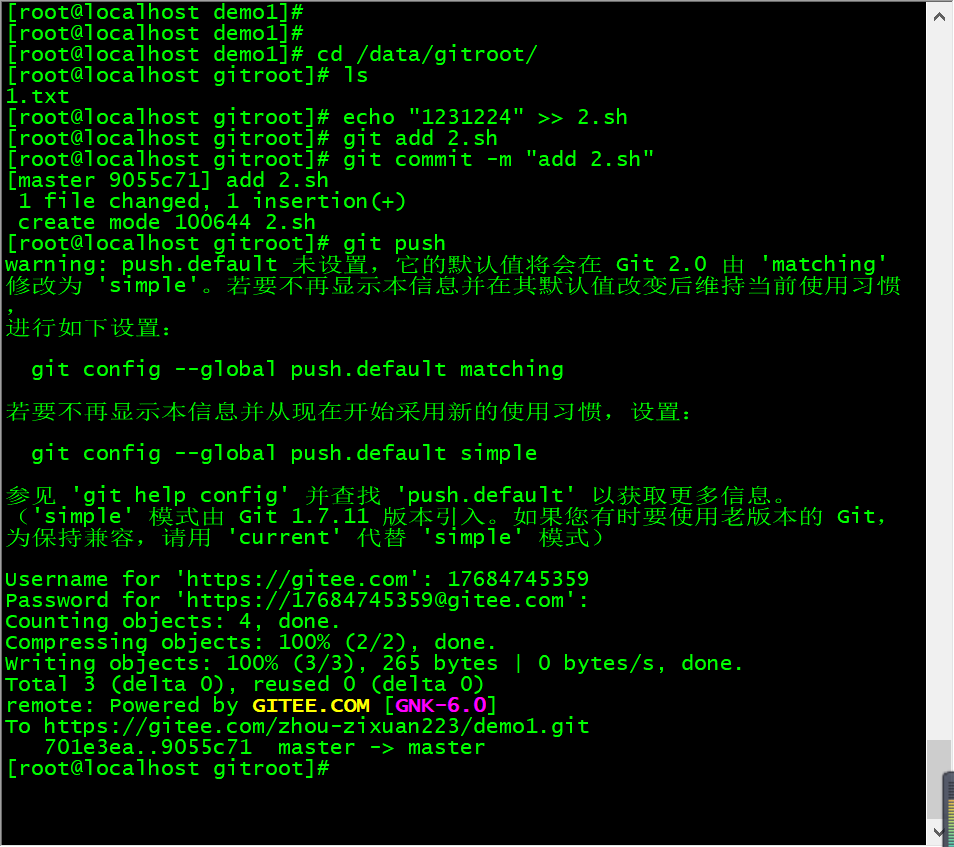
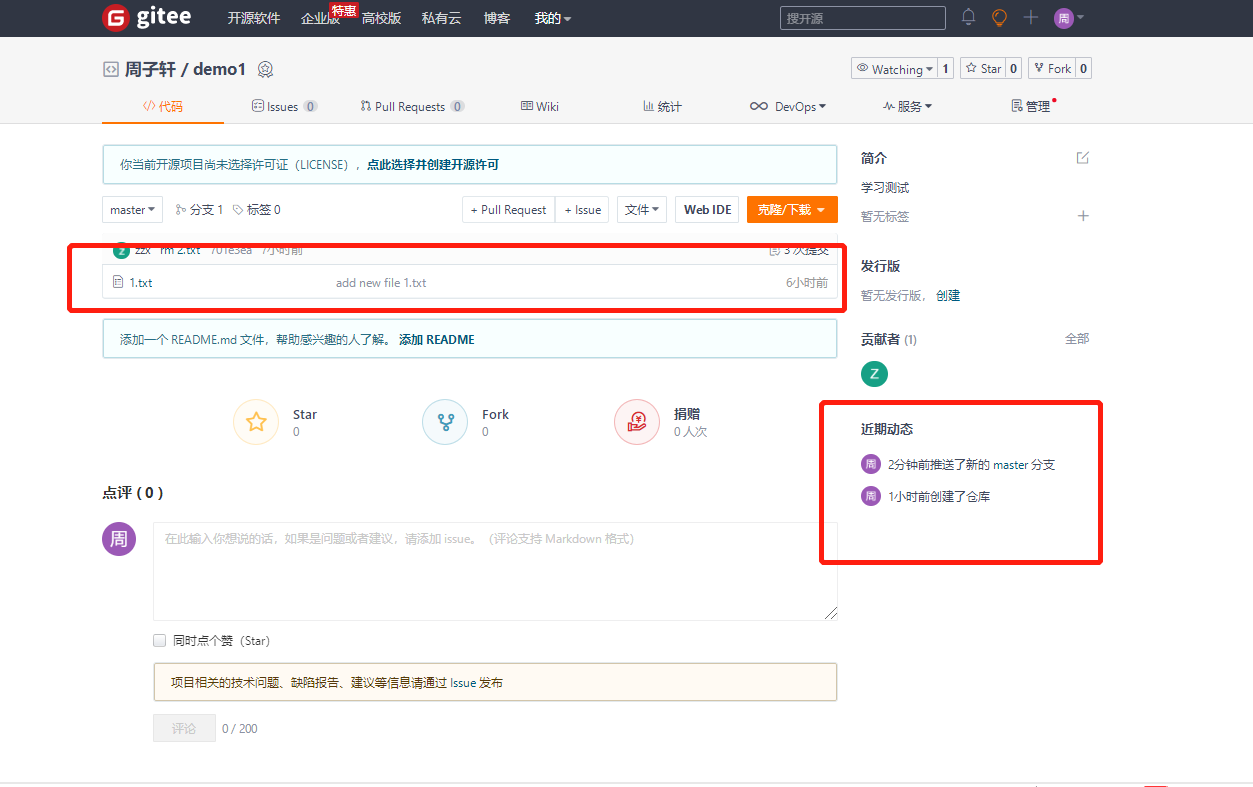
可以看到新的文件。
6. Git 分支
几乎所有的版本控制系统都以某种形式支持分支。 使用分支意味着你可以把你的工作从开发主线上分离开来,以免影响开发主线。 在很多版本控制系统中,这是一个略微低效的过程——常常需要完全创建一个源代码目录的副本。对于大项目来说,这样的过程会耗费很多时间。
有人把 Git 的分支模型称为它的“必杀技特性”,也正因为这一特性,使得 Git 从众多版本控制系统中脱颖而出。 为何 Git 的分支模型如此出众呢? Git 处理分支的方式可谓是难以置信的轻量,创建新分支这一操作几乎能在瞬间完成,并且在不同分支之间的切换操作也是一样便捷。 与许多其它版本控制系统不同,Git 鼓励在工作流程中频繁地使用分支与合并,哪怕一天之内进行许多次。 理解和精通这一特性,你便会意识到 Git 是如此的强大而又独特,并且从此真正改变你的开发方式。
7. 分支创建切换
7.1查看项目
[root@localhost gitroot]# ls -a 
7.2查看所有分支
[root@localhost gitroot]# git branch
master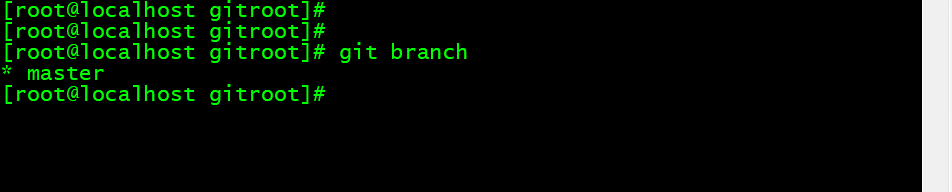
7.3创建分支
[root@localhost gitroot]# git branch zzx
7.4切换分支
[root@localhost gitroot]# git checkout zzx
切换到分支 ‘zzx’
[root@localhost gitroot]# git branch
master
zzx
[root@localhost gitroot]# ls
1.txt 2.sh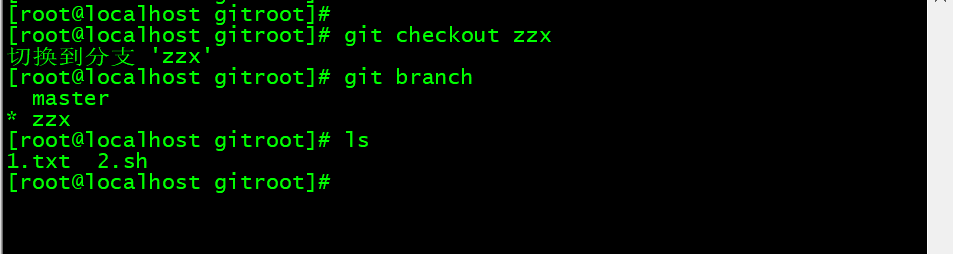
7.5在新分支下创建一个文件,提交
[root@localhost gitroot]# echo “12141” > 123.txt
[root@localhost gitroot]# git add 123.txt
[root@localhost gitroot]# git commit -m “add 123.txt”
[zzx a15fe2f] add 123.txt
1 file changed, 1 insertion(+)
create mode 100644 123.txt
[root@localhost gitroot]# ls
123.txt 1.txt 2.sh
[root@localhost gitroot]# git checkout master
切换到分支 ‘master’
[root@localhost gitroot]# ls
1.txt 2.sh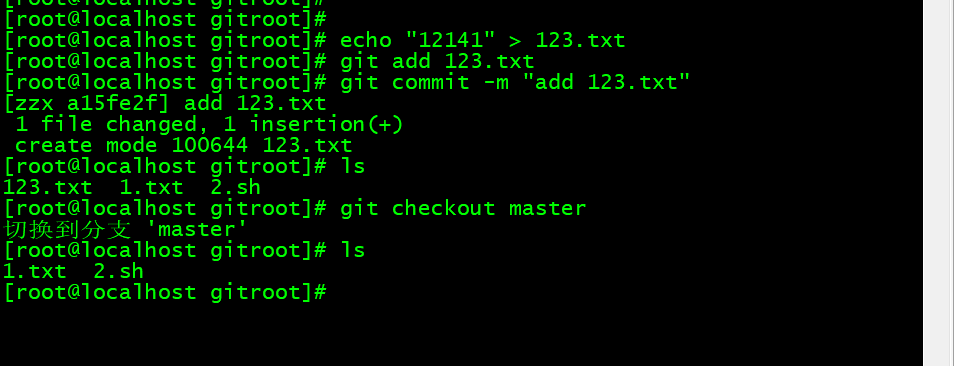
8. 分支的合并
如果master分支和lsk分支都对2.txt进行了编辑,当合并时会提示冲突,需先解决冲突才可以继续合并。
解决冲突的方法是在master分支下,编辑2.txt,改为lsk分支里面2.txt的内容。然后提交2.txt,再合并lsk分支。
但是这样有一个问题,万一master分支更改的内容是我们想要的呢?此时可以编辑2.txt内容,改为想要的,然后提交。切换到lsk分支,然后合并master分支到lsk分支即可(倒着合并)。
合并分支有一个原则,那就是要把最新的分支合并到旧的分支。也就是说merge后面跟的分支名字一定是最新的分支。
[root@localhost gitroot]# git checkout master
已经位于 ‘master’
[root@localhost gitroot]# ls
1.txt 2.sh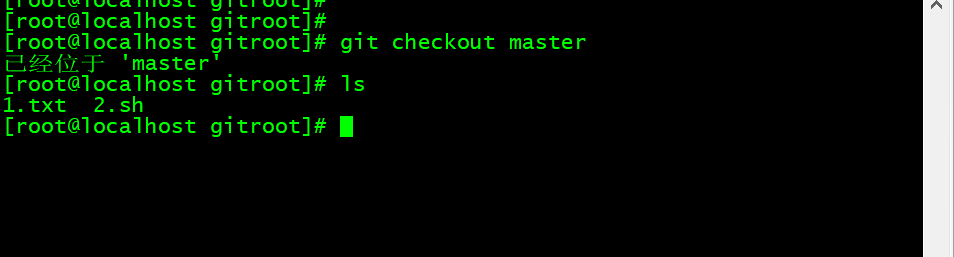
8.2合并分支,将wsw分支合并到 master。
[root@localhost gitroot]# git merge zzx
更新 9055c71..a15fe2f
Fast-forward
123.txt | 1 +
1 file changed, 1 insertion(+)
create mode 100644 123.txt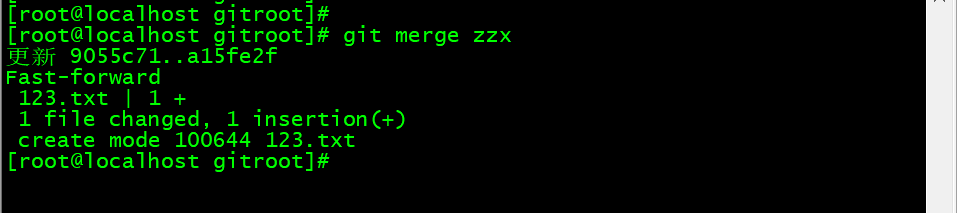
9. 分支删除
9.1如果分支没有合并,删除之前会提示,那就不合并,强制删除
[root@localhost gitroot]# git branch -d zzx
已删除分支 zzx(曾为 a15fe2f)。
9.2强制删除
[root@localhost gitroot]# git branch -D zzx
10. 分支使用原则
① master分支是非常重要的,线上发布代码用这个分支,平时我们开发代码不要在这个分支上。
②创建一个dev分支,专门用作开发,只有当发布到线上之前,才会把dev分支合并到master。
③开发人员应该在dev的基础上再分支成个人分支,个人分支(在自己PC上)里面开发代码,然后合并到dev分支。

11. 远程分支
本地新建的分支如果不推送到远程,对其他人就是不可见的。
查看远程分支命令为git ls-remote origin,可以看到所有分支。
[root@localhost gitroot]# git ls-remote origin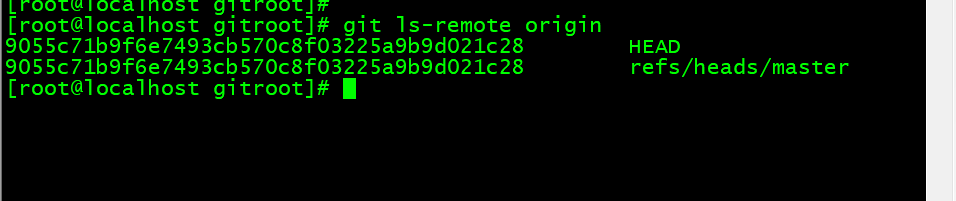
对于git push分支分两种情况:
①当本地分支和远程分支一致时
git push会把所有本地分支的变更一同推送到远程,如果想只推送一个分支,使用git push origin branch-name命令。
②当本地分支比远程分支多
默认git push只推送本地和远程一致的分支,想要把多出来的本地分支推送到远程时,使用git push origin branch-name命令如果推送失败,先用git pull抓取远程的新提交。
git clone的时候默认只把master分支克隆下来。如果想把所有分支都克隆下来,需要手动创建,在本地创建和远程分支对应的分支,使用git checkout -b branch-name origin/branch-name命令,需要注意本地和远程分支的名称要一致。
12.Git标签与别名
标签
标签类似于快照功能,可以给版本库打一个标签,记录某个时刻库的状态。也可以随时恢复到该状态。
[root@localhost gitroot]# git checkout master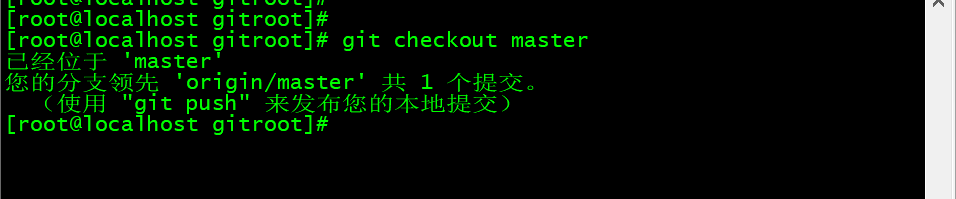
12.1给master分支打一个标签
[root@localhost gitroot]# git tag v1.0
12.2查看标签信息
[root@localhost gitroot]# git show v1.0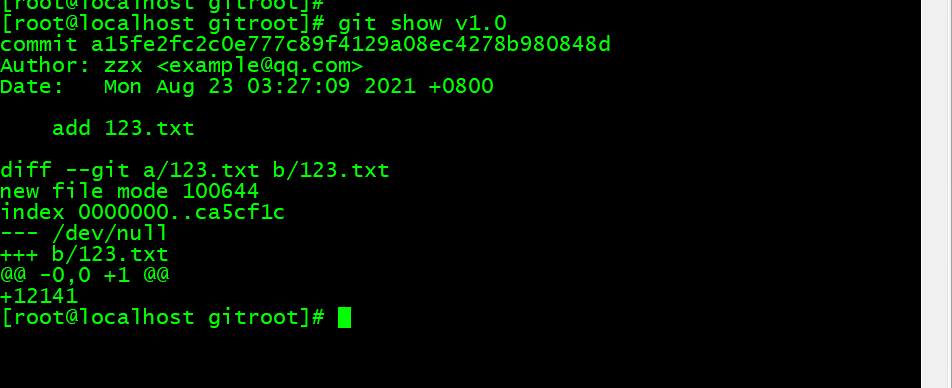
12.3查看所有的标签
[root@localhost gitroot]# git tag
v1.0
Tag是针对commit来打标签的,所以可以针对历史的commit来打tag
12.4查看历史的commit
[root@localhost gitroot]# git log —pretty=oneline —abbrev-commit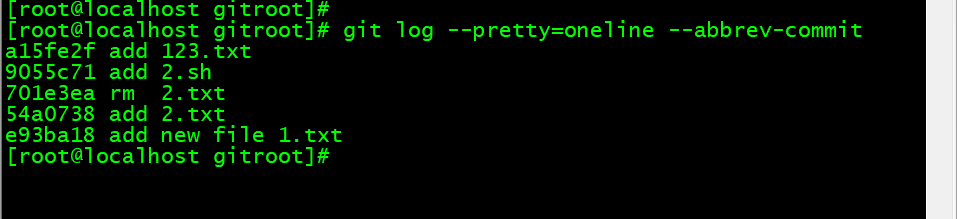
12.5针对历史的commit打标签
[root@localhost gitroot]# git tag v0.9 701e3ea
12.6可以对标签进行描述
[root@localhost gitroot]# git tag -a v0.8 -m “add tag! “ e93ba18
[root@localhost gitroot]# git tag
v0.8
v0.9
v1.0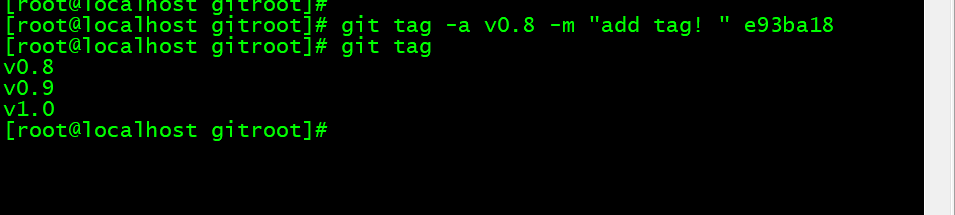
12.7删除标签
[root@localhost gitroot]# git tag -d v0.8
已删除 tag ‘v0.8’(曾为 a606993)
[root@localhost gitroot]# git tag
v0.9
v1.0
12.8推送指定标签
[root@localhost gitroot]# git push origin v1.0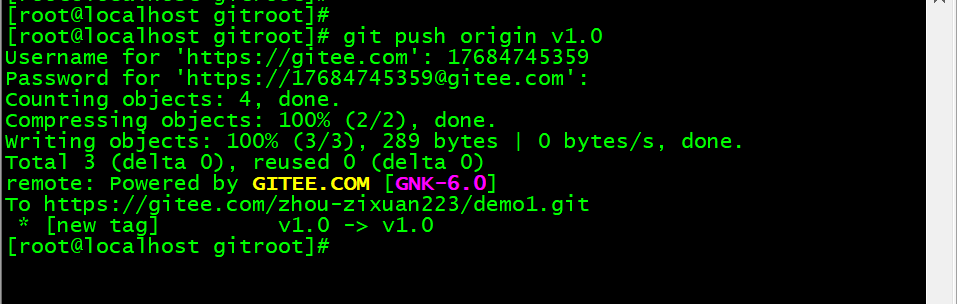
12.9推送所有标签
[root@localhost gitroot]# git push —tag origin
12.10本地远程都删除标签
[root@localhost gitroot]# git tag v1.0 -d
已删除 tag ‘v1.0’(曾为 a15fe2f)
[root@localhost gitroot]# git push origin :refs/tags/v1.0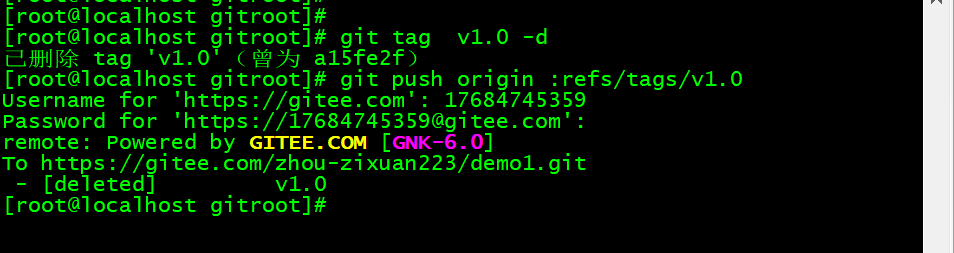
13. Git别名
别名和Linux里的alias类似
13.1设置别名
[root@localhost gitroot]# git config —global alias.ci commit
[root@localhost gitroot]# git config —global alias.co checkout
[root@localhost gitroot]# git config —global alias.br branch
[root@localhost gitroot]# git config —list |grep alias
alias.ci=commit
alias.co=checkout
alias.br=branch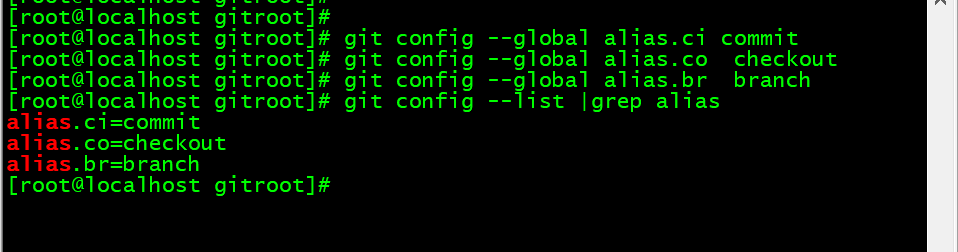
13.2使用别名
[root@localhost gitroot]# git br
master
13.3小技巧 设置log
[root@localhost gitroot]# git config —global alias.lg “log —color —graph —pretty=format:’%Cred%h%Creset -%C(yellow)%d%Creset %s %Cgreen(%cr) %C(bold blue)<%an>%Creset’ —abbrev-commit”
13.4再查看日志
[root@localhost gitroot]# git lg
a15fe2f - (HEAD, master) add 123.txt (2 小时之前)
9055c71 - (origin/master) add 2.sh (2 小时之前)
54a0738 - add 2.txt (3 小时之前) 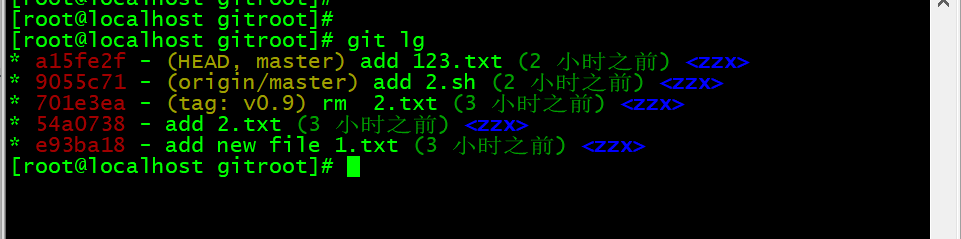
13.5取消别名
[root@localhost gitroot]# git config —global —unset alias.br

若有收获,就点个赞吧
0 人点赞
