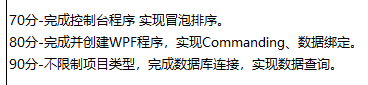
知识点
来源:http://www.360doc.com/content/12/0618/20/466494_219058999.shtml
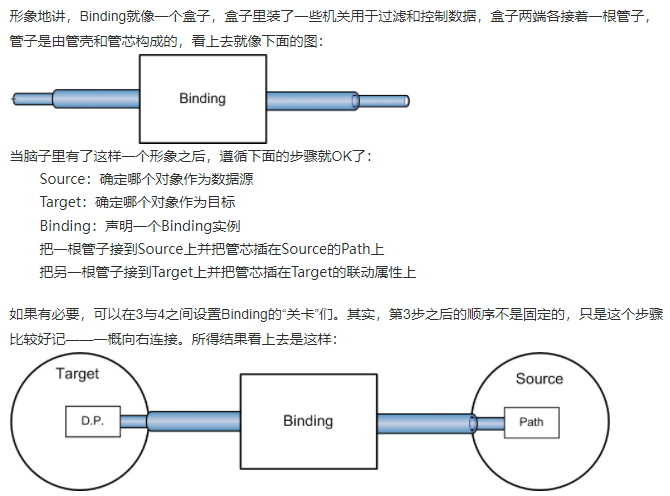
Data Binding不应该再叫“数据绑定”,应该称为“数据关联”,意思是说,在数据和界面(或其他数据)之间具有某些关系和联动。 具体到WPF中,Binding又是怎样一种关系和联动呢?就像我们的大标题一样——Binding就是数据的“绿色通道”。“绿色通道”代表着“直接”和“快速”,Binding就是这样。

绿色通道上的“关卡”: 话说眼看就要到奥运会了,北京的各大交通要道上也都加强了安检力度。微软同学也给Binding这条“绿色通道”准备了几道很实用的“关卡”。这些“关卡”的启闭与设置是通过Binding的属性来完成的。其中常用的有:
1. <font style="color:rgb(0, 0, 255);">数据源(Data Source,简称Source):</font><font style="color:rgb(47, 47, 47);"> 顾名思义,它是保有数据的实体、是数据的来源、源头。把谁当作数据源完全由程序员来决定——只要你想把它当做数据核心来使用。它可以是一个UI元素、某个类的实例,也可以是一个集合(关于对集合的绑定,非常重要,专门用一篇文章来讨论之)。</font>2. <font style="color:rgb(0, 0, 255);">路径(Path):</font><font style="color:rgb(47, 47, 47);"> 数据源作为一个实体可能保有着很多数据,你具体关注它的哪个数值呢?这个数值就是Path。就上面的例子而言,slider1是Source,它拥有很多数 据——除了Value之外,还有Width、Height等,但都不是我们所关心的——所以,我们把Path设为Value。</font>3. <font style="color:rgb(0, 0, 255);">目标(Target):</font><font style="color:rgb(47, 47, 47);"> 数据将传送到哪里去?这就是数据的目标了。上面这个例子中,textBox1是数据的Target。有一点需要格外注意:Target一定是数据的接收者、被驱动者,但它不一定是数据的显示者——也许它只是数据联动中的一环——后面我们给出了例子。</font>4. <font style="color:rgb(0, 0, 255);">关联(Binding):</font><font style="color:rgb(47, 47, 47);"> 数据源与目标之间的通道。正是这个通道,使Source与Target之间关联了起来、使数据能够(直接或间接地)驱动界面!</font>5. <font style="color:#1D39C4;">设定关联(Set Binding)</font><font style="color:rgb(47, 47, 47);">:为Target指定Binding,并将Binding指向Target的一个属性,完成数据的“端对端”传输。</font>
- <font style="color:rgb(47, 47, 47);">如果你想把“绿色通道”限制为“单行道”,那就设置Binding实例的Mode属性,它是一个BindingMode类型 的枚举值,其中包含了TwoWay、OneWay和OneWayToSource几个值。上面这个例子中,默认地是TwoWay,所以才会有双向的数据传 递。</font>- <font style="color:rgb(47, 47, 47);">如果用户提出只要textBox1的文本改变slider1的滑块立刻响应,那就设置Binding的 UpdateSourceTrigger属性。它是一个UpdateSourceTrigger类型枚举值,默认值是 UpdateSourceTrigger.LostFocus,所以才会在移走鼠标焦点的时候更新数据。如果把它设置为 UpdateSourceTrigger.PropertyChanged,那么Target被关联的属性只要一改变,就立刻传回给Source——我们 要做的仅仅是改了一个单词,而WinForm程序员这时候正头疼呢,因为他需要去把代码搬到另一个事件响应函数中去。</font>- <font style="color:rgb(47, 47, 47);">如果Binding两端的数据类型不一致怎么办?没关系,你可以设置Binding的Converter属性,具体内容在下篇文章中讨论。</font>- <font style="color:rgb(47, 47, 47);">如果数据中有“易燃易爆”的不安全因素怎么办?OK,可以设置Binding的ValidationRules,为它加上一组“安检设施”(同样也在下篇文中讨论)。</font>
在C#代码中设置Binding
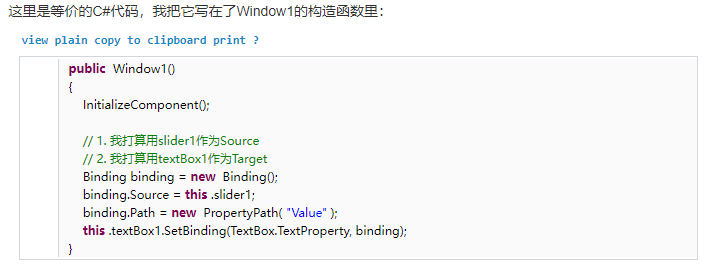
有意思的是Source端的操作,接管子和插管芯分两步,而Target端却是在SetBinding方法中一步完成。
注意:TextBox.TextProperty就是一个Dependency Property的庐山真面目。
上面的代码稍有简化的余地,就是把Path的设定转移到Binding的构造中去。
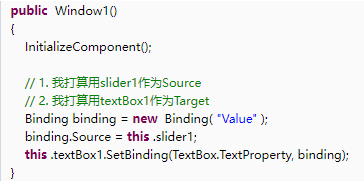
这样做的好处就是——随便你给Binding指定一个Source,只要这个Source有”Value”这个属性,binding就会自动提取它的值并传输给Target端。

一个提示:如果Source碰巧是一个UI元素,那么也可以将binding.Source = this.slider1; 改写成binding.ElementName = “slider1”; 或者
binding.ElementName = this.slider1.Name;
自定义数据源在日常项目中,经常需要自己写一个类,并且拿它的实例当作数据源。如何使得一个类成为合格的数据源?
要诀就是:
1、为这个类定义一些Property,相当于为Binding提供Path;
2、让这个类实现INotifyPropertyChanged接口。实现这个接口的目的就是当Source的属性值改变后通知Binding(否则人家怎么知道源头的数据变了并且进行联动协同呢?),从而让Binding把数据传输给Target——本质上还是使用事件机制来做,只是掩盖在底层,不用程序员去写event handler了。

此时,你可以尝试使用Student类的实例作为数据源了。
我自己的实际操作演示
首先是三部分代码展示:
using System;using System.Collections.Generic;using System.ComponentModel;using System.Linq;using System.Text;using System.Threading.Tasks;namespace WPF_Binding{public class Student : INotifyPropertyChanged{public event PropertyChangedEventHandler PropertyChanged;private int _id;public int Id{get{return _id;}set{_id = value;if(this.PropertyChanged != null){this.PropertyChanged.Invoke(this, new PropertyChangedEventArgs("Id"));//通知Binding是"Id"这个属性的值变了}}}private string _name;public string Name{get{return _name;}set{_name = value;if(this.PropertyChanged != null){this.PropertyChanged.Invoke(this, new PropertyChangedEventArgs("Name"));}}}public Student(int id,string name){this.Id = id;this.Name = name;}public void Change(string name,int id){this.Name = name;this.Id = id;}}}
using System;using System.Collections.Generic;using System.Linq;using System.Text;using System.Threading.Tasks;using System.Windows;using System.Windows.Controls;using System.Windows.Data;using System.Windows.Documents;using System.Windows.Input;using System.Windows.Media;using System.Windows.Media.Imaging;using System.Windows.Navigation;using System.Windows.Shapes;namespace WPF_Binding{/// <summary>/// MainWindow.xaml 的交互逻辑/// </summary>public partial class MainWindow : Window{Student stu = new Student(123, "张三");public MainWindow(){InitializeComponent();Binding binding = new Binding("Name");binding.Source = stu;binding.Mode = BindingMode.TwoWay;binding.UpdateSourceTrigger = UpdateSourceTrigger.PropertyChanged;this.textbox1.SetBinding(TextBox.TextProperty, binding);}private void button1_Click(object sender, RoutedEventArgs e){stu.Change("李四",456);}}}
其实可以直接在下面这个里面直接进行binding,只需要将
里面的 Text=”{Binding ElementName=stu,Path=Name}” 就可以了。
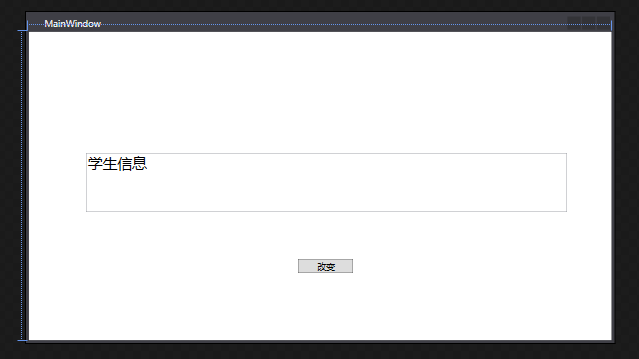
<Window x:Class="WPF_Binding.MainWindow"xmlns="http://schemas.microsoft.com/winfx/2006/xaml/presentation"xmlns:x="http://schemas.microsoft.com/winfx/2006/xaml"xmlns:d="http://schemas.microsoft.com/expression/blend/2008"xmlns:mc="http://schemas.openxmlformats.org/markup-compatibility/2006"xmlns:local="clr-namespace:WPF_Binding"mc:Ignorable="d"Title="MainWindow" Height="450" Width="800"><Grid><TextBox x:Name="textbox1" HorizontalAlignment="Left" Height="80" Margin="77,165,0,0" TextWrapping="Wrap" Text="学生信息" VerticalAlignment="Top" Width="655" FontSize="20"/><Button x:Name="button1" Content="改变" HorizontalAlignment="Left" Margin="366,309,0,0" VerticalAlignment="Top" Width="75" IsDefault="True" Click="button1_Click"/></Grid></Window>
图形化界面设计:
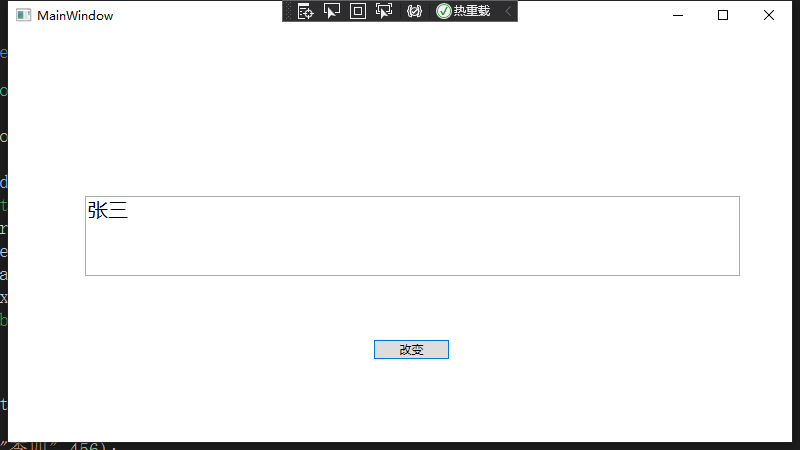
运行效果:
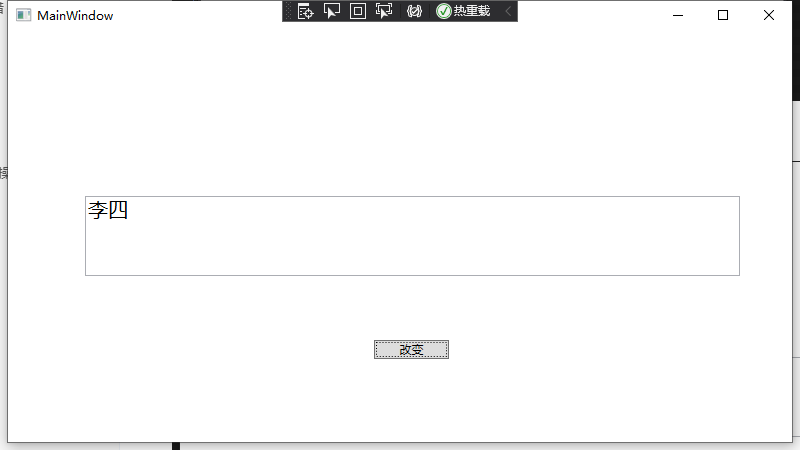
点击改变:

若有收获,就点个赞吧
0 人点赞
