介绍
主要介绍:useEventListener(管理 addEventListener)、useHover(鼠标悬停状态)、useFullscreen(全屏功能)、useMouse(获取鼠标位置)、useScroll(获取元素滚动的位置)、useResponsive(响应式信息)、useTextSelection(监听选取的位置及内容)、useSize(监听屏幕尺寸)
具体的项目展示:Domesy/Dom
管理 addEventLinstener
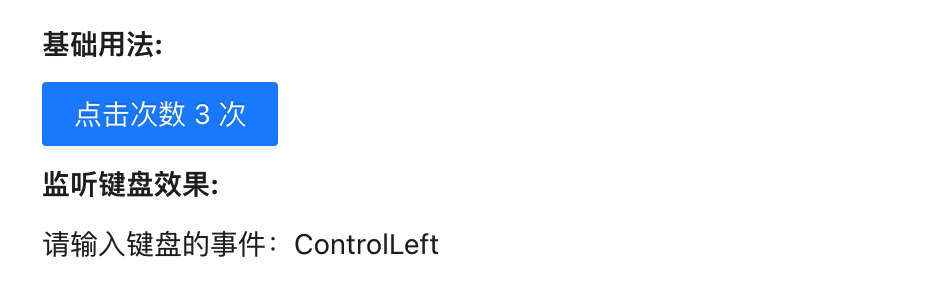
- useEventListener:监听事件
useEventListener(事件, 监听的函数, {target: ref (DOM节点或者是ref对象)});
代码演示
详细代码
```typescript import React, { useRef, useState } from ‘react’; import { Button } from ‘antd’; import { useEventListener } from ‘ahooks’;
const Mock: React.FC
= () => { const [value, setValue] = useState(0); const [value1, setValue1] = useState(‘’); const clickHandler = () => {
setValue(value + 1);
};
const ref = useRef
(null); useEventListener(‘click’, clickHandler, { target: ref }); const keyDownHandler = (ev: KeyboardEvent) => { setValue1(ev.code);
};
useEventListener(‘keydown’, keyDownHandler); return (
<><div style={{fontWeight: 'bolder', marginBottom: 8}}>基础用法:</div><Button type='primary' ref={ref}>点击次数 { value } 次</Button><div style={{fontWeight: 'bolder', margin:'8px 0'}}>监听键盘效果:</div><p>请输入键盘的事件:{value1}</p></>
); };
export default Mock;
<a name="n8pYX"></a>## 鼠标悬停- **useHover:一个用于追踪 dom 元素是否有鼠标悬停的 Hook。**- **可传入DOM节点或者Ref,并且可以有进入的方法和离开的方式**<a name="Oj1iU"></a>### 代码演示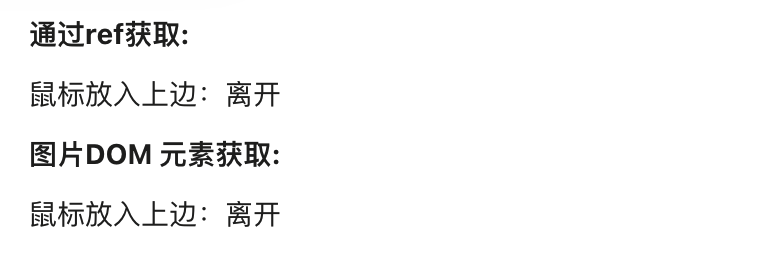<a name="bbqEc"></a>### 详细代码```typescriptimport React, { useRef, useState } from 'react';import { Button } from 'antd';import { useHover } from 'ahooks';const Mock: React.FC<any> = () => {const ref = useRef<any>(null);const isHovering = useHover(ref);const isHovering1 = useHover(() => document.getElementById('hover-div'), {onEnter: () => {message.info('进入的时候触发');},onLeave: () => {message.info('离开的时候触发');},});return (<div><div ref={ref} style={{fontWeight: 'bolder', marginBottom: 8}}>通过ref获取:</div><div ref={ref}>鼠标放入上边:{isHovering ? '停留' : '离开'} </div><div style={{fontWeight: 'bolder', margin:'8px 0'}}>图片DOM 元素获取:</div><div id="hover-div">鼠标放入上边:{isHovering1 ? '停留' : '离开'}</div></div>);};export default Mock;
DOM全屏
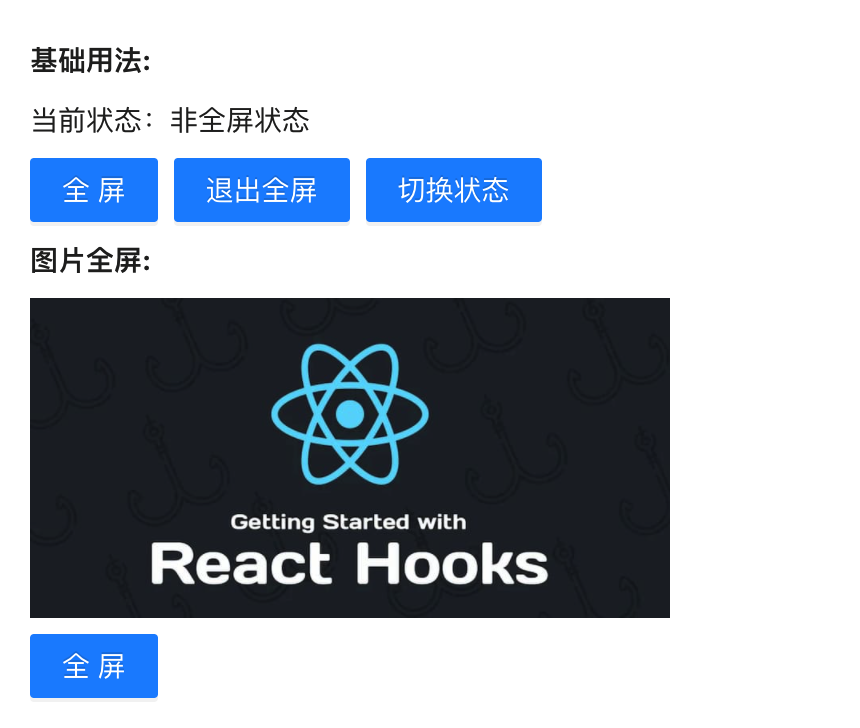
- useFullscreen:主要包含 isFullscreen(是否全屏)、setFull(设置全屏)、exitFull(退出全屏)、toggleFull(切换全屏)的操作
- 使用:const [isFullscreen, { setFull, exitFull, toggleFull }] = useFullScreen(target, options?:Options);
- 可以是DOM节点,或者是ref
代码演示
详细代码
import React, { useRef, useState } from 'react';import { Button } from 'antd';import { useFullscreen } from 'ahooks';const Mock: React.FC<any> = () => {const ref = useRef<any>(null);const [isFullscreen, { setFull, exitFull, toggleFull }] = useFullscreen(ref);const [, { setFull: setFullImg, exitFull: exitFullImg, toggleFull: toggleFullImg }] = useFullscreen(() => document.getElementById('fullscreen-img'));return (<div><div ref={ref} style={{ background: 'white' }}><div style={{fontWeight: 'bolder', marginBottom: 8}}>基础用法:</div><div>当前状态:{isFullscreen ? '全屏状态' : '非全屏状态'} </div><div style={{marginTop: 8, display: 'flex', justifyContent: 'flex-start'}}><Button type='primary' style={{marginRight: 8}} onClick={setFull}>全屏</Button><Button type='primary' style={{marginRight: 8}} onClick={exitFull}>退出全屏</Button><Button type='primary' onClick={toggleFull}>切换状态</Button></div></div><div style={{fontWeight: 'bolder', margin:'8px 0'}}>图片全屏:</div><img id="fullscreen-img" src={'https://ahooks.js.org/static/react-hooks.dd0f9d30.jpg'} style={{ width: 320 }} alt="" /><div style={{marginTop: 8, display: 'flex', justifyContent: 'flex-start'}}><Button type='primary' style={{marginRight: 8}} onClick={setFullImg}>全屏</Button></div></div>);};export default Mock;
鼠标位置
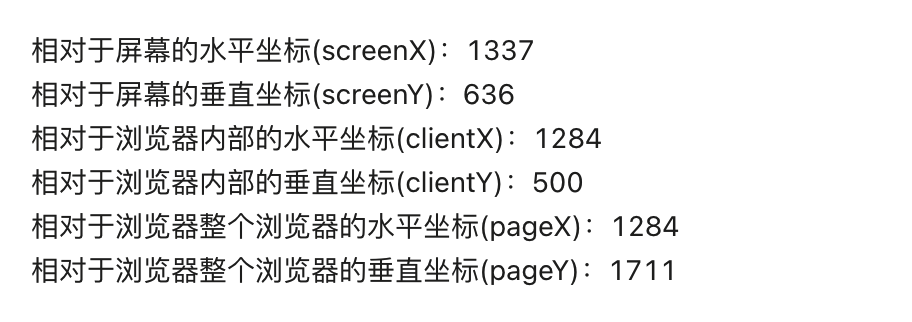
useMouse:可获取鼠标的可视区宽高、相对宽高、和距离屏幕的宽高
代码演示
详细代码
import React from 'react';import { Button } from 'antd';import { useMouse } from 'ahooks';const Mock: React.FC<any> = () => {const mouse = useMouse();return (<><div>相对于屏幕的水平坐标(screenX):{mouse.screenX}</div><div>相对于屏幕的垂直坐标(screenY):{mouse.screenY}</div><div>相对于浏览器内部的水平坐标(clientX):{mouse.clientX}</div><div>相对于浏览器内部的垂直坐标(clientY):{mouse.clientY}</div><div>相对于浏览器整个浏览器的水平坐标(pageX):{mouse.pageX}</div><div>相对于浏览器整个浏览器的垂直坐标(pageY):{mouse.pageY}</div></>);};export default Mock;
获取元素滚动位置
useScroll:获取元素的滚动状态
使用:const scroll = useScroll(ref) 接收一个DOM节点或者Ref对象
代码演示
详细代码
import React, { useRef } from 'react';import { Button } from 'antd';import { useScroll } from 'ahooks';const Mock: React.FC<any> = () => {const ref = useRef<any>(null);const scroll = useScroll(ref);return (<><div>滚动Left:{scroll.left} 滚动Top: {scroll.top}</div><div ref={ref} style={{height: 200, width: 200, border: '1px solid #eee', overflow: 'scroll', whiteSpace: 'nowrap', fontSize: 32}}><div>如果对你有帮助,请点个Star支持下吧!~~</div><div>如果对你有帮助,请点个Star支持下吧!~~</div><div>如果对你有帮助,请点个Star支持下吧!~~</div><div>如果对你有帮助,请点个Star支持下吧!~~</div><div>如果对你有帮助,请点个Star支持下吧!~~</div><div>如果对你有帮助,请点个Star支持下吧!~~</div><div>如果对你有帮助,请点个Star支持下吧!~~</div><div>如果对你有帮助,请点个Star支持下吧!~~</div><div>如果对你有帮助,请点个Star支持下吧!~~</div><div>如果对你有帮助,请点个Star支持下吧!~~</div><div>如果对你有帮助,请点个Star支持下吧!~~</div><div>如果对你有帮助,请点个Star支持下吧!~~</div><div>如果对你有帮助,请点个Star支持下吧!~~</div><div>如果对你有帮助,请点个Star支持下吧!~~</div></div></>);};export default Mock;
响应式信息
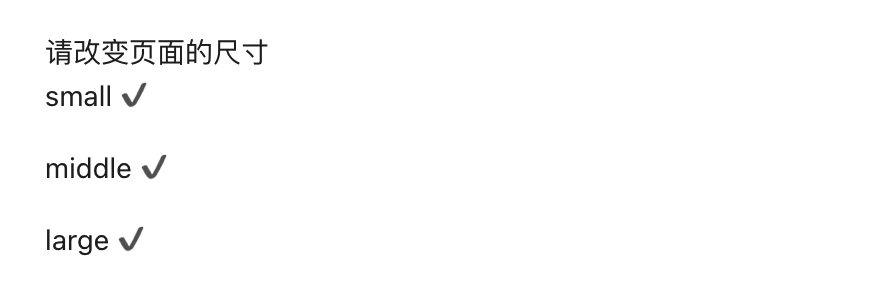
useResponsive:可以获取并订阅浏览器窗口的响应式信息
- 默认的配置是与 bootstrap 一致:{ xs: 0, sm: 576, md: 768, lg: 992, xl: 1200}
如果想要自己配置响应式的断点,需要使用 configResponsive, 并且值需要配置一次,不要多次使用
代码演示
详细代码
import React from 'react';import { Button } from 'antd';import { configResponsive, useResponsive } from 'ahooks';configResponsive({small: 0,middle: 800,large: 1200,});const Mock: React.FC<any> = () => {const responsive = useResponsive();return (<><div>请改变页面的尺寸</div>{Object.keys(responsive).map((key) => (<p key={key}>{key} {responsive[key] ? '✔' : '✘'}</p>))}</>);};export default Mock;
监听选取位置及内容
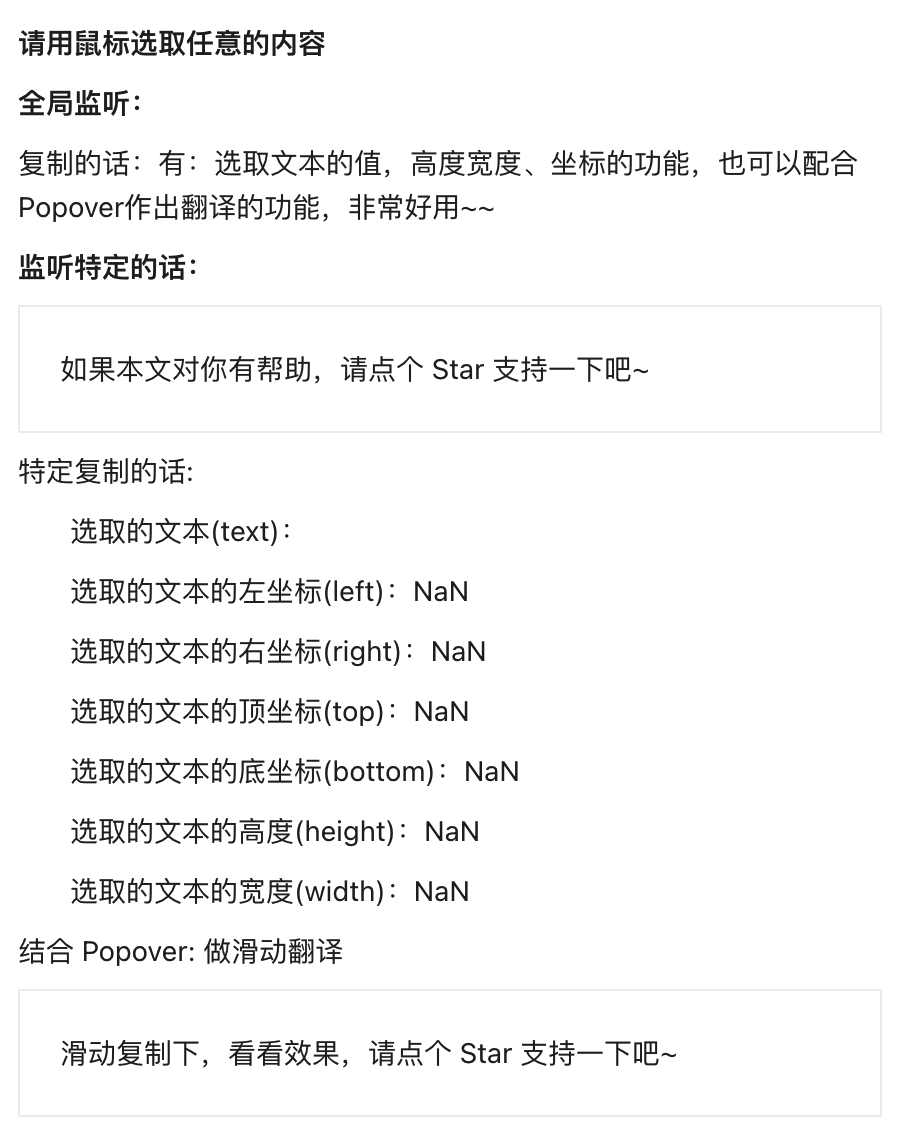
useTextSelection: 可以全局获取,也可以制定获取(DOM或Ref)
有:选取文本的值,高度宽度、坐标的功能,也可以配合Popover作出翻译的功能,非常好用~~
代码演示
详细代码
import React, { useRef, useEffect } from 'react';import { Popover, Spin } from 'antd';import { useTextSelection, useRequest } from 'ahooks';const getResult = (keyword: string): Promise<string> => {const trimedText = keyword.trim() !== '';if (!trimedText) {return Promise.resolve('');}return new Promise((resolve) => {setTimeout(() => resolve("可以作出一些翻译效果,选取的文字:" + keyword), 1000);});};const Test: React.FC<any> = () => {const { text = '', left = 0, top = 0, height = 0, width = 0 } = useTextSelection(() =>document.querySelector('#translate-dom'),);const [visible, setVisible] = useState(false);const { data, run, loading } = useRequest(getResult, {manual: true,});useEffect(() => {if (text.trim() === '') {setVisible(false);return;}setVisible(true);run(text);}, [text]);return <><div id='translate-dom' style={{ padding: 20, border: '1px solid #eee', marginTop: 8}}>滑动复制下,看看效果,请点个 Star 支持一下吧~</div><Popovercontent={<Spin spinning={loading}>{loading ? 'Translating……' : data}</Spin>}visible={visible}><spanstyle={{position: 'fixed',top: "top" + px,left: "left" + px,height: "height" + px,width: "width" + px,pointerEvents: 'none',}}/></Popover></>}const Mock: React.FC<any> = () => {const ref = useRef<any>();const size = useSize(ref);const dom = document.querySelector('body');const size1 = useSize(dom);return (<><div style={{ fontWeight: 'bold', marginBottom: 8}}>通过ref获取:</div><div ref={ref}>改变屏幕尺寸(div): 宽度:{size.width} px, 高度:{size.height} px</div><div style={{ fontWeight: 'bold', margin: '8px 0'}}>通过dom获取:</div><div ref={ref}>改变屏幕尺寸(body): 宽度:{size1.width} px, 高度:{size1.height} px</div></>);};export default Mock;
监听屏幕尺寸
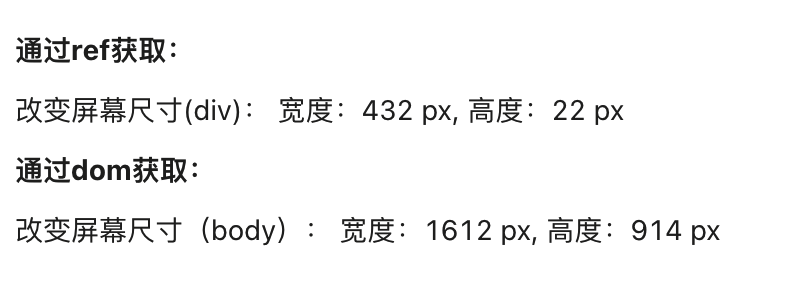
useSize: 可监听dom的尺寸变化
-
代码演示
详细代码
import React, { useRef } from 'react';import { Button } from 'antd';import { useSize } from 'ahooks';const Mock: React.FC<any> = () => {const ref = useRef<any>();const size = useSize(ref);const dom = document.querySelector('body');const size1 = useSize(dom);return (<><div style={{ fontWeight: 'bold', marginBottom: 8}}>通过ref获取:</div><div ref={ref}>改变屏幕尺寸(div): 宽度:{size.width} px, 高度:{size.height} px</div><div style={{ fontWeight: 'bold', margin: '8px 0'}}>通过dom获取:</div><div ref={ref}>改变屏幕尺寸(body): 宽度:{size1.width} px, 高度:{size1.height} px</div></>);};export default Mock;


若有收获,就点个赞吧
0 人点赞
