- Tensor概念
- Tensor创建
- 直接创建
- 依据数值创建
- 依据概率创建
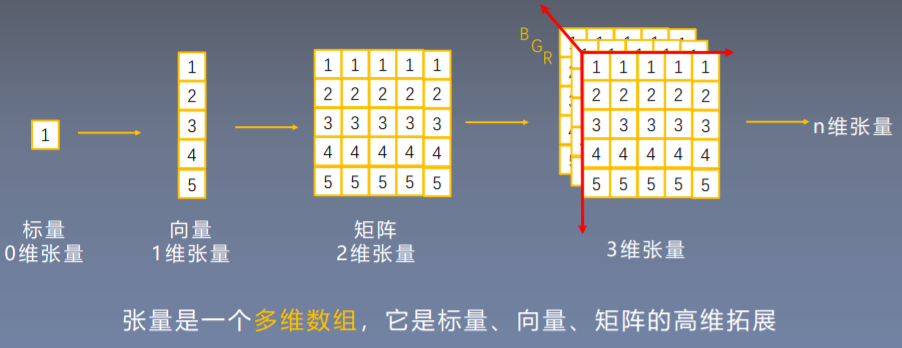
01. 张量的概念
1.1 Tensor 与 Variable
张量表示一个多维数组,但是在PyTorch中不仅仅表示多维数组,其还是自动求导的关键。
Variable是torch.autograd中的数据类型Variable是0.4.0版本之前的重要数据类型。在该版本之后,Variable并入了Tensor,不再需要variable数据类型。
- 主要用于封装
Tensor,进行自动求导
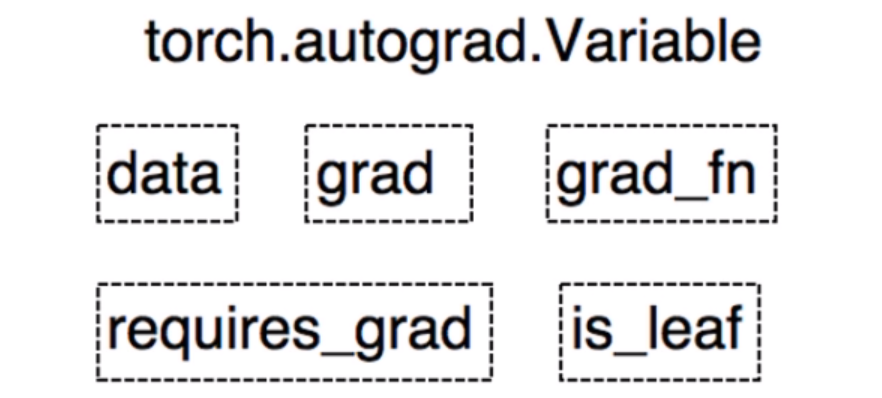
data: 被包装的Tensorgrad:data的梯度grad_fn: 创建Tensor的Function,是自动求导的关键requires_grad: 指示是否需要梯度is_leaf: 指示是否是叶子结点(张量)PyTorch0.4.0版本开始,Variable并入Tensor
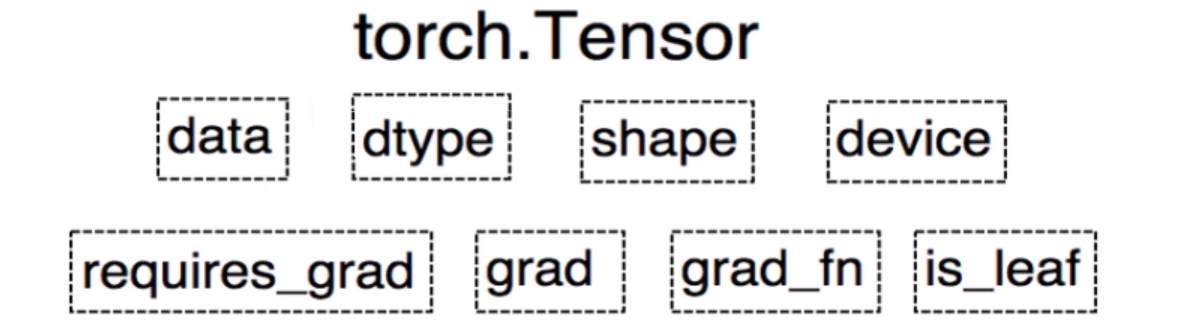
dtype: 张量的数据类型,PyTorch提供了9钟数据类型。如torch.FloatTensor,torch.cuda.FloatTensor

torch.tensor()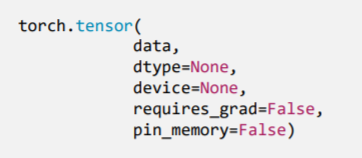
功能:从
data创建Tensordata: 数据,可以使list、numpy数组dtype: 数据类型,默认和data一致device: 所在设备,gpu or cpurequires_grad: 是否需要梯度pin_memory: 是否存于锁页内存,通常设置为Falsearr = np.ones((3, 3))print("ndarray的数据类型:{}".format(arr.dtype))t = torch.tensor(arr, device='cpu')# t = torch.tensor(arr, device='cuda') # cuda not gpuprint(t)
torch.from_numpy(ndarray)- 功能:从
numpy创建tensor
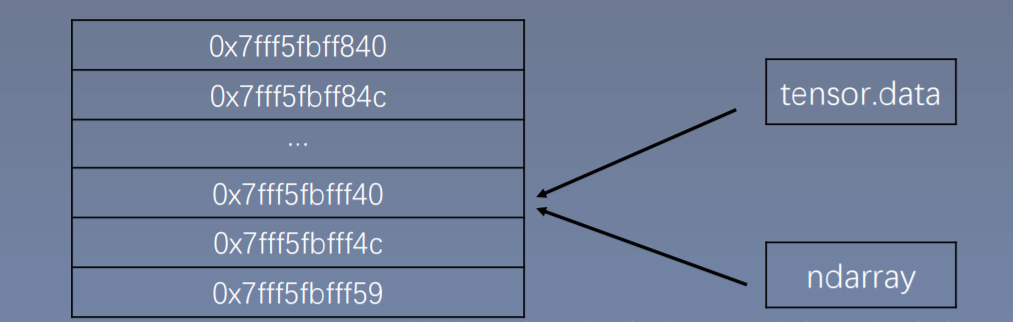
NOTE :
torch.from_numpy创建的tensor于原ndarray共享内存,当修改其中一个的数据,另外一个也将会被改动
arr = np.array([[1, 2, 3], [4, 5, 6]])t = torch.from_numpy(arr)print("numpy arr is {}".format(arr))print("tensor from numpy t is {}".format(t))print("\n修改arr")arr[0, 0] = 0print("modified numpy arr is {}".format(arr))print("modified tensor from numpy t is {}".format(t))print("\n修改tensor")t[0, 0] = -1print("numpy arr is {}".format(arr))print("modified tensor from numpy t is {}".format(t))
2.2 依据数值创建
2.2.1 torch.zeros() 、 torch.ones()

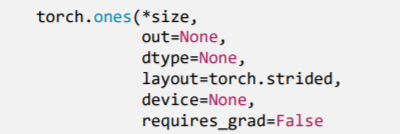
功能:依size创建 全0 或 全1 的张量
size: 张量的形状,如(3, 3)、(3, 224, 224)out: 输出的张量layout: 内存中布局形式,有strided,sparse_coo等device: 所在设备,gpu/cpurequires_grad: 是否需要梯度out_t = torch.tensor([1])print(out_t)t = torch.zeros((3, 3), out=out_t) # t和out_t是同一个数据print(t, '\n', out_t)print(id(t), id(out_t), id(t) == id(out_t)) # print memory address
2.2.2
torch.zeros_like()、torch.ones_like()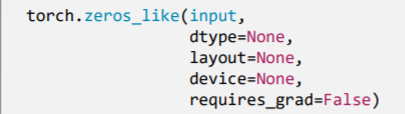
功能:依
input形状创建全0张量intput: 创建与input同形状的全0张量dtype: 数据类型layout: 内存中布局形式t = torch.tensor([[1, 2, 3], [4, 5, 6]])out_t = torch.zeros_like(t)print("t is {}".format(t))print("out t is {}".format(out_t))
2.2.3
torch.full()、torch.full_like()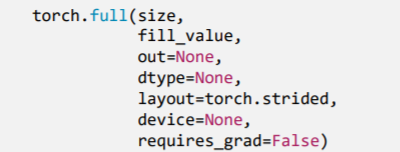
功能:依
input形状创建指定数据的张量size: 张量的形状,如(3, 3)fill_value: 张量的值 ```python t = torch.full((3, 3), 1) print(t)
t = torch.tensor([[1, 2, 3], [4, 5, 6]]) out_t = torch.full_like(t, 1)
<a name="hkkGe"></a>### 2.2.4 `torch.arange()`- 功能:创建等差的1维张量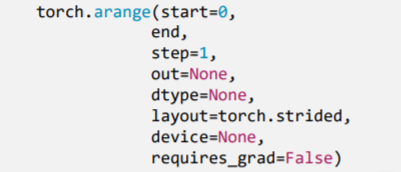- `start` : 数列起始值- `end` : 数列“结束值”- `step` : 数列公差,默认为1> 注意事项:数值区间为[start, end)```pythont = torch.arange(2, 10, 2)
2.2.5 torch.linspace()
- 功能:创建均分的1维张量
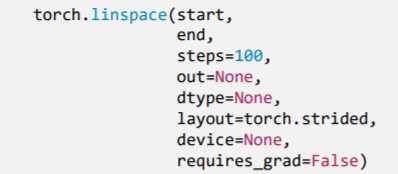
start: 数列起始值end: 数列结束值steps: 数列长度注意事项:数值区间为[start, end]
t = torch.linspace(2, 10, 6)
2.2.6 torch.logspace()
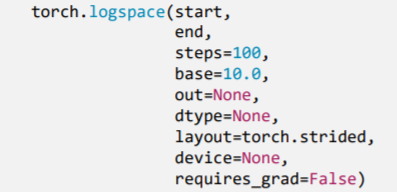
- 功能:创建对数均分的1维张量
- start : 数列起始值
- end : 数列结束值
- steps: 数列长度
- base : 对数函数的底,默认为10
注意事项:长度为steps,底为base
2.2.7 torch.eye()
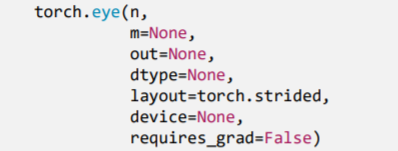
- 功能:创建单位对角矩阵(2维张量)
n: 矩阵行数m: 矩阵列数注意事项:默认为方阵
2.3 依概率分布创建张量
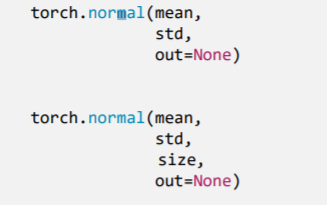
2.3.1 torch.normal()

功能:生成正态分布(高斯分布)
mean为标量,std为标量
- mean为标量,std为张量
- mean为张量,std为标量
- mean为张量,std为张量
```python
mean:张量 std: 张量
mean = torch.arange(1, 5, dtype=torch.float) std = torch.arange(1, 5, dtype=torch.float) t_normal = torch.normal(mean, std) print(“mean:{} \n std:{}”.format(mean, std)) print(t_normal)
mean:标量 std: 标量
t_normal = torch.normal(0., 1., size=(4,)) print(t_normal)
mean:张量 std: 标量
mean = torch.arange(1, 5, dtype=torch.float) std = 1 t_normal = torch.normal(mean, std) print(“mean:{}\nstd:{}”.format(mean, std)) print(t_normal)
mean:标量 std: 张量
std = torch.arange(1, 5, dtype=torch.float) mean = 1 t_normal = torch.normal(mean, std) print(“mean:{}\nstd:{}”.format(mean, std)) print(t_normal)
<a name="z4K99"></a>
### 2.3.3 `torch.randn()` 、 `torch.randn_like()`
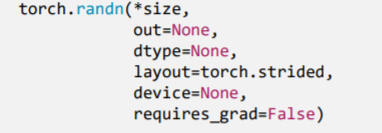
- 功能:生成**标准正态分布**
- size : 张量的形状
```python
# t = torch.randn(3)
t = torch.tensor([[1, 2, 3], [4, 5, 6], [7, 8, 9]], dtype=torch.float32)
out_t = torch.randn_like(t)
print(out_t)
该API可能会生成浮点数,但是tensor的数据类型是整形,所以需要转换一下数据类型。 解决方案:tensor的数据类型换一下。 dtype=torch.float32
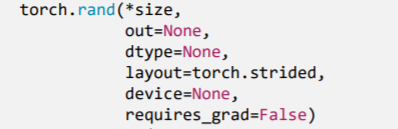
2.3.4 torch.rand() 、 torch.rand_like()
- 功能:在区间[0, 1)上,生成均匀分布
2.3.5 torch.randint() 、 torch.randint_like()
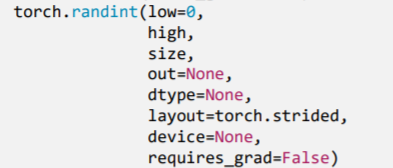
功能:区间[low, high)生成整数均匀分布
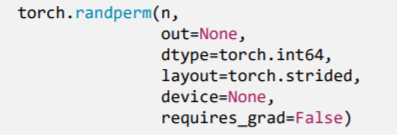
功能:生成生成从
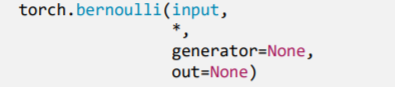
[0, n)的随机排列,经常用来生成随机索引。功能:以
input为概率,生成伯努力分布(0-1分布,两点分布)input: 概率值a = torch.empty(3, 3).uniform_(0, 1) # generate a uniform random matrix with range [0, 1] t = torch.bernoulli(a) print(t)

若有收获,就点个赞吧
0 人点赞
