自定义svg图标,封装成icon组件像element-ui icon组件似得,通过图标名称来使用图标,也可自定义类名控制。
// 密码图标 名称为自己准备svg文件名称 下面需要loader配置 支持事件<svg-icon icon-class="password" class-name="custom-class" @click="fn"></svg-icon>// 支持使用外链的形式引入 svg。例如:<svg-icon icon-class="https://xxxx.svg />
4-1 什么是Svg Sprite
将多个 svg 打包成svg-sprite。svg雪碧图。类似于CSS中的Sprite技术。图标图形整合在一起,实际呈现的时候准确显示特定图标。
阅读资料
- 张鑫旭大佬文章
- SvgIcon工作原理-推荐阅读
- SVG Sprite技术介绍
感兴趣的这些文章可以阅读下。
4-2 准备svg文件
根目录下创建src/icons目录 将svg图标文件放到@/icons/svg文件下面,svg文件压缩包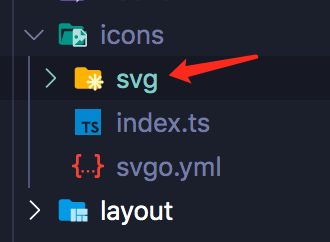
创建文件src/icons/index.ts 全局注册svg icon组件入口 现在还没开发 稍后
import { App } from 'vue'import SvgIcon from '@/components/SvgIcon/index.vue'// 使用require.context 加载./svg目录下所有svg文件const files = import.meta.globEager<any>("./svg/*.svg")//如果上面这句不行就把上面这句注释掉,使用下面这句import'virtual:svg-icons-register'export default (app: App) => {// 全局注册svg-icon组件app.component('svg-icon', SvgIcon)}
如果.globEager报错有两种试配置vite/client,一种可以在tsconfig.json中配置 “types”: [“vite/client”],一种是在shims-vue.d.ts中添加在 ///
链接在这里 https://vitejs.cn/guide/features.html#client-types 另外还要globEager内部是依赖了fast-glob模块,也要安装一下 npm install fast-glob —save
src/icons/svgo.yml 配置文件
svgo svg 压缩处理优化配置文件。详情看4-7 svg优化
plugins:- removeAttrs:attrs:- 'fill'- 'fill-rule'
4-3 配置vite-plugin-svg-icons
用来根据导入的 svg 文件自动生成 symbol 标签并插入 html
npm install vite-plugin-svg-icons -D
修改 vite.config.js 配置文件
import { defineConfig } from 'vite'import vue from '@vitejs/plugin-vue'import path, { resolve } from 'path';import { createSvgIconsPlugin } from 'vite-plugin-svg-icons'// https://vitejs.dev/config/export default defineConfig({plugins: [vue(),createSvgIconsPlugin({iconDirs: [path.resolve(process.cwd(), 'src/icons/svg')],symbolId: 'icon-[dir]-[name]',inject: 'body-last',customDomId: '__svg__icons__dom__'})],resolve: {alias: {'@': resolve(__dirname, 'src')}}})
4-4 开发svg icon组件
src/components下创建 SvgIcon/index.vue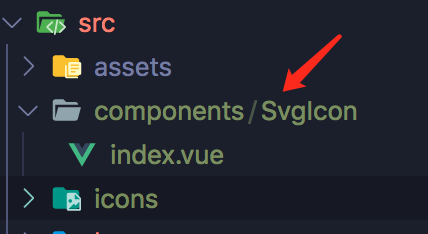
SvgIcon/index.vue
<template><!-- 如果iconClass是带协议的图标链接 则通过style属性方式渲染--><divclass="svg-icon svg-external-icon"v-if="isExt":style="styleExternalIcon"v-bind="$attrs"></div><!-- SVG icon 通过名称使用 --><svg v-else :class="svgClass" aria-hidden="true" v-bind="$attrs"><!--SVG中的use元素可以调用其他SVG文件的元素,<use xlink:href="#symbolId"></use>--><use :xlink:href="iconName" /></svg></template><script setup lang="ts">import { isExternal } from '@/utils/validate'import { computed } from 'vue'const props = defineProps<{ iconClass: string,className?:string }>()// 是否是带协议的图片链接const isExt = computed(() => isExternal(props.iconClass || ''))// 拼接成symbolId 在loader配置中指定了symbolId格式 icon-图标名称const iconName = computed(() => `#icon-${props.iconClass}`)// 添加类名 props.className外部传入自定义类名const svgClass = computed(() =>props.className ? `svg-icon ${props.className}` : 'svg-icon')// 如果iconClass是带协议的图标链接 则通过style css属性方式渲染const styleExternalIcon = computed(() => ({mask: `url(${props.iconClass}) no-repeat 50% 50%`,'-webkit-mask': `url(${props.iconClass}) no-repeat 50% 50%`}))</script><style scoped>.svg-icon {width: 1em;height: 1em;vertical-align: -0.15em;fill: currentColor;overflow: hidden;}.svg-external-icon {background-color: currentColor;mask-size: cover !important;display: inline-block;}</style>
vue3.0中关于$listeners移除 文档说明
@/utils/validate.ts 工具方法
创建src/utils/validate.ts
// 判断路径是不是带协议的外链export const isExternal = (path: string): boolean => {return /^(https?:|mailto:|tel:)/.test(path)}
4-5 main.ts通过use安装icon组件
main.ts导入src/icons/index.ts 并use安装
import { createApp } from 'vue'import router from './router/index';import ElementPlus from 'element-plus';import store from './store'import App from './App.vue'import 'normalize.css/normalize.css'import '@/styles/index.scss'import 'virtual:svg-icons-register'import initSvgIcon from '@/icons/index'createApp(App).use(store).use(ElementPlus).use(initSvgIcon).use(router).mount('#app')
4-6 简单引用下
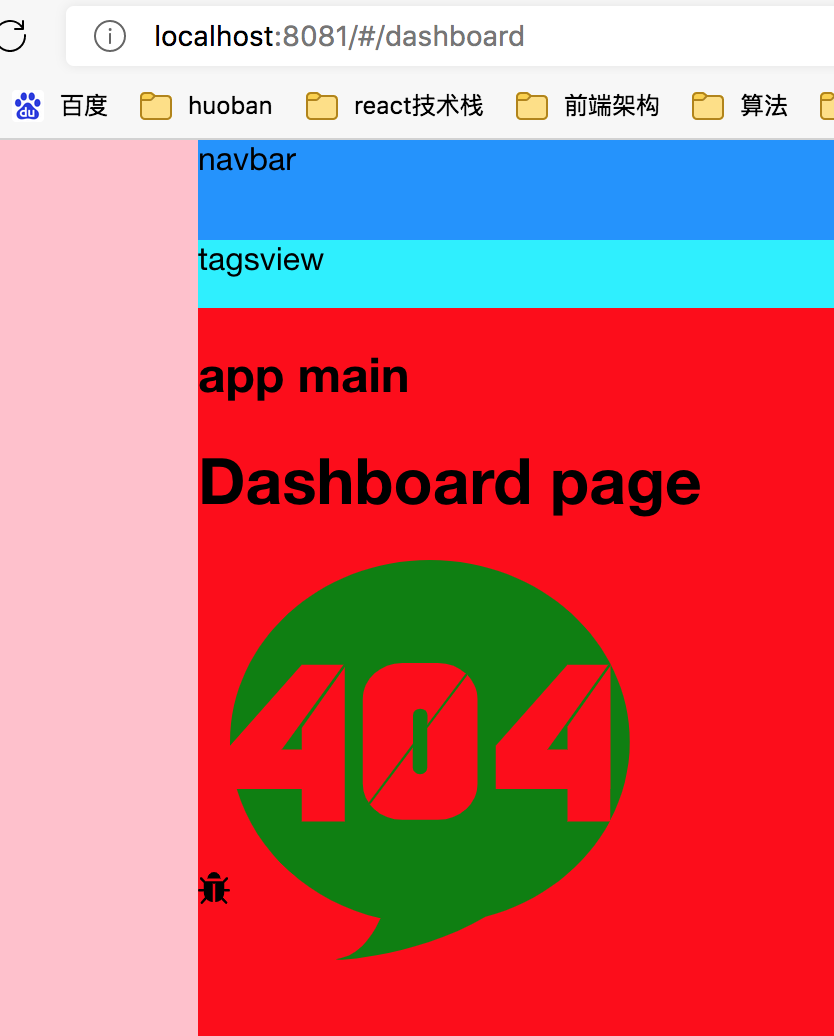
在views/dashboard/index.vue试用下
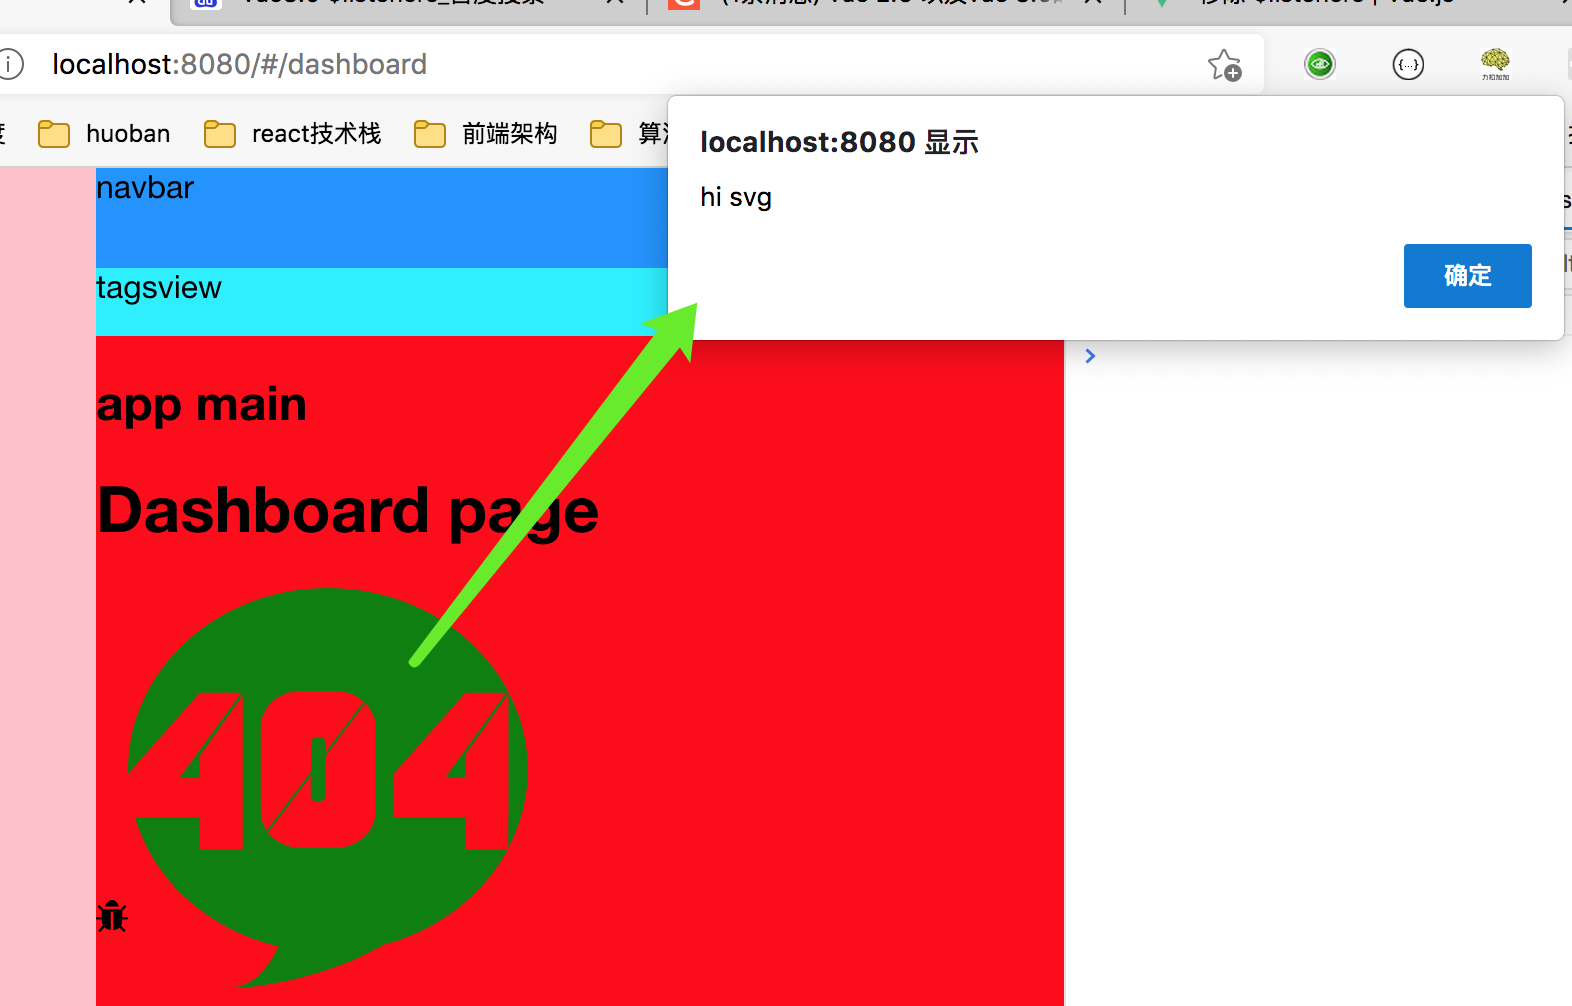
<template><div><h1>Dashboard page</h1><svg-icon icon-class="bug"></svg-icon><!-- icon-class svg图标名称 class-name 额外的自定义类名 @click绑定事件 --><svg-icon icon-class="404" class-name="custom-class" @click="sayHi"></svg-icon></div></template><script setup lang="ts">const sayHi = () => {alert('hi svg')}</script><style lang="scss">.custom-class { // 自定义样式404font-size: 200px;color: green;}</style>
icon-class分别是我们src/icons/svg里面的图标的名称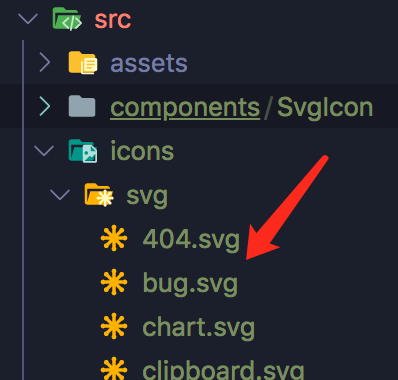
4-7 Svg优化
svgo是svg 压缩处理优化工具。我们很多网上下载或者Sketch导出的 svg 会有很多冗余无用的信息,大大的增加了 svg 的尺寸,我们可以使用svgo对它进行优化。
我们在创建src/icons/svgo.yml配置文件
安装svgo,注意需要指定版本号
npm i -D svgo@1.3.2
package.json添加npm scripts
{..."scripts": {...,"svgo": "svgo -f src/icons/svg --config=src/icons/svgo.yml"},}
运行npm run svgo 压缩优化
svgo地址 https://github.com/svg/svgo
4-8 tsconfig.json配置
{"compilerOptions": {"target": "esnext","module": "esnext","moduleResolution": "node","esModuleInterop": true,"forceConsistentCasingInFileNames": true,"strict": true,"skipLibCheck": true,"types": ["vite/client"],"baseUrl": ".","paths": {"@/*": ["src/*"]}},"include": ["src/**/*.ts", "src/**/*.d.ts", "src/**/*.tsx", "src/**/*.vue"]}
4-9 自动注册路由(选做)
可以使用vite-plugin-pages插件自动注册路由
vite-plugin-pages 会自动把 pages 目录中的 .vue 和 .md 文件生成对应的路由,并且我们可以利用 markdown 的 front-matter 来为路由提供一些额外信息
第一步安装相关的模块
npm install vite-plugin-pages @types/fs-extra @types/node fs-extra gray-matter -D
然后修改vite.config.js配置文件
import { defineConfig } from 'vite'import vue from '@vitejs/plugin-vue'import path, { resolve } from 'path';import { createSvgIconsPlugin } from 'vite-plugin-svg-icons'import VitePages from "vite-plugin-pages";import fs from "fs-extra";//gray-matter 的功能,可以获取相关文件中的 front-matter,并将其处理为一个对象import matter from "gray-matter";export default defineConfig({plugins: [vue(),createSvgIconsPlugin({iconDirs: [path.resolve(process.cwd(), 'src/icons/svg')],symbolId: 'icon-[dir]-[name]',inject: 'body-last',customDomId: '__svg__icons__dom__'}),VitePages({extensions: ["vue", "md"],//需要包含的文件类型,这里显然是 .vue 和 .md 文件pagesDir: "src/views",//寻找文件的目录,这里选择了项目根目录下的 views 目录extendRoute(route) {//提供一个方法,对每个文件产生路由做一些加工,这里是对 route.meta 的处理const path = resolve(__dirname, route.component.slice(1));const md = fs.readFileSync(path, "utf-8");const { data } = matter(md);route.meta = Object.assign(route.meta || {}, { frontmatter: data });return route;},}),],resolve: {alias: {'@': resolve(__dirname, 'src')}}})
再修改路由配置
参考链接src\router\index.ts
import { createRouter, createWebHashHistory, RouteRecordRaw } from 'vue-router'import Layout from '@/layout/index.vue'import children from "pages-generated"; // vite-plugin-pages 生成的路由信息const routes: Array<RouteRecordRaw> = [{path: '/',component: Layout,redirect: '/dashboard',children}]const router = createRouter({history: createWebHashHistory(),routes})export default router
在 TS 中,直接从
pages-generated导入会引起类型错误,需要在tsconfig.json的compilerOptions.types数组中加入vite-plugin-pages/client来加载对应的声明文件
本节参考源码
https://gitee.com/zhufengpeixun/vue3-admin2
对于每节文章有问题需要补充评论的 大家可以写在每节下方评论处 感谢

若有收获,就点个赞吧
0 人点赞
