{% raw %}
使用 Twitter 登录 Flask 应用
在本教程中,您将学习如何在 Flask 应用程序中使用 Twitter 进行登录身份验证。 您可以使用 Twitter 对网站进行身份验证,而不是使用自定义用户登录系统。 您的访客可能已经在 Twitter 上拥有一个帐户,那么为什么不使用它登录呢?
为此,我们使用称为 OAuth 的协议。 从维基百科:
OAuth 是一种使用令牌来代表资源所有者访问资源的协议。 考虑使用户能够对网站的某些部分发出代客密钥。 许多网站,例如 Google,Facebook 和 Twitter,都使用 OAuth 来认证第三方客户端,以便访问某些用户资源。
如果听起来含糊,请放心,我们将逐步指导您。
代码
创建文件app.py,并设置您从 Twitter 获得的consumer_key和consumer_secret。
from flask import Flask, request, redirect, url_for, session, g, flash, \render_templatefrom flask_oauth import OAuthfrom sqlalchemy import create_engine, Column, Integer, Stringfrom sqlalchemy.orm import scoped_session, sessionmakerfrom sqlalchemy.ext.declarative import declarative_base# configurationSECRET_KEY = 'development key'DEBUG = True# setup flaskapp = Flask(__name__)app.debug = DEBUGapp.secret_key = SECRET_KEYoauth = OAuth()# Use Twitter as example remote applicationtwitter = oauth.remote_app('twitter',# unless absolute urls are used to make requests, this will be added# before all URLs. This is also true for request_token_url and others.base_url='https://api.twitter.com/1/',# where flask should look for new request tokensrequest_token_url='https://api.twitter.com/oauth/request_token',# where flask should exchange the token with the remote applicationaccess_token_url='https://api.twitter.com/oauth/access_token',# twitter knows two authorizatiom URLs. /authorize and /authenticate.# they mostly work the same, but for sign on /authenticate is# expected because this will give the user a slightly different# user interface on the twitter side.authorize_url='https://api.twitter.com/oauth/authenticate',# the consumer keys from the twitter application registry.consumer_key='ADD TWITTER CONSUMER KEY',consumer_secret='ADD TWITTER CONSUMER SECRET')@twitter.tokengetterdef get_twitter_token(token=None):return session.get('twitter_token')@app.route('/')def index():access_token = session.get('access_token')if access_token is None:return redirect(url_for('login'))access_token = access_token[0]return render_template('index.html')@app.route('/login')def login():return twitter.authorize(callback=url_for('oauth_authorized',next=request.args.get('next') or request.referrer or None))@app.route('/logout')def logout():session.pop('screen_name', None)flash('You were signed out')return redirect(request.referrer or url_for('index'))@app.route('/oauth-authorized')@twitter.authorized_handlerdef oauth_authorized(resp):next_url = request.args.get('next') or url_for('index')if resp is None:flash(u'You denied the request to sign in.')return redirect(next_url)access_token = resp['oauth_token']session['access_token'] = access_tokensession['screen_name'] = resp['screen_name']session['twitter_token'] = (resp['oauth_token'],resp['oauth_token_secret'])return redirect(url_for('index'))if __name__ == '__main__':app.run()
使用文件index.html创建目录/templates/
{% block body %};<h2>Flask Login App</h2>{% if session['screen_name'] %};Hello {{ session['screen_name'] };};!{% else %};Sign in with twitter.<a href="{{ url_for('login') };};"><img src="{{url_for('static', filename='sign-in.png') };}; alt="sign in"></a>{% endif %};{% endblock %};
最后,使用图像sign-in.png创建目录/static/:

通过以下方式启动您的应用:
python app.py
在您的网络浏览器中打开该应用程序。 然后,您的用户只需按照以下步骤登录:
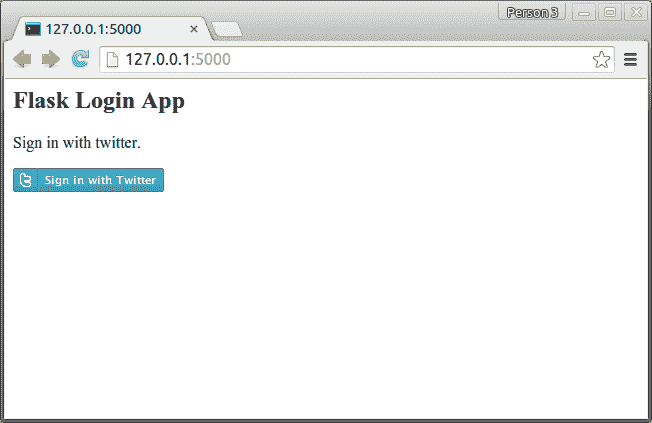
Flask Twitter 登录界面
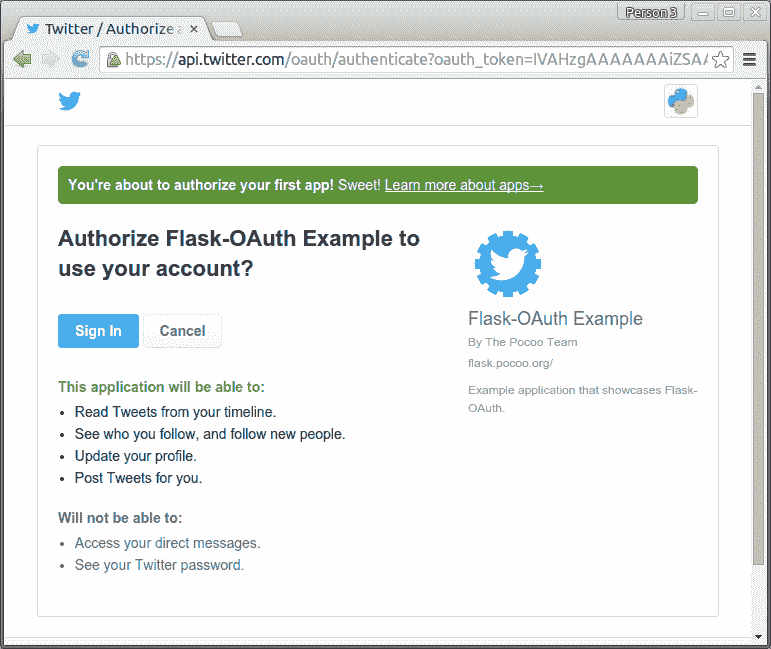
Flask OAuth Twitter
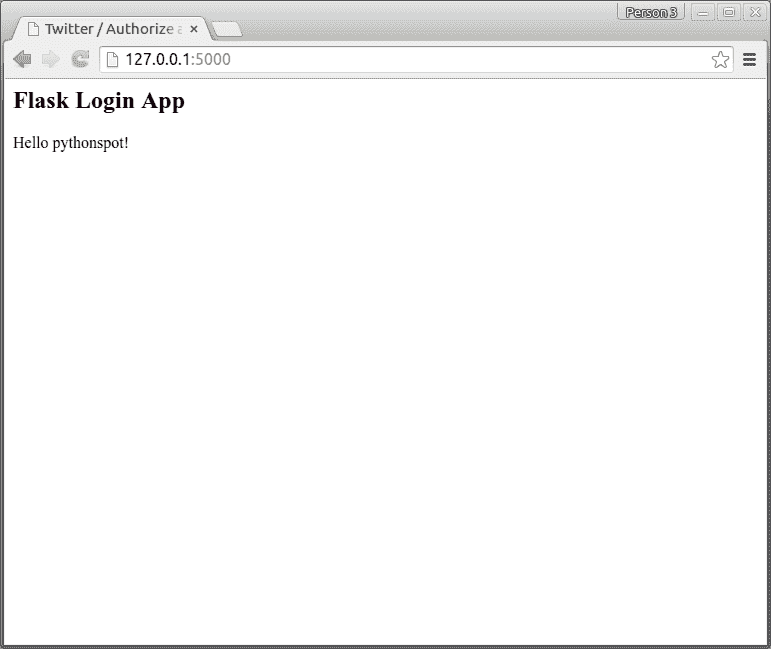
Twitter OAuth
{% endraw %}

若有收获,就点个赞吧
0 人点赞
