confluence 搭建及破解
一. confluence是什么?
Confluence是一个专业的企业知识管理与协同软件,也可以用于构建企业wiki。使用简单,但它强大的编辑和站点管理特征能够帮助团队成员之间共享信息、文档协作、集体讨论,信息推送。
更多详细功能见官网介绍
二.准备环境
相关文件在ftp://192.168.0.214/soft/confluence
| 文件名 | 备注 |
|---|---|
| atlassian-confluence-7.4.8-x64.bin | Confluence 7.4.8最新二进制安装包 https://www.atlassian.com/zh/software/confluence/download |
| mysql-connector-java-5.1.46.tar.gz | mysql驱动程序 |
| confluence7.4pojie.zip | confluence破解补丁 |
系统环境
| ip | os |
|---|---|
| 192.168.0.10 | centos7.7.1908 |
三。安装
1.安装jave1.8
[root@test ~]# tar xvf jdk-8u151-linux-x64.tar.gz -C /usr/local/
#编辑环境变量文件,加入以下下3行
[root@test ~]# vim /etc/profile
# jdk1.8start
export JAVA_HOME=/usr/local/jdk1.8.0_151
export CLASSPATH=.:$JAVA_HOME/lib/dt.jar:$JAVA_HOME/lib/tools.jar
export PATH=$JAVA_HOME/bin:$PATH
# jdk1.8end
[root@test ~]# java -version
java version “1.8.0_151”
Java(TM) SE Runtime Environment (build 1.8.0_151-b12)
Java HotSpot(TM) 64-Bit Server VM (build 25.151-b12, mixed mode)
2.安装confluence
[root@test ~]# chmod +x atlassian-confluence-7.4.8-x64.bin
[root@test ~]# ./atlassian-confluence-7.4.8-x64.bin
#一路回车即可。
Unpacking JRE …
Starting Installer …
This will install Confluence 7.4.8 on your computer.
OK [o, Enter], Cancel [c]
Click Next to continue, or Cancel to exit Setup.
Choose the appropriate installation or upgrade option.
Please choose one of the following:
Express Install (uses default settings) [1],
Custom Install (recommended for advanced users) [2, Enter],
Upgrade an existing Confluence installation [3]
Select the folder where you would like Confluence 7.4.8 to be installed,
then click Next.
Where should Confluence 7.4.8 be installed?
[/opt/atlassian/confluence]
Default location for Confluence data
[/var/atlassian/application-data/confluence]
Configure which ports Confluence will use.
Confluence requires two TCP ports that are not being used by any other
applications on this machine. The HTTP port is where you will access
Confluence through your browser. The Control port is used to Startup and
Shutdown Confluence.
Use default ports (HTTP: 8090, Control: 8000) - Recommended [1, Enter], Set custom value for HTTP and Control ports [2]
Confluence can be run in the background.
You may choose to run Confluence as a service, which means it will start
automatically whenever the computer restarts.
Install Confluence as Service?
Yes [y, Enter], No [n]
Please wait a few moments while Confluence starts up.
Launching Confluence …
Installation of Confluence 7.4.8 is complete
Your installation of Confluence 7.4.8 is now ready and can be accessed via
your browser.
Confluence 7.4.8 can be accessed at http://localhost:8090
Finishing installation …
3.配置mysql驱动
[root@test ~]# tar zxf mysql-connector-java-5.1.46.tar.gz
[root@test ~]# cd mysql-connector-java-5.1.46/
[root@test mysql-connector-java-5.1.46]# mv mysql-connector-java-5.1.46-bin.jar /opt/atlassian/confluence/confluence/WEB-INF/lib
4.破解
1)在服务器上下载/opt/atlassian/confluence/confluence/WEB-INF/lib/atlassian-extras-decoder-v2-3.4.1.jar文件到本地重命名为atlassian-extras-2.4.jar
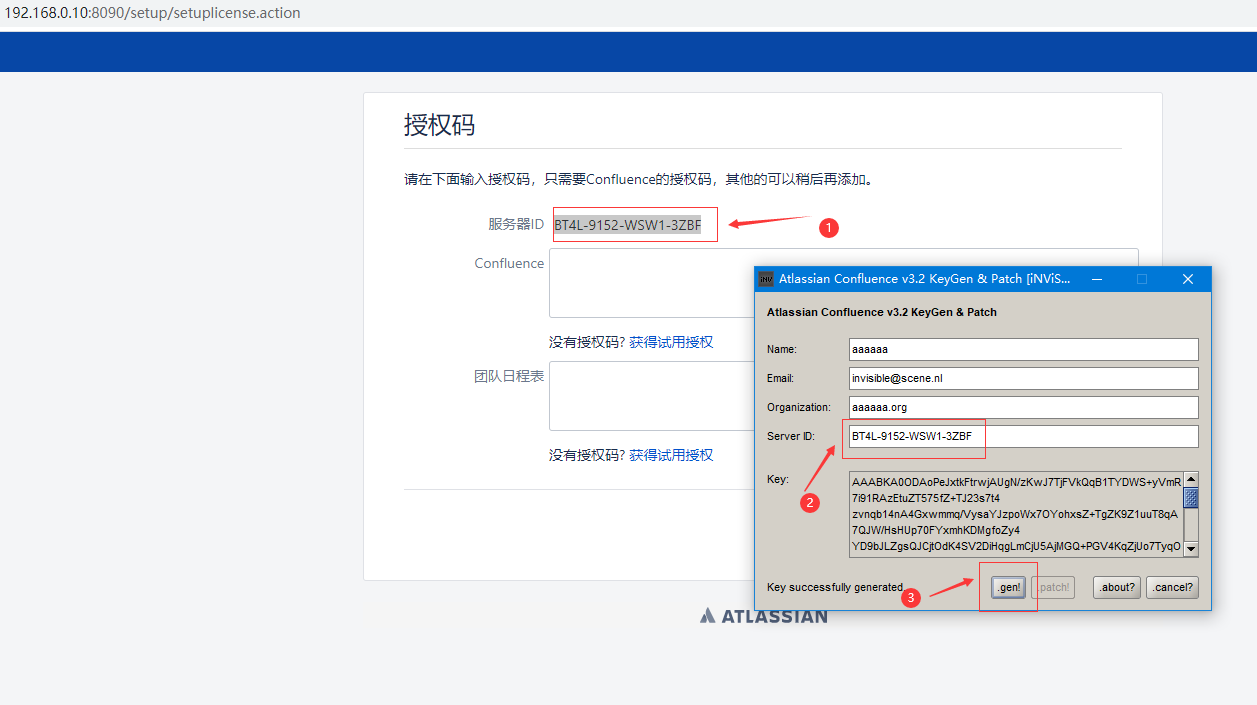
2)在windows电脑本地运行confluence_keygen.jar(confluence7.4破解包解压就有此程序,运行需win有java环境)
3)运行confluence_keygen.jar,点击.patch!找到刚才重命名的文件(atlassian-extras-2.4.jar),然后点击打开。
4)打开后在当前目录下可以看到atlassian-extras-2.4.jar和atlassian-extras-2.4.bak两个文件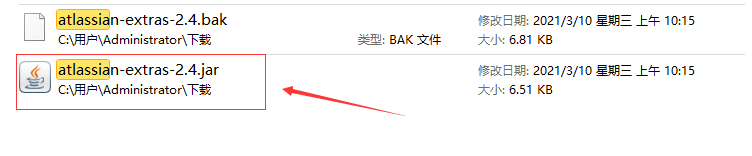
这里atlassian-extras-2.4.jar已经是破解好的了
将atlassian-extras-2.4.jar名字改回atlassian-extras-decoder-v2-3.4.1.jar
5)然后上传回CentOS服务器/opt/atlassian/confluence/confluence/WEB-INF/lib/目录,覆盖掉原来的atlassian-extras-decoder-v2-3.4.1.jar文件

6)重启confluence服务:/etc/init.d/confluence restart
7)访问web页面,获取服务器ID,http://192.168.0.10:8090
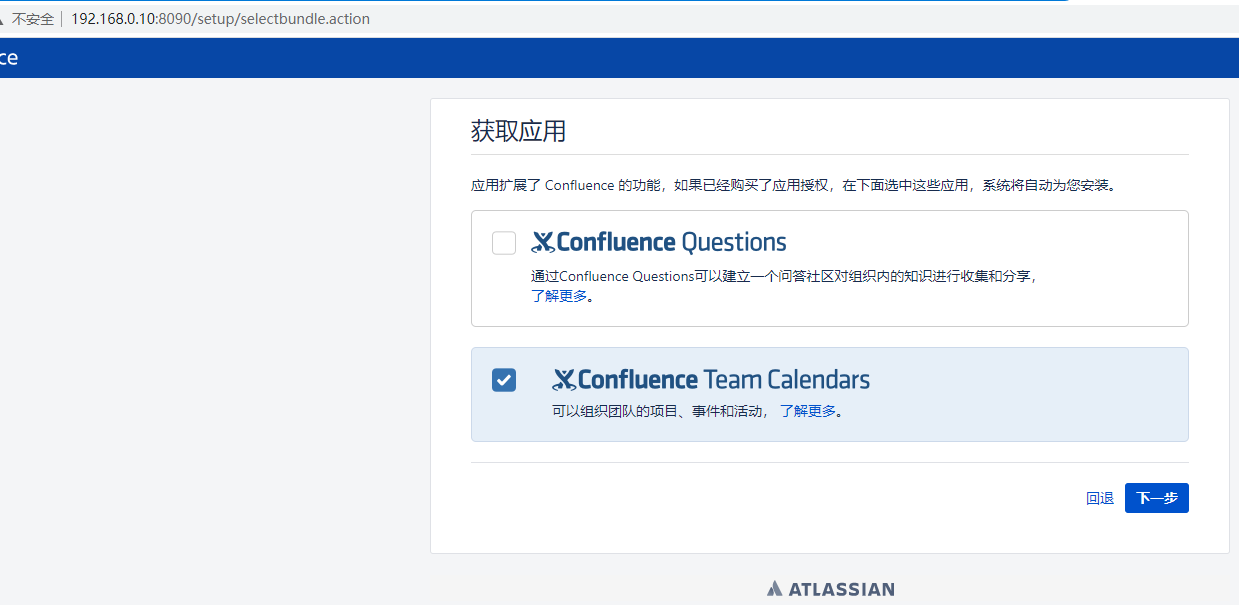
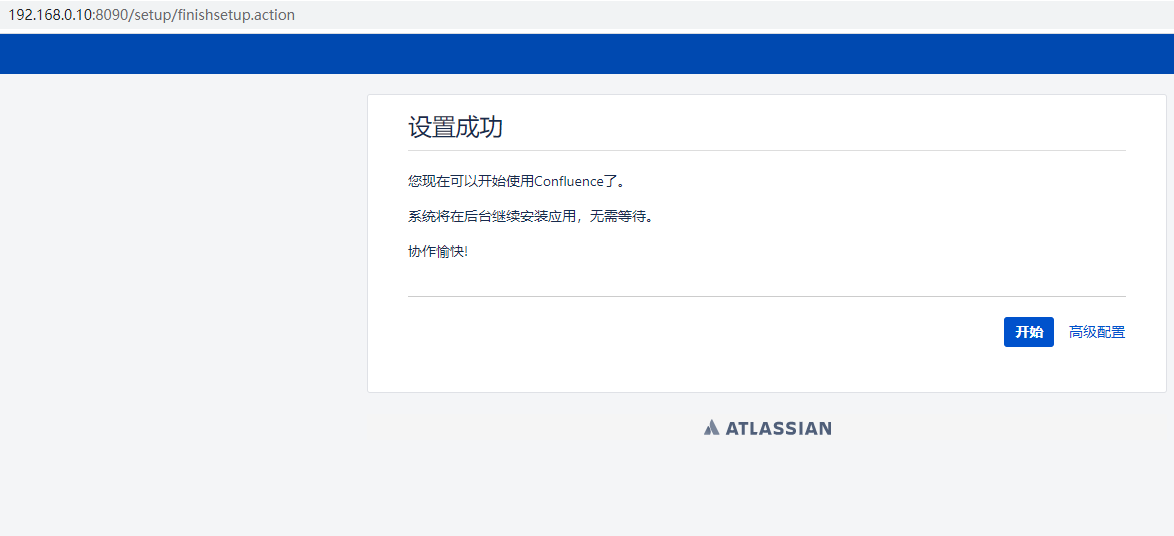
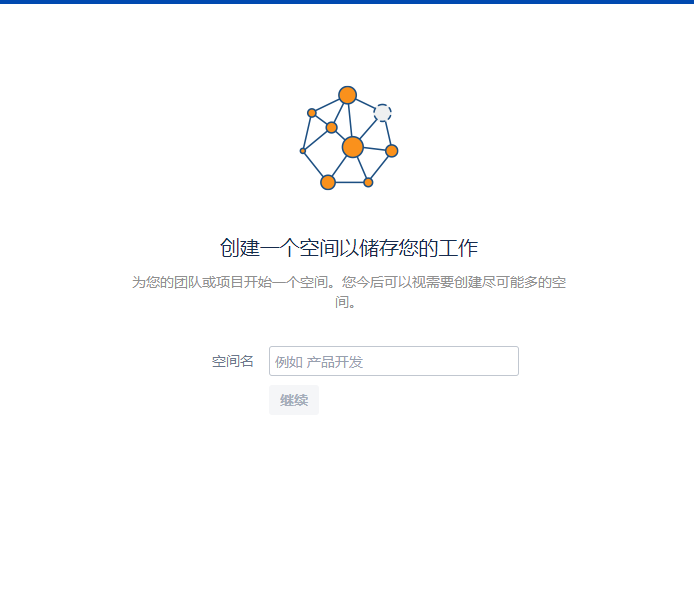
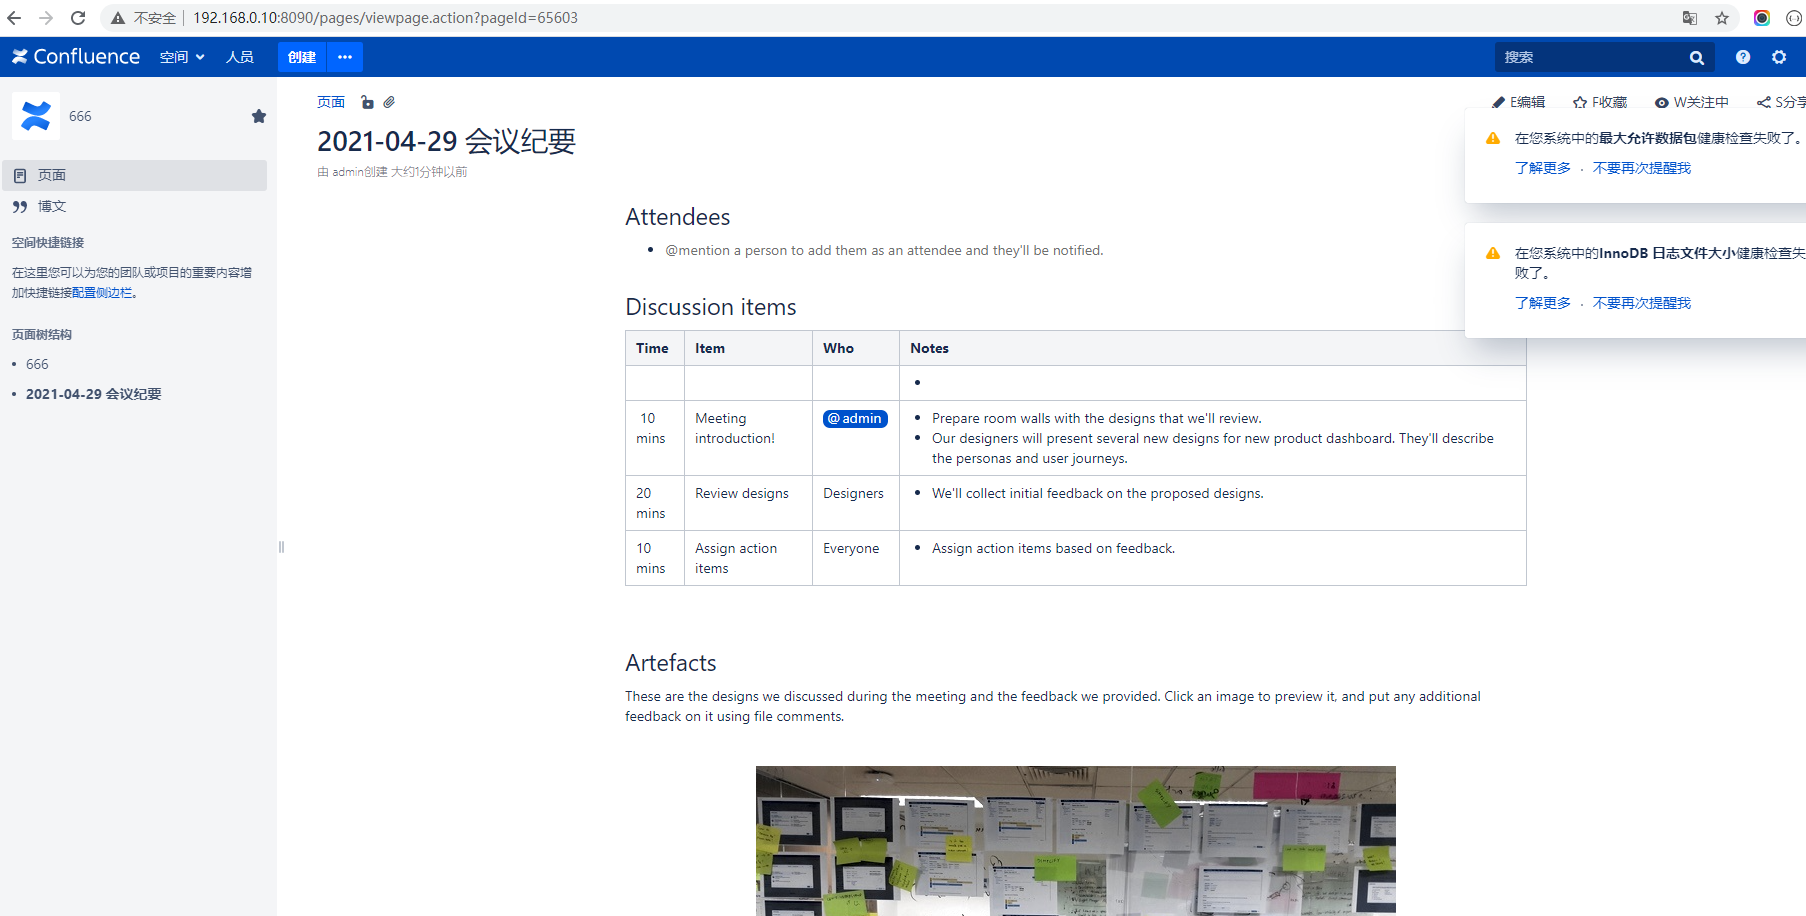
5.页面安装
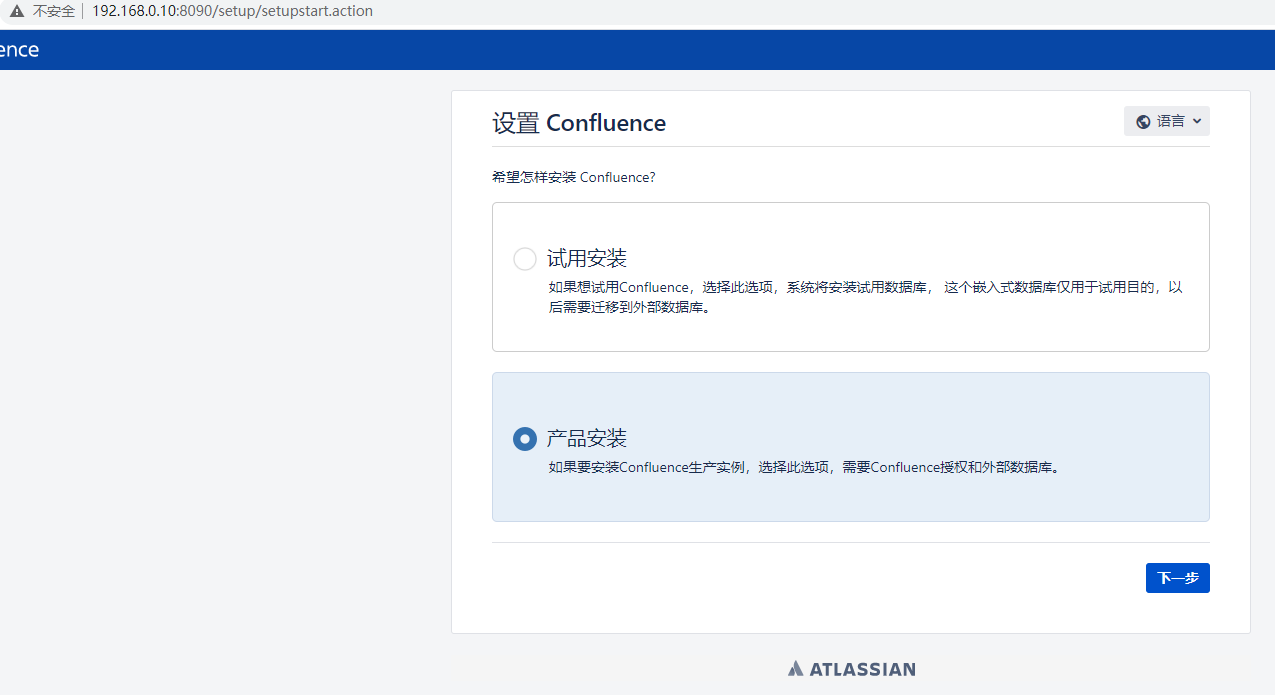

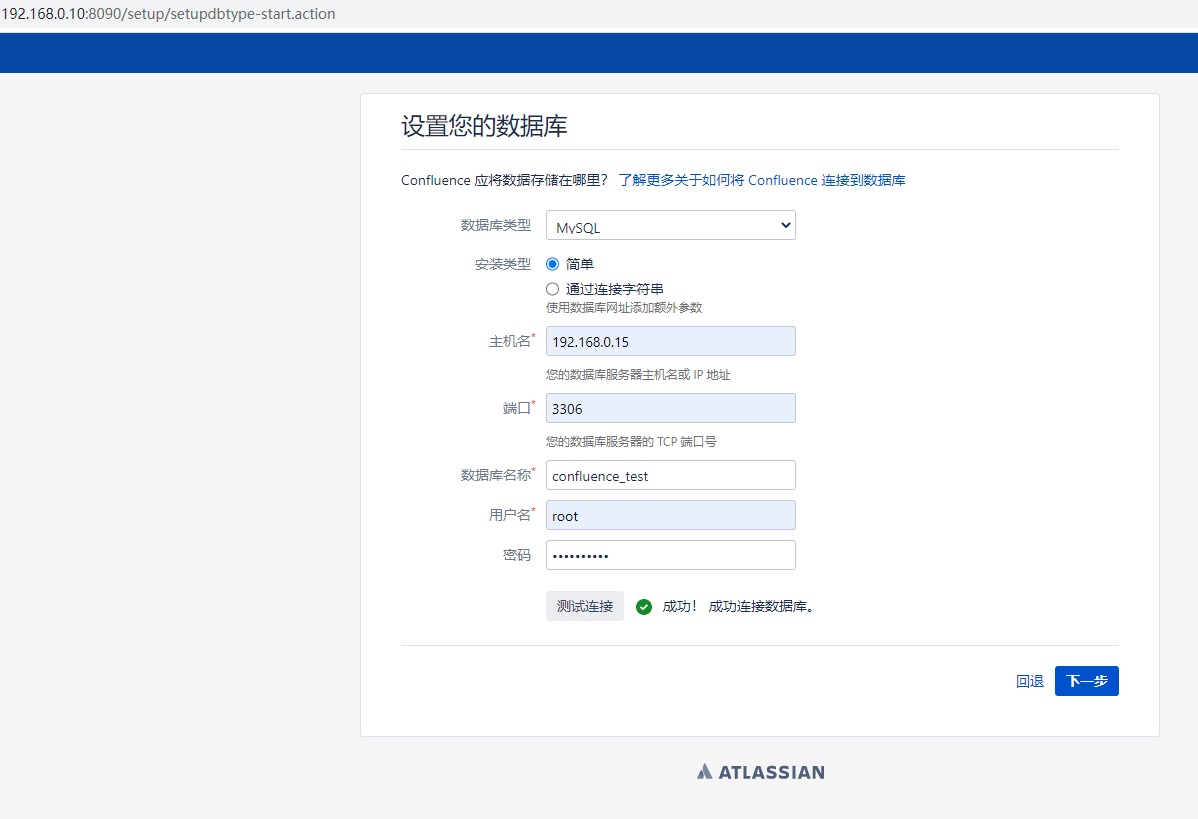
建立一个confluence_test数据库。
选择示范站点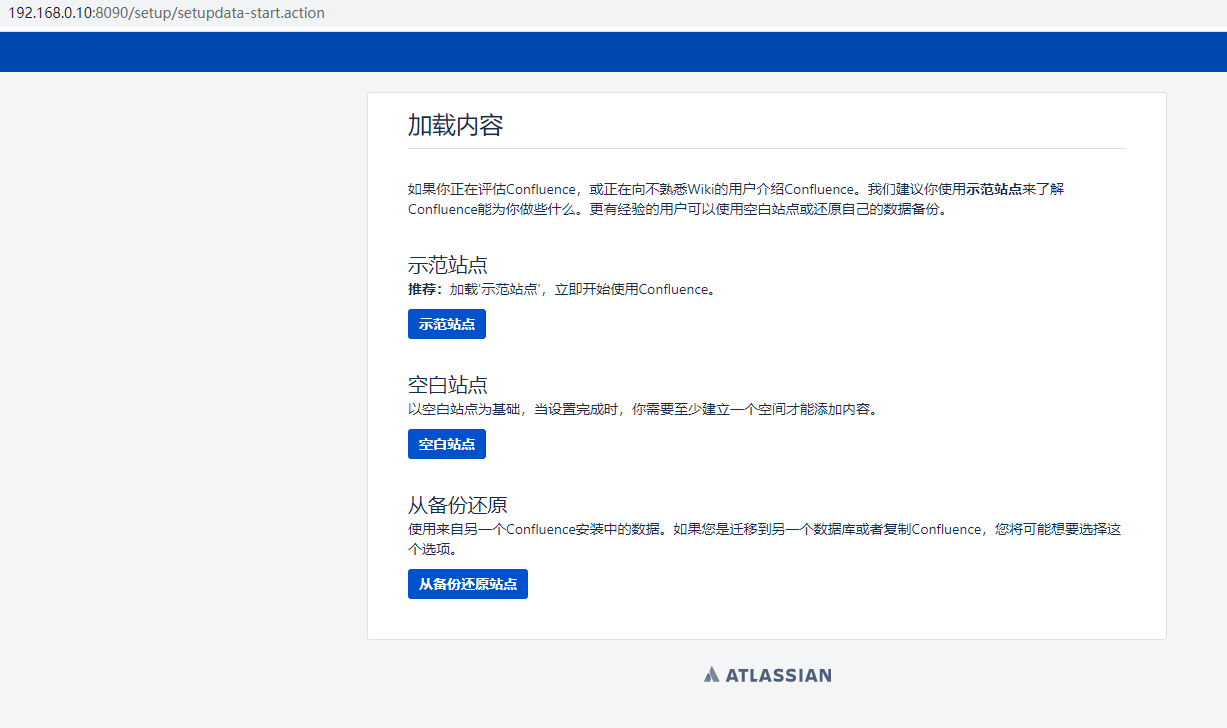

若有收获,就点个赞吧
0 人点赞
