1、安装路由
npm install vue-router@4
2、新建页面
这里创建 view目录,然后在view目录下创建 A.vue B.vue 两个 vue页面文件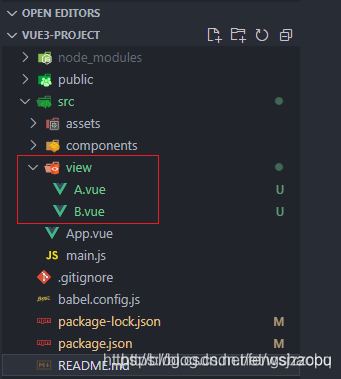
或者还可以在compoents里面创建
3、创建路由配置文件
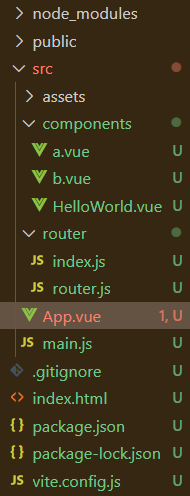
新建 router目录,然后在 router目录下新建 index.js和 routes.js文件
index.js 文件内容如下:
import {createRouter, createWebHistory} from 'vue-router'import routes from './routes' //导入router目录下的router.jsconst router = createRouter({history: createWebHistory(), //路由模式routes})export default router //导出
router.js 文件内容如下:
const routes = [{name: 'a',path: '/a',component: () => import('@/view/A')},{name: 'b',path: '/b',component: () => import('@/view/B')},];export default routes
4.在main中导入:
import { createApp } from 'vue'import App from './App.vue'import router from './router/index'//注意use要在mount之前createApp(App).use(router).mount('#app')
5、添加 router-view
<template><router-view></router-view></template><script setup>import HelloWorld from './components/HelloWorld.vue'</script><style></style>
6.路由切换:
<template><router-view></router-view><button @click="$router.push('a')">a</button><button @click="$router.push('b')">b</button></template><script setup>import HelloWorld from './components/HelloWorld.vue'</script><style></style>
—————————————————————————————————————————————————
https://blog.csdn.net/weixin_45936690/article/details/115456564

若有收获,就点个赞吧
0 人点赞
