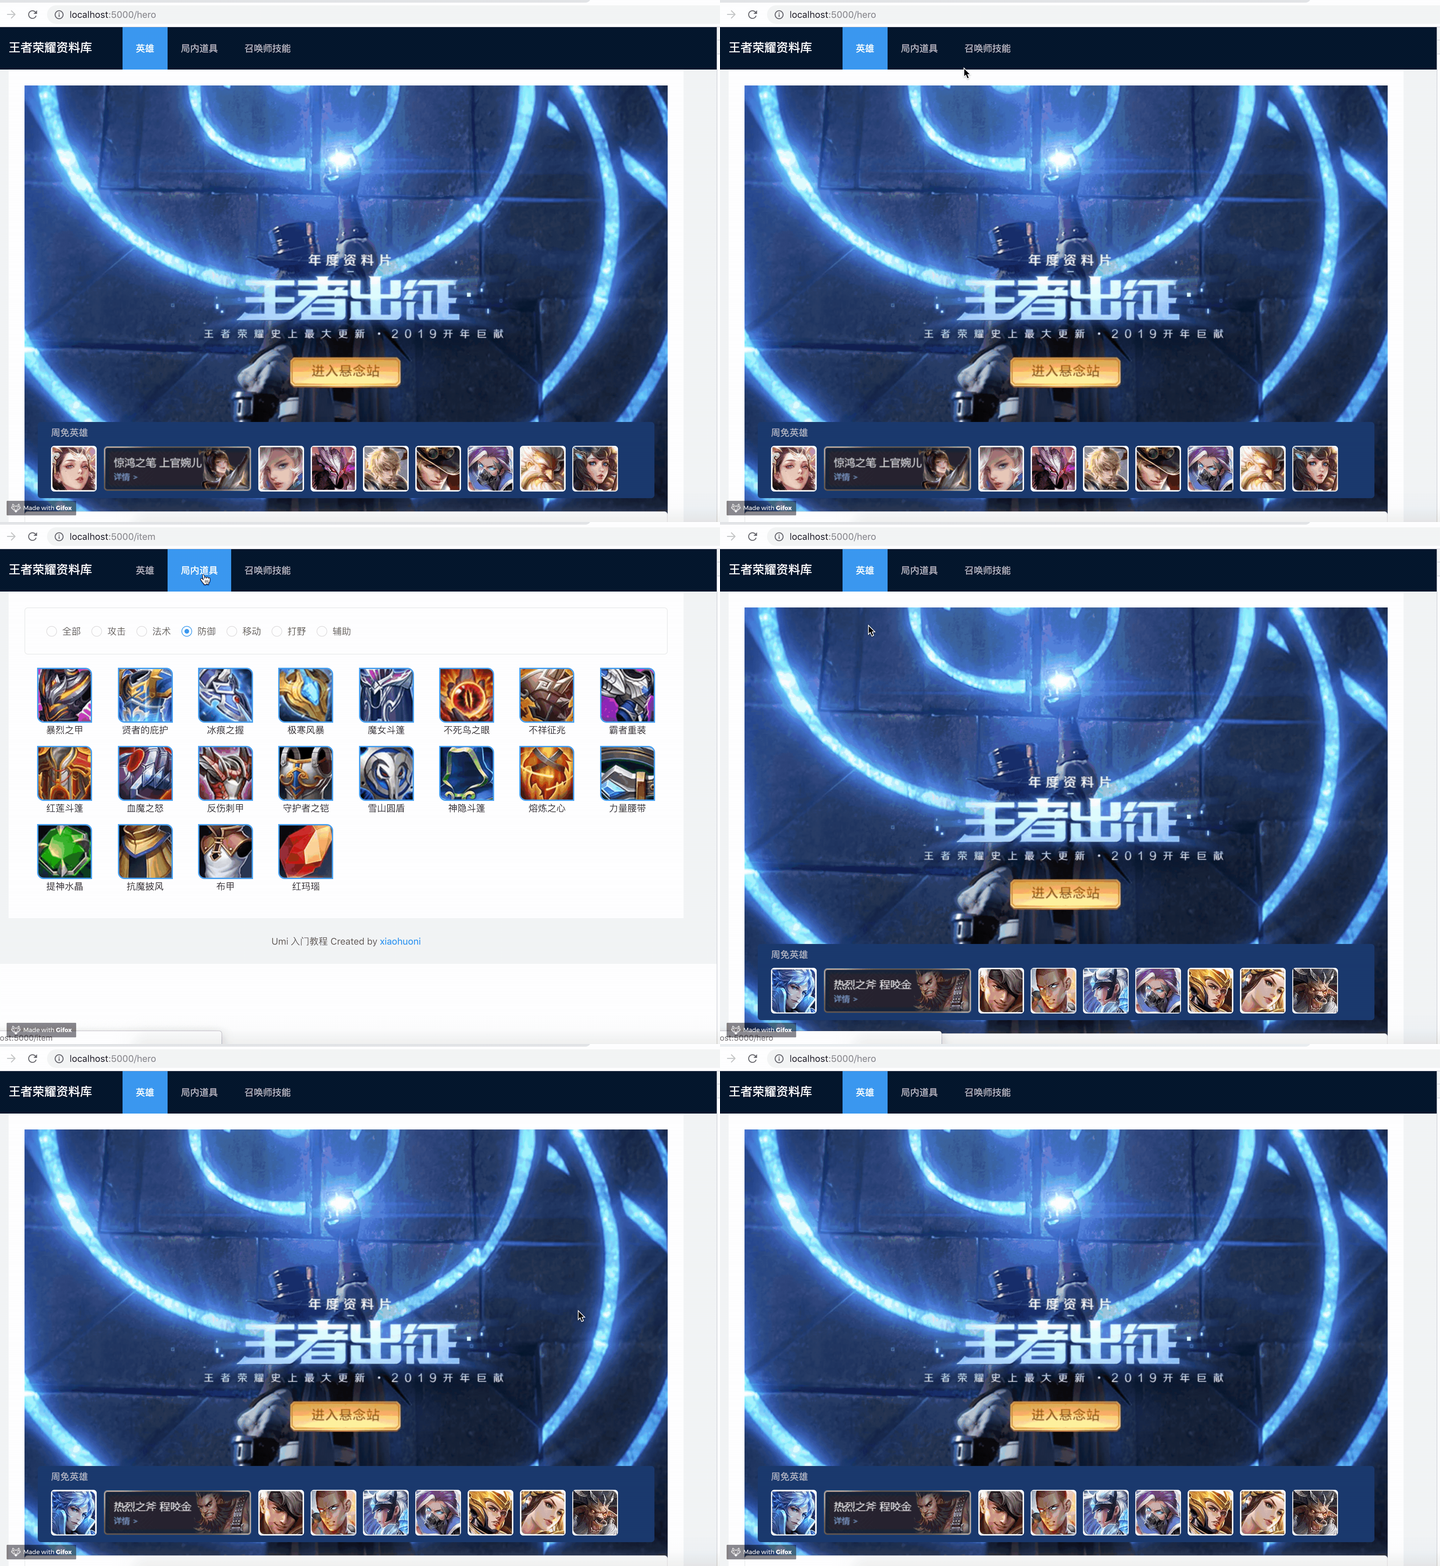
在开发完成之后,或者当我们需要线上环境时,我们就可以尝试着在本地部署。
先执行 umi 的编译标本
$ npm run build> @ build /Users/xiaohuoni/Documents/GitHub/umi-course/hero> umi build[09:48:33] webpack compiled in 12s 48msDONE Compiled successfully in 12057ms 09:48:33File sizes after gzip:320.5 KB dist/umi.js15.31 KB dist/umi.css
然后,安装 serve 服务
$ npm i serve -gor$ yarn global add serve
使用 serve 启动本地服务
$ cd dist注意要到dist的目录下执行$ serveUPDATE AVAILABLE The latest version of `serve` is 10.1.1┌─────────────────────────────────────────────────────┐│ ││ Serving! ││ ││ - Local: http://localhost:5000 ││ - On Your Network: http://192.168.199.195:5000 ││ ││ Copied local address to clipboard! ││ │└─────────────────────────────────────────────────────┘
打开 http://localhost:5000
切换到 hero 页面,发现由一堆错误。
仔细看是因为访问的接口 404 了,因为我们的服务数据都是来自与本地的 mock 服务。
我们可以在 model 里面做一点小的修改。比如
+ import herolistjson from '../../../../mock/herolist.json';effects: {*fetch({ type, payload }, { put, call, select }) {+ const herolist = herolistjson;+ function getRandomArrayElements(arr, count) {+ var shuffled = arr.slice(0),+ i = arr.length,+ min = i - count,+ temp,+ index;+ while (i-- > min) {+ index = Math.floor((i + 1) * Math.random());+ temp = shuffled[index];+ shuffled[index] = shuffled[i];+ shuffled[i] = temp;+ }+ return shuffled.slice(min);+ }+ const freeheros = getRandomArrayElements(herolistjson, 13);yield put({type: 'save',payload: {heros: herolist,freeheros: freeheros,},});},},
这里再强调一次,编译之后 mock 服务无效。
同样的 item 和 summoner 的 model 也做类似的修改,这里我们暂时去掉了 http 请求的部分。

使用 serve 部署,支持本地访问和同一个局域网的设备访问。
同局域网的设备需要访问 On Your Network: http://192.168.199.195:5000
你可能需要,将页面发给外网用户使用,那你就可以选择安装 now
$ npm i now -gor$ yarn global add now
一样的执行完 umi build 之后,cd 到 dist,执行 now
$ now> UPDATE AVAILABLE The latest version of Now CLI is 12.1.14> Read more about how to update here: https://zeit.co/update-cli> Deploying ~/Documents/GitHub/umi-course/hero/dist under 448627663@qq.com> Synced 3 files (1.29MB) [4s]> https://dist-titatdengk.now.sh [in clipboard] [2s]> Deployment complete!
通过屏幕中打印的地址访问 https://dist-titatdengk.now.sh (你可以试试看哦)

