(一)主键策略
实体类
| /*
- @TableId:
- value: 指定表中的主键列的列名, 如果实体属性名与列名一致,可以省略不指定.
- type: 指定主键策略.
/
@TableId(value=”id” , type =IdType.AUTO)
private Integer *id ; // int | | —- |
(二)全局配置
配置全局配置的话,会在整个MybatisPlus里面起作用.
在 applicationContext.xml 配置
|
<bean id =”globalConfiguration” class=”com.baomidou.mybatisplus.entity.GlobalConfiguration”>
<property name=”dbColumnUnderline” value=”true”></property>
<property name=”idType” value=”0”></property>
<property name=”tablePrefix” value=”tbl_”></property>
</bean> |
| —- |
还需要注意给上面的注入到Mybatis的sqlSessionFactoryBean里面才会起作用
|
<bean id=”sqlSessionFactoryBean” class=”com.baomidou.mybatisplus.spring.MybatisSqlSessionFactoryBean”>
<property name=”dataSource” ref=”dataSource”></property>
<property name=”configLocation” value=”classpath:mybatis-config.xml”></property>
<property name=”typeAliasesPackage” value=”com.atguigu.mp.beans”></property>
<property name=”globalConfig” ref=”globalConfiguration”></property>
</bean> |
| —- |
也可以用配置类的方式来配置,写不同的数字的含义.
| AUTO(0, “数据库ID自增”), INPUT(1, “用户输入ID”),
/ 以下2种类型、只有当插入对象ID 为空,才自动填充。 /
ID_WORKER(2, “全局唯一ID”), UUID(3, “全局唯一ID”), NONE(4, “该类型为未设置主键类型”),
ID_WORKER_STR(5, “字符串全局唯一ID”); |
| —- |
(三)查询
1.单表查询全部
传null就是查询全部
List
**this**.selectByMap(**null**);<br /> <br />
2.selectOne
根据LoginAccount 查询 只能有一条记录,如果有多条记录的话,会抛异常.
| @GetMapping(“/selectOne”)
public PcUserEntity selectOne() {
PcUserEntity pcUserEntity = new PcUserEntity();
pcUserEntity.setLoginAccount(“zhangsan”);
Wrapper
pcUserEntity = this.pcUserMapper.selectOne(objectQueryWrapper);
return pcUserEntity;
} |
| —- |
3.基本多表分页查询
controller层
@PostMapping(“list2”)
public void list2 (Integer page) throws ParseException {
Integer current = 1; //当前页
Integer size = 5; //每页显示条数
Page
**this**.**emergencyIncidentService**.getIncidentSchedulingWorkVo(**new **Page<>(current, size));
System.out.println(questionStudent);
}
service层
public Page
/直接调用dao层/
Page
page.setRecords(**this**.**baseMapper**.getIncidentSchedulingWorkVo(page));
return incidentSchedulingWorkVoPage;
}
dao层
public interface EmergencyIncidentDao extends BaseMapper
/*写接口*/
List
dao xml
<resultMap type=”io.mergency.entity.Vo.IncidentSchedulingWorkVo” id=”incidentSchedulingWorkVoMap”>
<collection property=”emergencyIncidentEntity” ofType=”io.mergency.entity.EmergencyIncidentEntity” >
<result property=”id” column=”ID”/>
<result property=”gradeId” column=”GRADE_ID”/>
<result property=”kindId” column=”KIND_ID”/>
<result property=”entryTime” column=”ENTRY_TIME”/>
<result property=”summarize” column=”SUMMARIZE”/>
<result property=”triggerLongitude” column=”TRIGGER_LONGITUDE”/>
<result property=”triggerLatitude” column=”TRIGGER_LATITUDE”/>
<result property=”emergencyPlanid” column=”EMERGENCY_PLANID”/>
<result property=”schedule” column=”SCHEDULE”/>
<result property=”state” column=”STATE”/>
<result property=”name” column=”NAME”/>
<result property=”districtId” column=”DISTRICT_ID”/>
</collection>
<collection property=”schedulingWorkEntity” ofType=”io.mergency.entity.SchedulingWorkEntity” >
<result property=”id” column=”ID”/>
<result property=”emergencyIncidentId” column=”EMERGENCY_INCIDENT_ID”/>
<result property=”subordinateTasks” column=”SUBORDINATE_TASKS”/>
<result property=”schedule” column=”SCHEDULE”/>
<result property=”kindId” column=”KIND_ID”/>
<result property=”gradeId” column=”GRADE_ID”/>
<result property=”entryTime” column=”ENTRY_TIME”/>
<result property=”status” column=”STATUS”/>
<result property=”cerealsKind” column=”CEREALS_KIND”/>
<result property=”cerealsName” column=”CEREALS_NAME”/>
<result property=”dispatchNum” column=”DISPATCH_NUM”/>
<result property=”destination” column=”DESTINATION”/>
<result property=”finishTime” column=”FINISH_TIME”/>
<result property=”affiliatedCompanies” column=”AFFILIATED_COMPANIES”/>
<result property=”triggerLongitude” column=”TRIGGER_LONGITUDE”/>
<result property=”triggerLatitude” column=”TRIGGER_LATITUDE”/>
<result property=”radius” column=”RADIUS”/>
</collection>
</resultMap>
<select id=”getIncidentSchedulingWorkVo” resultMap=”incidentSchedulingWorkVoMap”>
select *
from EMERGENCY_INCIDENT e left join SCHEDULINGWORK s on
e.ID =s.EMERGENCY_INCIDENT_ID
</select>
如果要求状态等于1 或者 某某字段为什么直接在sql里面书写即可.
组合实体类
public class IncidentSchedulingWorkVo implements Serializable {
**private **EmergencyIncidentEntity **emergencyIncidentEntity**;**private **SchedulingWorkEntity **schedulingWorkEntity**;<br />.....getset方法<br /> <br />打断点效果<br />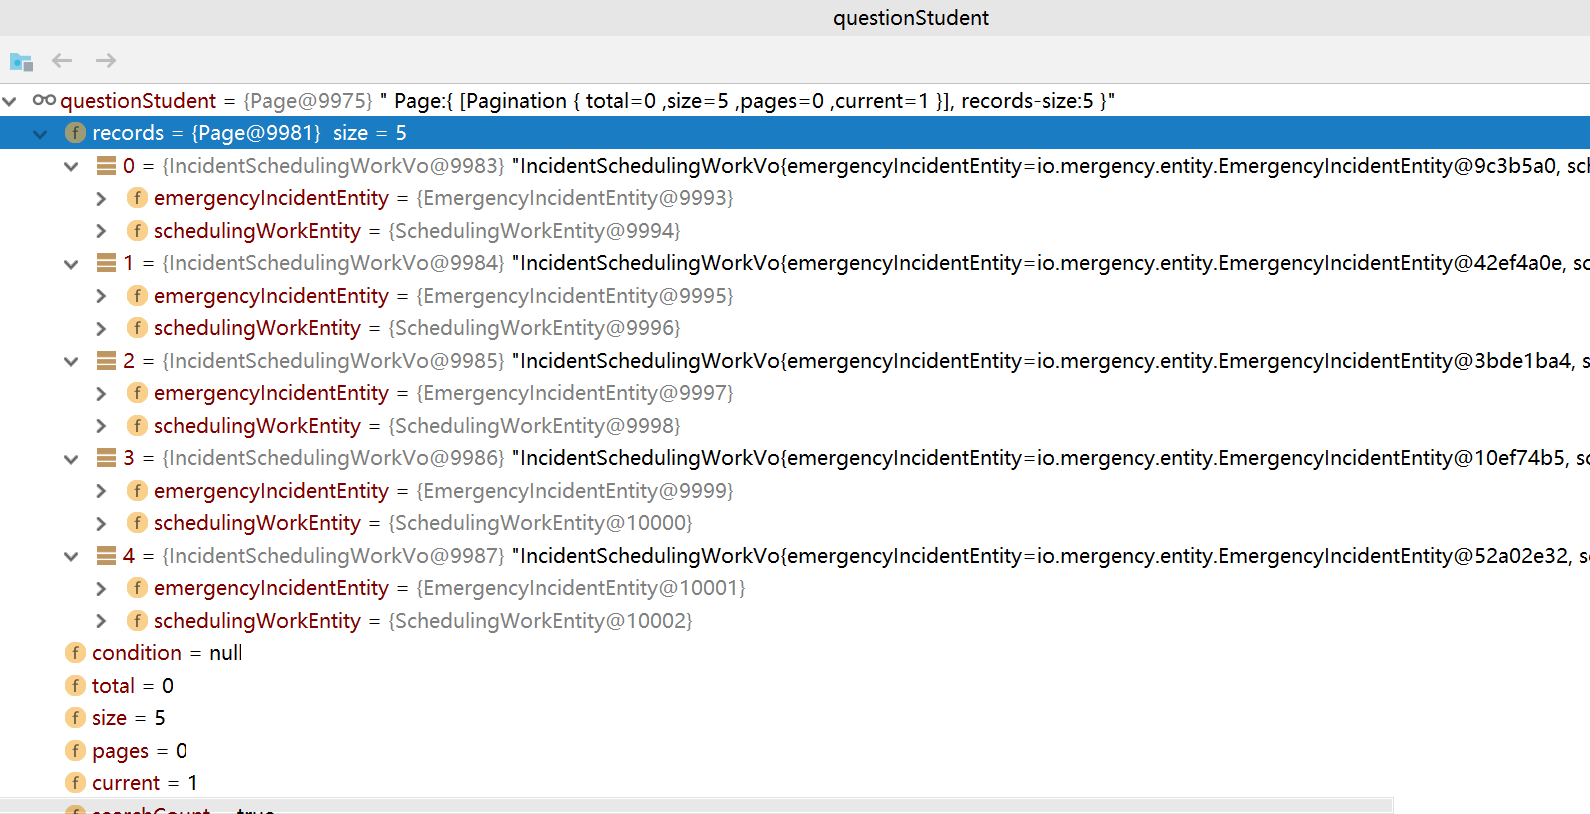<br />
4.条件查询
EntityWrapper条件构造器(封装各种查询条件),注意,使用的字段都是数据库字段,不是Java实体类的字段.![MybatisPlus[笔记] - 图1](/uploads/projects/zjj1994@javaweb/8756fac640c4326980b8bf0011dd75f0.png)
![MybatisPlus[笔记] - 图2](/uploads/projects/zjj1994@javaweb/1217772a3eea8b7836195291c3ee60e2.png)
条件分页查询,但是不建议用这个分页插件,这个只是演示,建议直接用PageHelper
| List
new EntityWrapper
.between(“age”, 18, 50)
.eq(“gender”, 1)
.eq(“last_name”, “Tom”)
); |
| —- |
Condition和 EntityWrapper 用法差不多是一样的.
| List
new Page
Condition.create()
.between(“age”, 18, 50)
.eq(“gender”, “1”)
.eq(“last_name”, “Tom”)
); |
| —- |
| // 查询tblemployee表中, 性别为女并且名字中带有”老师” 或者 邮箱中带有”a”
List
new EntityWrapper
.eq(“gender”, 0)
.like(“last_name”, “老师”)//or和orNew区别,注意看下面的sql的括号,or是将条件都放在一个括号里面.orNew是重新另起一个括号放条件
//.or() // SQL: (gender = ? AND last_name LIKE ? OR email LIKE ?)
.orNew() // SQL: (gender = ? AND last_name LIKE ?) OR (email LIKE ?)
.like(“email”, “a”)
);
System.**_out
// 查询性别为女的, 根据age进行排序(asc/desc), 简单分页
List
new EntityWrapper
.eq(
.orderBy(“age”)
//.orderDesc(Arrays.asList(new String [] {“age”}))
.last(“desc limit 1,3”)
);
System.out**.println(emps); |
| —- |
(四)删除操作
| @Test
public void testCommonDelete() {
//1 .根据id进行删除
Integer result = employeeMapper.deleteById(13);
System.out.println(“result: “ + result );
//2. 根据 条件进行删除
// Map
// columnMap.put(“last_name”, “MP”);
// columnMap.put(“email”, “mp@atguigu.com”);
// Integer result = employeeMapper.deleteByMap(columnMap);
// System.out.println(“result: “ + result );
//3. 批量删除
// List
// idList.add(3);
// idList.add(4);
// idList.add(5);
// Integer result = employeeMapper.deleteBatchIds(idList);
// System.out.println(“result: “ + result );
} |
| —- |
(五)更新操作
| @Test
public void testEntityWrapperUpdate() {
Employee employee = new Employee();
employee.setLastName(“苍老师”);
employee.setEmail(“cls@sina.com”);
employee.setGender(0);
employeeMapper.update(employee,
new EntityWrapper
.eq(“last_name”, “Tom”)
.eq(“age”, 44)
);
} |
| —- |
(六)其它配置
1.打印SQL语句
在application.yml中添加: 注意是mybatisPlus的
# 配置slq打印日志
mybatis-plus:
configuration:
log-impl: org.apache.ibatis.logging.stdout.StdOutImpl
如果是Mybatis的
mybatis:
configuration:
**log-impl**: org.apache.ibatis.logging.stdout.StdOutImpl<br /> <br /> <br /> <br /> <br />如果是application.properties,添加:<br /># 配置slq打印日志<br />mybatis-plus.configuration.log-impl=org.apache.ibatis.logging.stdout.StdOutImpl
2.别名扫描
注册别名扫描后,在mapper对应的xml文件中可以直接使用类名,而不是使用权限定类名.
Spring Boot的yml配置方式:
logging:
level:
com.lanmili.dao: debug # 必须是debug级别的,info级别是不打印日志的.
自动填充功能
自动填充,意味着就是设置默认值,不依赖数据库设置默认值,依赖程序实现。
参考:
https://blog.csdn.net/wwrzyy/article/details/85319860
https://mp.baomidou.com/guide/auto-fill-metainfo.html
注解
sql注入器
Lambda表达式的支持
ActiveRecord
在Mybatis-Plus中提供了ActiveRecord的模式,支持 ActiveRecord 形式调用,实体类只需继承 Model 类即可实现基本 CRUD 操作,简单来说就是一个实体类继承Model类,并通过注解与数据库的表名进行关联,这样就可以通过实体类直接进行表的简单增删改查操作,这样也确实极大的方便了开发人员。
这样的话不需要dao层,直接实体类就能完成基本的crud操作.
https://www.yuque.com/docs/share/ae09f675-05b2-4b4c-8a7a-5034e72d3913?#
整合
(一)SpringBoot2.0整合

若有收获,就点个赞吧
0 人点赞
