以下示例,为Jupyter Notebook转化而来的Markdown,展示了PIL的基本使用方式,清晰明了。
from PIL import Imageimport matplotlib.pyplot as plt
#显示matplotlib生成的图形%matplotlib inline
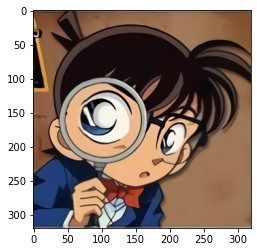
#读取图片img = Image.open('./data/avatar.png')#显示图片img.show() #自动调用操作系统中的图片工具显示
# 在画布中显示plt.imshow(img)plt.show(img)

width,height = img.sizeprint(width,height) # 图片的长宽
640 640
#获得图像的模式img_mode = img.modeprint(img_mode)
RGB
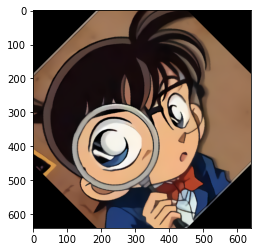
图片旋转
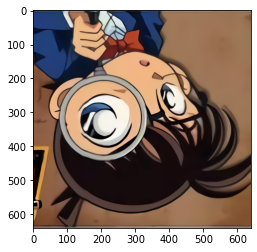
#将图片旋转45度img_rotate = img.rotate(45)#显示旋转后的图片plt.imshow(img_rotate)plt.show(img_rotate)
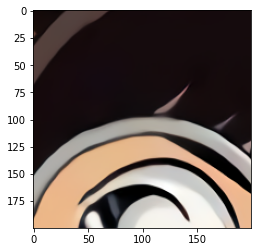
图片剪切
#剪切 crop()四个参数分别是:(左上角点的x坐标,左上角点的y坐标,右下角点的x坐标,右下角点的y坐标)img_crop = img.crop((100, 100, 300, 300))#展示图片plt.imshow(img_crop)plt.show(img_crop)
图片缩放
width,height = img.size#缩放img_resize = img.resize((int(width*0.5),int(height*0.5)),Image.ANTIALIAS)#展示图片plt.imshow(img_resize)plt.show(img_resize)print(img_resize.size)
(320, 320)
翻转
#左右镜像img_lr = img.transpose(Image.FLIP_LEFT_RIGHT)#展示左右镜像图片plt.imshow(img_lr)plt.show(img_lr)
#上下镜像img_bt = img.transpose(Image.FLIP_TOP_BOTTOM)#展示上下镜像图片plt.imshow(img_bt)plt.show(img_bt)
保存图片
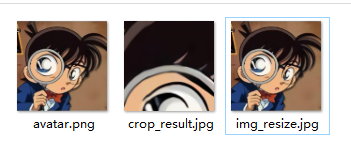
img_crop.save('./data/crop_result.jpg')img_resize.save('./data/img_resize.jpg')
保存后的图片:

若有收获,就点个赞吧
0 人点赞
