Windows + VS Code + MinGW
Tuesday, March 12, 2019
5:41 PM
Windows + VS Code + MinGW
下载链接
MinGW-W64 GCC-7.3.0
MinGW安装
优先尝试mingw-w64-install.exe
如果网络错误,则直接下载上面的压缩包x8664-win32-sjlj,解压到指定目录即可,如在D盘创建文件夹,并解压,得到目录:D:\dev\mingw64
我的电脑、右键属性、系统属性、环境变量、系统变量、Path中增加一行D:\dev\mingw64\bin
如下图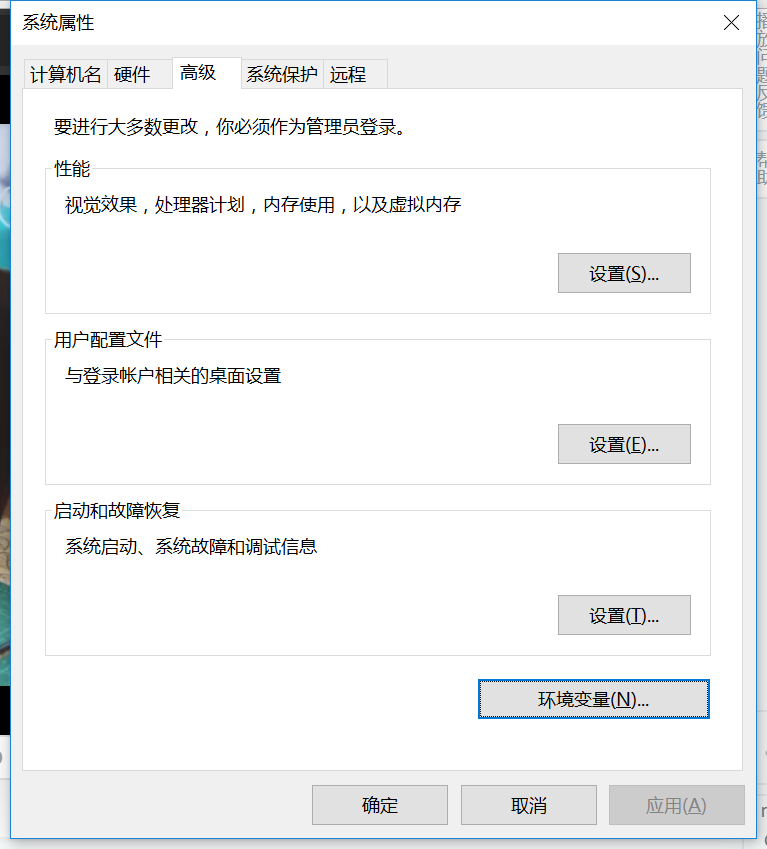
image.png
Win + X组合键管理员身份打开命令行输入gcc回车,提示缺少输入文件说明安装成功
VS Code 配置
在D盘创建code文件夹,在code文件夹中创建c文件夹
打开VS Code,文件,打开文件夹,选择D:\code\c
此时VS Code会在D:\code\c目录下创建一个隐藏文件夹.vscode,里面会有一个文件D:\code\c.vscode\c_cpp_properties.json
修改configurations数组里面”name”: “Win32”下的includePath
增加以下路径,即可在VS Code里面查看include的文件内容
“D:/dev/mingw64/include”,
“D:/dev/mingw64/x86_64-w64-mingw32/include”,
注意最后一行的结尾没有逗号
{
“configurations”: [
{
“name”: “Mac”,
“includePath”: [
“/usr/include”,
“/usr/local/include”,
“
KaTeX parse error: Expected ‘}’, got ‘EOF’ at end of input: … “
{workspaceFolder}”
],
“limitSymbolsToIncludedHeaders”: true,
“databaseFilename”: “”
},
“macFrameworkPath”: [
“/System/Library/Frameworks”,
“/Library/Frameworks”
]
},
{
“name”: “Linux”,
“includePath”: [
“/usr/include”,
“/usr/local/include”,
“
KaTeX parse error: Expected ‘}’, got ‘EOF’ at end of input: … “
{workspaceFolder}”
],
“limitSymbolsToIncludedHeaders”: true,
“databaseFilename”: “”
}
},
{
“name”: “Win32”,
“includePath”: [
“${workspaceFolder}”,
“D:/dev/mingw64/include”,
“D:/dev/mingw64/x86_64-w64-mingw32/include”,
“D:/dev/mingw64/lib/gcc/x86_64-w64-mingw32/7.3.0/include”,
“D:/dev/mingw64/lib/gcc/x86_64-w64-mingw32/7.3.0/include/ssp”,
“D:/dev/mingw64/lib/gcc/x86_64-w64-mingw32/7.3.0/include/c++/tr1”
],
“defines”: [
“_DEBUG”,
“UNICODE”,
“_UNICODE”
],
“intelliSenseMode”: “msvc-x64”,
“browse”: {
“path”: [
“${workspaceFolder}”,
“D:/dev/mingw64/include”,
“D:/dev/mingw64/x86_64-w64-mingw32/include”,
“D:/dev/mingw64/lib/gcc/x86_64-w64-mingw32/7.3.0/include”,
“D:/dev/mingw64/lib/gcc/x86_64-w64-mingw32/7.3.0/include/ssp”,
“D:/dev/mingw64/lib/gcc/x86_64-w64-mingw32/7.3.0/include/c++/tr1”
],
“limitSymbolsToIncludedHeaders”: true,
“databaseFilename”: “”
},
“cStandard”: “c11”,
“cppStandard”: “c++17”
}
],
“version”: 3
}
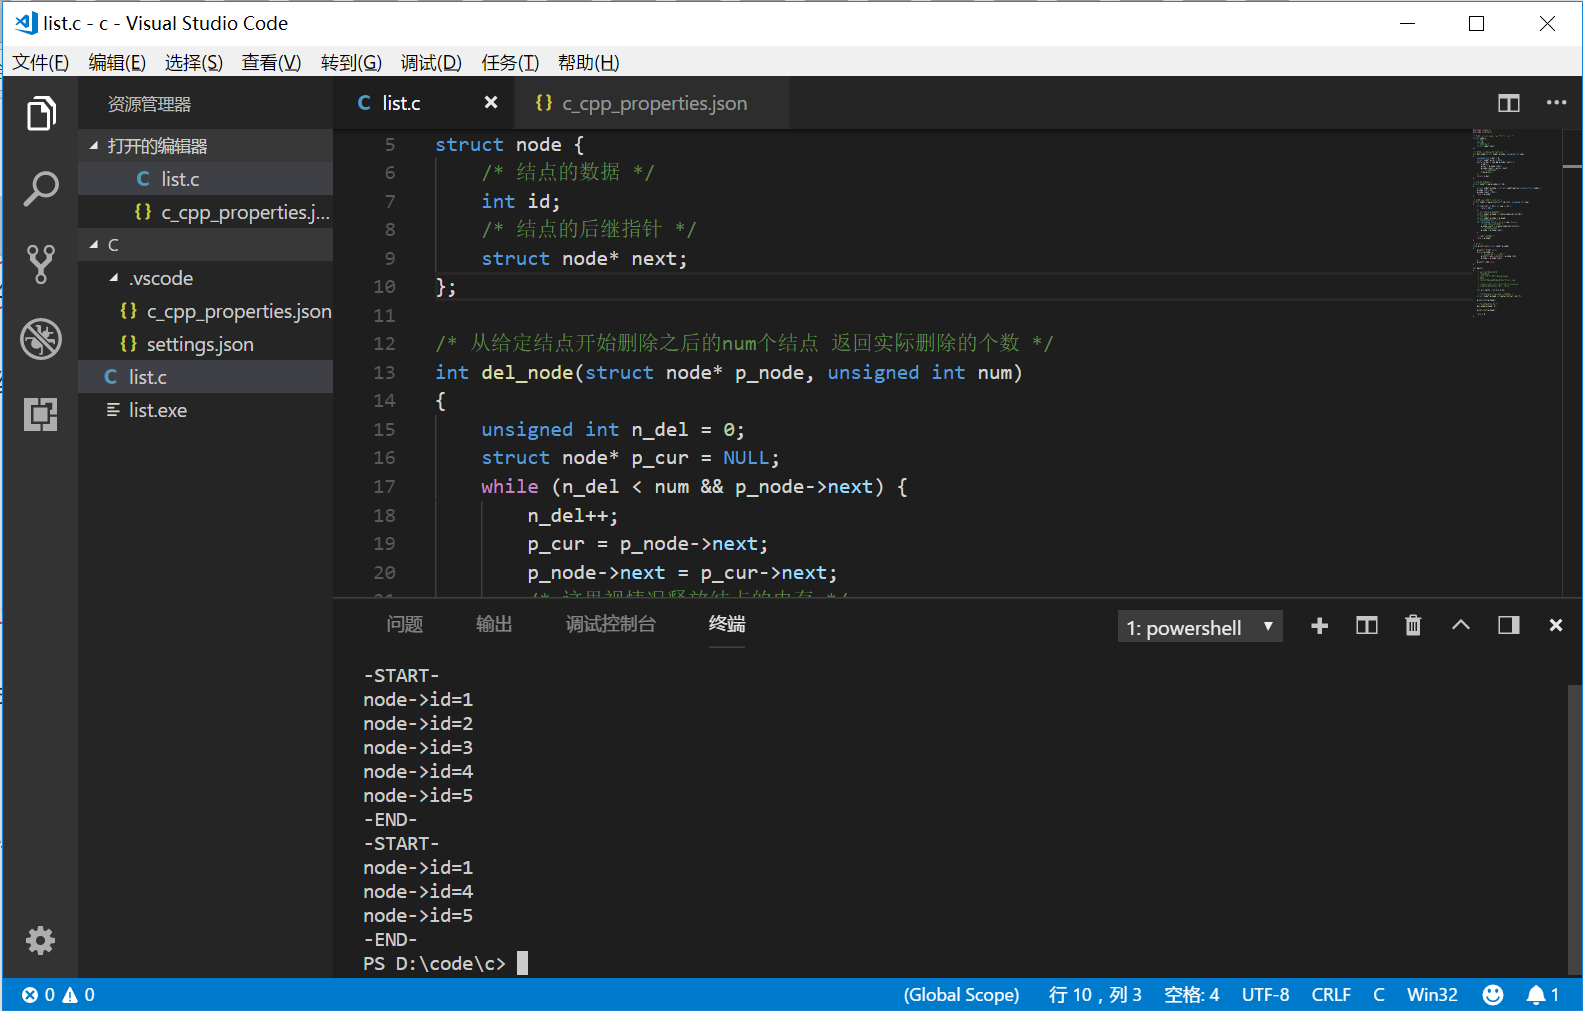
VS Code 中 Ctrl + ` 组合键打开终端
编译
PS D:\code\c> gcc .\list.c -o list.exe
-o 指定输出的可执行文件名
执行
PS D:\code\c> .\list.exe

若有收获,就点个赞吧
0 人点赞
