Welcome to Getting Started with Bittle!
Getting Started with Bittle course introduces the students to wide array of concepts, including open source hardware, the inner workings of common sensors and modules used in open source hardware projects and basics of block programming. At the core of this course is Bittle - a robotic dog kit, made by Petoi in collaboration with TinkerGen. Petoi Bittle is a tiny, but powerful robot that can play tricks like real animals. Bittle is an open platform to fuse multiple makers’ gadgets into one organic system. With our customized Arduino board coordinating all instinctive and sophisticated movements, users can clip on various sensors to bring in perception. It is also possible to make Bittle into a full-fledged AI robot by mounting a Raspberry Pi or other AI chips through wired/wireless connections. This makes Bittle a perfect tool for learning, teaching and research!
Course Catalogue
Preface
Getting Started with Bittle Basic Kit Course
1) Introduction to Robotics and Bionics
2) Programming with Codecraft
3) Getting familiar with hardware
4) Basic movement coding guide
5) IR Sensor - Remote Control
6) Buzzer - Playing sounds
7) Advanced movement coding guide + Bluetooth
8) Student project I
Getting Started with Bittle Sensor Pack Course
1) Getting familiar with Sensor Pack modules
2) Speech Recognizer - Sound activation
3) OLED screen - displaying messages
4) Ultrasonic Sensor - Maze challenge
5) Vision sensor - Object following
6) PIR motion sensor - Always on Guard
7) Vision sensor - Gesture detection
8) Student project II
Afterword
Hardware Overview
General specifications
Shock resistant ABS injection-molded plastic
Spring-loaded upper legs
20cm x 11cm x 15cm
Product weight: 290g
Maximum load weight: ~300 g
Servo
Model P1S
Voltage 8.4
Working angle 270
Stall current 1500mA
Stall torque 3.15 kg/cm
Battery
2S Li-ion battery module
Voltage 7.4V
Current 5A
Capacity 1000mAh/7.4Wh
Micro USB-A charging
Mainboard
Old Mainboard: NyBoard V1_0
ATmega328P
Chip frequency 16 MHz
Memory 2KB SRAM, 32KB flash, 1KB Internal EEPROM + 8KB I2C EEPROM
4x Grove interface
1x UART, 1x I2C, 1x SPI, 7x RGB LED
New Mainboard: NyBoard V1_1
ATmega328P
Chip frequency 16 MHz
Memory 2KB SRAM, 32KB flash, 1KB Internal EEPROM + 8KB I2C EEPROM
4x Grove interface
1x UART, 1x I2C, 1x SPI, 1x External RGB LED(WS2813 Mini) for Grove interface
Supports plugging in the Raspberry Pi (not provided in the kit), powering the Raspberry Pi, and communicating with the Raspberry Pi through the serial port and I2C. Support plugging in the Bluetooth module (not provided in the kit), and using the mobile APP remote control.
Programming environment
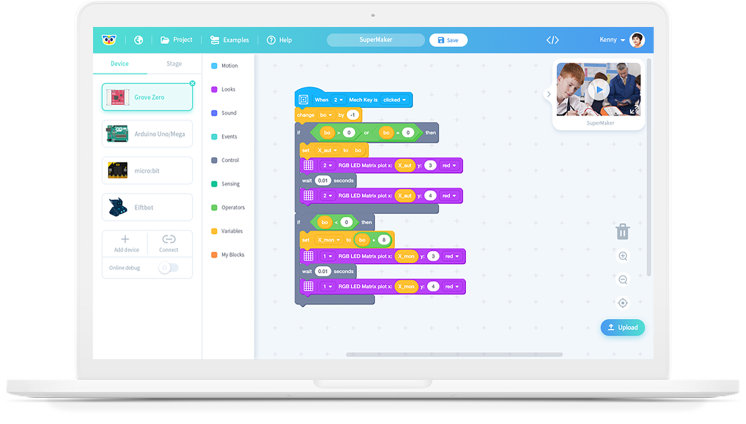
Codecraft is a graphical programming software suitable for kids ages 6-16, who are learning to program. Codecraft is based on the Scratch 3.0 language and enables programming by simply “dragging and dropping” blocks. In addition to Scratch’s ability to program interactive games or animations, Codecraft also supports a variety of common hardware devices, enabling hardware and software integration, which makes programming even more fun.
There are two ways to use Codecraft - from your web browser with Codecraft Web or if your computer is not connected to Internet, you can opt for offline Codecraft PC Client.
Codecraft Web
Codecraft is a web-based graphic programming software, and you can use it with a web browser, which provides a convenient and simple user experience.
Visit ide.tinkergen.com or click on the link below to start your creation with Codecraft now.
https://ide.tinkergen.com
Enter the Codecraft main page and click on Bittle to create a Bittle project.
You need to download and install Codecraft Assistant for Device Mode
To program your hardware devices with Codecraft, you need to install Codecraft Assistant to connect your devices to Codecraft Web.
If you didn’t have Codecraft Assistant installed, there will be a pop-up window reminding you to download and install Codecraft Assistant first when you click Connect.
Once Codecraft Assistant is installed, you will find the CC Assistant icon added to the desktop and the taskbar at the bottom right corner of the desktop.
If you have installed and Codecraft Assistant and run it, you can successfully connect devices in Codecraft Device list thereafter and no pop-up window will appear.
Codecraft PC Client
Operating Systems
Windows 7 and Windows 10 with 32-bit and 64-bit systems
Mac OS 10.13.6 or above
Codecraft Installation Package Download URL
https://ide.tinkergen.com/download/en/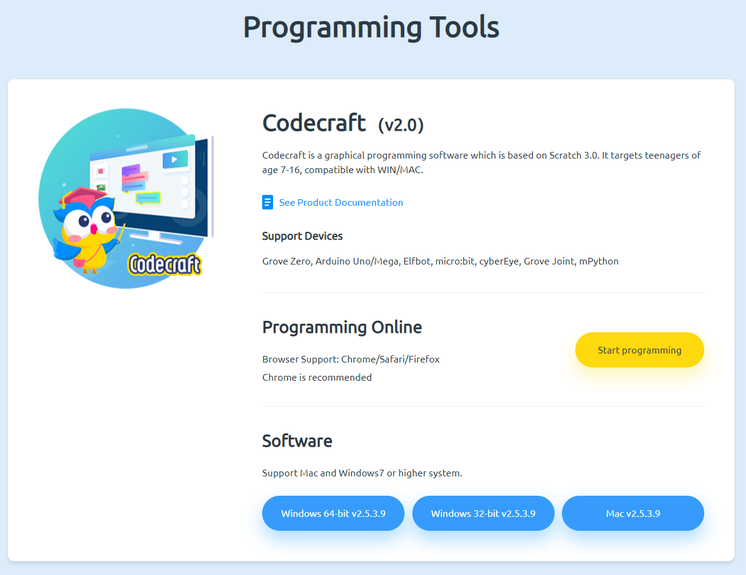
Windows Users Installation Instructions
Find the installation file in the download directory (file names vary with versions) and double click it to install the file.
After installation, Codecraft desktop client auto starts.
Mac/Linux Users
For more detailed instruction and information about using Codecraft on Mac/Linux, please visit our TinkerGen Help Center section about Codecraft:
https://www.yuque.com/tinkergen-help-en/codecraft
Once you have Codecraft installed and Bittle at your hand, you are ready to start learning and exploring the possibilities of this robotic dog!
When you use the web version of Codecraft, if the device assistant has been installed and it prompts you to install it, you can find and run the following icon on the computer desktop.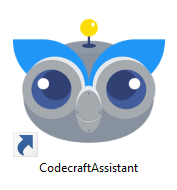
If you have installed the PC version of Codecraft on your computer, you can find the icon below to run it. 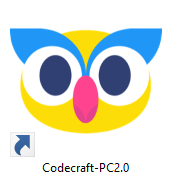

若有收获,就点个赞吧
0 人点赞
