1. 创建项目
使用 create umi 来快速的初始化脚手架(不需要提前建好目录)
# 使用 npm$ npx create-umi myapp# 使用 yarn$ tyarn create umi myapp
按照 umi 脚手架的引导,第一步先选择 ant-design-pro:
? Select the boilerplate type (Use arrow keys)❯ ant-design-pro - Create project with an layout-only ant-design-pro boilerplate, use together with umi block.app - Create project with a simple boilerplate, support typescript.plugin - Create a umi plugin.
选择版本 Pro V5
? Select the boilerplate type ant-design-pro? 🧙 Be the first to experience the new umi@3 ?❯ Pro V5Pro V4
安装依赖
$ cd myapp && tyarn// 或$ cd myapp && npm install
2. 运行
$ tyarn run start// 或$ npm run start

- 访问
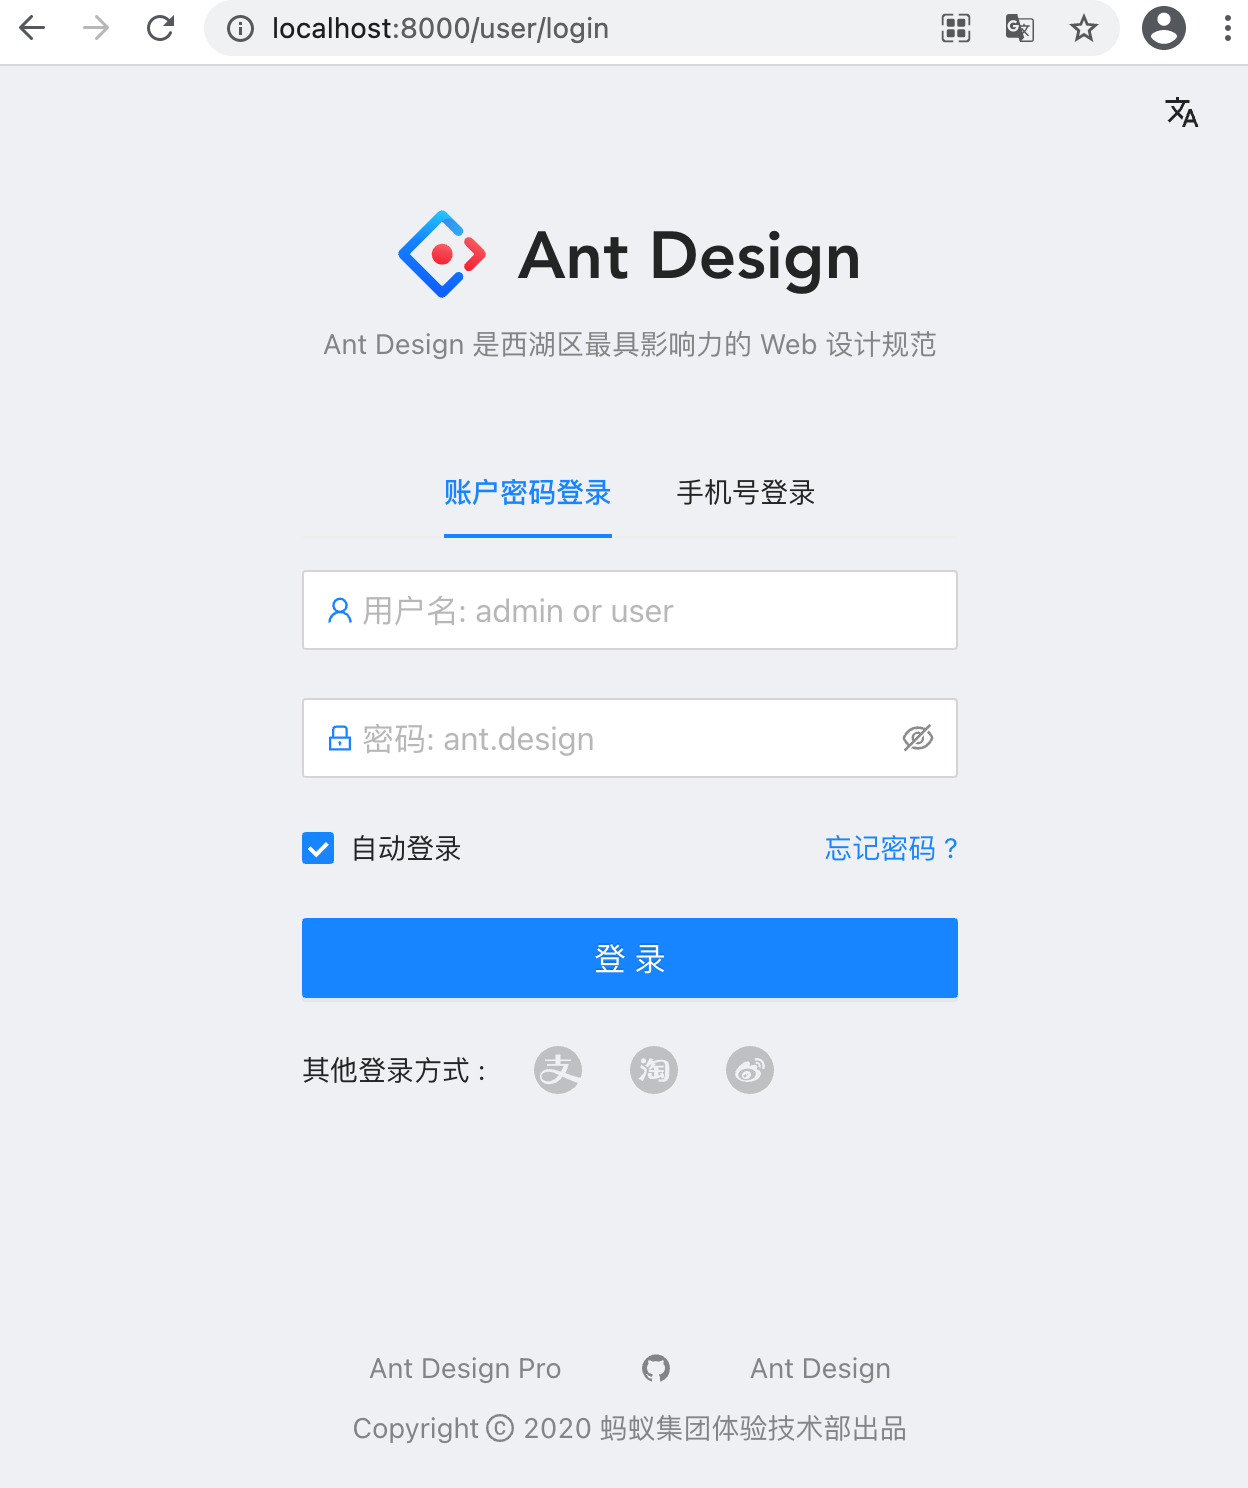
启用Chrom浏览器访问地址http://localhost:8000/user/login
3. 使用Umi UI
由于 Umi 3 使用微内核架构,将之前 Umi UI 拆分到独立的仓库,通过加载 @umijs/preset-ui 使用 Umi UI。
V5的脚手架没有提供V4那种复杂的范例,但我们可以利用Umi UI自己添加一些模板进来。在项目中执行:
$ tyarn add @umijs/preset-ui -D$ tyarn run start// 或$ npm install --save-dev @umijs/preset-ui$ npm run start
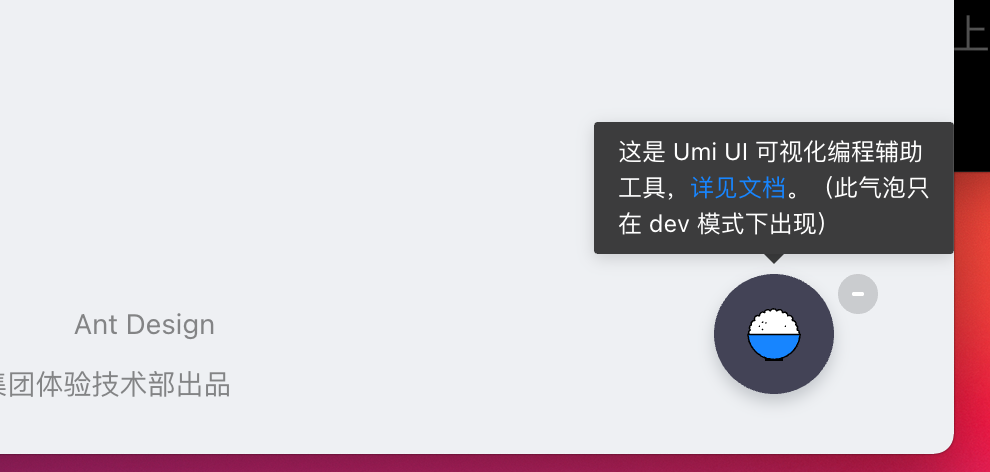
再次登录进入范例页面以后,在浏览器右下角可以看到这个“气泡”
点击它可以启动UmiUI,给当前项目增加模块或模板资源。
关于UmiUI的更多内容见 https://umijs.org/zh-CN/docs/use-umi-ui
4. 参考
更多的Ant Design Pro V5内容参见 https://beta-pro.ant.design/docs/getting-started-cn

